
In the three and a half years since I became a food blogger, I’ve learned a few things about keeping a kitchen clean and the fridge organized. But having twins has completely changed that! In the last two months, we went from sharing the fridge between two people, myself and my husband, to now sharing the fridge between seven people, me, my husband, my mom, my in-laws, and two tiny babies! It’s now full of a lot of food and beverages, baby bottles, and mystery boxes of leftovers. Since I no longer have the time to give the fridge a proper spring cleaning where you take out all the shelves and wash them in the sink, etc., I’ve figured out how to clean the fridge in about a half hour: a 30 Minute Refrigerator Spring Cleaning!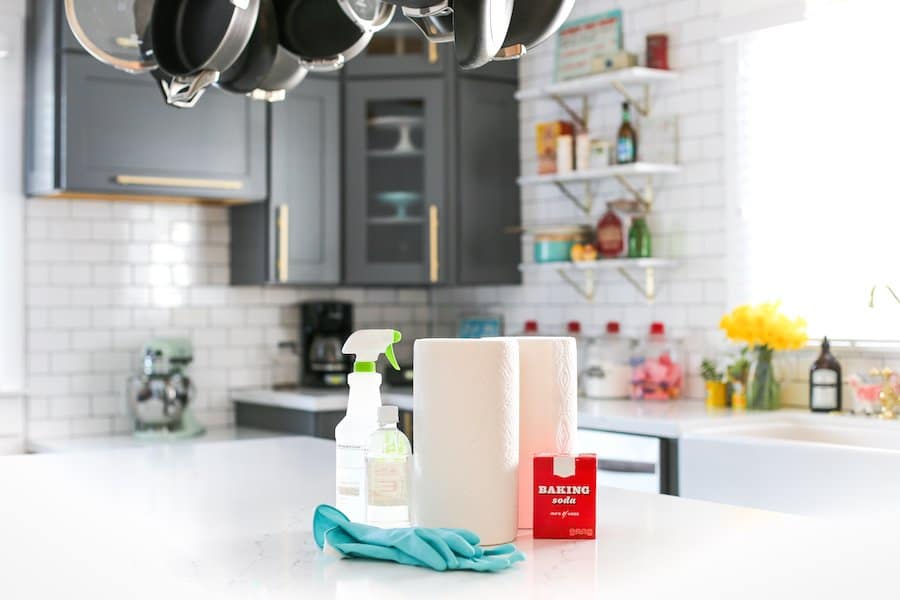
 My goal is to to do this about once a month and then just a quick clean between grocery store visits. I’m hoping that since it only takes about 30 minutes to do, it’s a more attainable goal than doing a long, heavy duty cleaning every few months. Which, let’s be honest, never gets done.
In order to give your fridge a 30 Minute Refrigerator Spring Cleaning, you’ll need a few supplies. I find that if I assemble all my supplies beforehand, I’ll actually finish the cleaning instead of stopping part way. For example, if I only grabbed the trash can, I might only purge the rotten food. If I only grabbed the trash can and the Bounty paper towels and spray bottle, then I would only purge and wipe down the shelves, but if I grab the trash can, spray bottle, paper towels, and vacuum, I’ll finish the entire cleaning.
- Select-a-Size paper towels
- Vinegar
- Water
- Spray bottle
- Gloves
- Baking soda
- Trash Can
- Vacuum
- Stainless Steel Cleaner (optional)
- Cooler (optional)
Since this is just a “quick cleaning,” I recommend doing it sometime when your fridge isn’t full of food so you’re not spending all of your time emptying food and then putting it back. Do this cleaning at a time when you open the refrigerator doors and say, “We have nothing to eat in the house!” Do it BEFORE you go grocery shopping. But if you happen to have a fridge full of food when the urge to clean strikes, then you might want to grab some coolers to put the food in while you’re cleaning.
Step 1: Make your DIY cleaner.
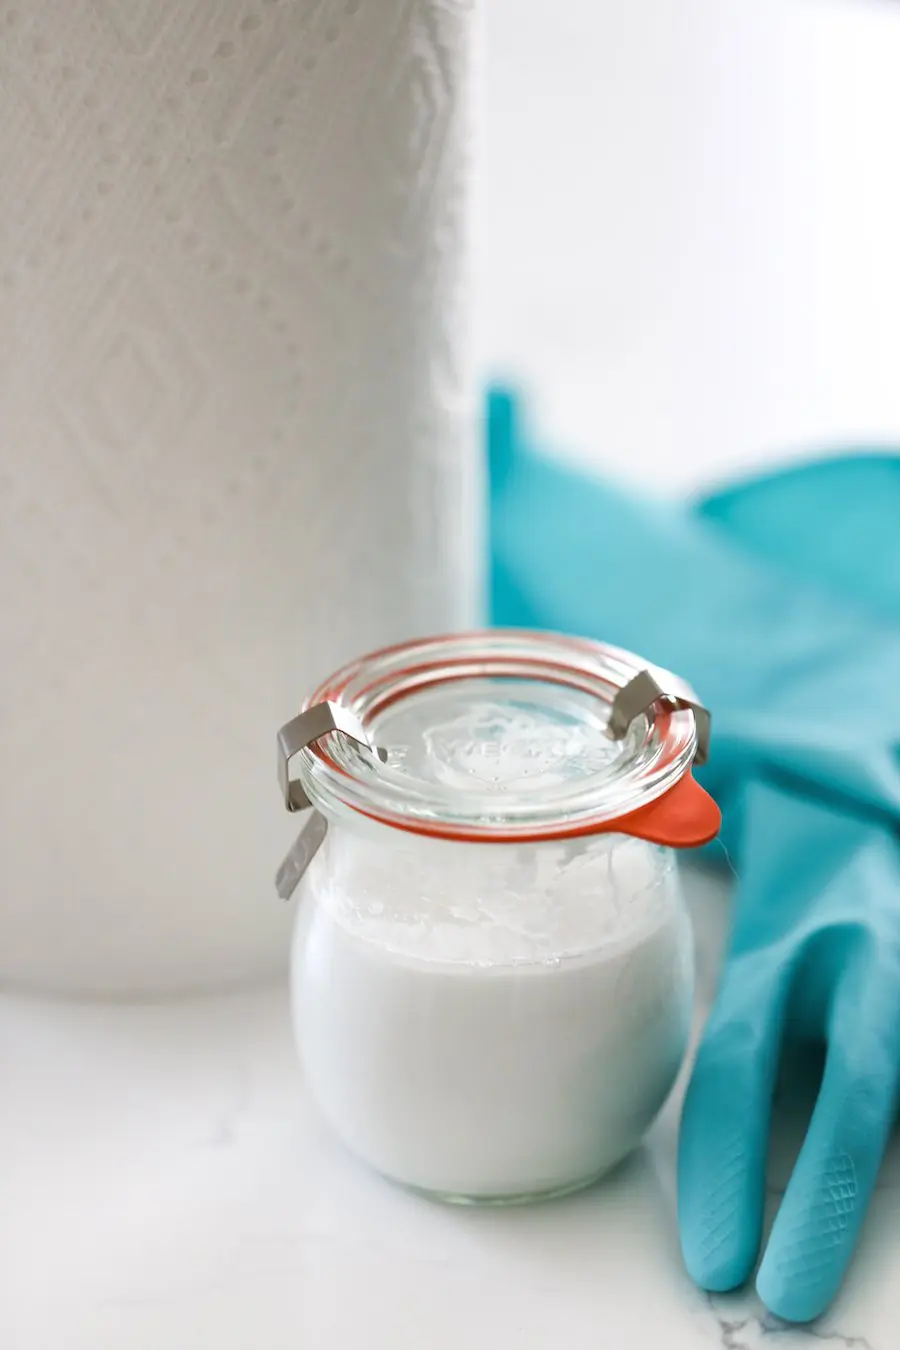
Rather than use harsh chemicals inside your fridge near your food and where your foods could absorb the smell and taste of the chemicals, you can make your own cleaner. I simply made a quick spray bottle of vinegar water using equal parts white vinegar and water. I also had some baking soda on hand in case I needed to scrub any shelves. Baking soda acts as abrasive to clean stuck on spills.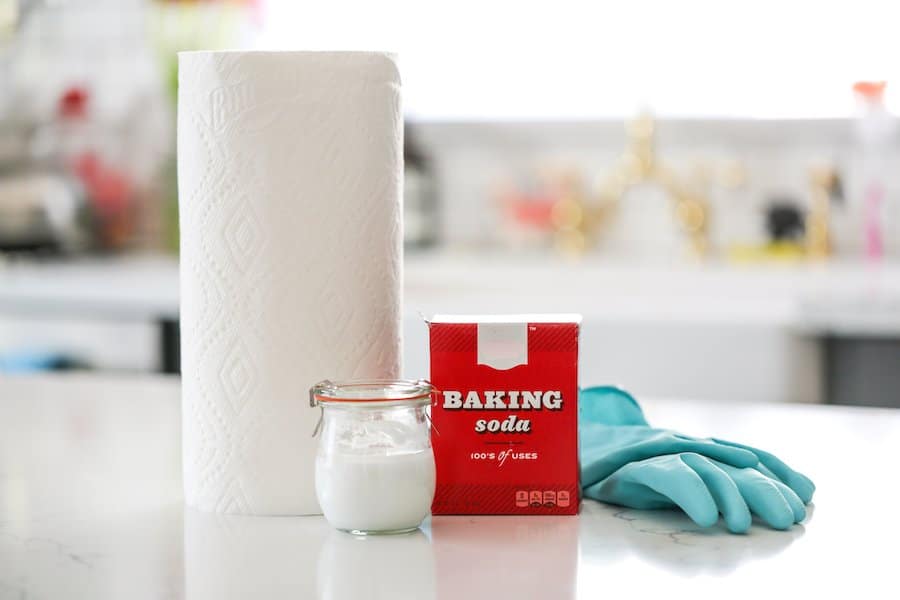

 Step 2: Remove all the food.
Go through your fridge and toss anything unwanted, anything you haven’t used in awhile, any almost finished condiment bottles, and anything past its expiration date. Wipe down the outside of any condiment bottles and food containers you do keep. If you have any meat or dairy or think this might take you longer than 30 minutes, place the food into a cooler.

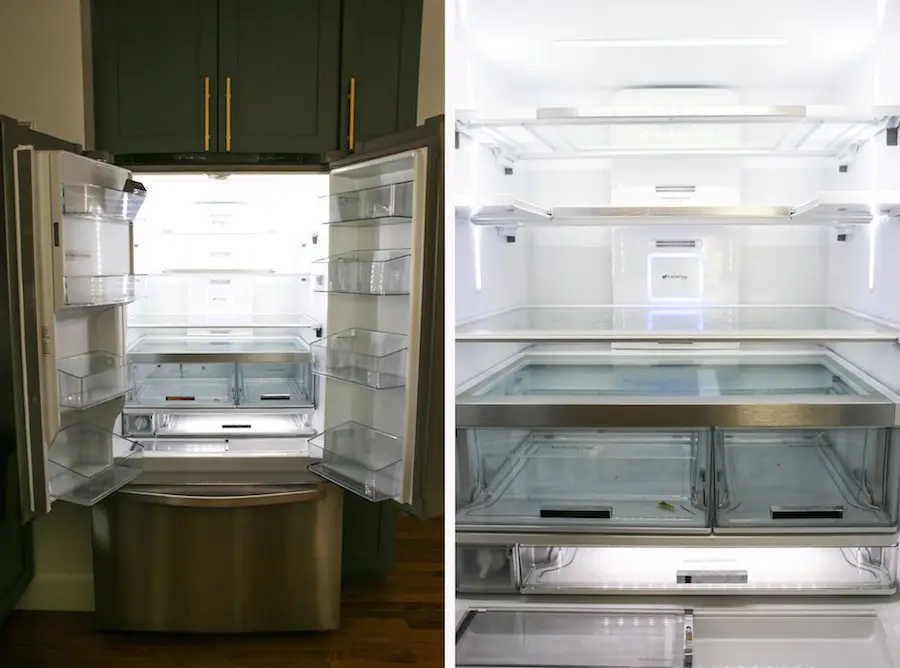
Step 3: Wipe down fridge.
Using your homemade vinegar water and Bounty paper towels , wipe down all the shelves and interior walls starting from the top and working your way down. Repeat with the inside door(s) and the freezer.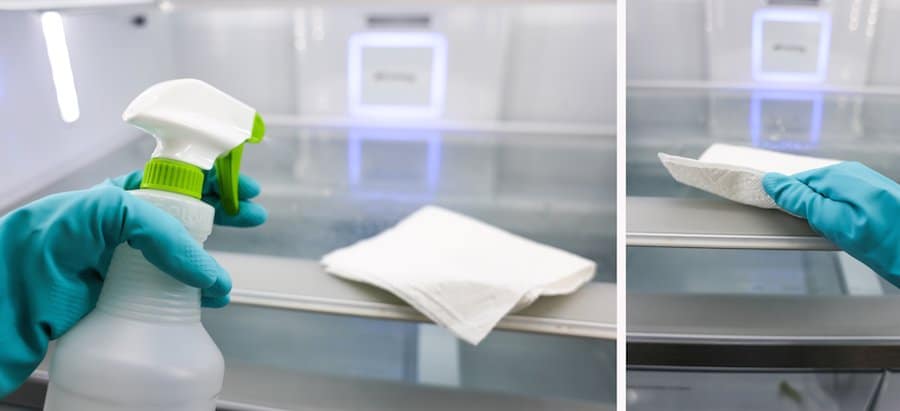
 Step 4: Line drawers and shelves with paper towels.
Next, line produce and meat drawers with select-a-size paper towels to make future cleanups easier. If you place the paper towels in the drawers or inside the door shelves, the paper towels will catch any crumbs or spills for the next 1-2 weeks before your next grocery trip. Plus, select-a-size paper towels are great for customizing sizes in your refrigerator and they will absorb any moisture from the fruits and vegetables that causes them to rot.
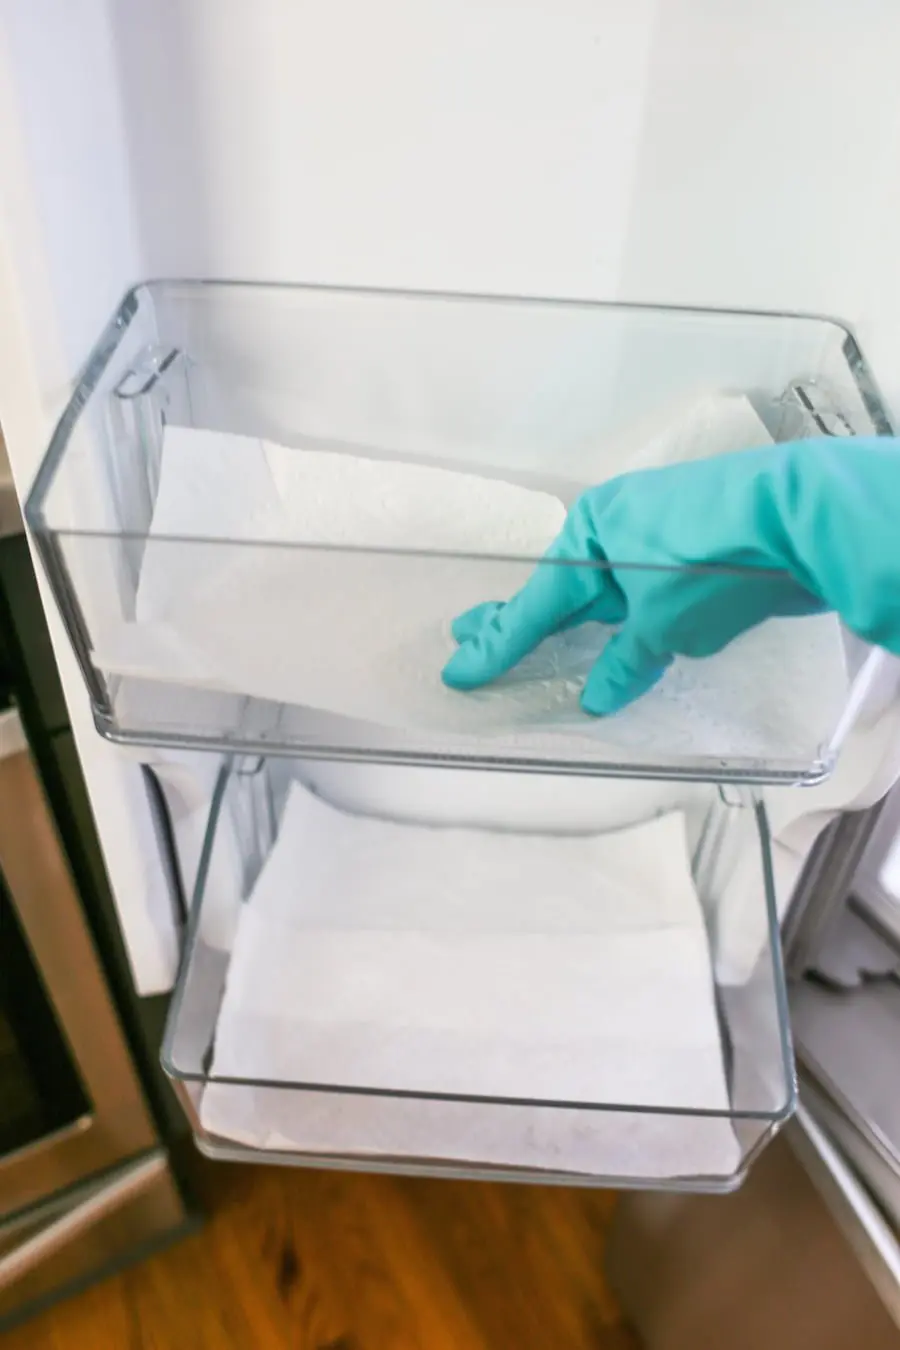 When you do the next grocery trip and you’re emptying the fridge of old food, simply pull the used, dirty paper towels with any crumbs or spills and replace with new paper towels before putting the new groceries away.
Step 5: Return food to fridge.
This one is pretty self-explanatory.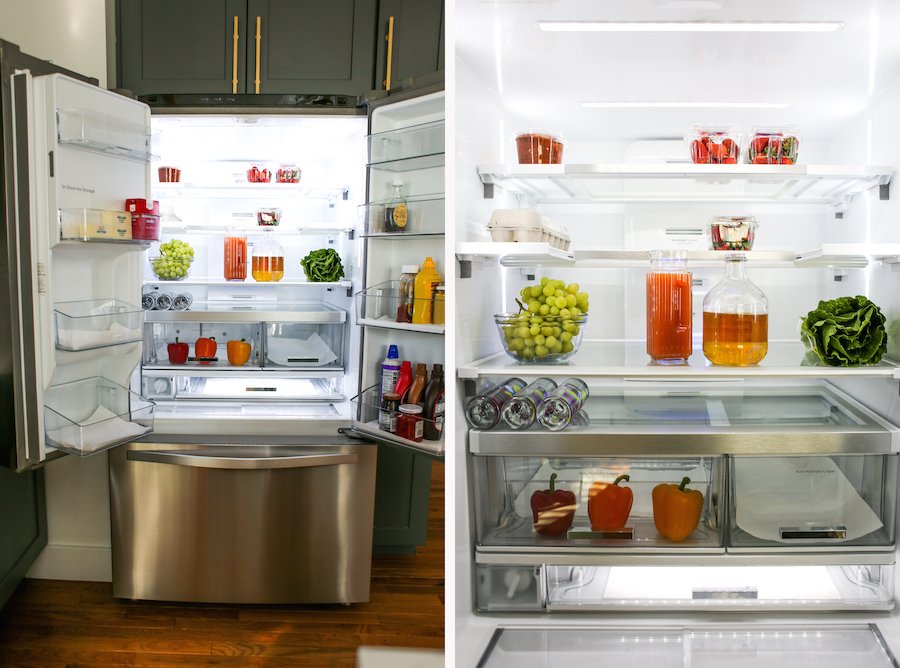

Step 6: Clean the gasket and outside of fridge.
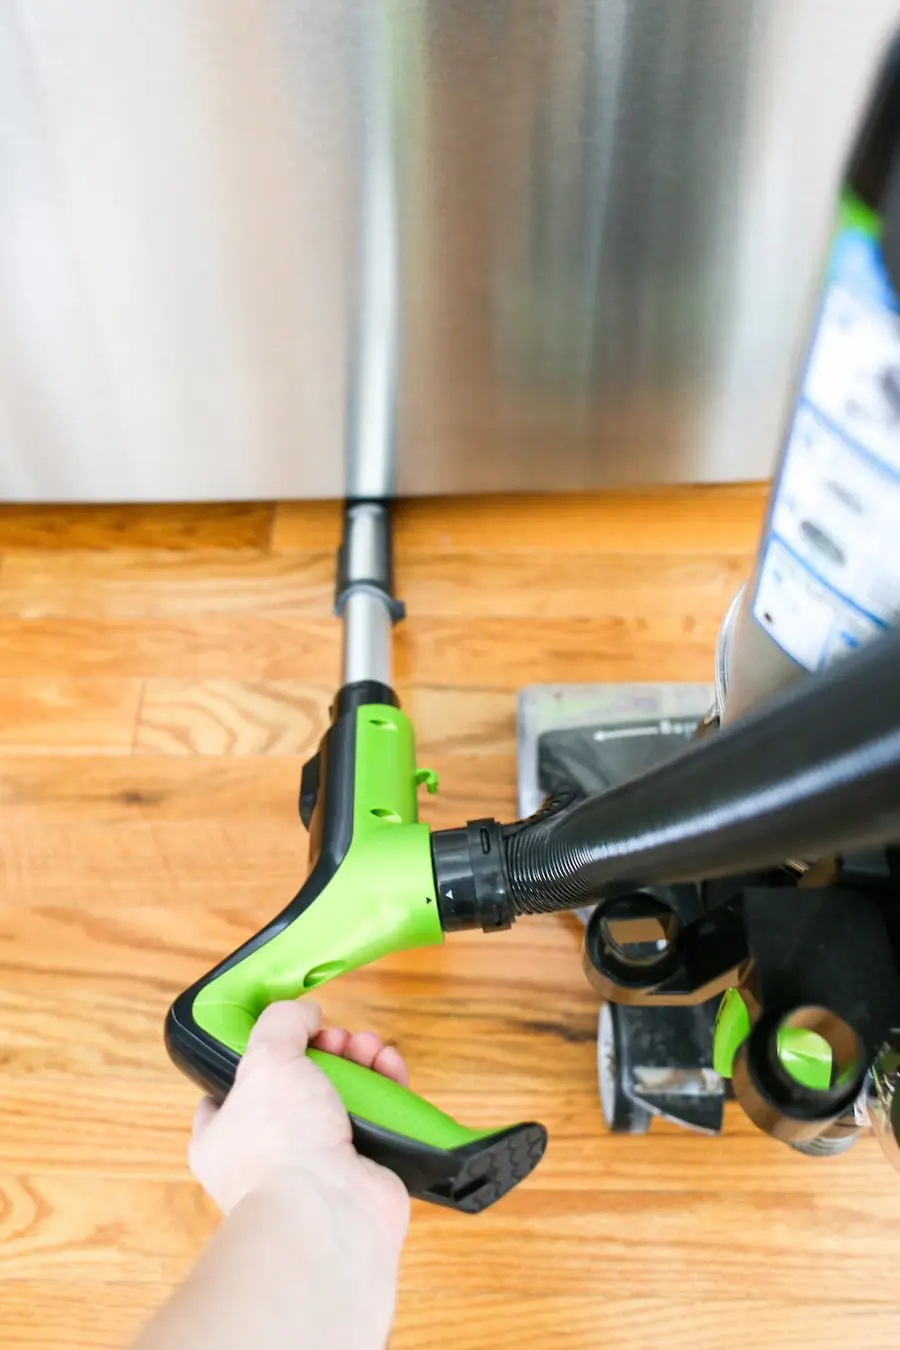
Use paper towels and your vinegar water to clean out the gaskets (the rubber seal around the door that collects crumbs). Then use a vacuum to clean the coils at the base of the fridge – you know, underneath where all that pet hair and dust collects! Also, be sure to wipe down the outside of the fridge, including the top. If your refrigerator is stainless steel, you may wish to use a stainless steel cleaner on the outside.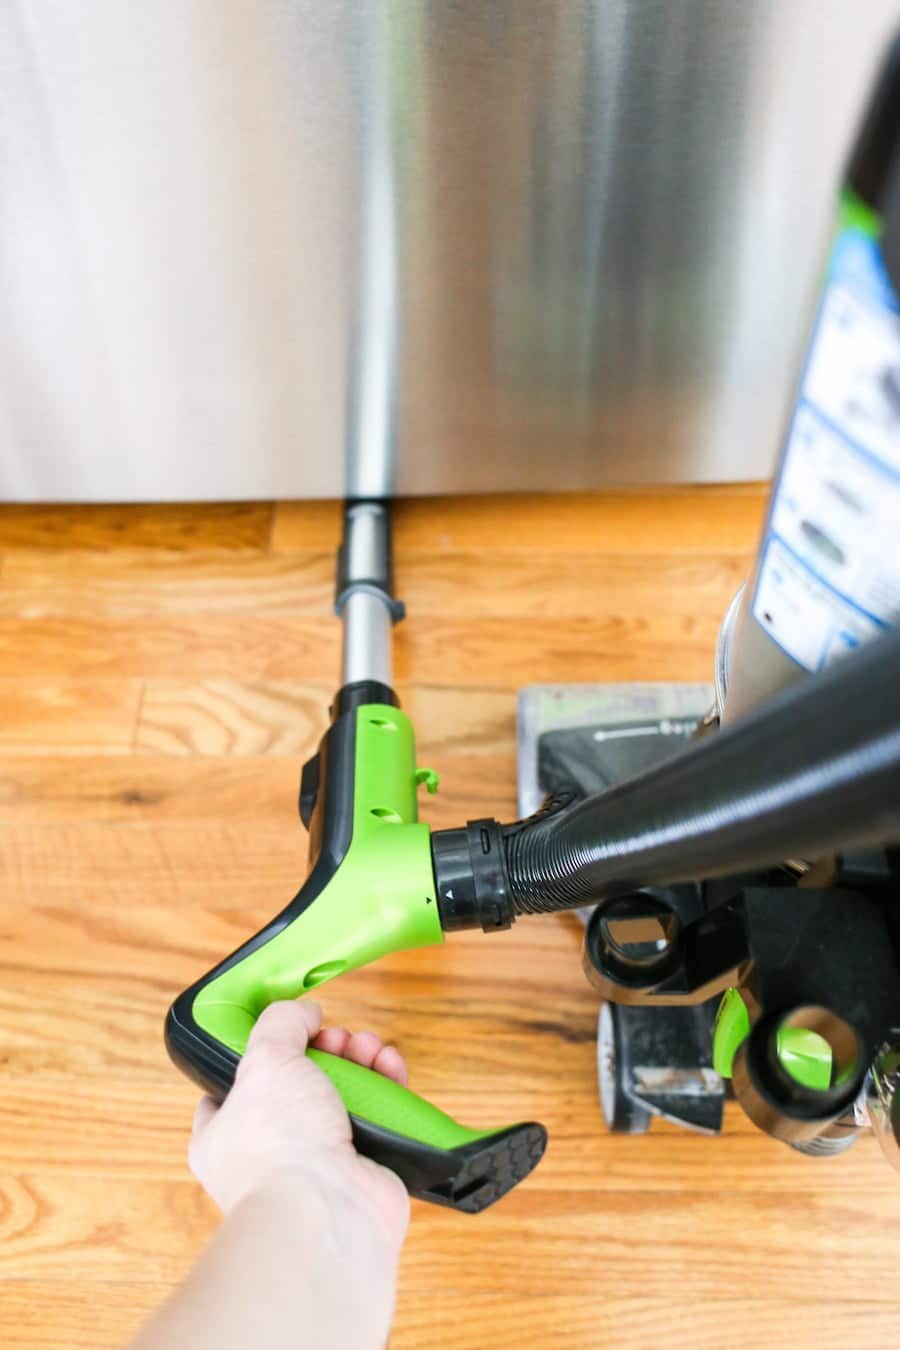
Step 7: Place baking soda inside fridge.
Finally, place an open box of baking soda inside the fridge to keep it smelling fresh. Baking soda absorbs foul odors, so it’ll absorb the smell of fish or stinky cheese and the rest of your food won’t absorb the smell/taste.

One last tip, when you come home from the grocery store with your fresh lettuce, be sure to store it in a container with a paper towel. The paper towel will absorb any moisture, keeping your lettuce from wilting until you’re ready to eat it!