
If you’re like me, your sock drawer is full of single socks that have never found their mates. So I’m remedying that by making my own DIY Lost Socks Sign with clothespins to hang the single socks looking for their “sole mates!” The full DIY Lost Socks Sign Tutorial is below. 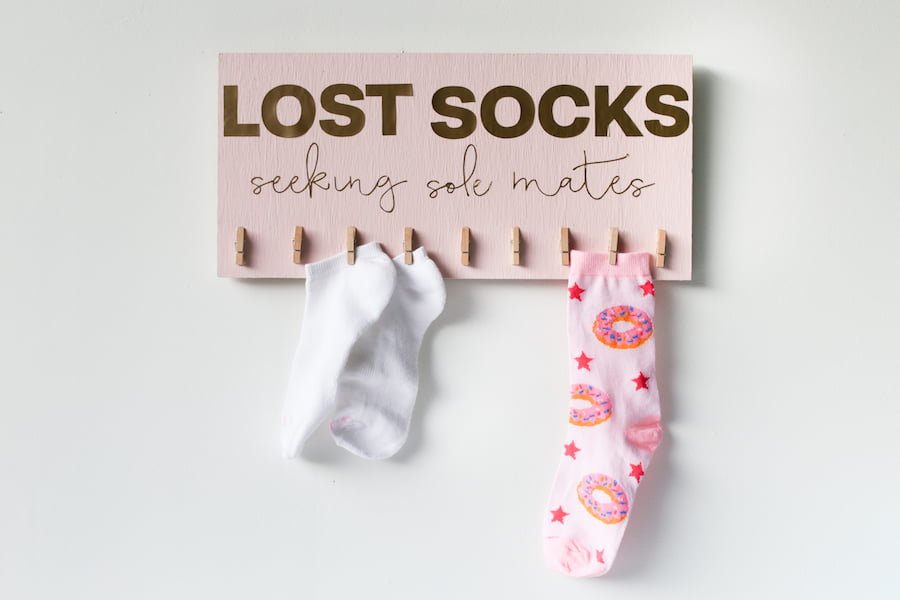 Seriously, this is a simple tutorial. If you can use a paintbrush and a hammer, you can make this sign! And it won’t cost you very much to make either. Fortunately, I already had all of the supplies needed, but if you use scrap wood and leftover paint, then this project should cost you less than $10-15 to make, maybe $20-25 if you need to purchase a sign/wood.
 Ready for the tutorial? You’re going to need a few supplies:
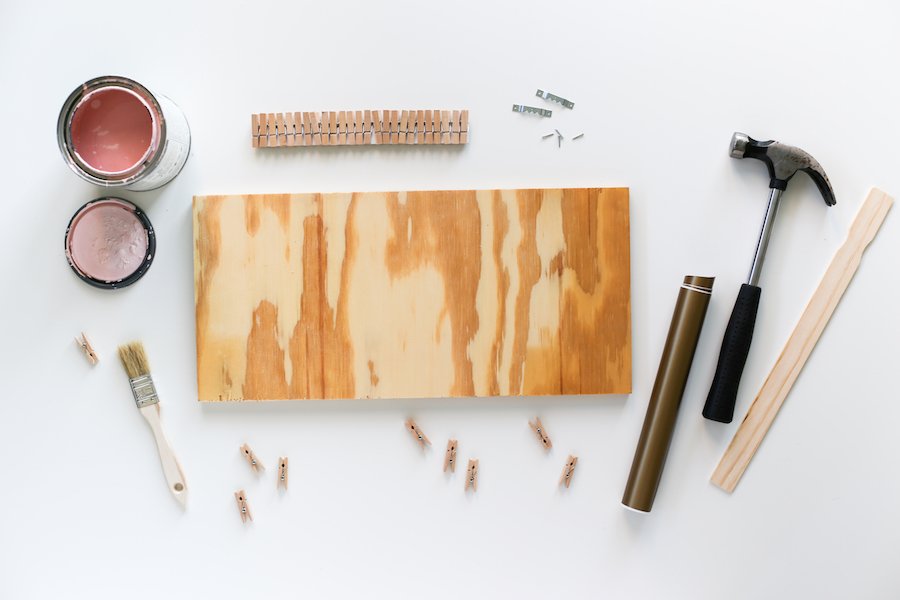
Supplies:
- wooden board
- paint
- stir stick
- paint brush
- 2 sawtooth hangers (with nails)
- hammer
- clothespins
- epoxy or hot glue (I prefer epoxy)
- vinyl and a diecutting machine OR stencils and paint
- modge podge
To start, use your hammer to nail your sawtooth hangers onto the upper back of your board. Do this BEFORE you paint or else you risk messing up your paint job. (I write this tip with experience, trust me!)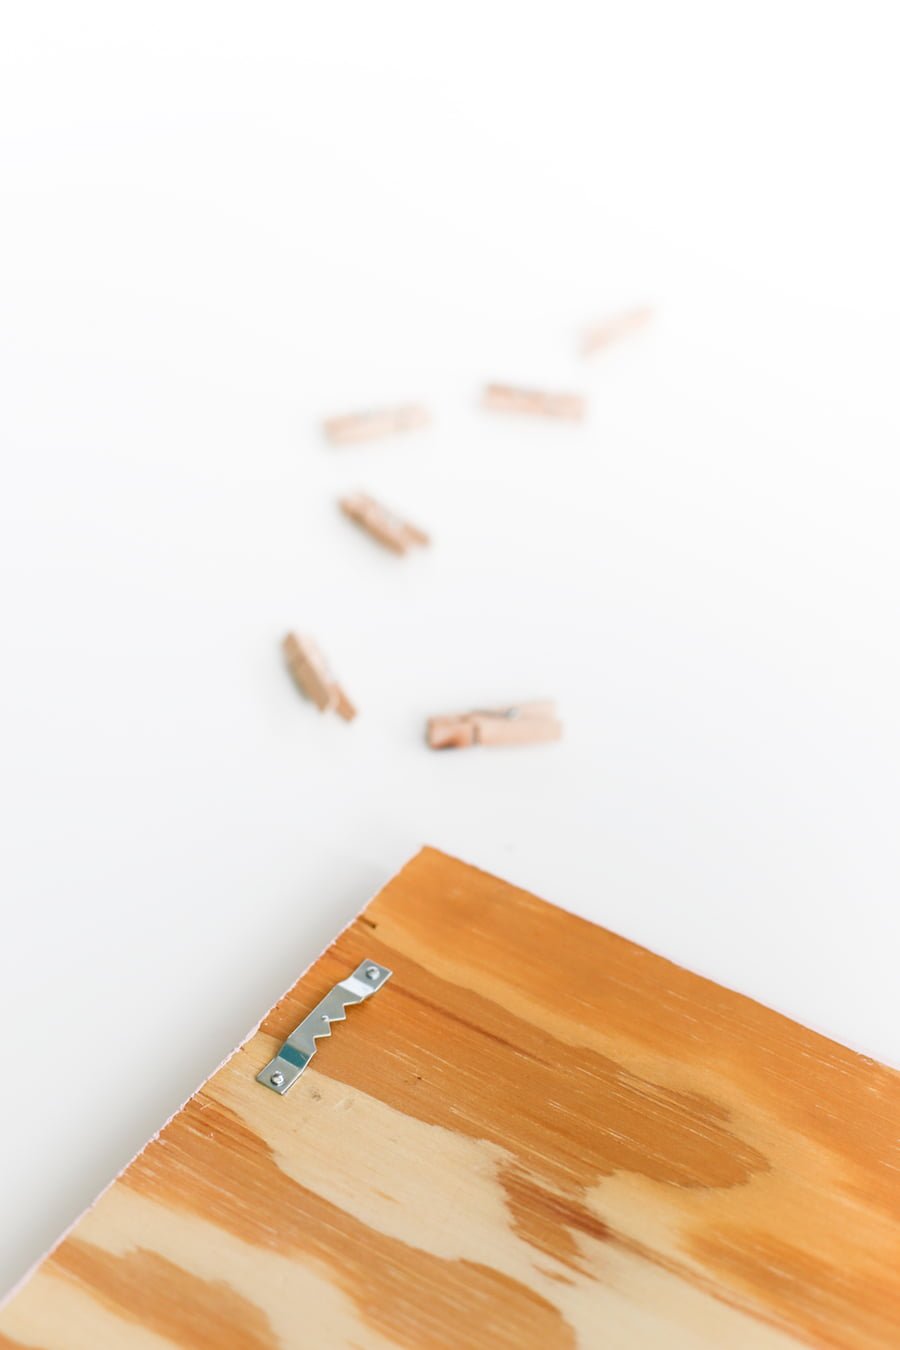 Next, paint your board – don’t forget to paint the sides, top, and bottom.
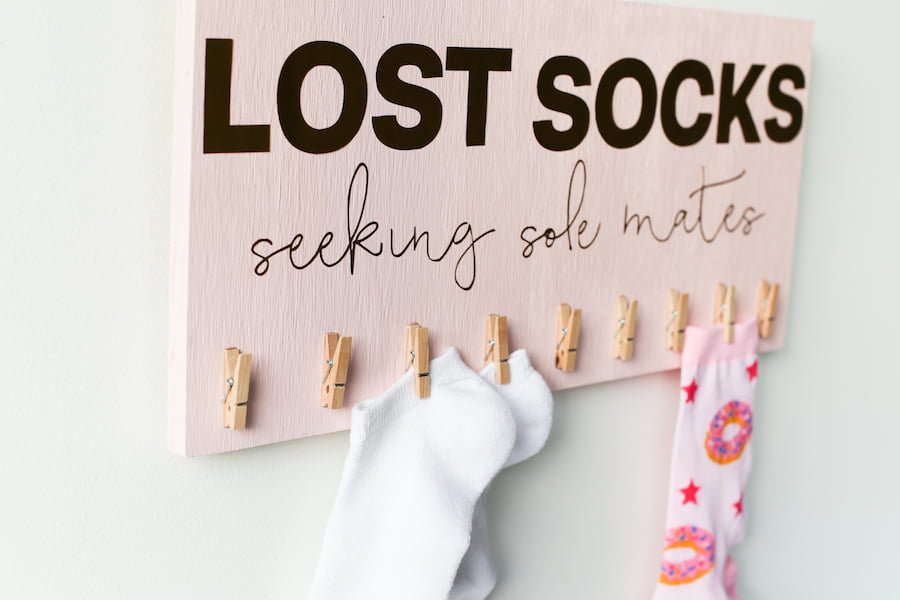
 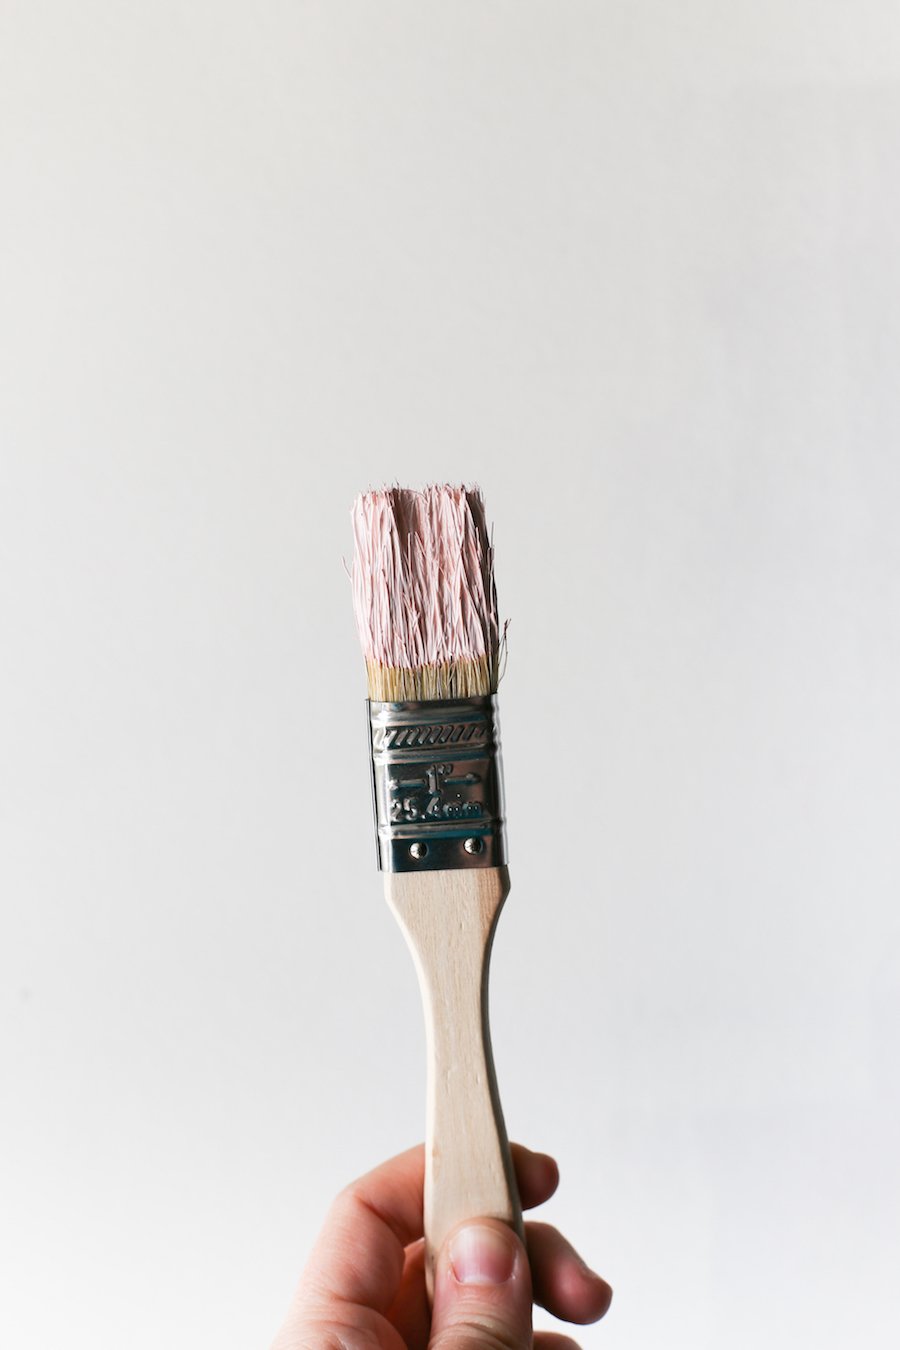 Next, I used my diecutting machine to cut out vinyl to apply to my sign, but if you don’t have a diecutting machine, you can get the same effect by using premade stencils or making your own stencils by printing out your words in your chosen font and cutting out the letters to create a stencil which you can then tape to the board, outline with a pencil, and then freehand paint.
 If you use vinyl, you’ll need to apply a finishing modge podge to keep the letters from peeling off the wood.
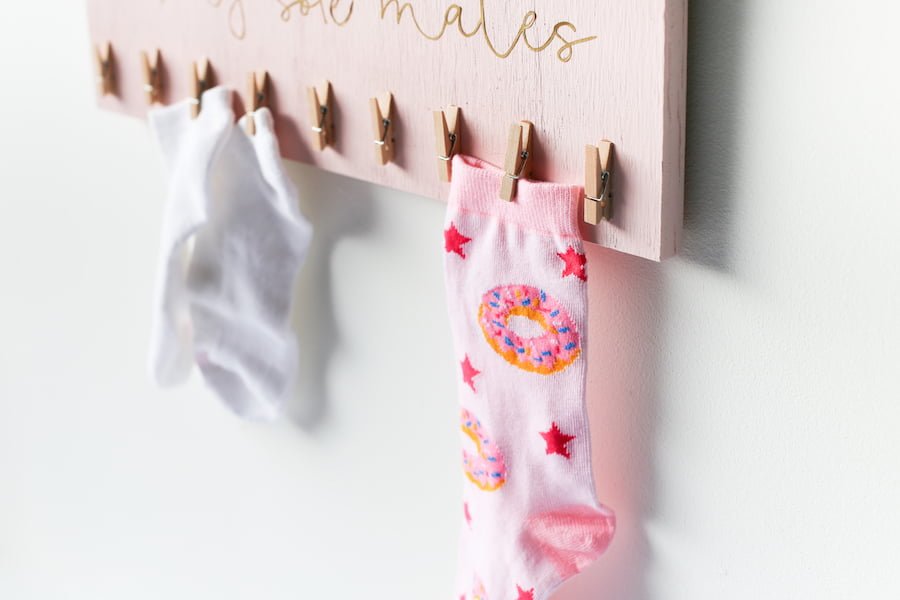
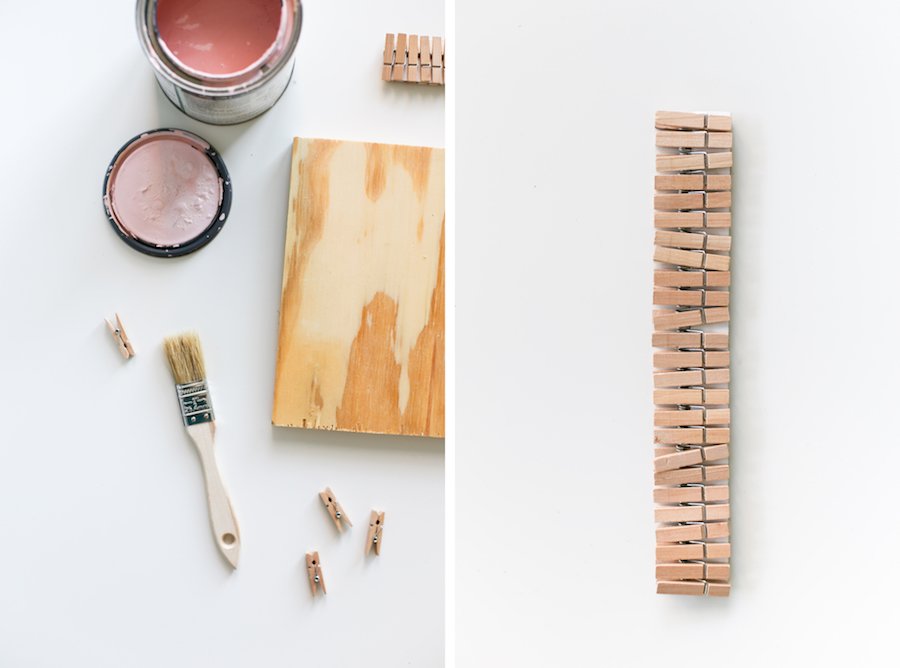
Next, attach your clothespins. I used epoxy because it REALLY holds, but if you want to use your glue gun, go for it, just don’t go overboard with the glue because that is why things sometimes break off – too much glue. If you use epoxy, be sure to let it dry for 2-3 hours before using.  And that’s it! You’re done! Go hang up your new sign in your laundry room and hopefully you’ll never lose a sock again!
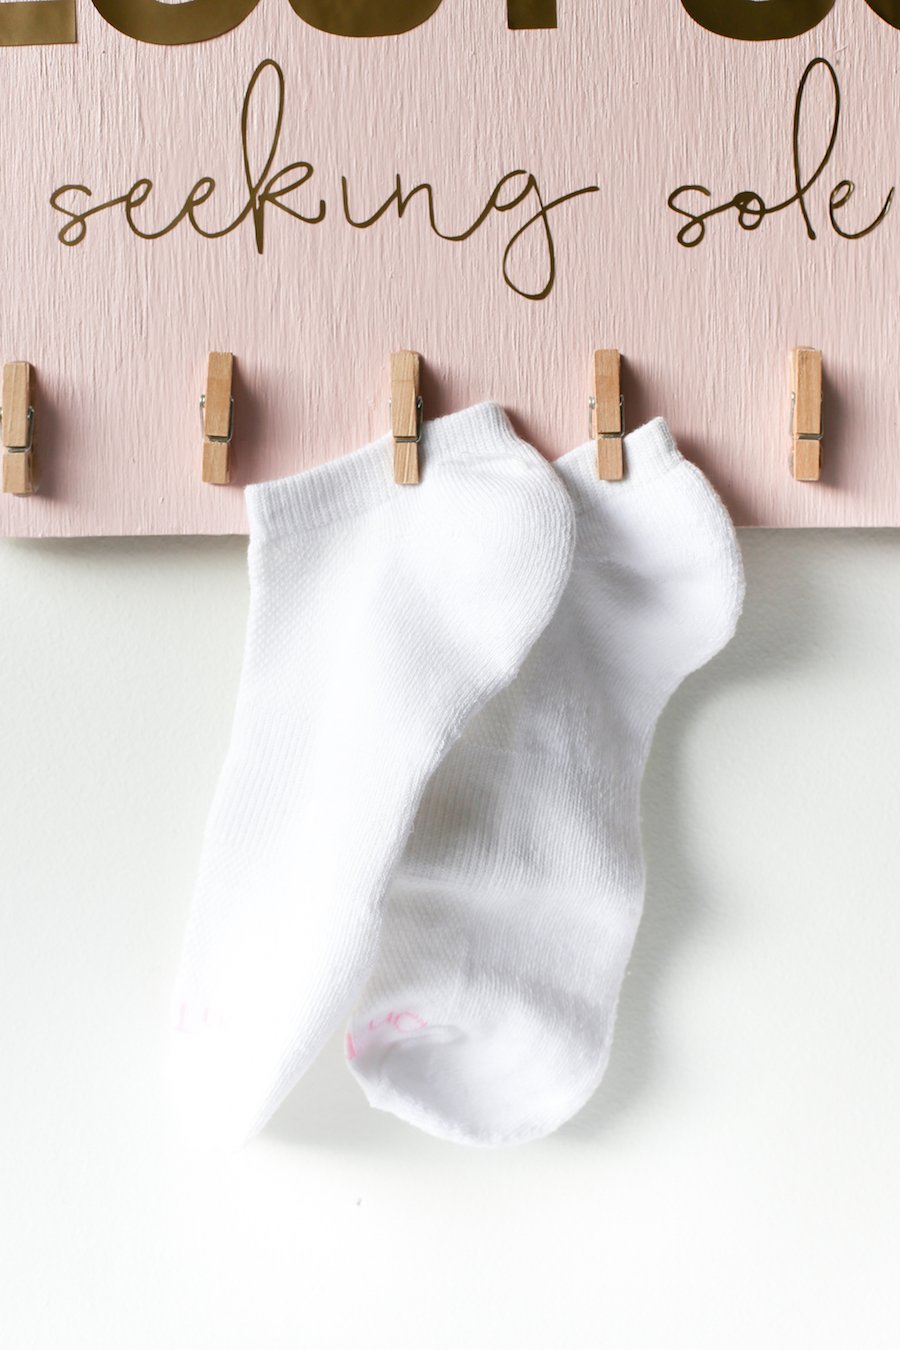
JD - altamontefamily.com
Tuesday 12th of April 2016
Lol too cute and punny!!
Bella B (xoxoBella)
Tuesday 8th of March 2016
This is just totally adorable!
Nicole Elliott
Tuesday 8th of March 2016
And to answer your question....I used to LOVE I Love Lucy and was just thinking I need to rewatch that. Right now I'm Netflixing Once...., Dr. Who, White Collar, and Drop Dead Diva XD
Nicole Elliott
Tuesday 8th of March 2016
This is seriously adorable!!! I'm making one for when we move this year :D
Jenna Wood
Wednesday 2nd of March 2016
I always enjoyed watching Home Improvement, it was the family TV program of my childhood! This project came out so cute! #client
Nicole Elliott
Tuesday 8th of March 2016
Tim the Tool Man Taylor! We watched that pretty much every night once my dad got home, good memories!!!