
This is the first year since we’ve moved into our new house that we’re decorating for Christmas! Last year, I was way too pregnant to decorate … well, really, I just didn’t want the twins to come early and then have to take down the decorations while tending to two newborns. So this year, I’ve been decorating as well as DIYing some new Christmas decorations including this DIY Modern Honeycomb Wreath which was the centerpiece for my Holiday Wreath Making Party, but will eventually adorn a wall in my home office if I ever get it unboxed and set up. My fingers are crossed for a usable home office by this time next year!

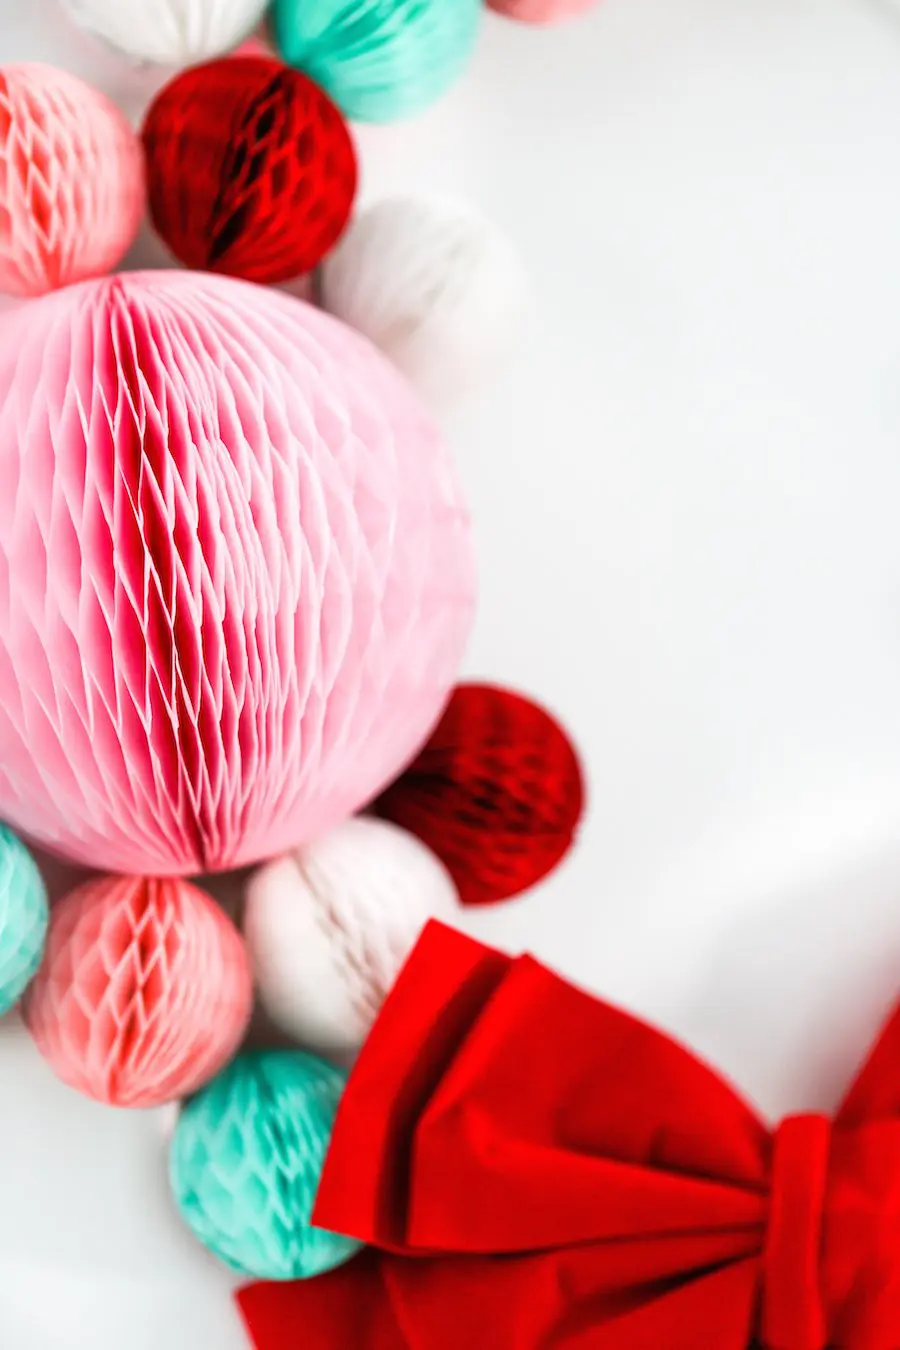
 I love that this wreath is both modern with it’s asymmetrical shape and colors, but also vintage with the use of honeycomb! Plus, the materials are all fairly inexpensive, so it’s a great DIY budget wreath, but also works great if you’re throwing a Holiday Wreath Making Party and supplying all the materials!
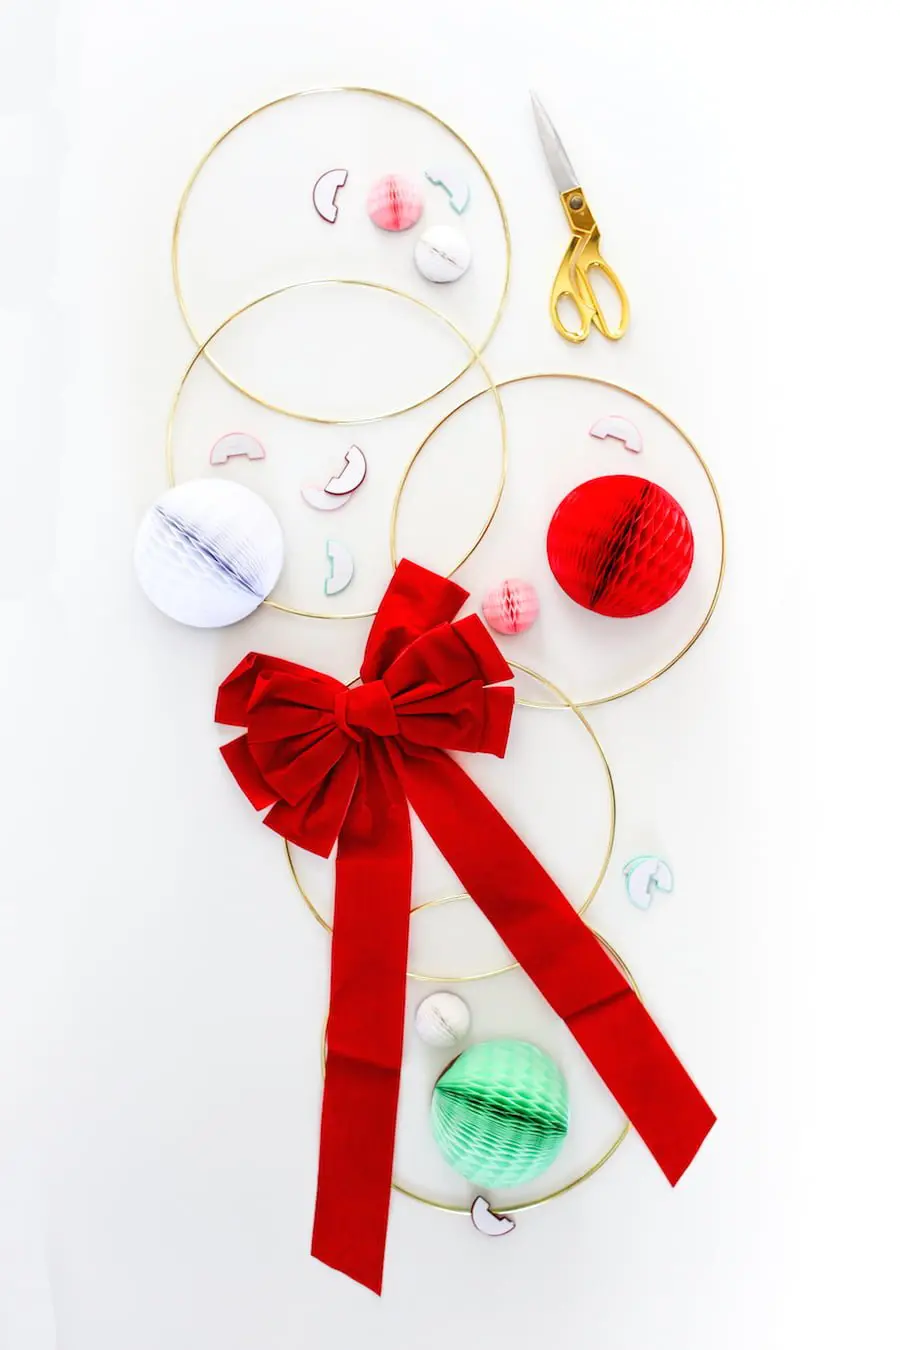
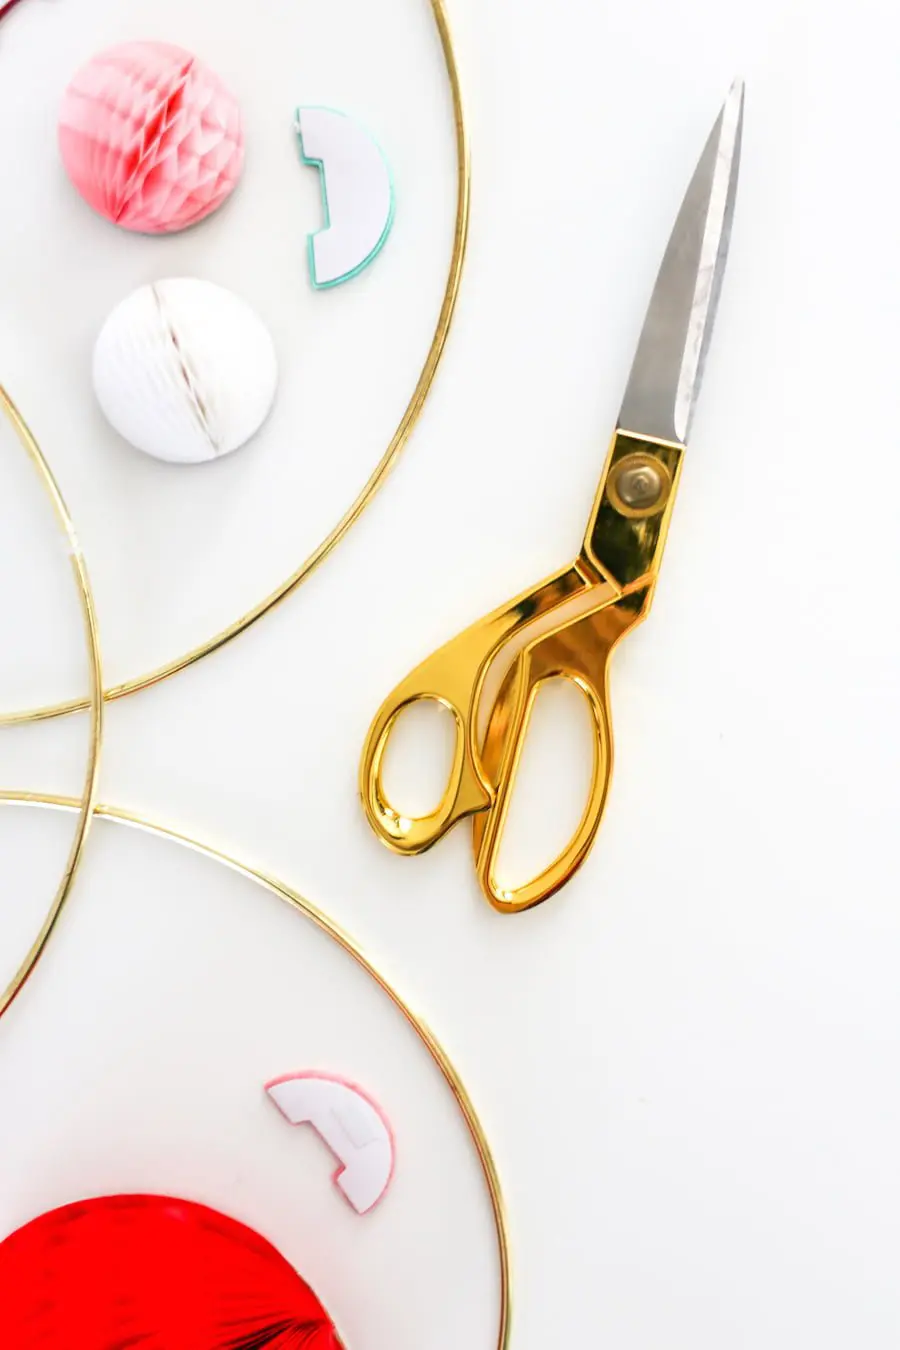
 To make this DIY Modern Honeycomb Wreath, you’ll need a few materials and tools including:
- 12″ macrame ring
- one large velvet bow (it comes as a 4-pack)
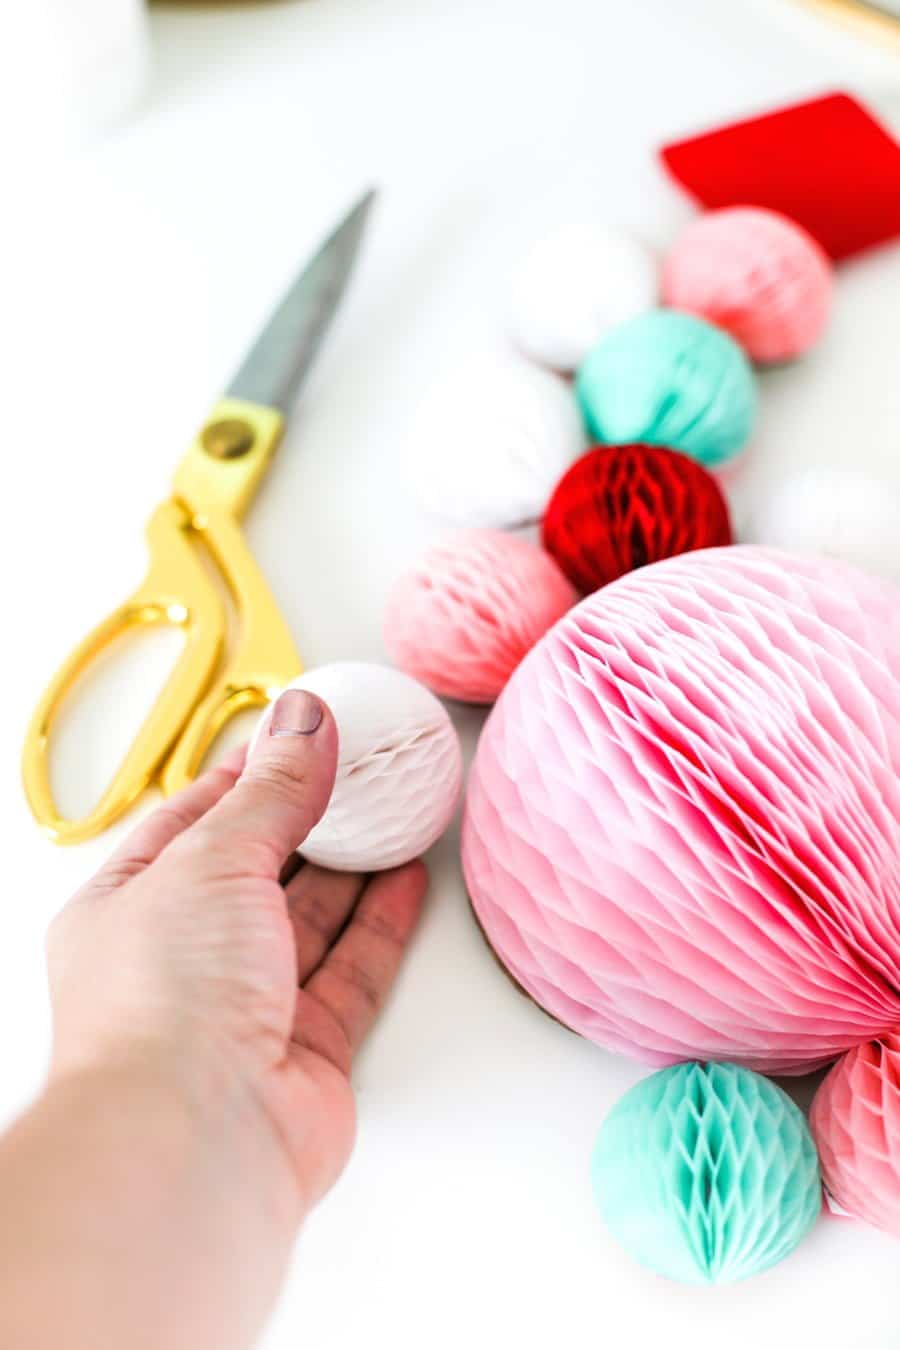
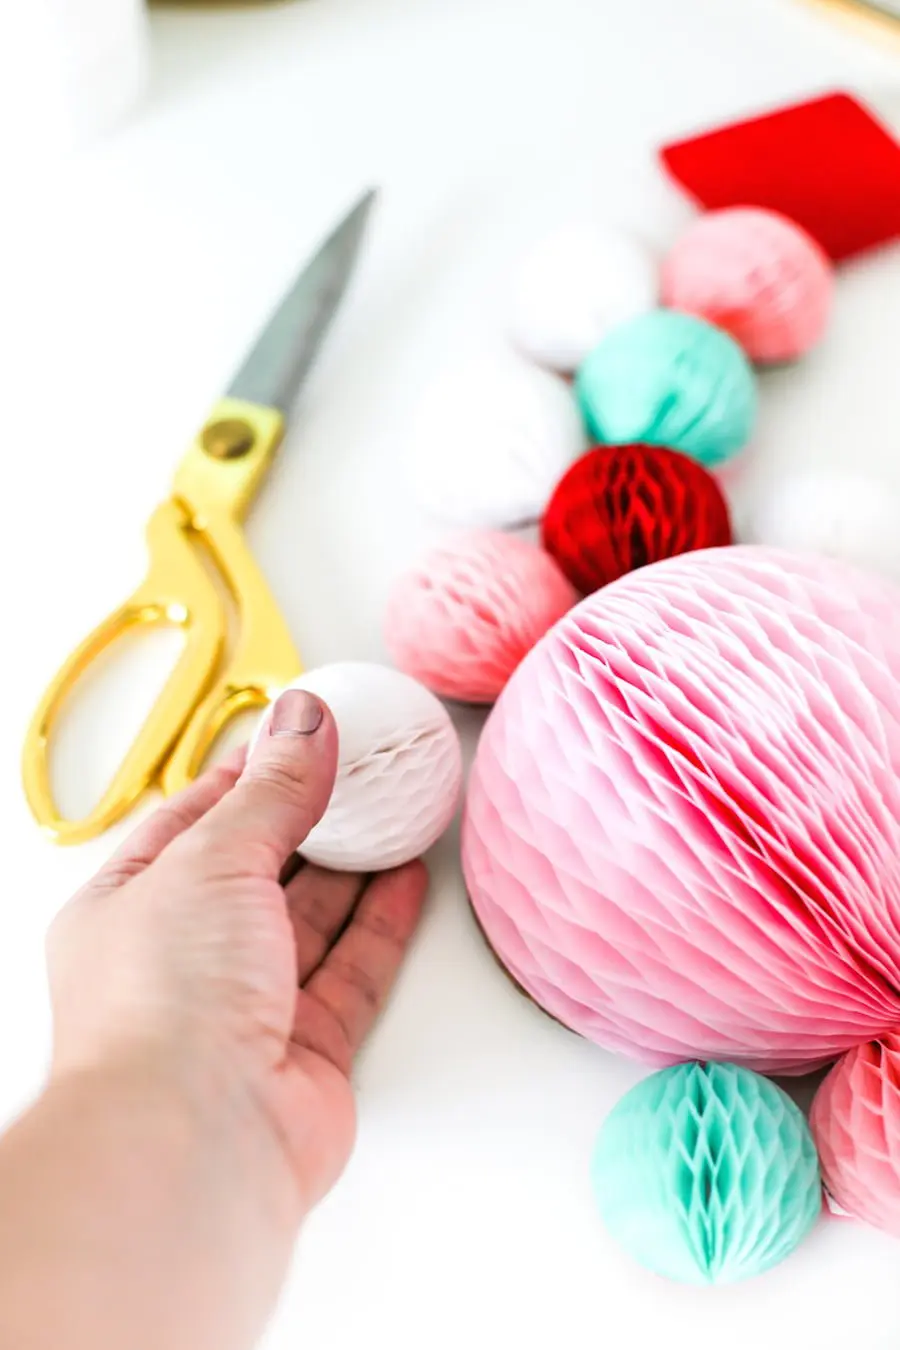
- one 6″ honeycomb ball in your favorite color (mine is pink)
- 1-2 packs of 2″ honeycomb balls in various colors (I went with pink, mint, red, and white)
- scrap cardboard or foam core board
- pen
- scissors
- glue gun
- glue sticks
If you’re purchasing materials to throw a holiday wreath-making party, you can also purchase 12″ rings or 14″ rings in multipacks. The bow comes as a 4-pack, and don’t forget to have a few pens, scissors, and at least 2 or 3 glue guns and enough glue sticks! Throwing your party a bit last-minute? Everything linked is available using Amazon Prime, so (double check to make sure, but) you’ll have it in one to two days!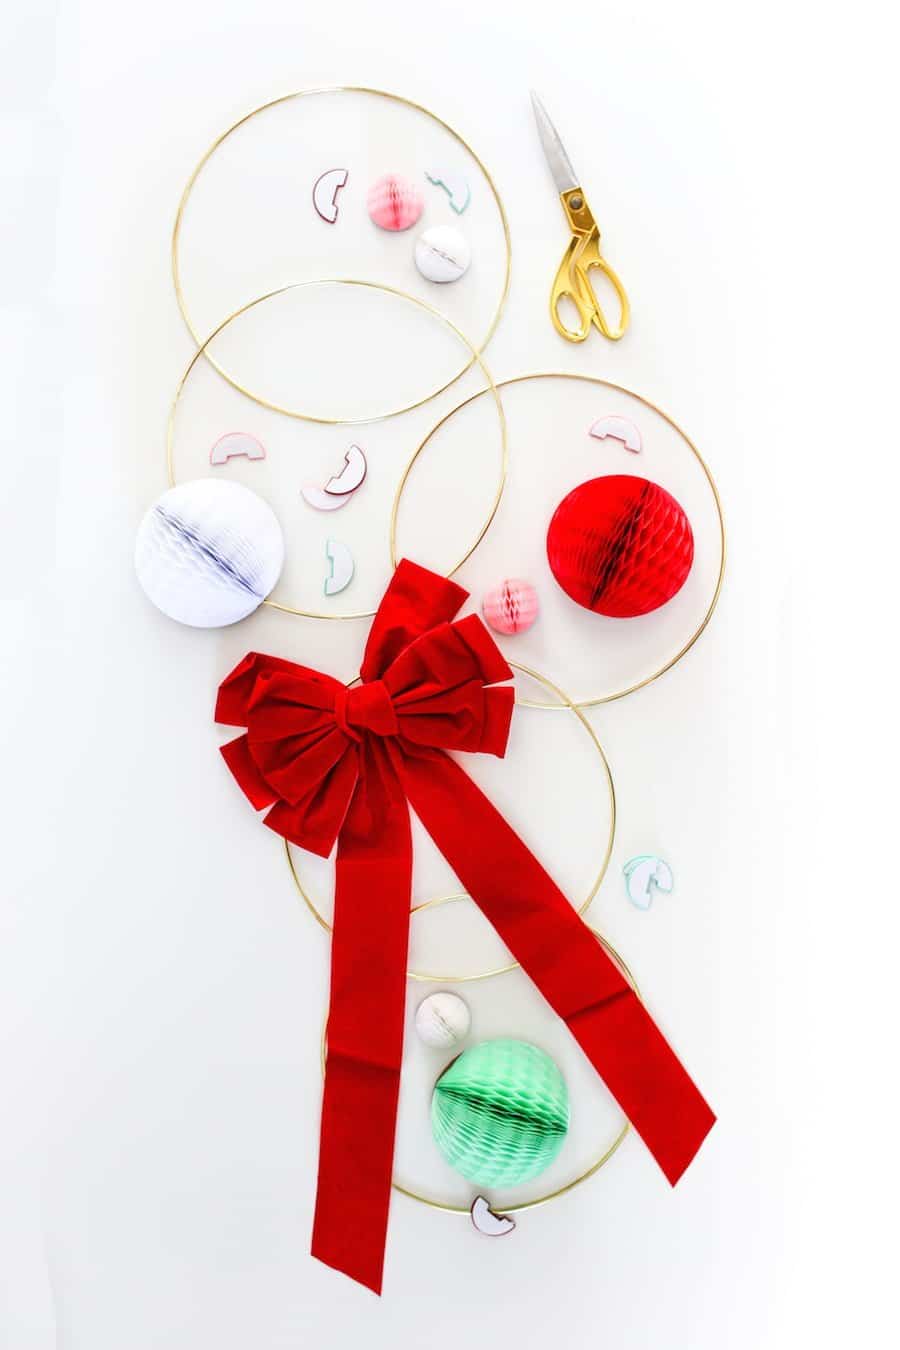
 Start by cutting the thread hangers off your honeycomb balls. Then make sturdy bases for the honeycomb ball “halves” (you’re only going to open them up halfway) by tracing a honeycomb ball onto cardboard, cutting it out, and hot gluing an opened “half” honeycomb onto the cardboard base.
I like working in an assembly line type of way, so once I assembled one and made sure it worked, I traced all of my cardboard bases, then cut them all out, and glued all of my “half” honeycomb balls onto the cardboard bases with the exception of the 6″ honeycomb ball – for that one, see the next step below. 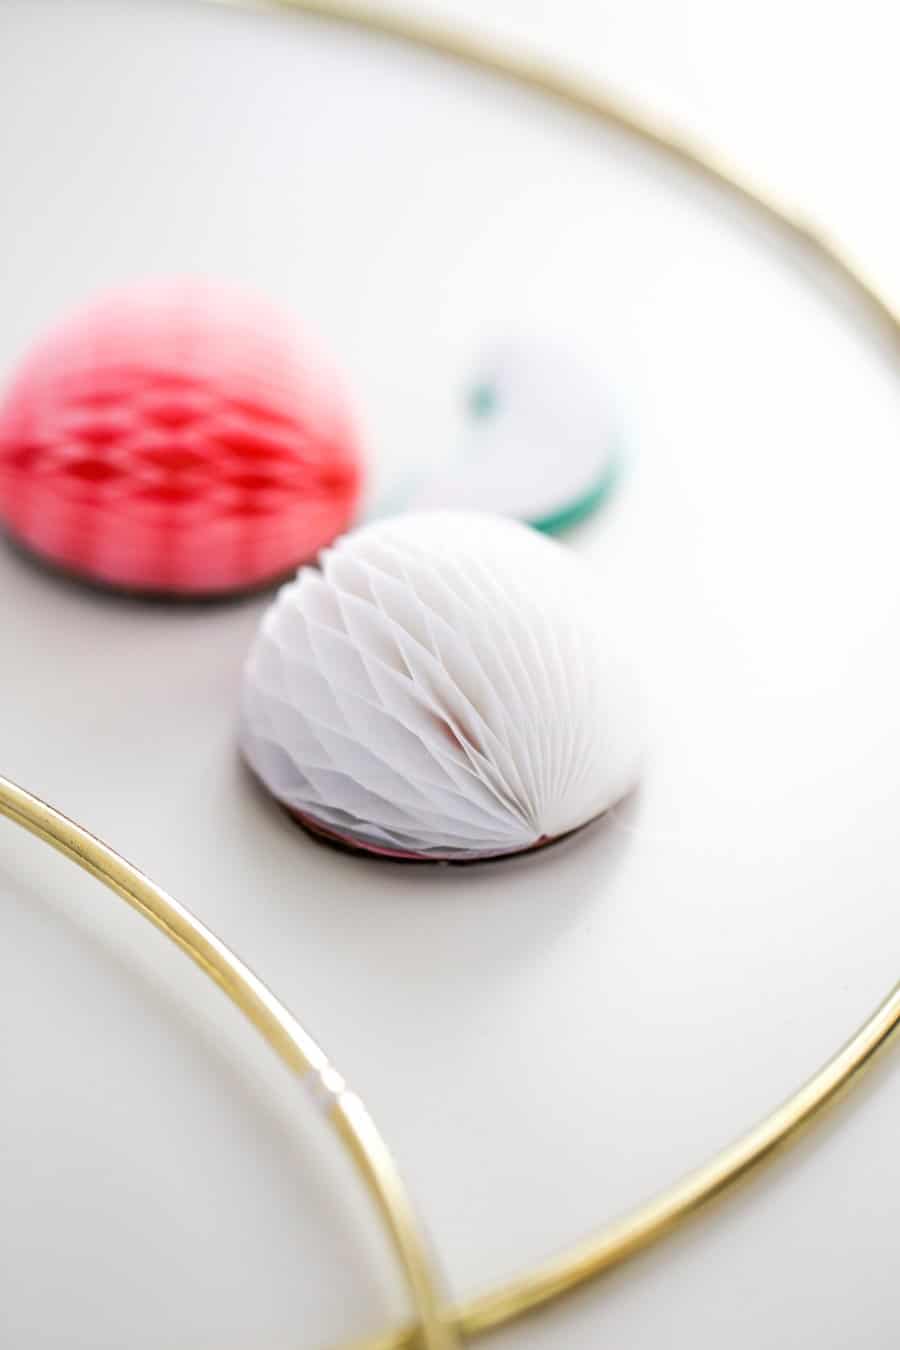

 To assemble, start with the large 6″ honeycomb ball. Because this one is so big and heavy, I attached it to the macrame ring by sandwiching the ring between TWO cardboard bases (cut to the size of the 6″ honeycomb) which were then hot glued together. I then attached my half-opened 6″ honeycomb ball to the top of the cardboard base.
 I then either hot glued the 2″ honeycomb balls directly onto the brass ring or glued them onto little cardboard “bridges” which I would then hot glue onto the back of the 6″ honeycomb ball’s base or a neighboring 2″ honeycomb ball’s base. I would then use my scissors to cut little v-shaped wedges into the bridges where they showed through to make them not noticeable. You can see an edge of one in the bottom right corner of the photo above.
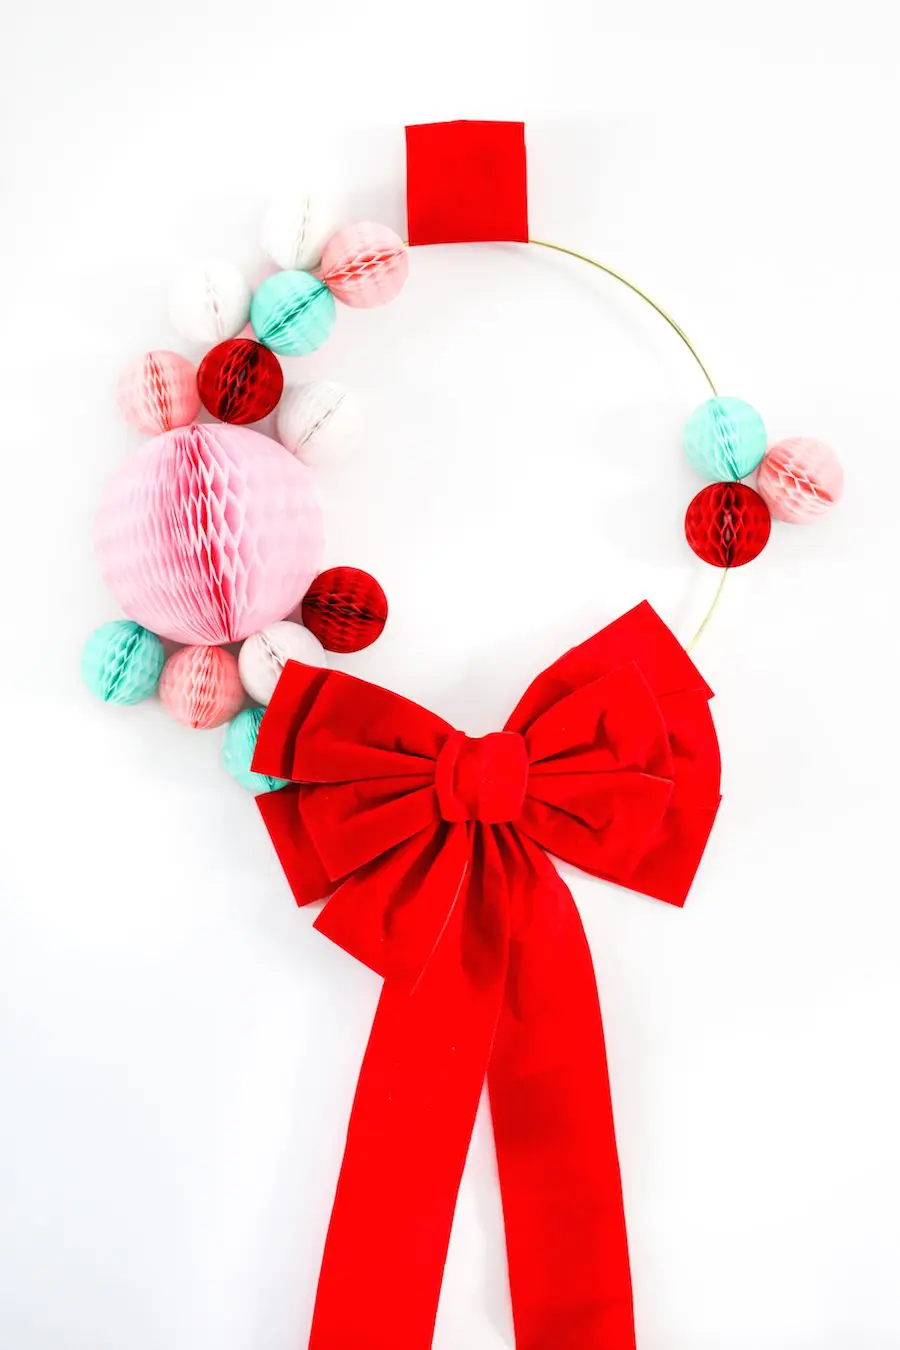
Last, but not least, I attached my big red velvet bow using the twisties that come with it on the back! Because the wreath is fairly light weight, and since the bow that I used came in a 4-pack, I disassembled one of the bows and used a piece of red velvet to create a single red square hanger at the top of the wreath to hide the hook! I simply just hot glued the scrap velvet into a loop, then cut a small hole in the back for the hook.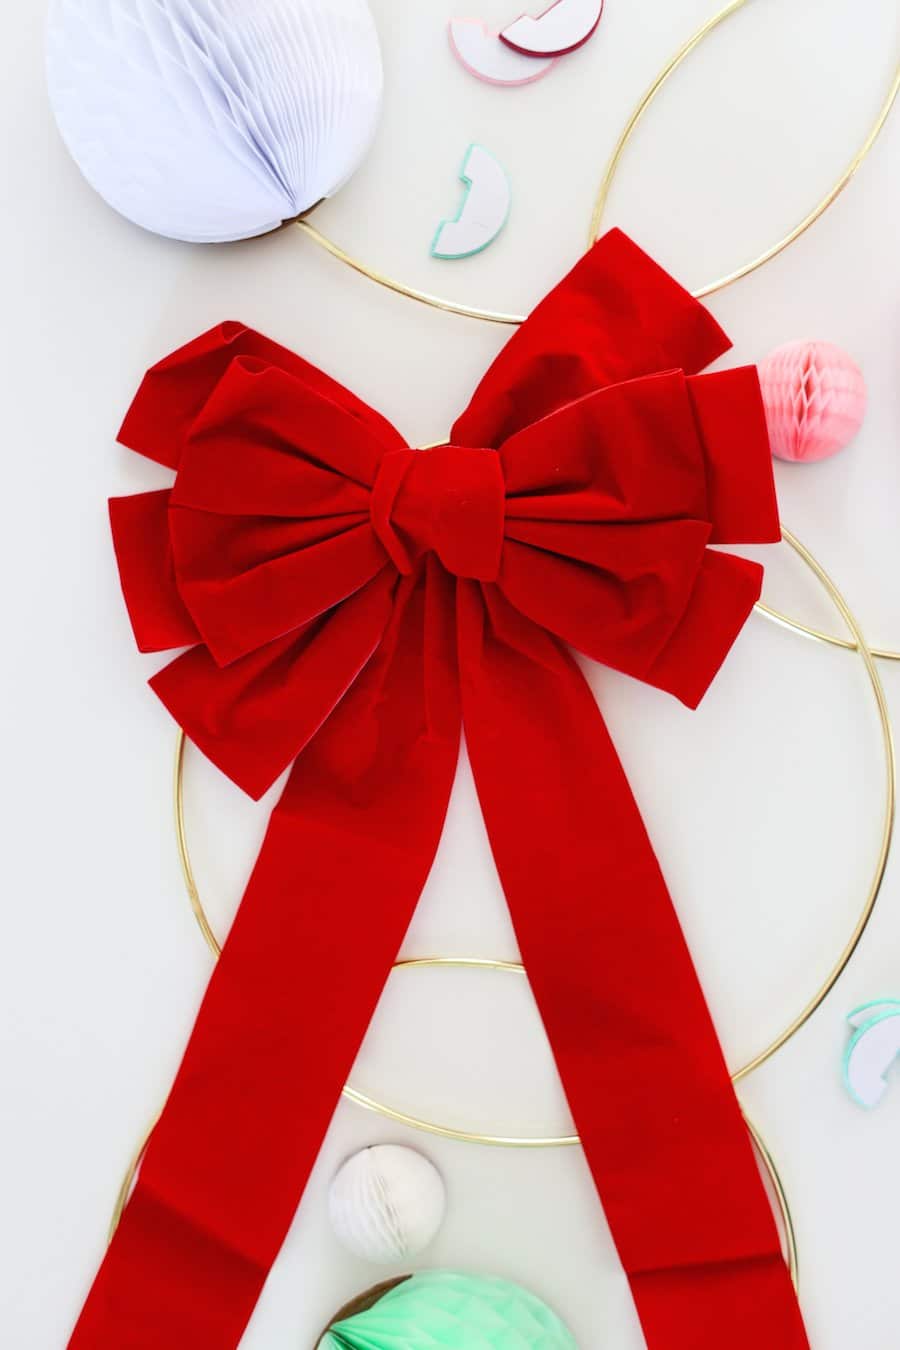

Do you like to make your own wreaths for the holidays? I just hung a pompom wreath on the twins’ nursery door and they are obsessed with looking at it and touching it every time we go by!