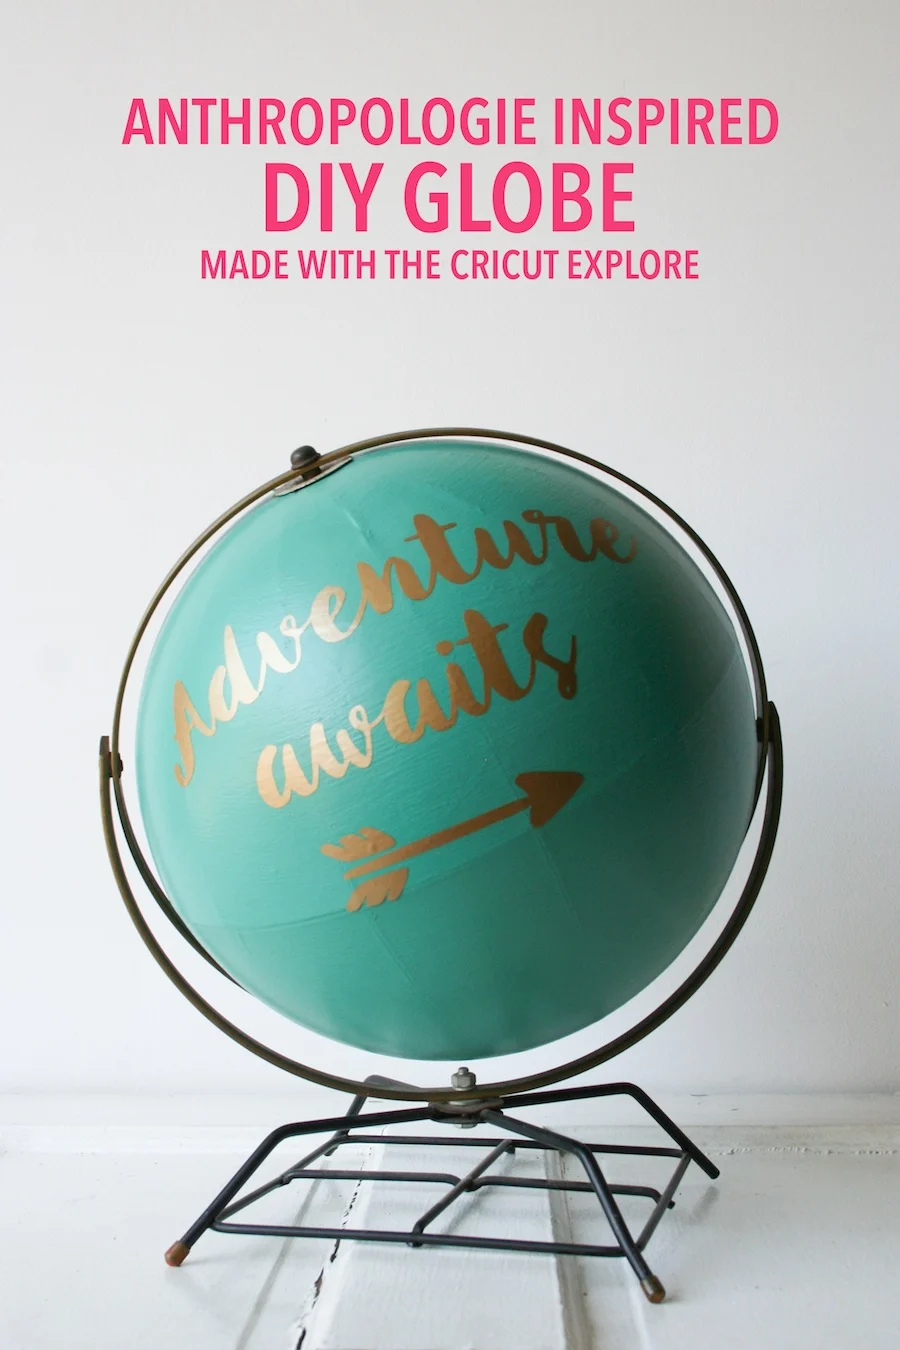
This craft is sponsored by Cricut. I’ve been invited to work with Cricut and for my participation in Cricut’s Design Space Star competition, Provo Craft & Novelty, Inc. gave me a Cricut Explore. The Cricut Explore and access to Cricut’s Design Space featured in this post has been provided by them, but the ideas and opinions here are all my own. I am a member of the Cricut Blogger Network. This post contains affiliate links which means if you click on one of the product links and make a purchase, I will receive a tiny commission which is at NO cost to you. Thank you for supporting the brands that support the blog.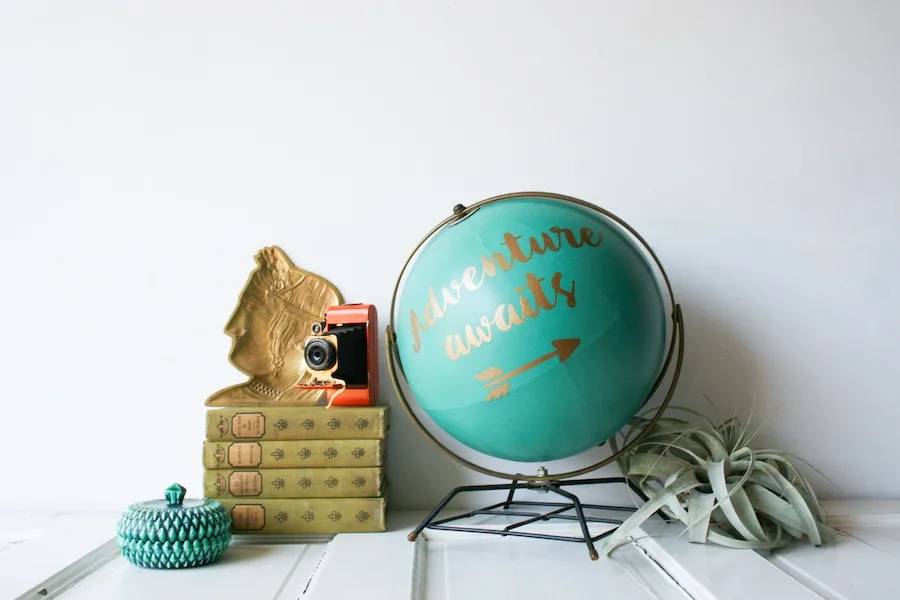 I found an awesome, but damaged globe at a thrift store and thought it would make a great DIY! For $5 I couldn’t just leave it there! Not with the shape and design of its stand! So it came home with me and sat in the garage for a couple of months, waiting for an idea. I liked its base stand, so I didn’t want to make a lamp shade or cut it up, and because it had been written on, it needed to be painted. I didn’t want to make a chalkboard globe for some reason. Maybe I didn’t want the chalk dust. But when I saw those amazing, but way too expensive globes at Anthropologie, I knew I had to figure out how to make my own. But how? I’m not a hand-letterer! That’s when I knew this had to be a Cricut Explore DIY project! Want to make your own? I hope so, because I’m showing you how!
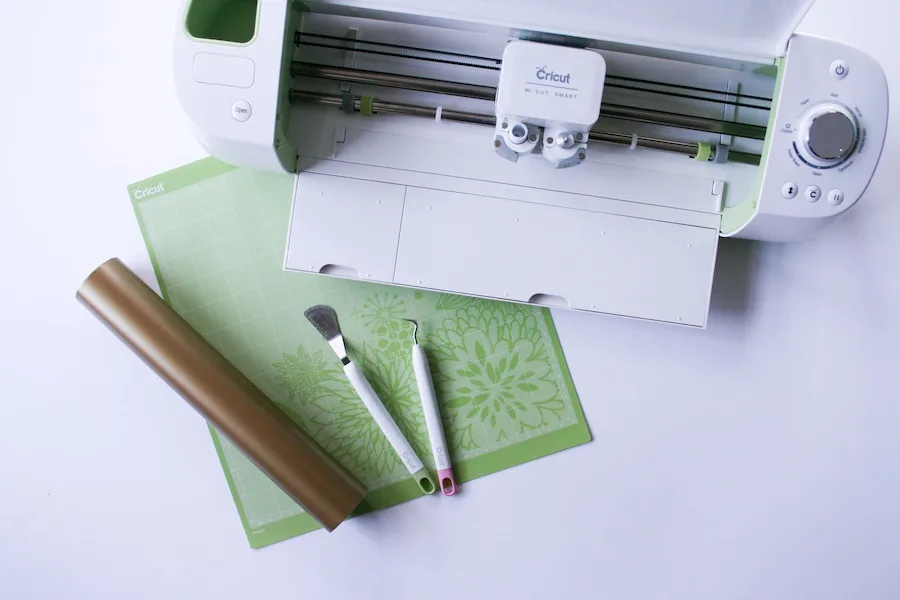
You’re going to need a few supplies: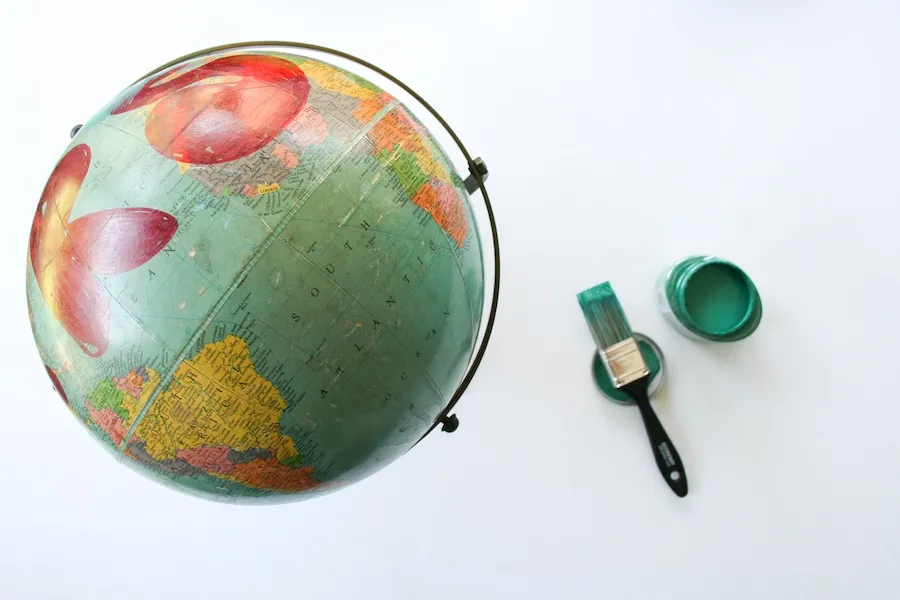
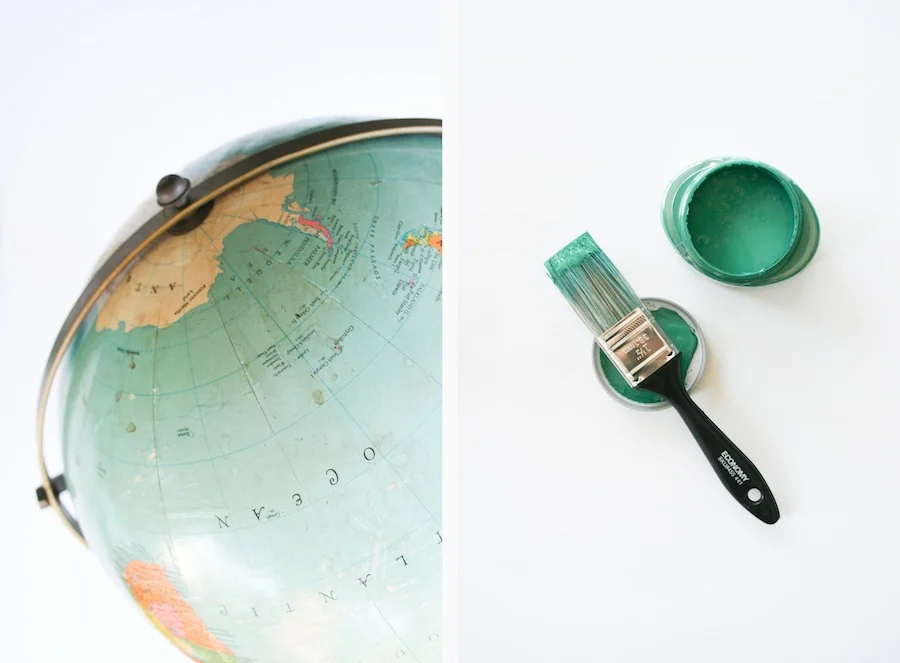
- Vintage globe, preferably damaged
- Paint
- Paintbrush
- Cricut Explore
- Cricut Cutting Board
- Cricut Vinyl
- Weeder Tool
- Transfer Tape (not shown, but highly recommended!)
I started by painting my damaged globe. I guess I could have spray painted it, but sometimes I have NO patience for taping off areas I don’t want to be painted, and since I already had the blue paint in a small sample can, I decided to old-school paint it by hand. Plus I was worried about drips. It was pretty simple to do, and because I was covering up red writing, it took 6 coats of paint.
In between paint dry times, I figured out what I wanted my globe to read. I came up with several phrases, and you can pick the one you like best:
- Explore!
- Adventure awaits
- You are our favorite adventure (perfect for a baby nursery!)
- The world is your oyster
- Bon Voyage (perfect for a going away party!)
And then I used the Botanica font from Myfonts.com to make my phrase. I decided to go with two phrases. I figured if I got sick of one, I could just spin the globe around and have a new phrase! So I went with “The world is your oyster” and “Adventure awaits.”
I made my phrases in Cricut’s Design Space. After measuring my globe, I knew my phrases needed to be no wider than 10 inches wide and 8″ high, so I scaled the words accordingly.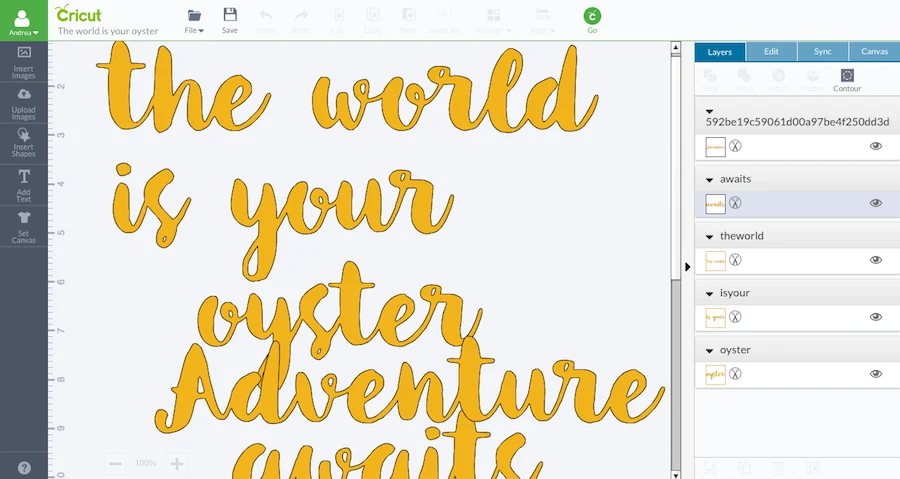 I thought the words by themselves might be a little too plain, so just in case, I added some little design glyphs and doodads including some oyster shells, found in Cricut’s Design Space library, and arrows from the Botanica font.
And then came the fun part – cutting! I love watching the Cricut Explore cut. It’s like watching magic happen.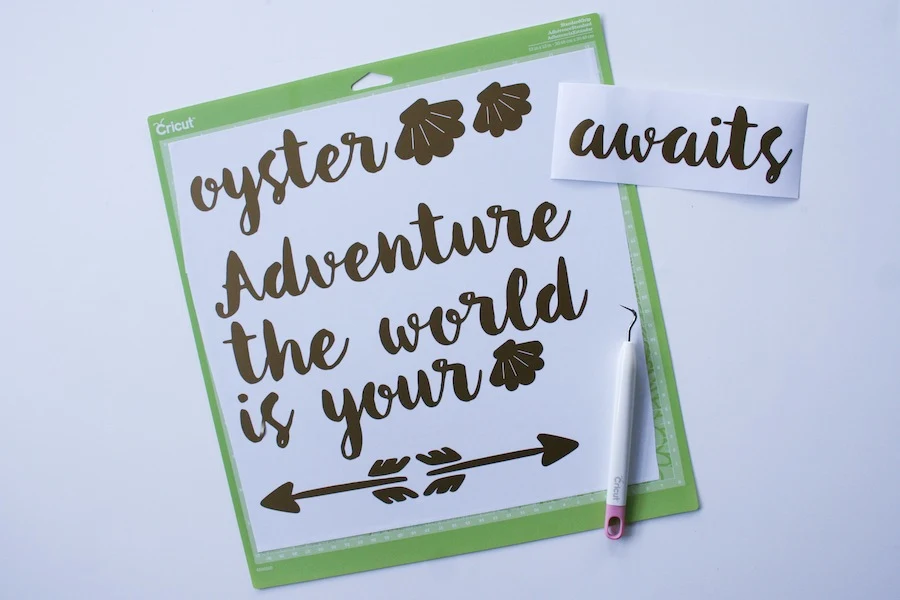 And now the hard part. Working with the vinyl and adhering it. I had been a bit intimidated by the vinyl in the past, but I decided to just go ahead and try it and figure it out. What’s the worst thing that can happen? I waste some vinyl, throw it away, and start over!
So here are my tips for working with Cricut’s vinyl:
- Have patience!
- Use transfer tape!
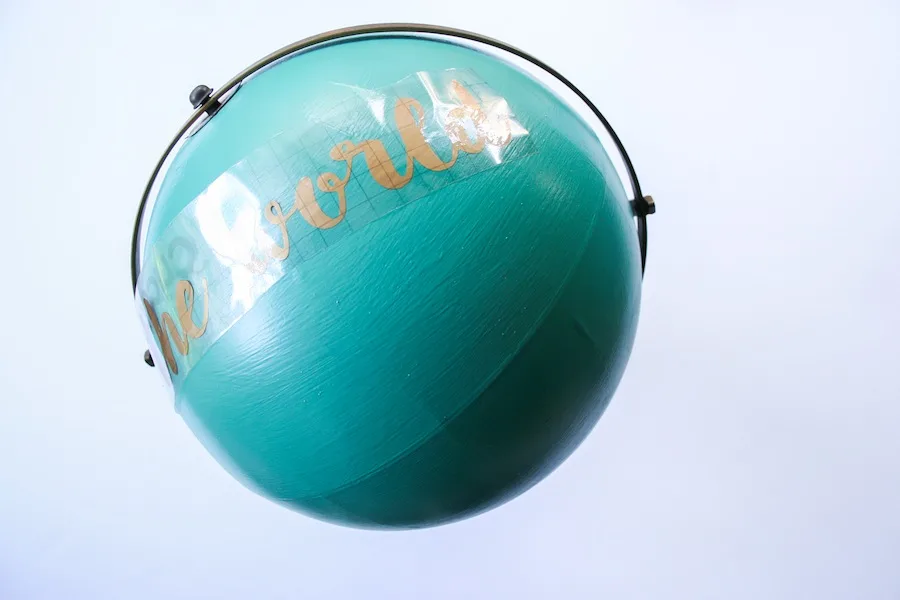
Just follow the instructions included with the transfer tape, and you’ll be just fine!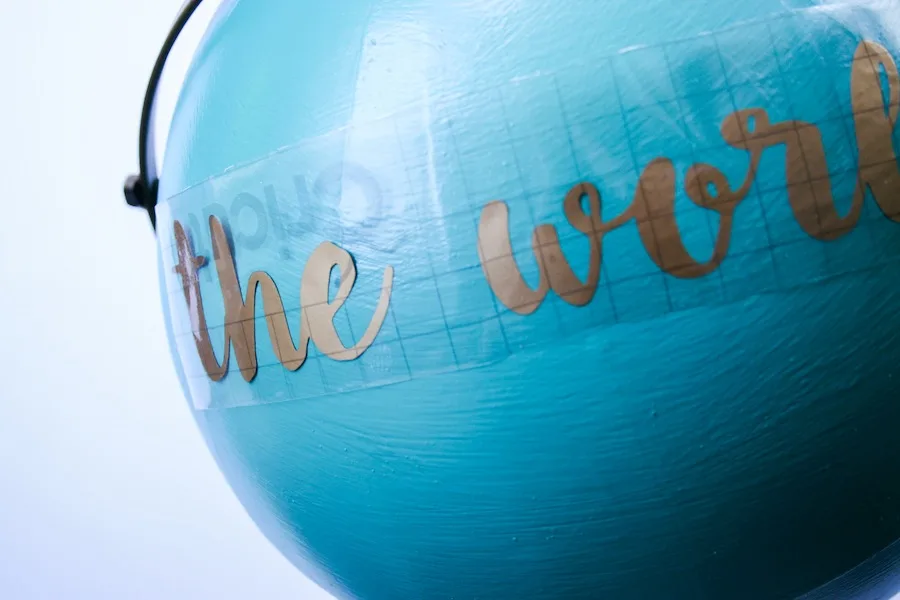
 Now how great does this globe look? It was essentially a throw away globe after someone drew all over it, but I rescued her and now she’s sitting pretty. I think someday she will look great in a baby nursery (NOT YET, MOM! Don’t get excited!), but for now, I’m going to keep her in my office.
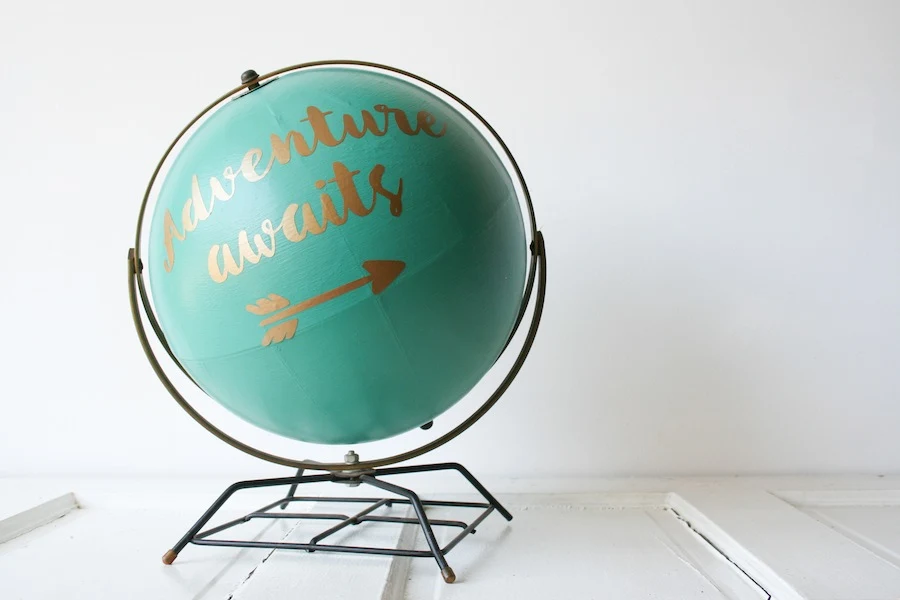
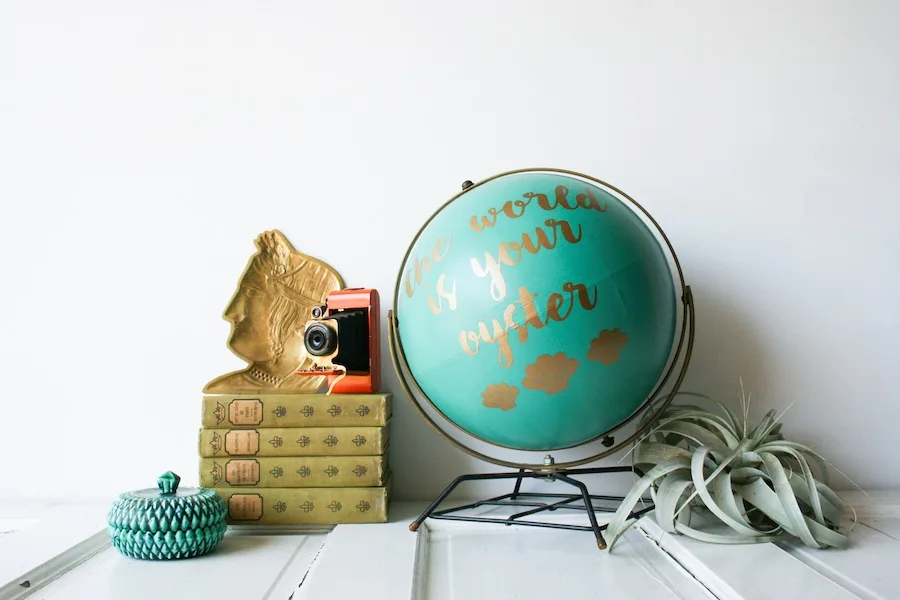
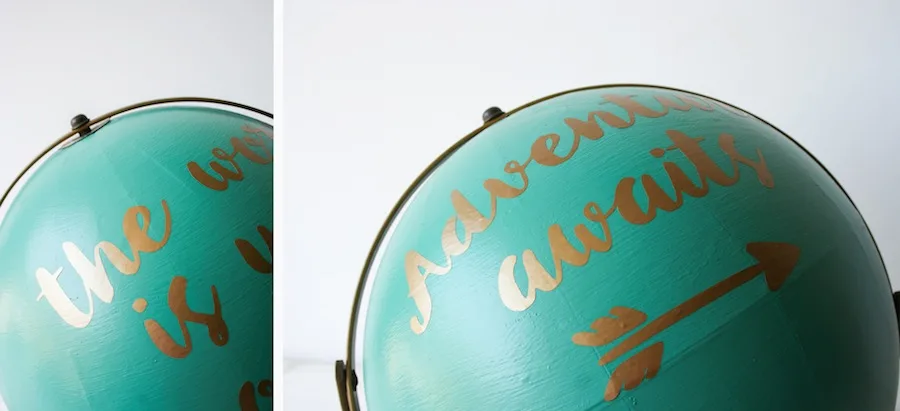
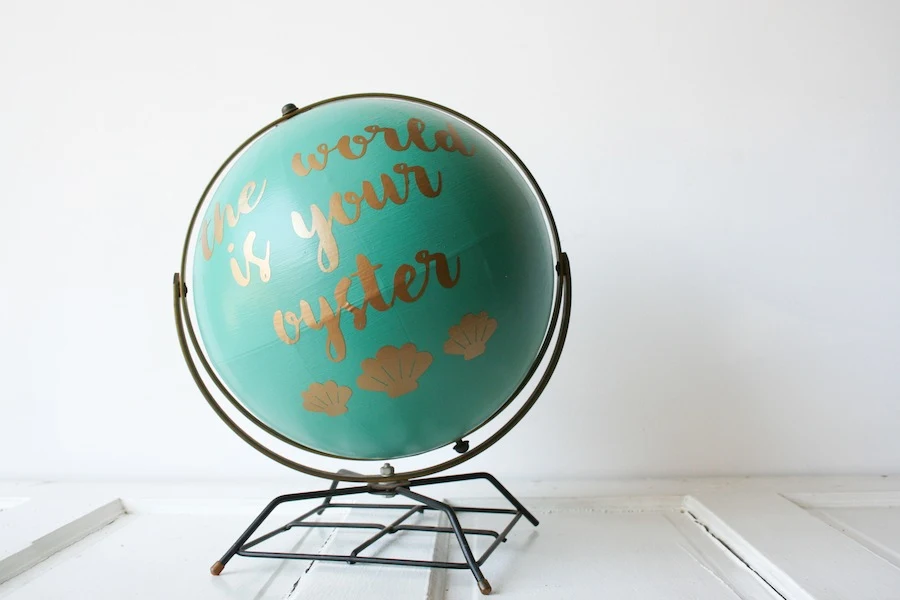
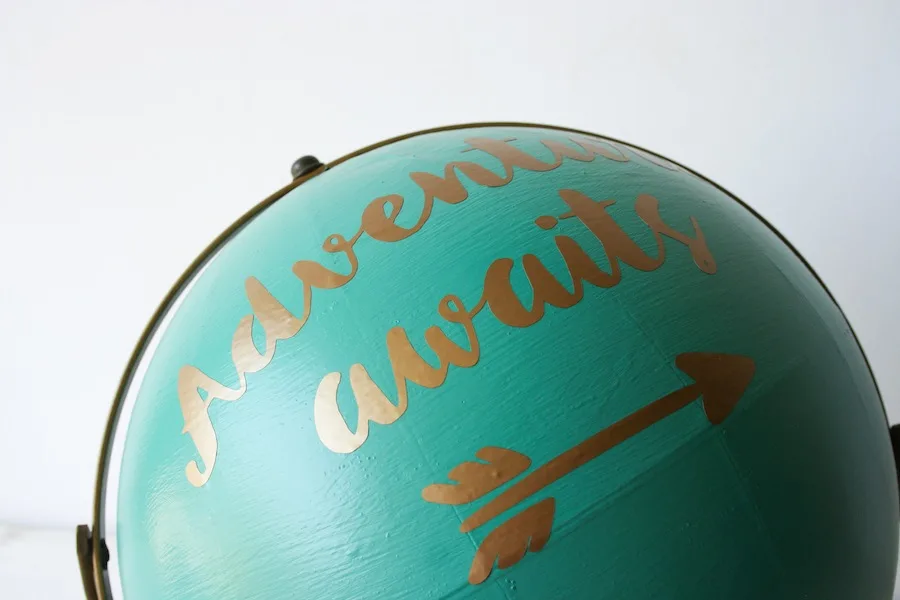 Don’t forget to pin this image to your DIY or Craft board on Pinterest so you can make it later!
 Want to make one of these for yourself, but don’t have a Cricut Explore? Well, you can buy the Cricut Explore One at Cricut for $199.99 or if you want wireless capabilities, the Cricut Explore Air is only $249.99.
Or you can enter for a chance to win a Cricut Explore Air®, or a $10,000 trip to anywhere in the world in Cricut’s #CricutEverwhere contest! Right now, Cricut is promoting their newest edition to the Cricut family, the Cricut Explore Air® which features built-in Bluetooth for wireless cutting, a dual carriage to cut and write in just one step, and free cloud-based design software for computer and iPad. And because you can use the Cricut Design Space™ app ANYWHERE around the globe (pun intended!), Cricut is sending one lucky winner on a $10,000 trip to anywhere in the world! So if you’re inspired to make something in Morocco, go to Morocco! Or Paris! Or Italy! Everyday through June 19th, Cricut is giving away a prize, so hurry up and head on over to the Cricut Facebook page to sign up and enter for a chance to win the grand prize dream vacation! Good luck!
This post has been shared on House of Hipster’s Link Party.

Chelsea
Sunday 17th of July 2022
Did you use heat transfer vinyl for this project?
jah
Wednesday 8th of February 2017
hello! I was just wondering if the letters warped at all since they were laid on a round surface. thanks!!
Andrea
Wednesday 8th of February 2017
No, not really, I mean, you can see in the photos the letters are legible.
Gilly @ Colour Saturated Life
Saturday 27th of June 2015
I love this, such a cute DIY but can I say I love your styling the most. You have a great eye for detail!
LegalMissSunshine
Friday 10th of July 2015
Thank you, Gilly! That is such a sweet thing to say.
Found & Foraged Linky Party #32 - House Of Hipsters
Saturday 27th of June 2015
[…] Legal Miss Sunshine /// Anthropologie Inspired DIY Globe Makeover […]
Flamingo Walker Cake Topper
Thursday 25th of June 2015
[…] you haven’t worked with vinyl yet, check out my Anthropologie Inspired DIY Globe Makeover post which uses Cricut vinyl!And, if you love these flamingo cake toppers, pin my Skeleton Flamingo […]