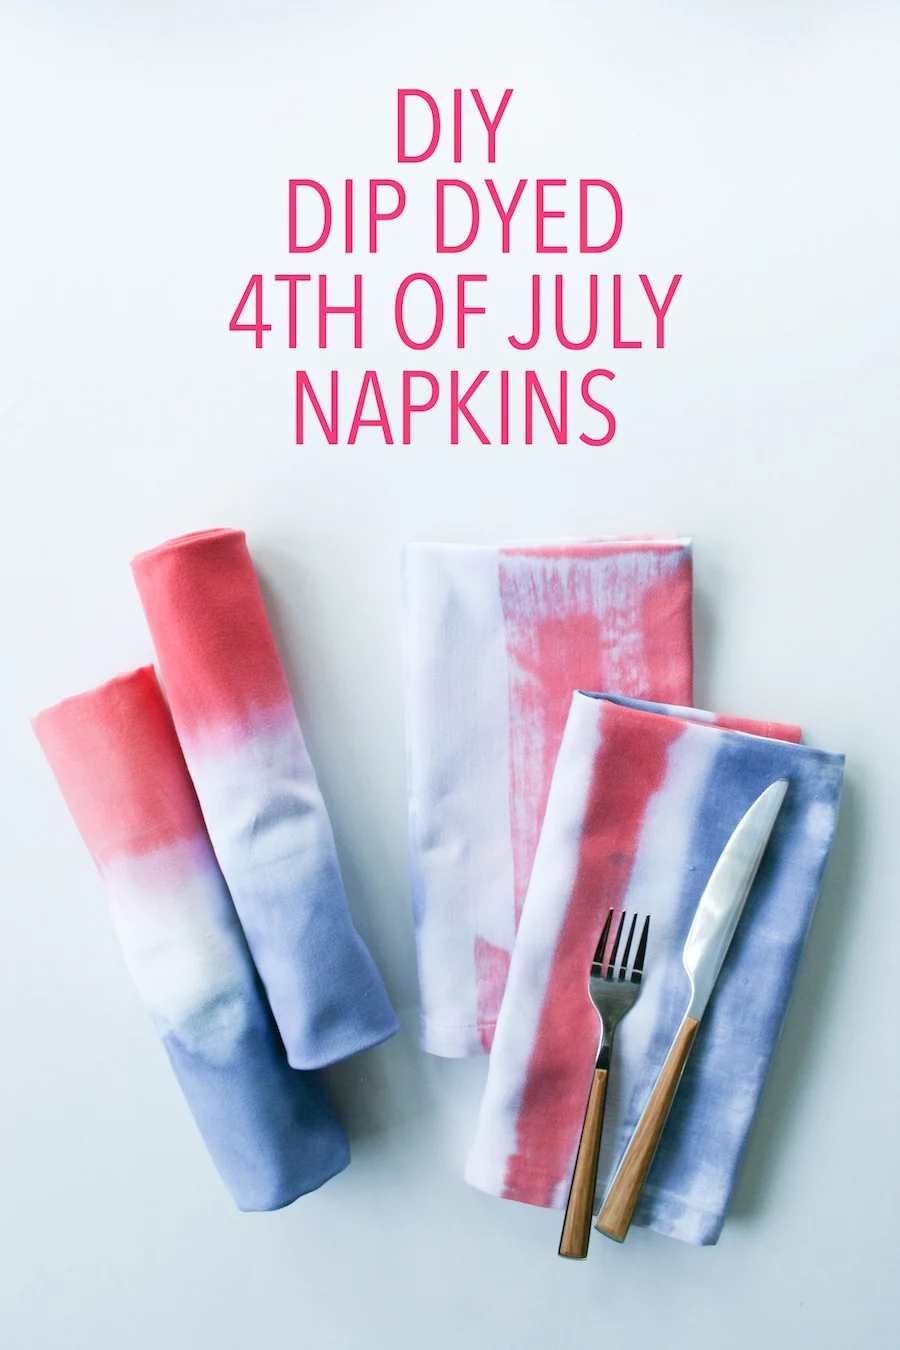
There is no chic-er way to wipe BBQ sauce or apple pie off your face than with a cloth napkin, and with the 4th of July coming up next week, you need to make these super simple DIY Red, White, and Blue Dip-Dyed or Painted Napkins this weekend for your 4th of July BBQ or party! I’ve got 2 different dye methods to show you, and I promise you, these are easy! You can make one method in less than 30 minutes! I swear! And if you don’t have time to decorate for your BBQ or party, these napkins will liven up your table with some red, white, and blue color.
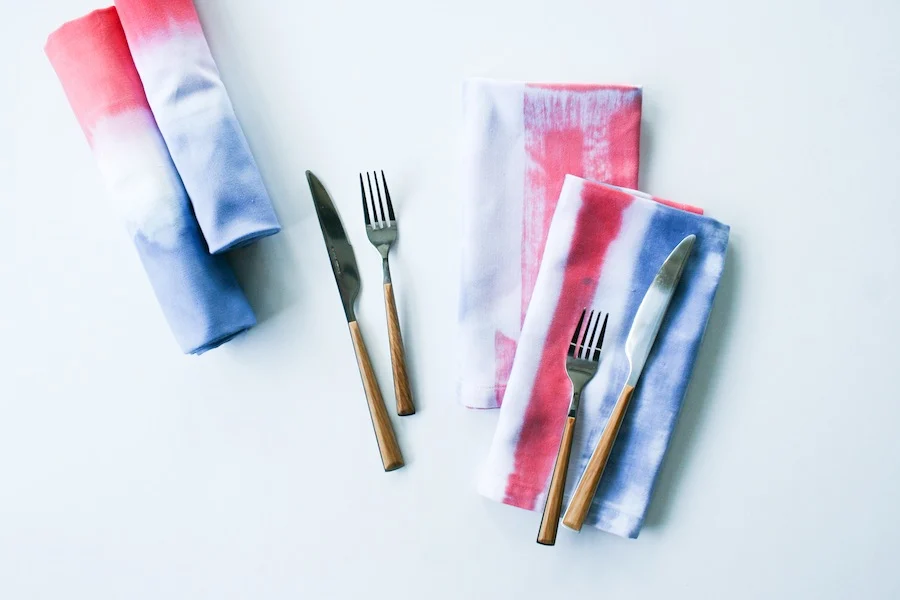 You’re going to need a few materials: I picked up my napkins at an antique store in Indiana for an awesome deal of 10 napkins for $4. (Sorry, had to brag!) But you can get napkins online, at Cost Plus World Market or Target.
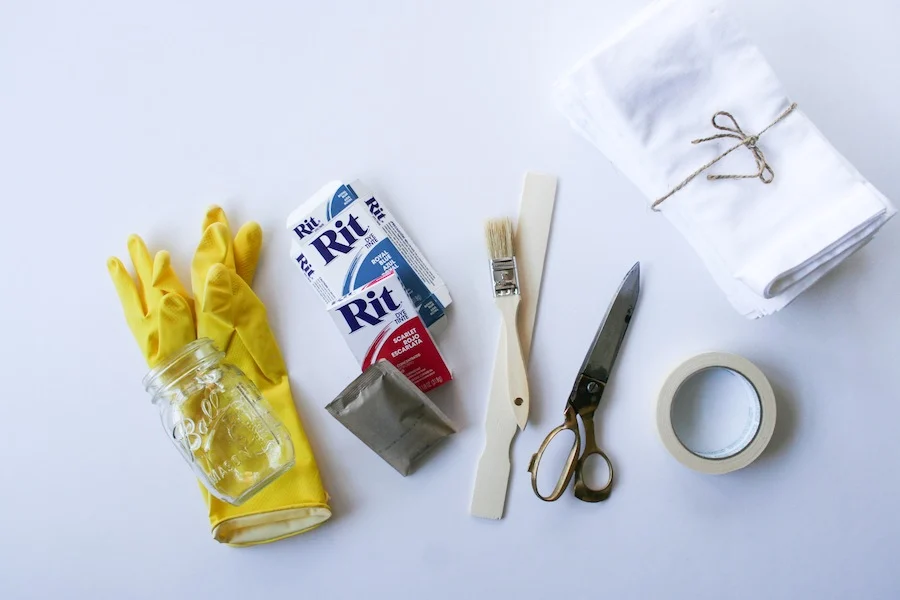 Materials Needed:
- White cotton napkins (or natural fiber)
- Red Rit Dye
- Blue Rit Dye
- 2 Ball Jars, Tupperware containers, or Buckets
- Paint brush
- Masking Tape
- Stir Stick
- Gloves
Instructions: Dip-Dyed Napkins
Step 1: Gather your materials. Then read the instructions for RIT dye (for boxed dye, it’s on the inside of the box).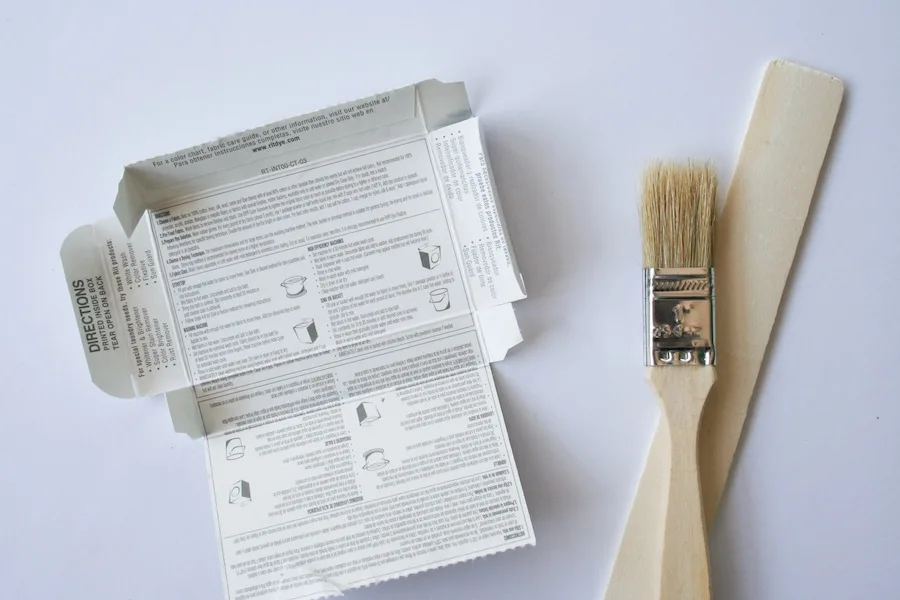 Step 2: Setup your dye. I used 2 Mason jars, so I filled them 3/4 full with water, microwaved it to get it hot, and added some salt.
Step 3: Next, roll napkin. Take two sides of the napkin and fold them towards the middle, stopping at the middle. Then, starting at one end, roll the napkin into a cylinder.
Step 4: Now, don your gloves and then dip one end of the napkin into the blue dye. The dye will creep up a bit, so anticipate that and don’t dunk it to where you want the dye to go, but just below.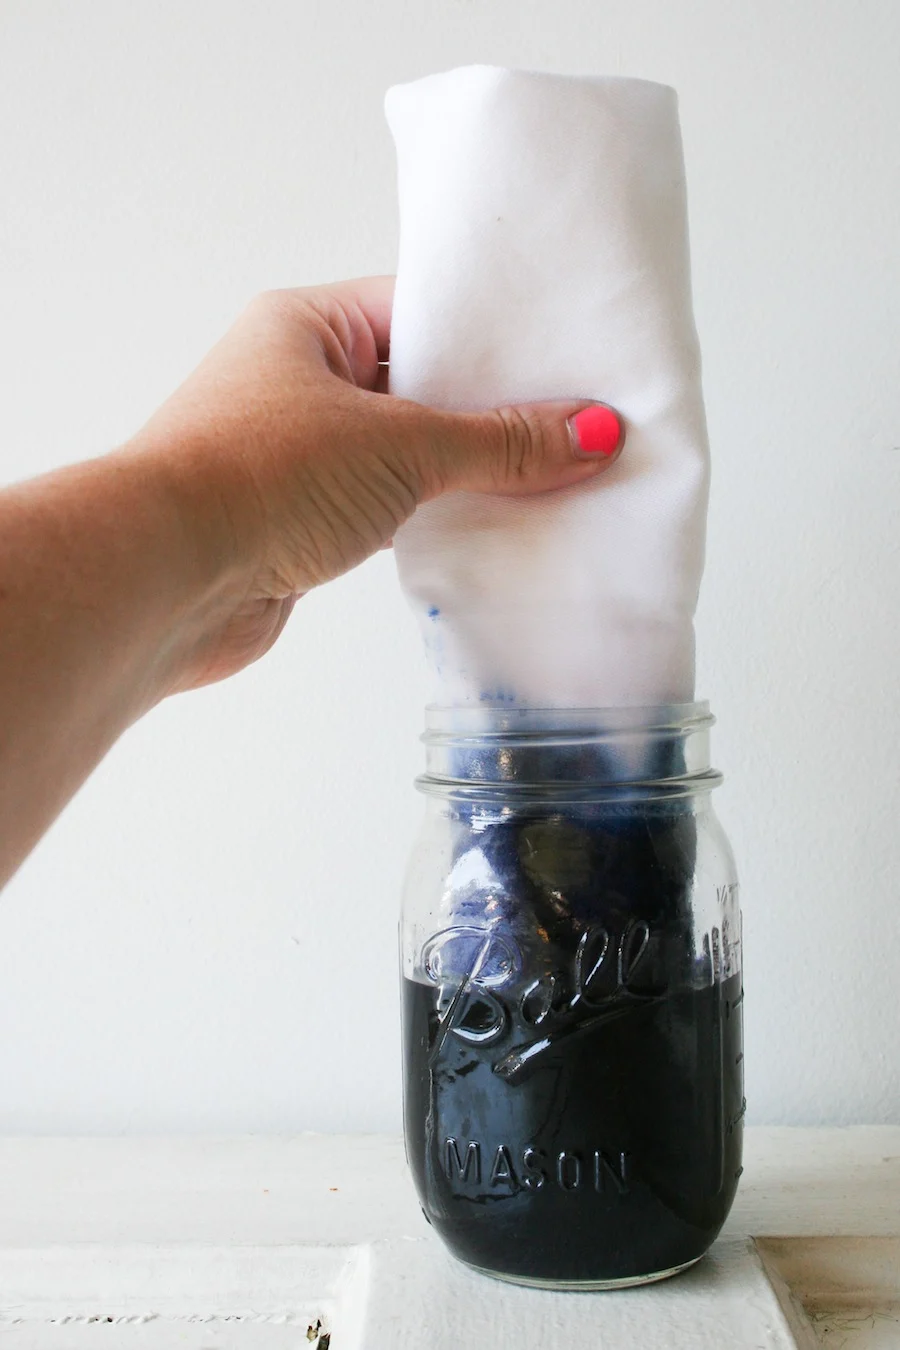 Step 5: Remove the napkin from the dye and then wash the excess dye out in a sink using warm water. Be sure to clean your sink DIRECTLY after or the dye will stain.
Step 6: Continue dip dying each napkin in the blue dye for all your napkins. Then do the same thing with red dye on the opposite end, making sure to leave enough white space between the two colors. Wash, dry, and use!
So after your napkins are dried (and possibly ironed), you can roll ’em up, stick a piece of licorice in the end and, BOOM! you have a dynamite napkin that is perfect for your 4th of July party.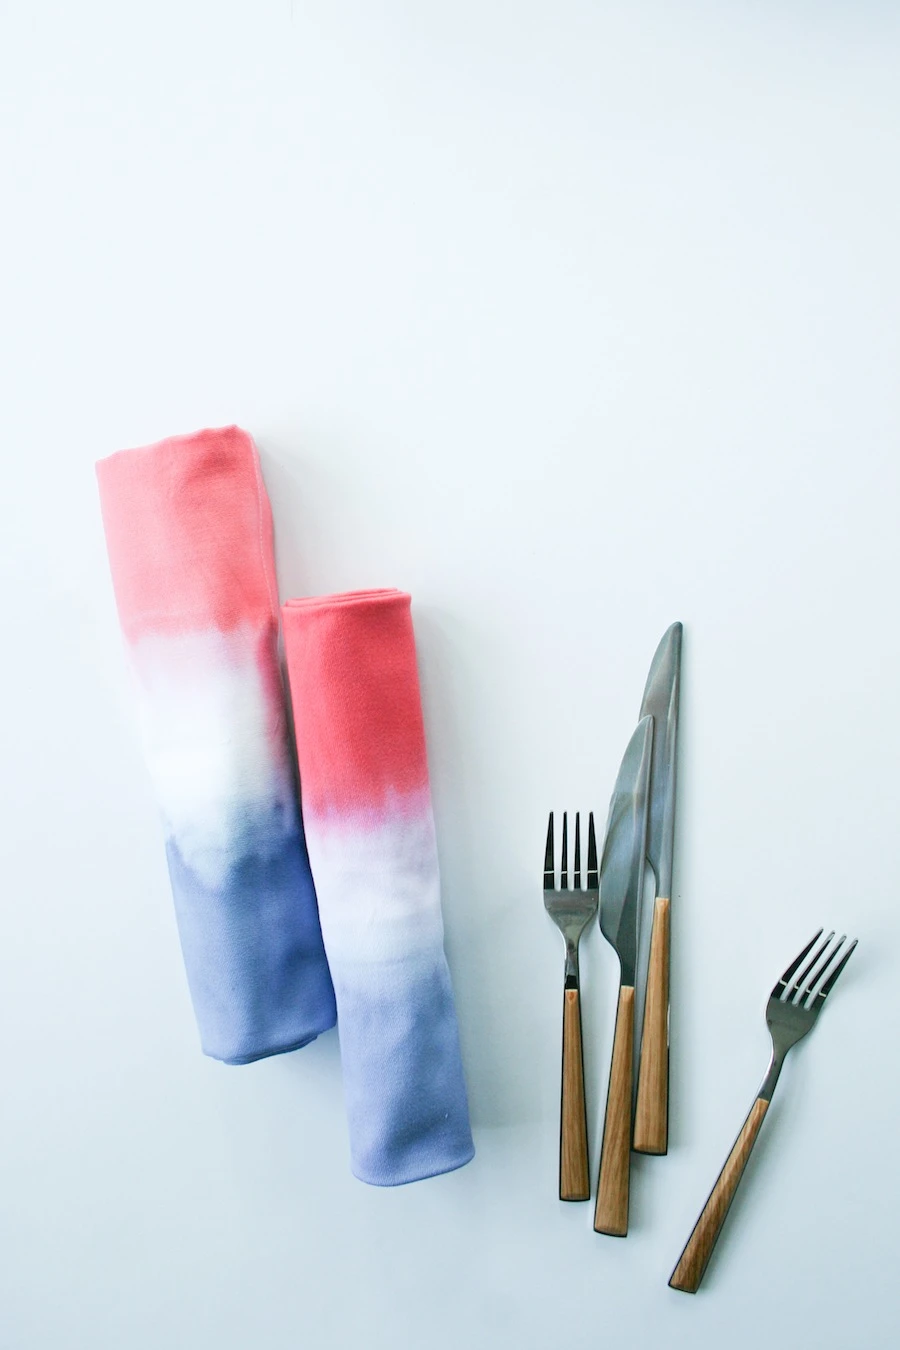 Instructions: Paint Dyed Napkins
Step 1: Gather your materials. Then read the instructions for RIT dye (for boxed dye, it’s on the inside of the box).
Step 2: Setup your dye. I used 2 Mason jars, so I filled them 3/4 full with water, microwaved it to get it hot, and added some salt.
Step 3: Tape off your napkin. It doesn’t need to be perfect, and the napkins don’t need to be the same. Basically, tape off some lines, and then I like to add some extra masking tape to make it more organic. See the photo: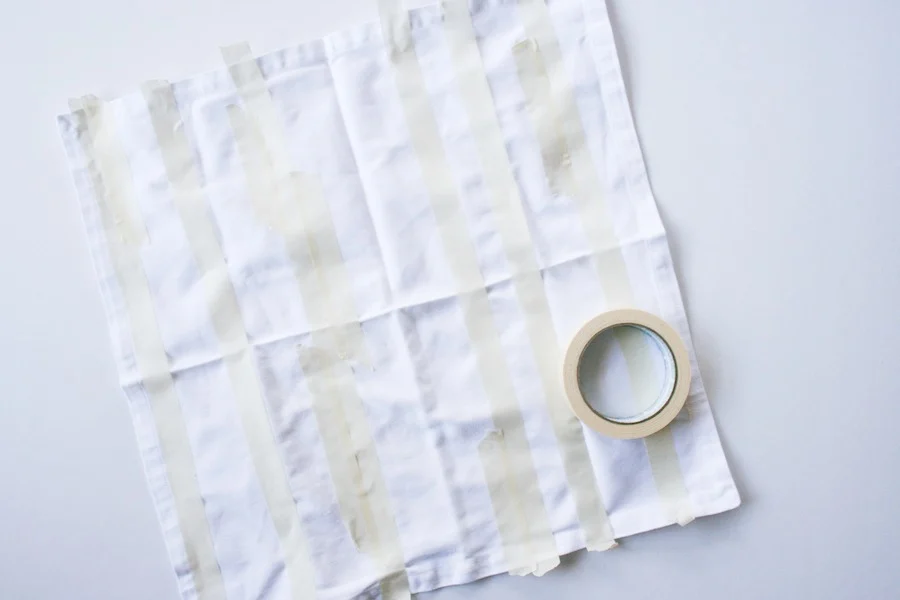 Step 4: Don your gloves and start “painting.” It doesn’t need to be perfect, you can leave it “brush-stroked” or you can fill in an entire line. I like to leave it a bit brushy and organic and drips don’t bother me.
Step 5: Remove the napkin from the dye and then wash the excess dye out in a sink using warm water. Be sure to clean your sink DIRECTLY after or the dye will stain.
Step 6: Continue taping and dying each napkin for all your napkins. Wash, dry, and use!
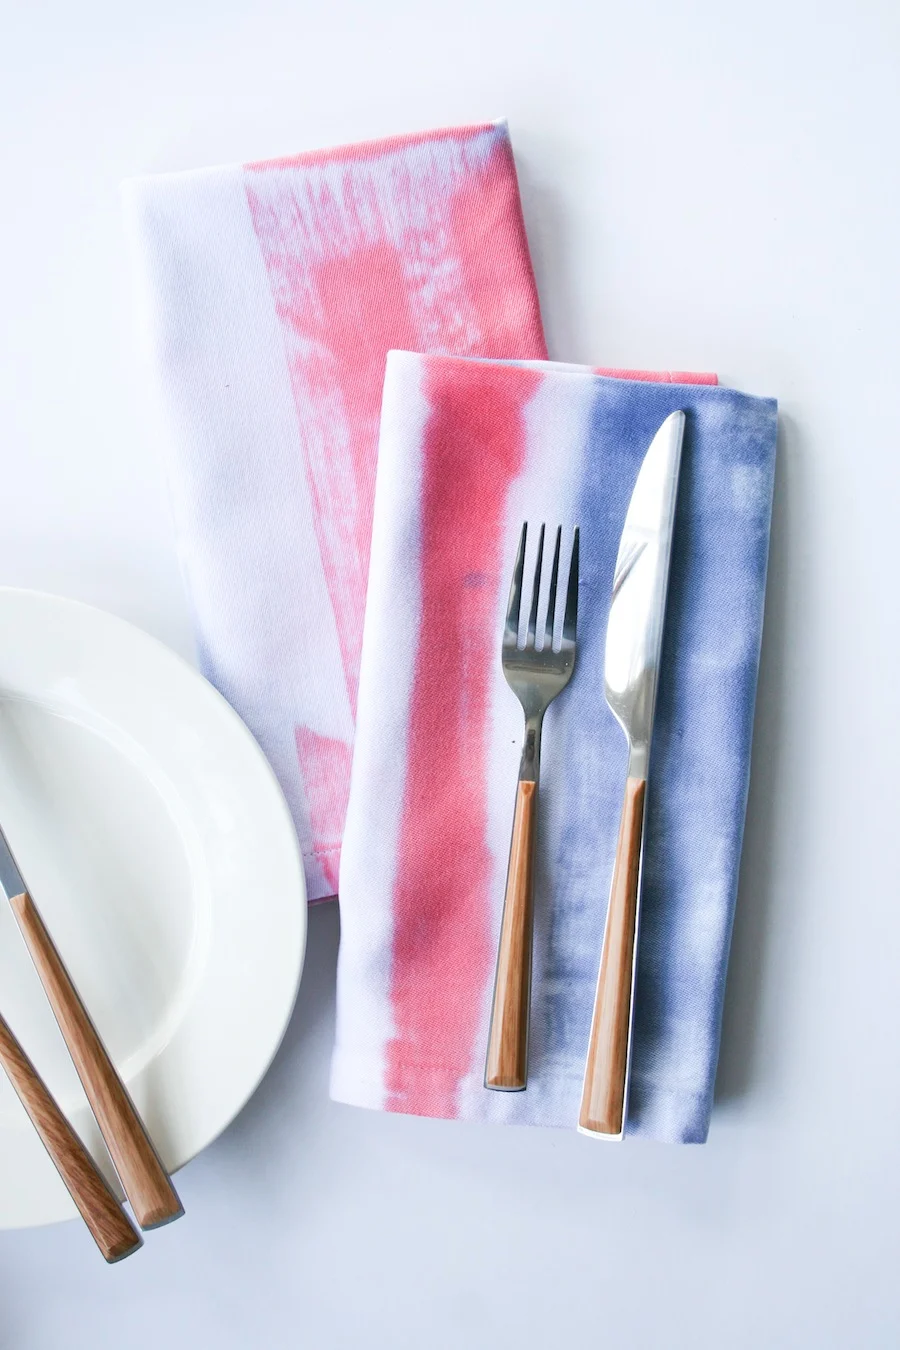
And that’s it! Like I said, easy, right?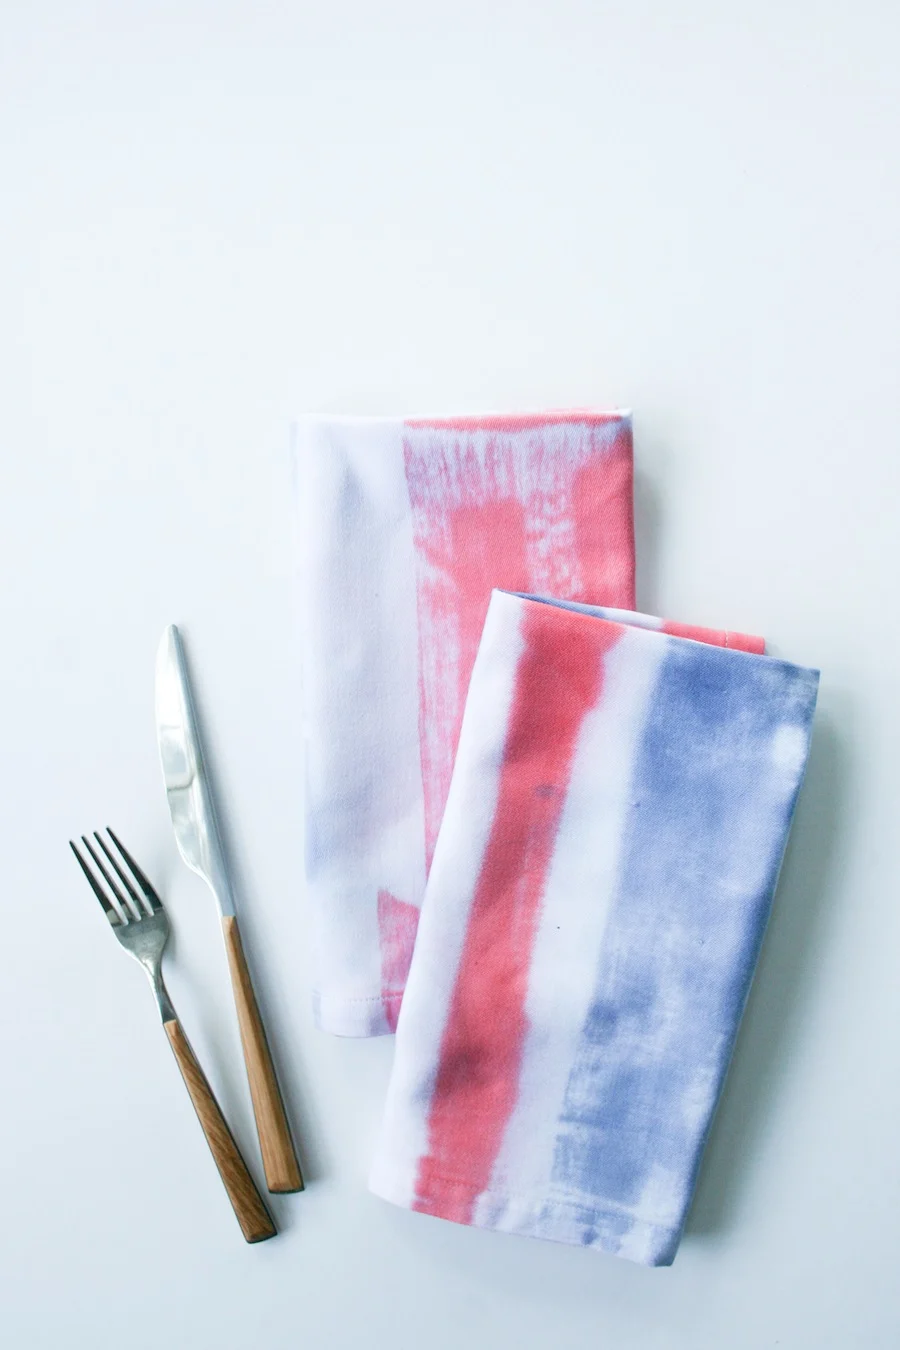
 Stay tuned for some great 4th of July party recipes next week! I’ve got you all set with a main dish, a side dish, and a dessert, but not in that order because I like my dessert first!
