
We moved into our new (old) house about 3 months ago and we still haven’t been able to 100% unpack! I’m waiting on some built-ins shelves to be installed so we can unpack our books and DVDs. But Lucy has been loving all the cardboard boxes still sitting around. I didn’t know she was a cardboard scratcher until we noticed she was shredding the sides of the boxes. I’m a little nervous about what she’ll turn her little claws on once we’re unpacked, so I’m making her a DIY Cardboard Cat Scratcher in hopes of getting her used to it and not my new velvet sofa. 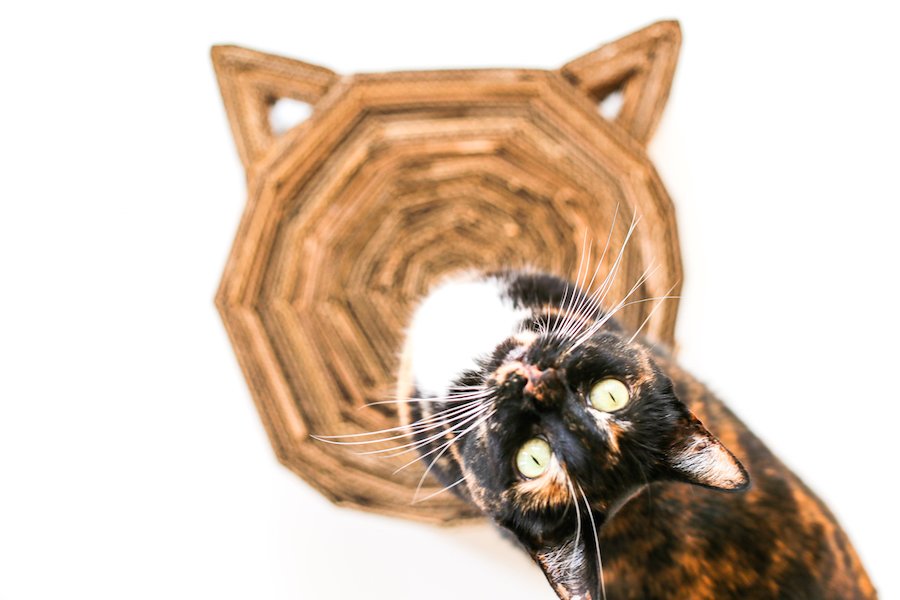
 Look at what she’s doing to the boxes!!! I swear, she’s going to have that box unpacked before we do!
 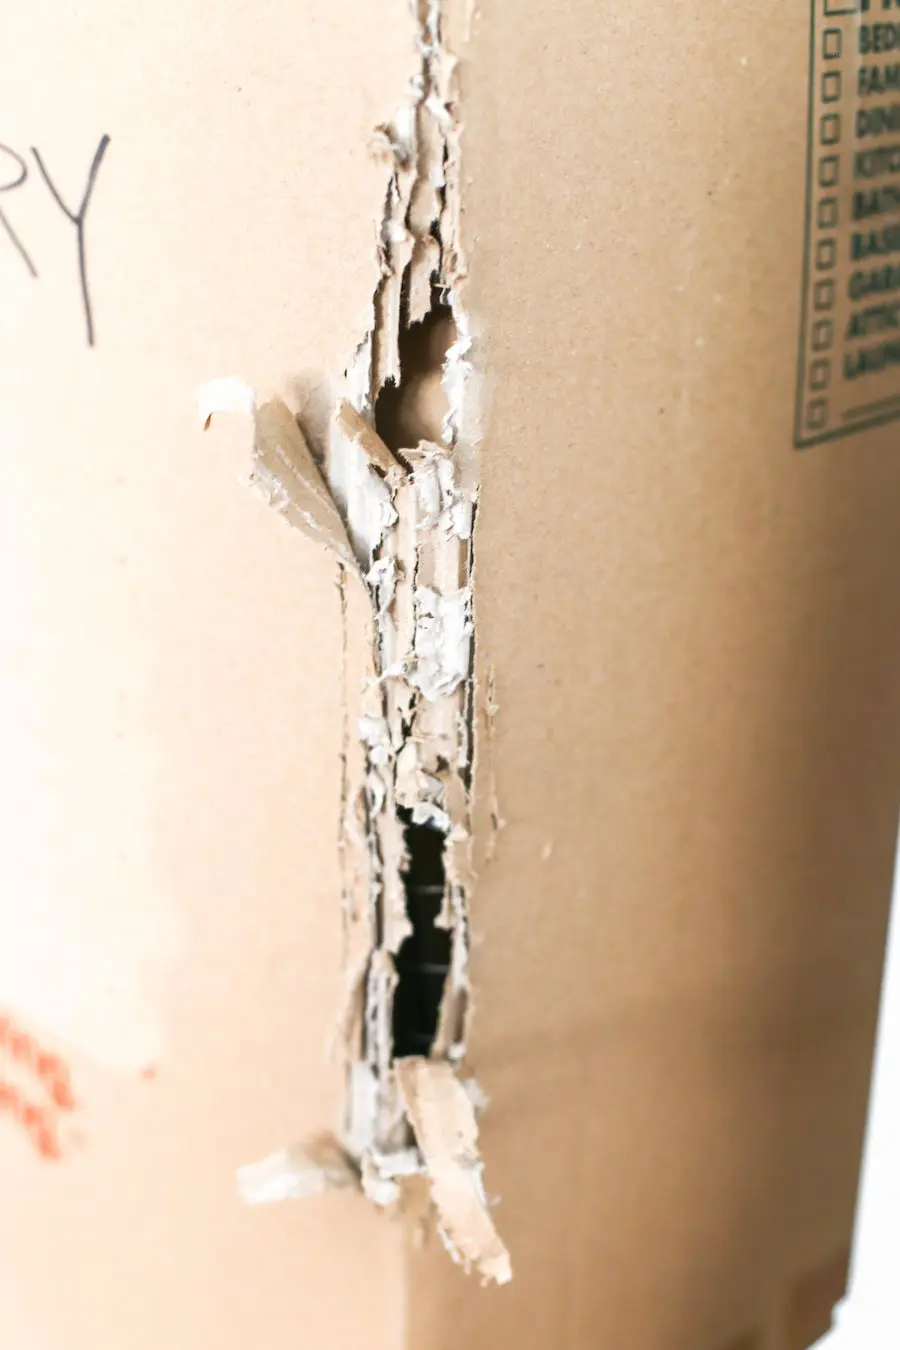 Luckily, between ordering things for the house and ordering things for the on-the-way babies, I have LOTS of corrugated cardboard that I can recycle into a cat scratcher. If you have some cardboard just waiting to be recycled, you should make one, too! Here’s the tutorial.
You’ll need to gather a few supplies: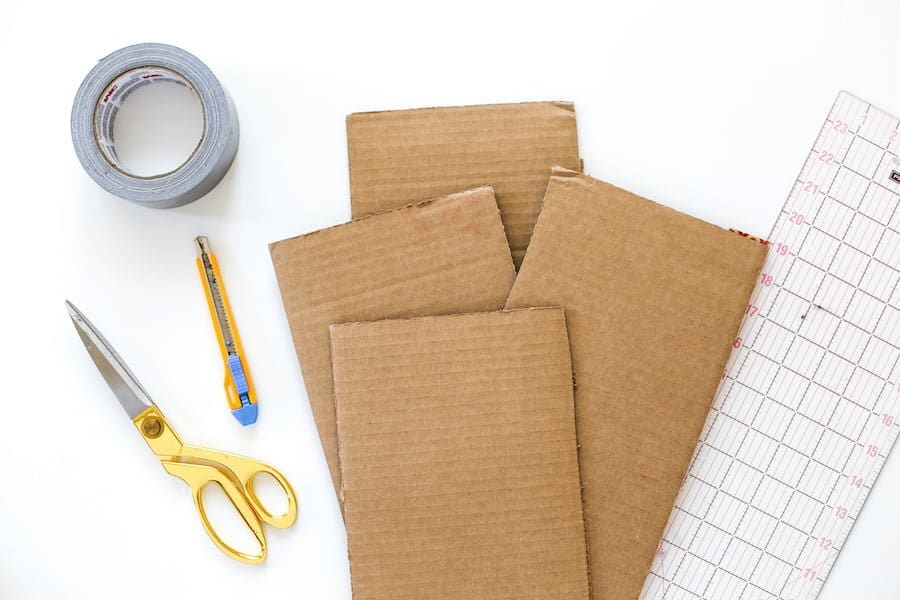

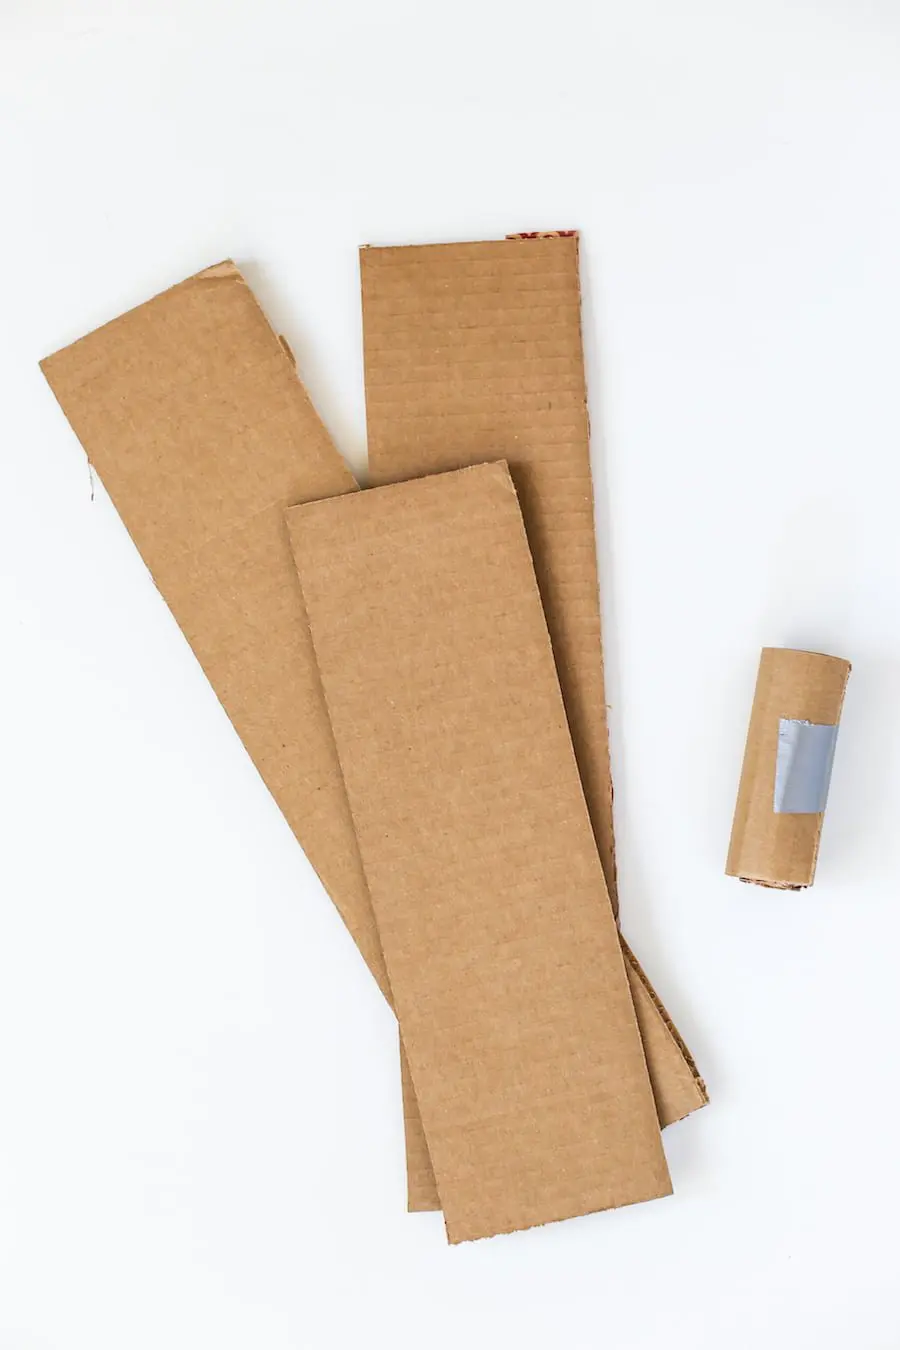
- Cardboard
- Exacto Knife
- Ruler
- Marker
- Duct Tape
- Scissors
- Epoxy
- Optional: Pink Paint
Then start by cutting your cardboard into 3-5″ strips. If you want yours low to the ground, go with 3″ strips. If you want it higher, go with 5″ strips. Personally, I went with 4″ strips of cardboard. Then take one strips and bend the corrugated cardboard into a coiled circle and tape it “closed.” 
 Note: be sure to keep one edge very flat in order to make it look nice when it’s finished. See the two photos below – the left photo is the “flat” edge which will go on top. The right photo is the wonky edge which will go on the bottom.
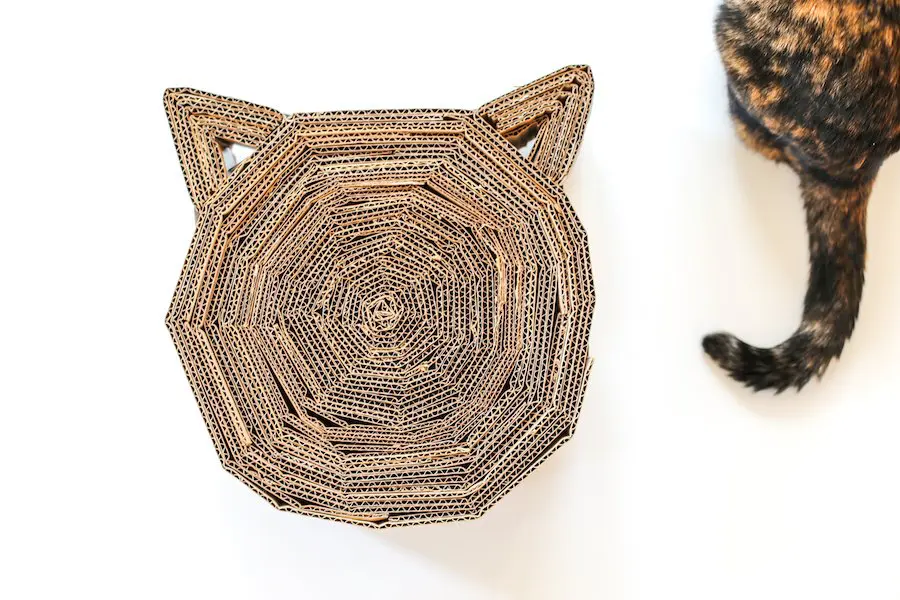
 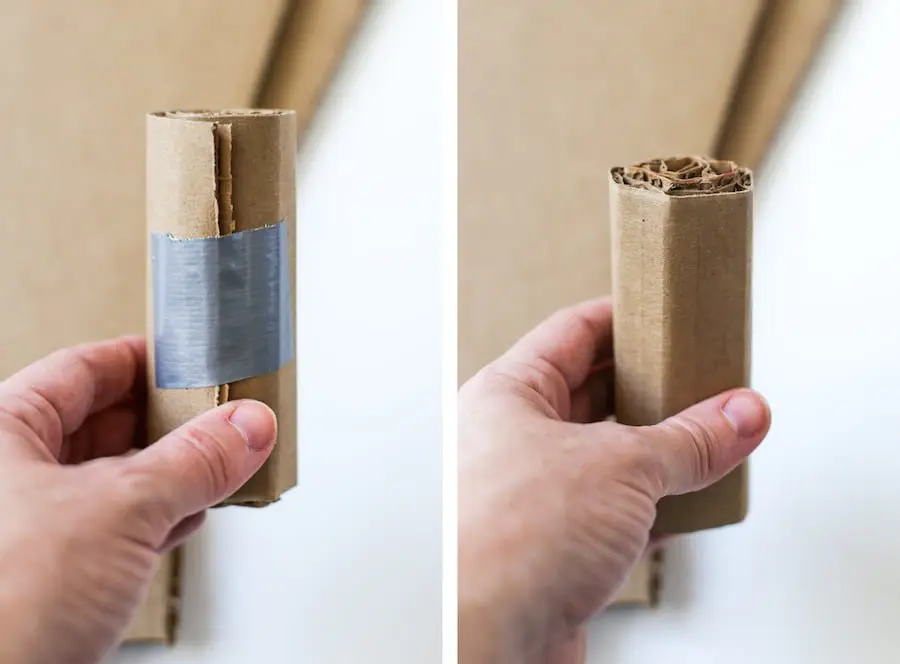 Continue to wrap the strips of cardboard around the circle until you have the size you want. Then make the ears by folding pieces of cardboard in half, and then a smaller piece inside of it, and a smaller piece inside of it, etc. You can attach the ears to the head with duct tape. And then, if you would like, add a little pink paint to make the inside of the ears pink, add a nose and a mouth and wrap the entire outside edge in decorative paper or fabric.
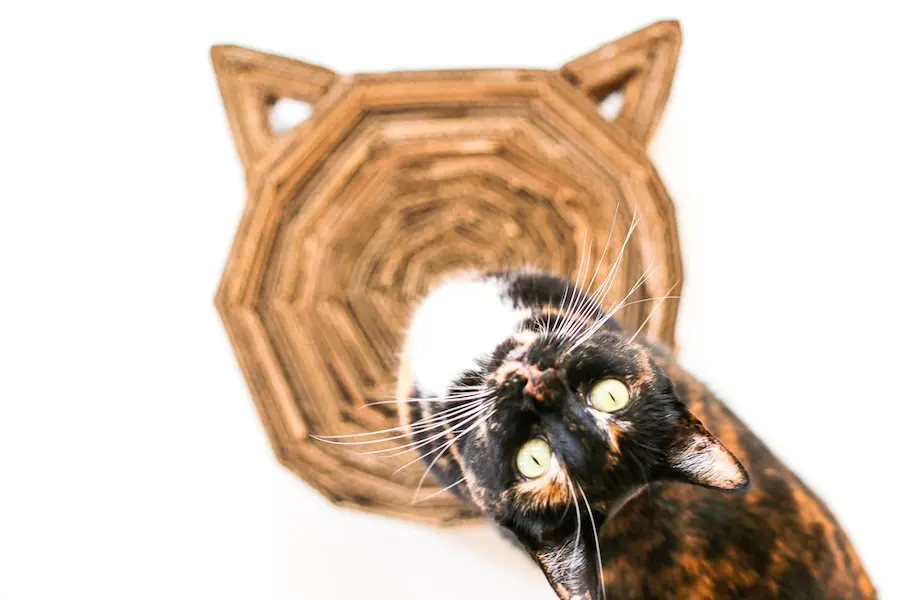
 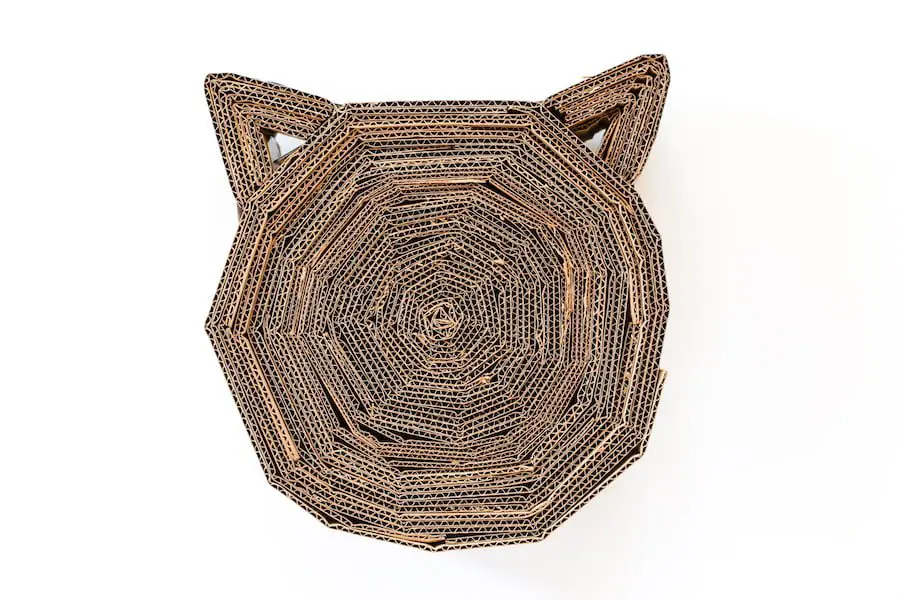 I’m going to wrap mine in black fabric (so it looks like Lucy) and glue some pink sisal rope inside the ears.
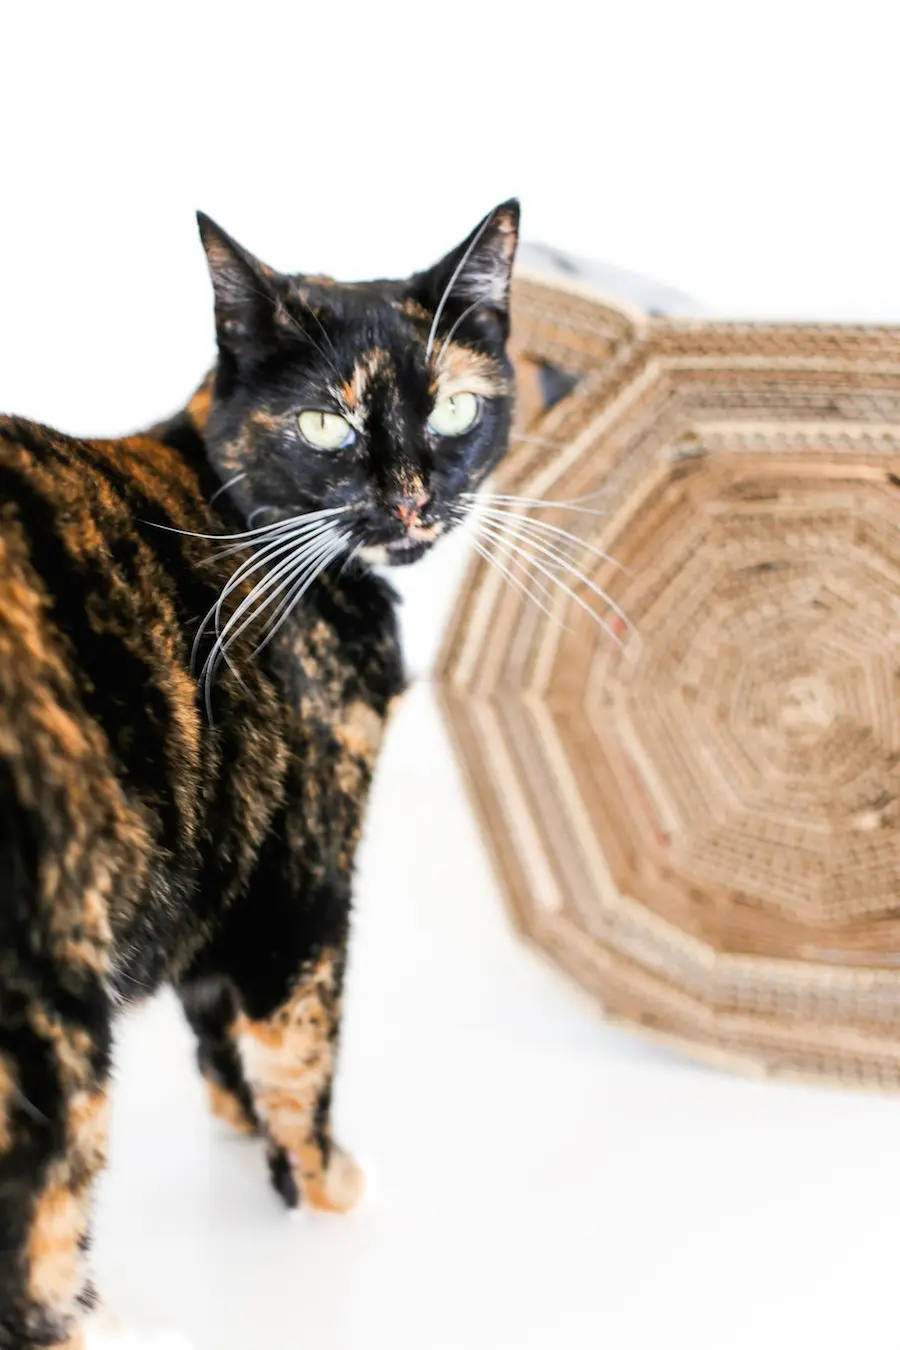

Chanon
Wednesday 8th of June 2022
Hi, I would like to use 1 of your DIY cat scratcher image. Please inform us if you allow or not. We will use it in Pettocute.com and we will link to your original site and cite correctly. We just use it for blog post image.