
(Sponsored Post)
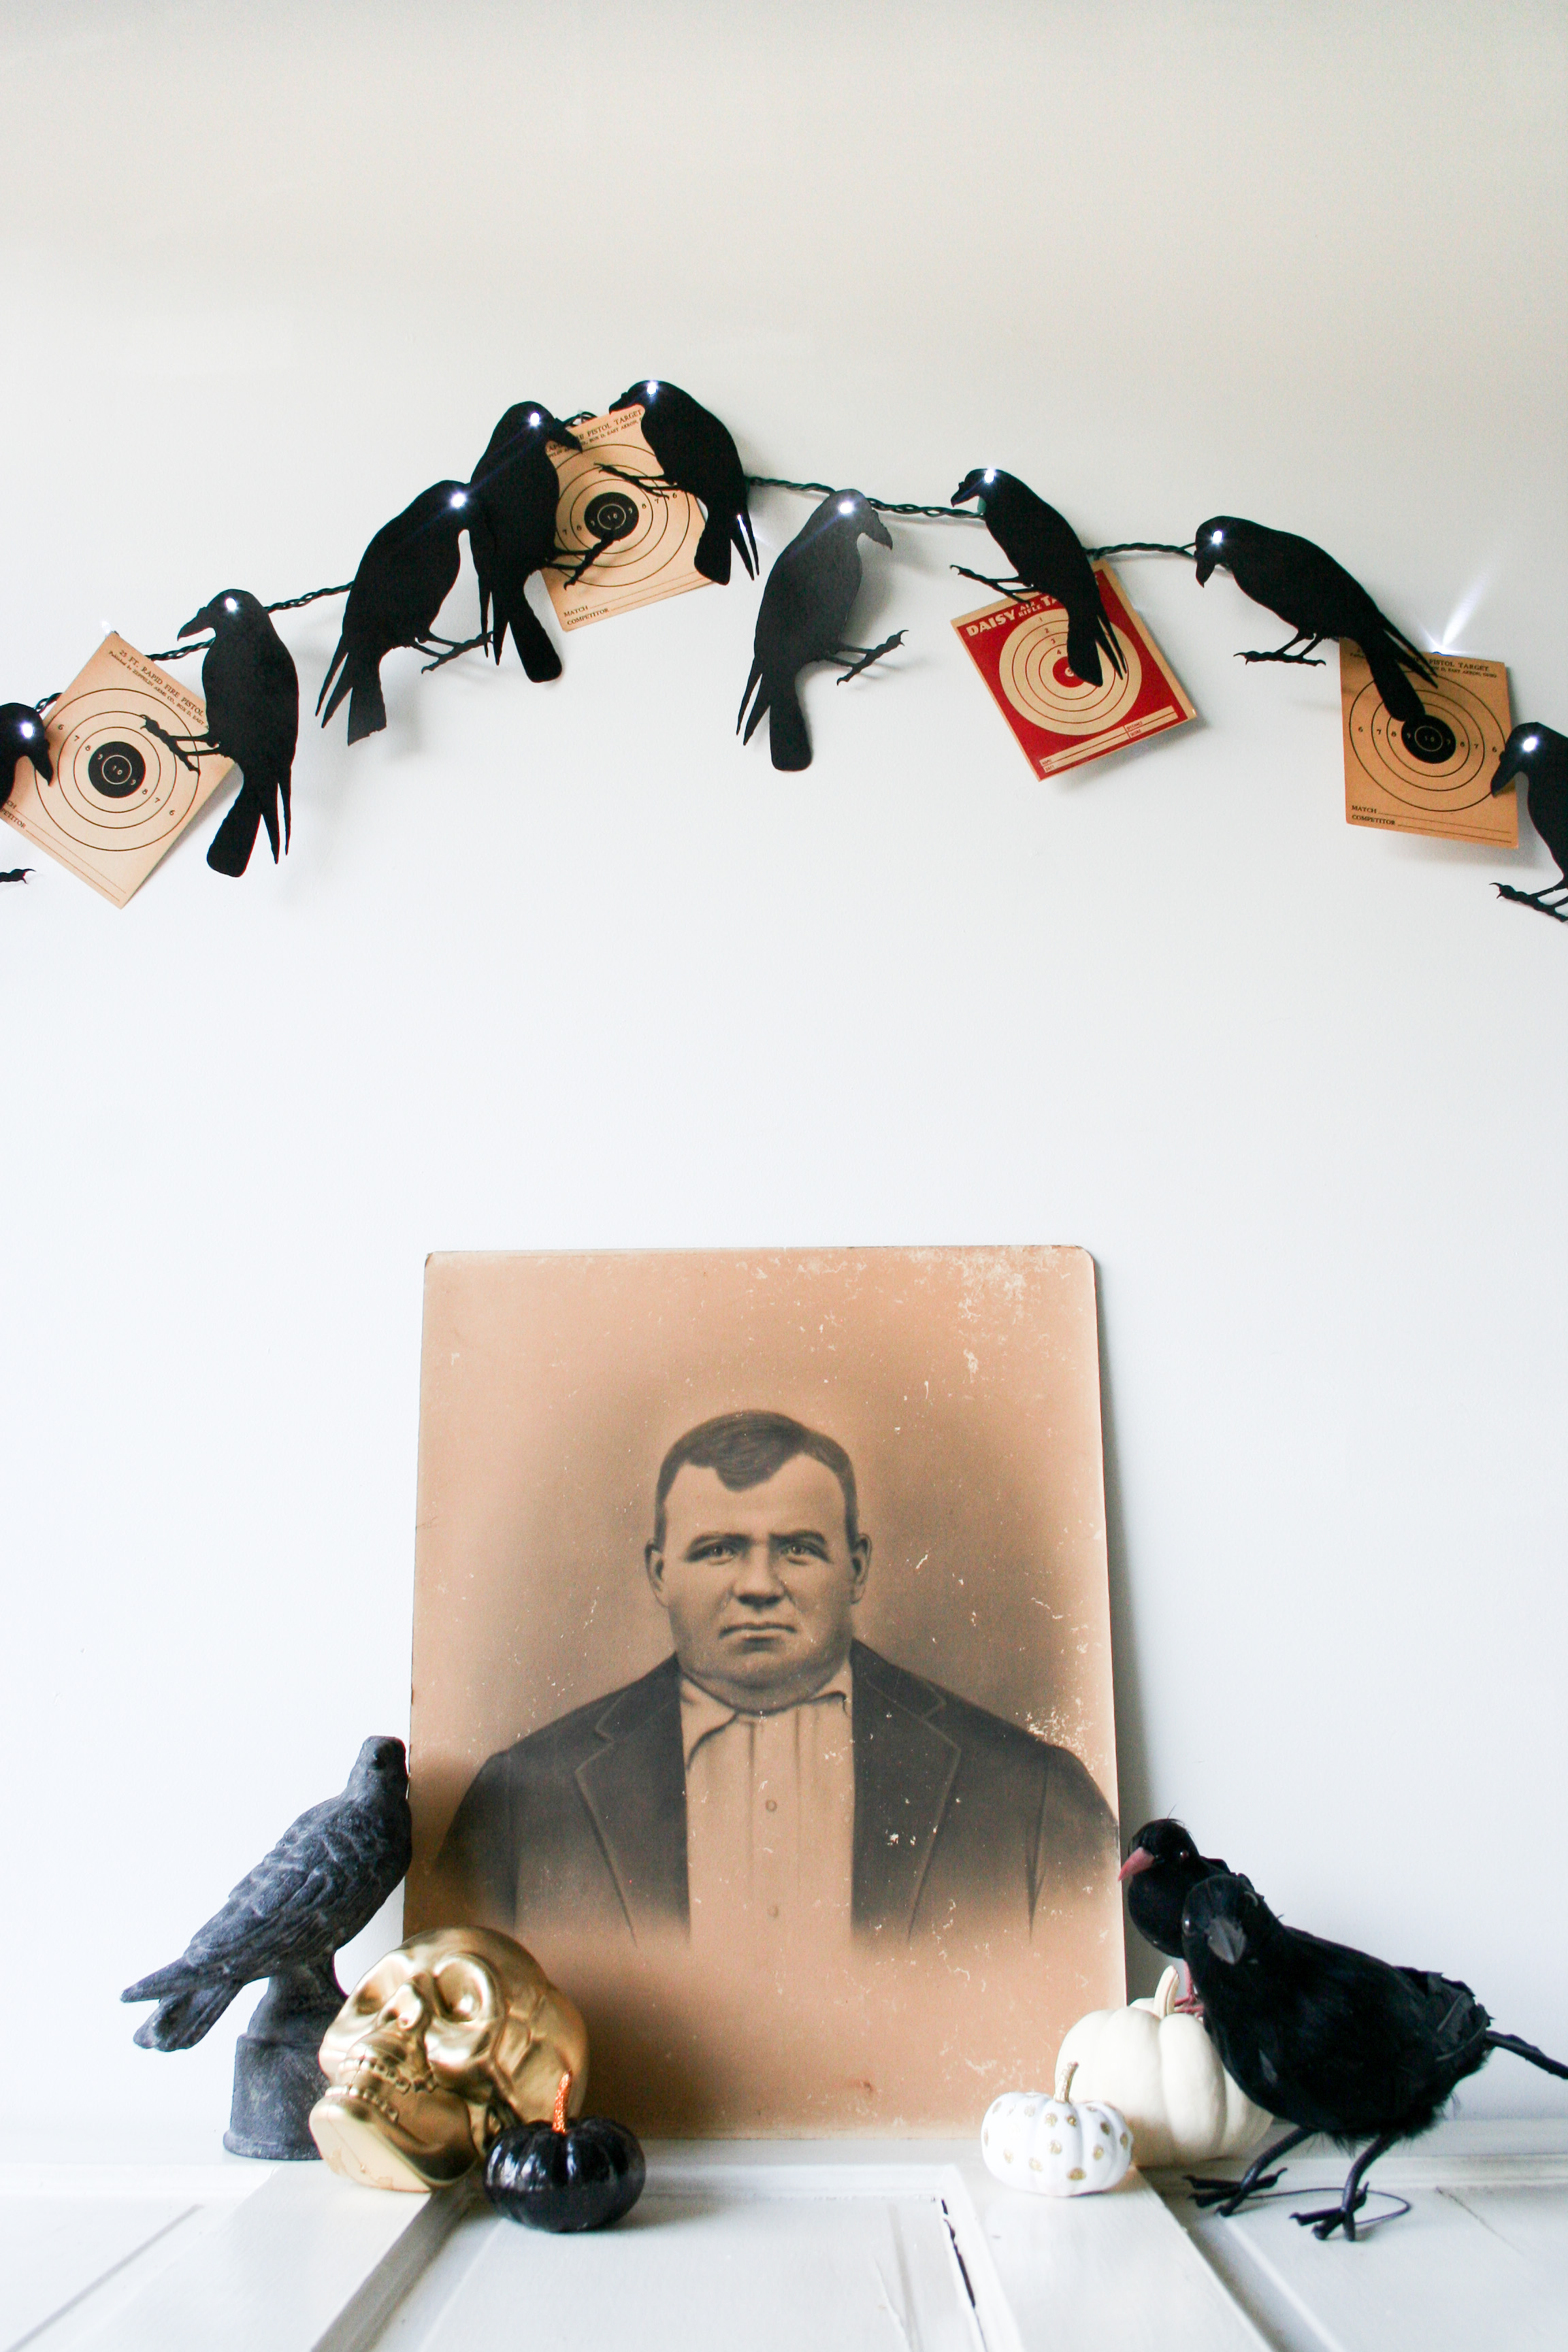
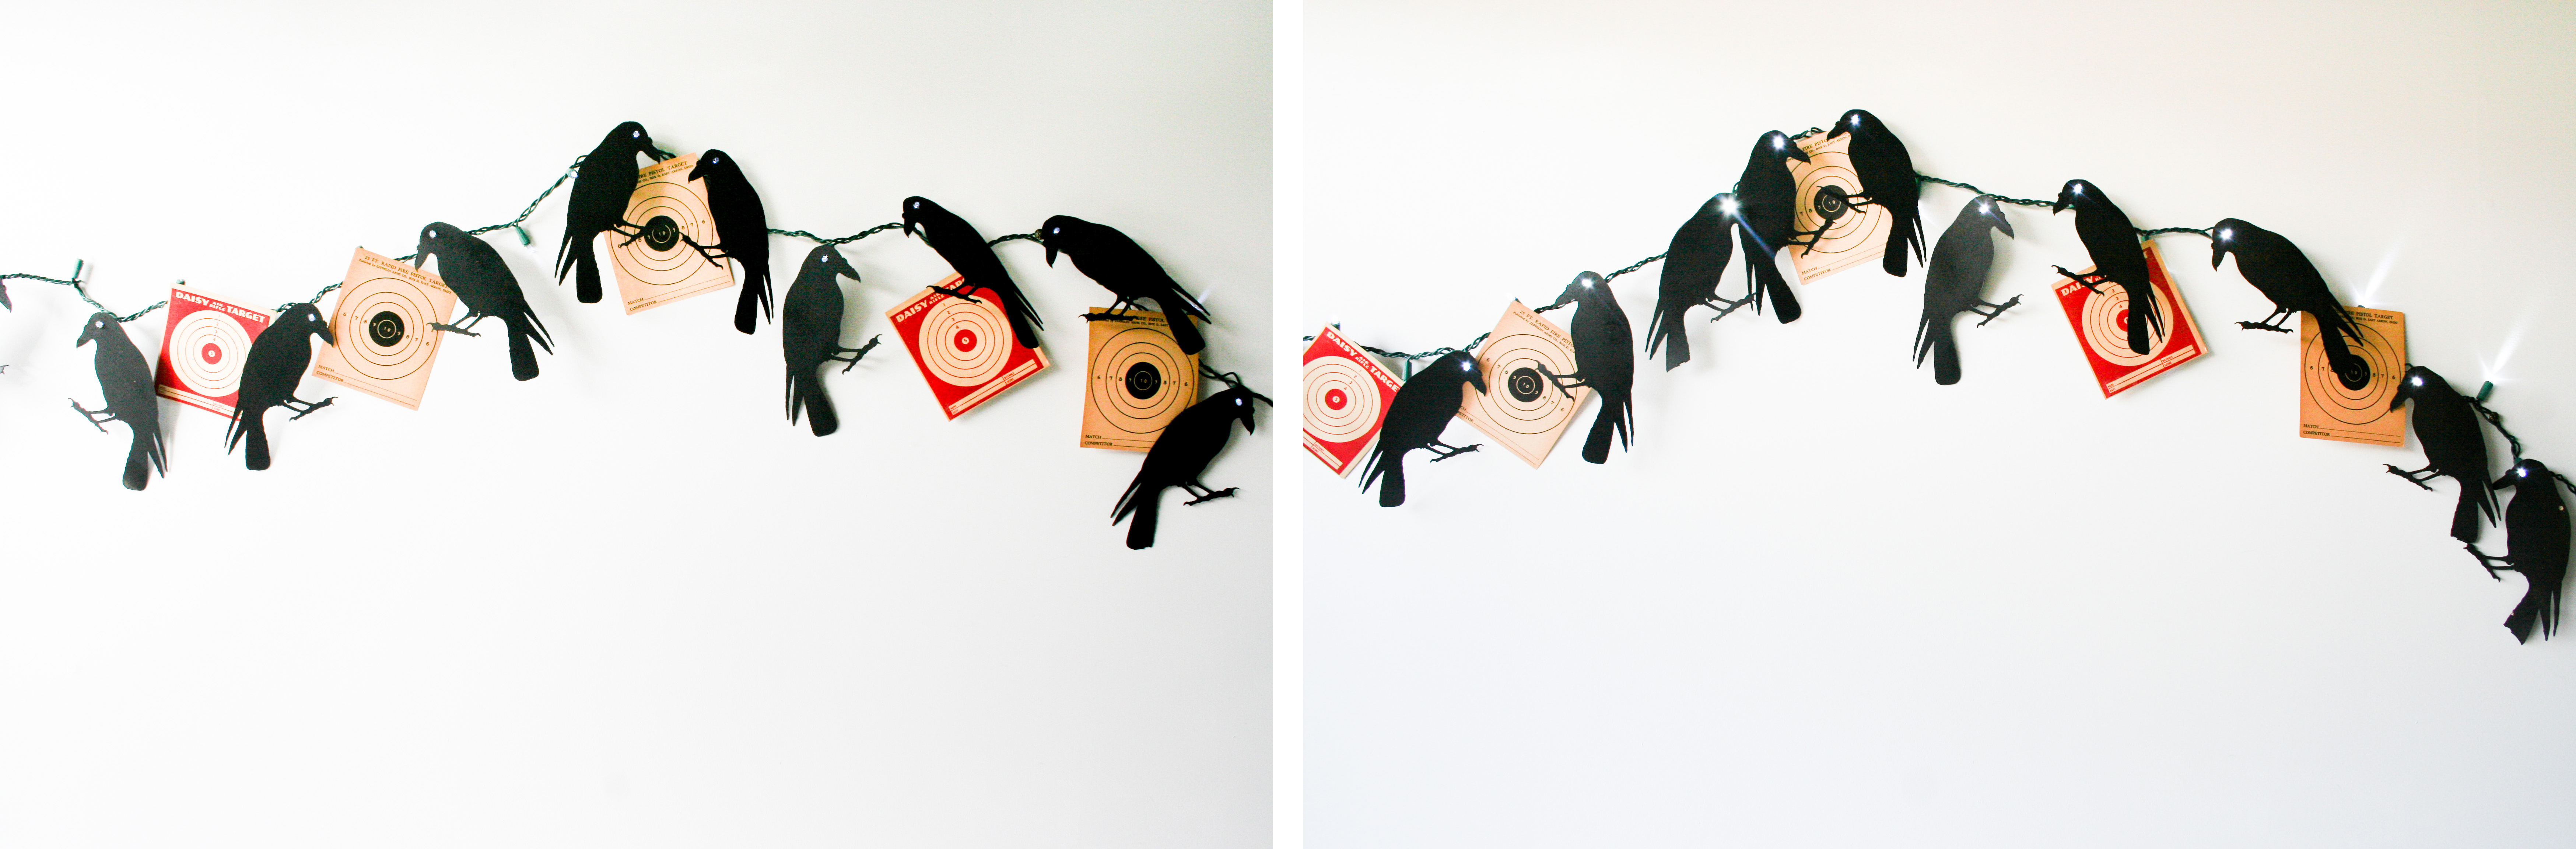
 Another day, another DIY! Today I’m showing how to do another Halloween DIY project with your Cricut Explore™ to decorate for Halloween! As part of the Cricut Design Space Star Challenge, I am a member of a team of talented bloggers and each month we choose a theme and create a project based on that theme. This month our theme is Skull and Bones … and this Crow Garland doesn’t fit that theme. I know. I made Skeleton Silhouette Wall Art and Skeleton Silhouette Cake Toppers and Flamingo Skeleton Cake Toppers, but my creativity just couldn’t stop and the flamingos inspired me to make crows! How very Hitchcockian “Birds” of me!
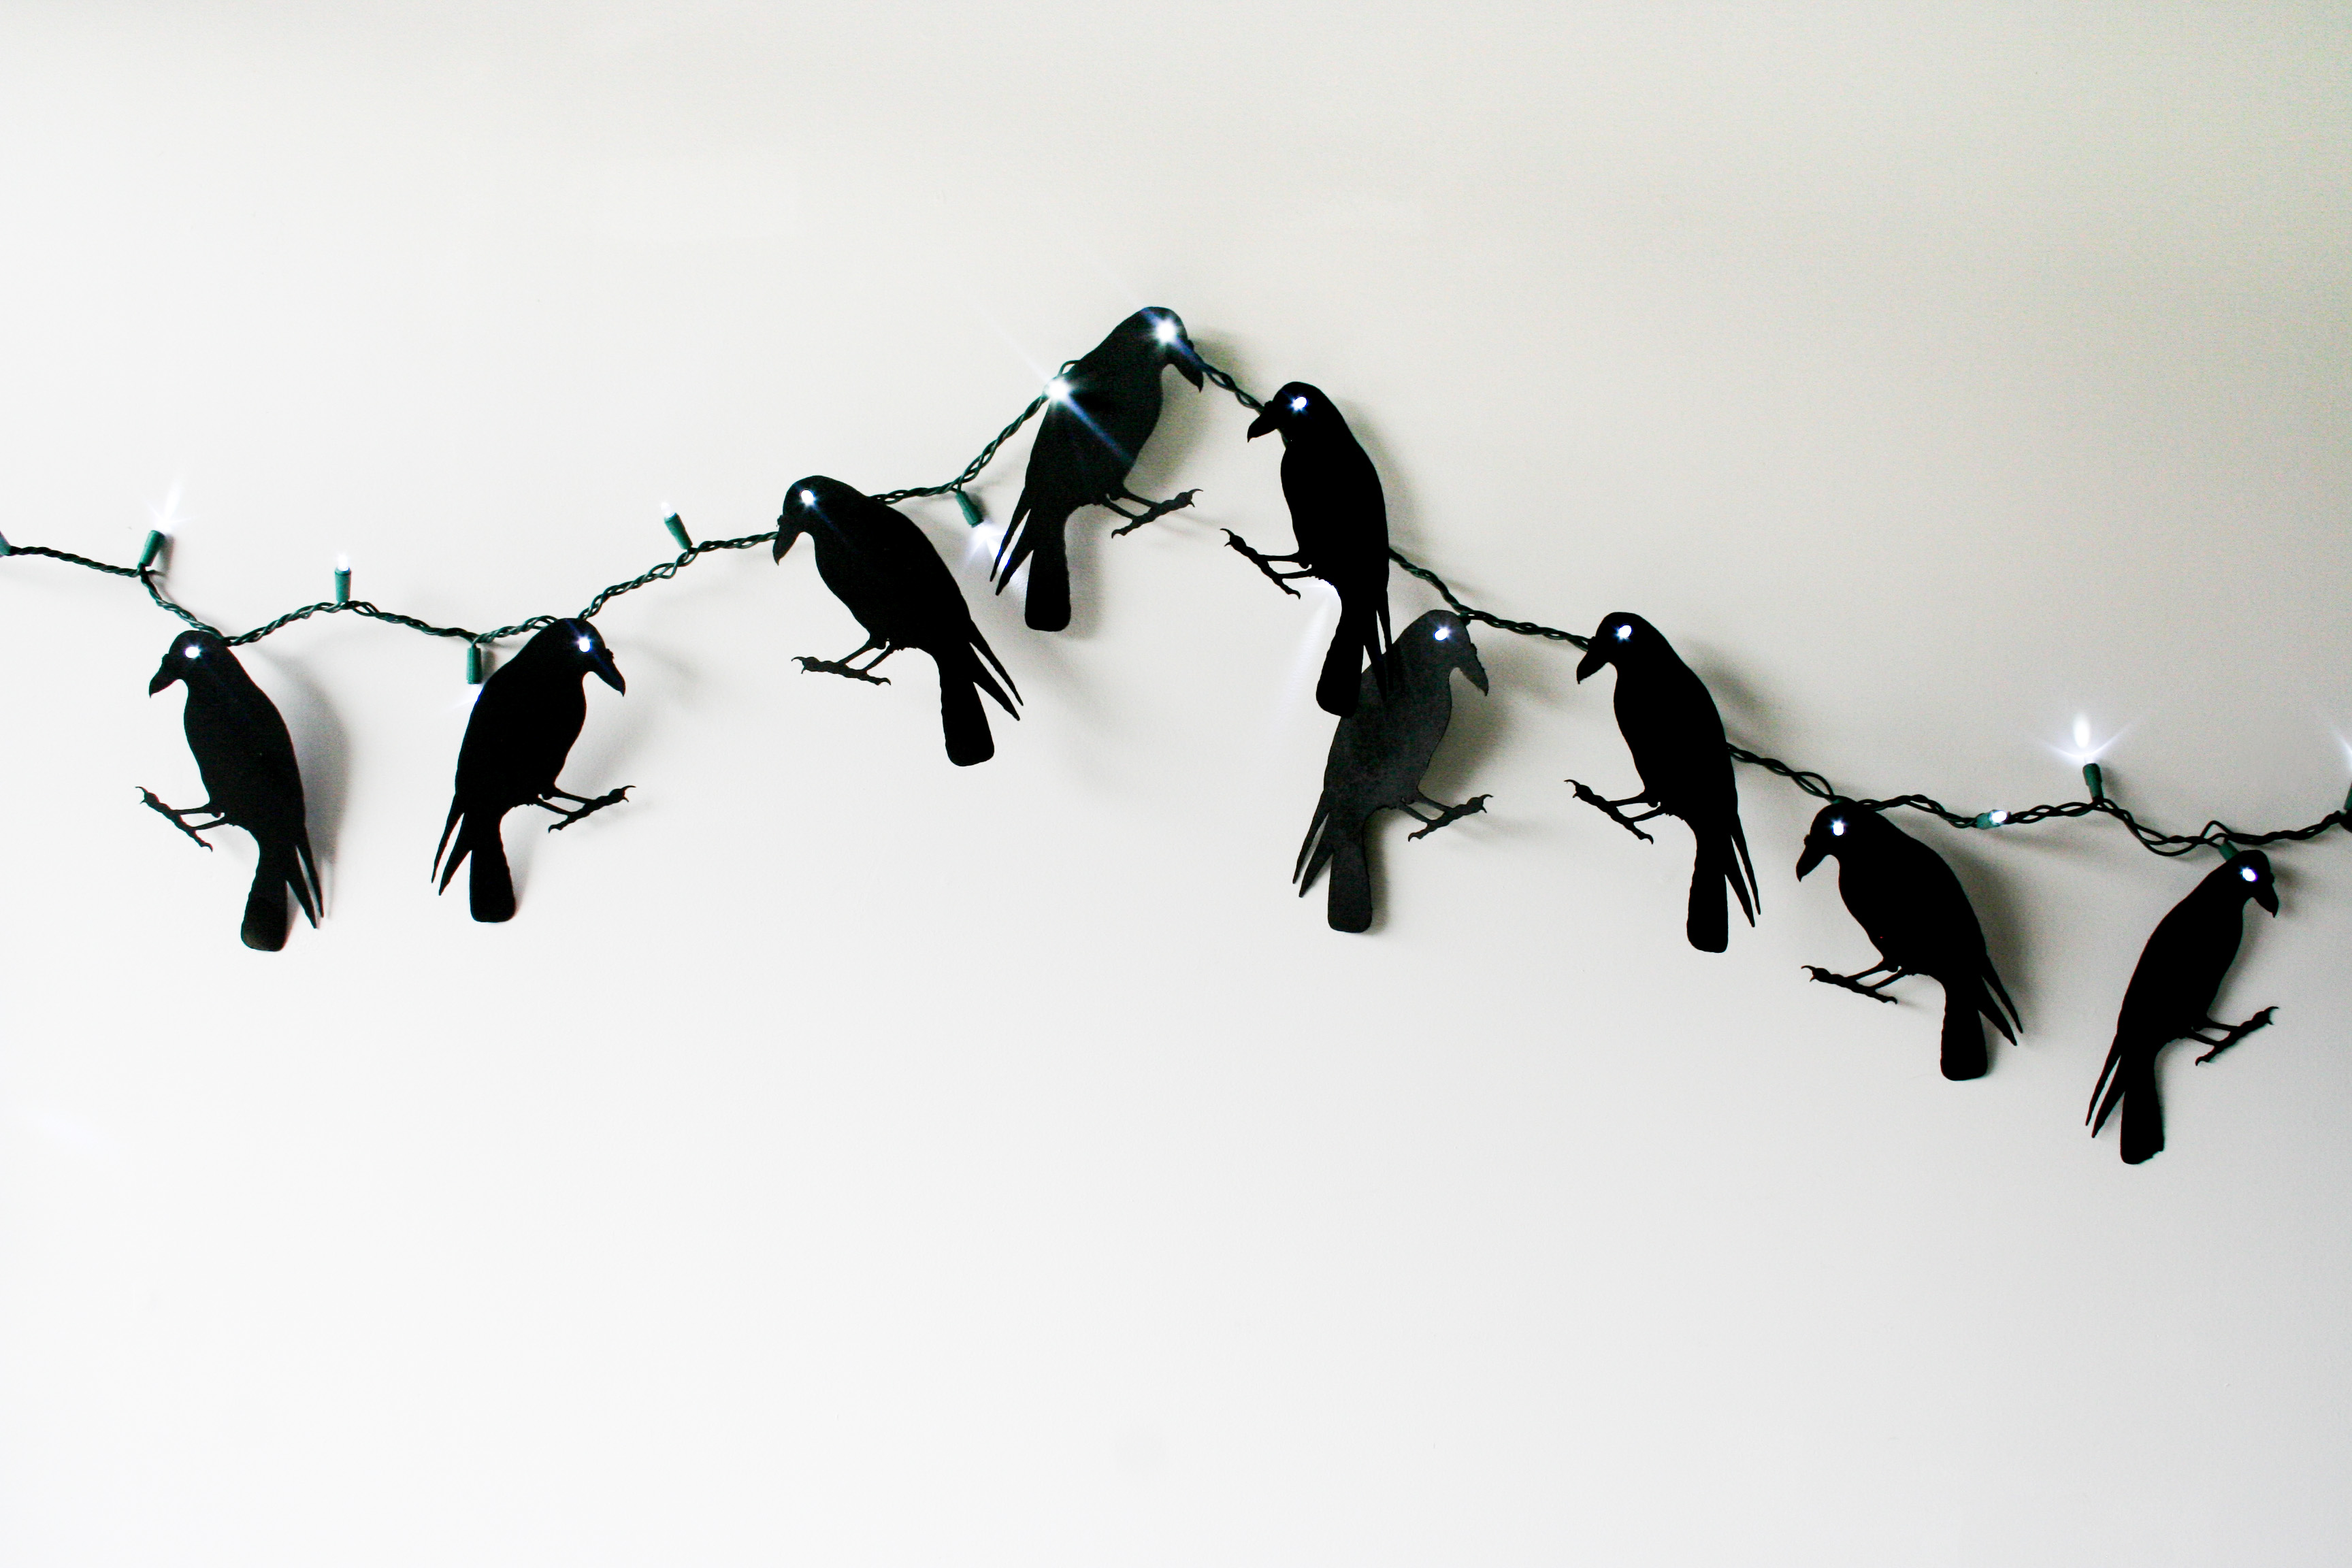
 Before we dive into the project, let’s chat for a hot minute about the Cricut Explore™. Did you know that with the Cricut Explore™, you can upload YOUR OWN DESIGNS! So cool right? And, the Cricut Explore™ can cut so many different types of materials including paper, card stock, felt, fabric, metal, and wood! Check out the Cricut Explore Cut List here. So no more endless cut outs with scissors or exacto knives!
Ok, so let’s get started making these crows. You’re going to need a few materials. Materials Needed:
- Cricut Explore™
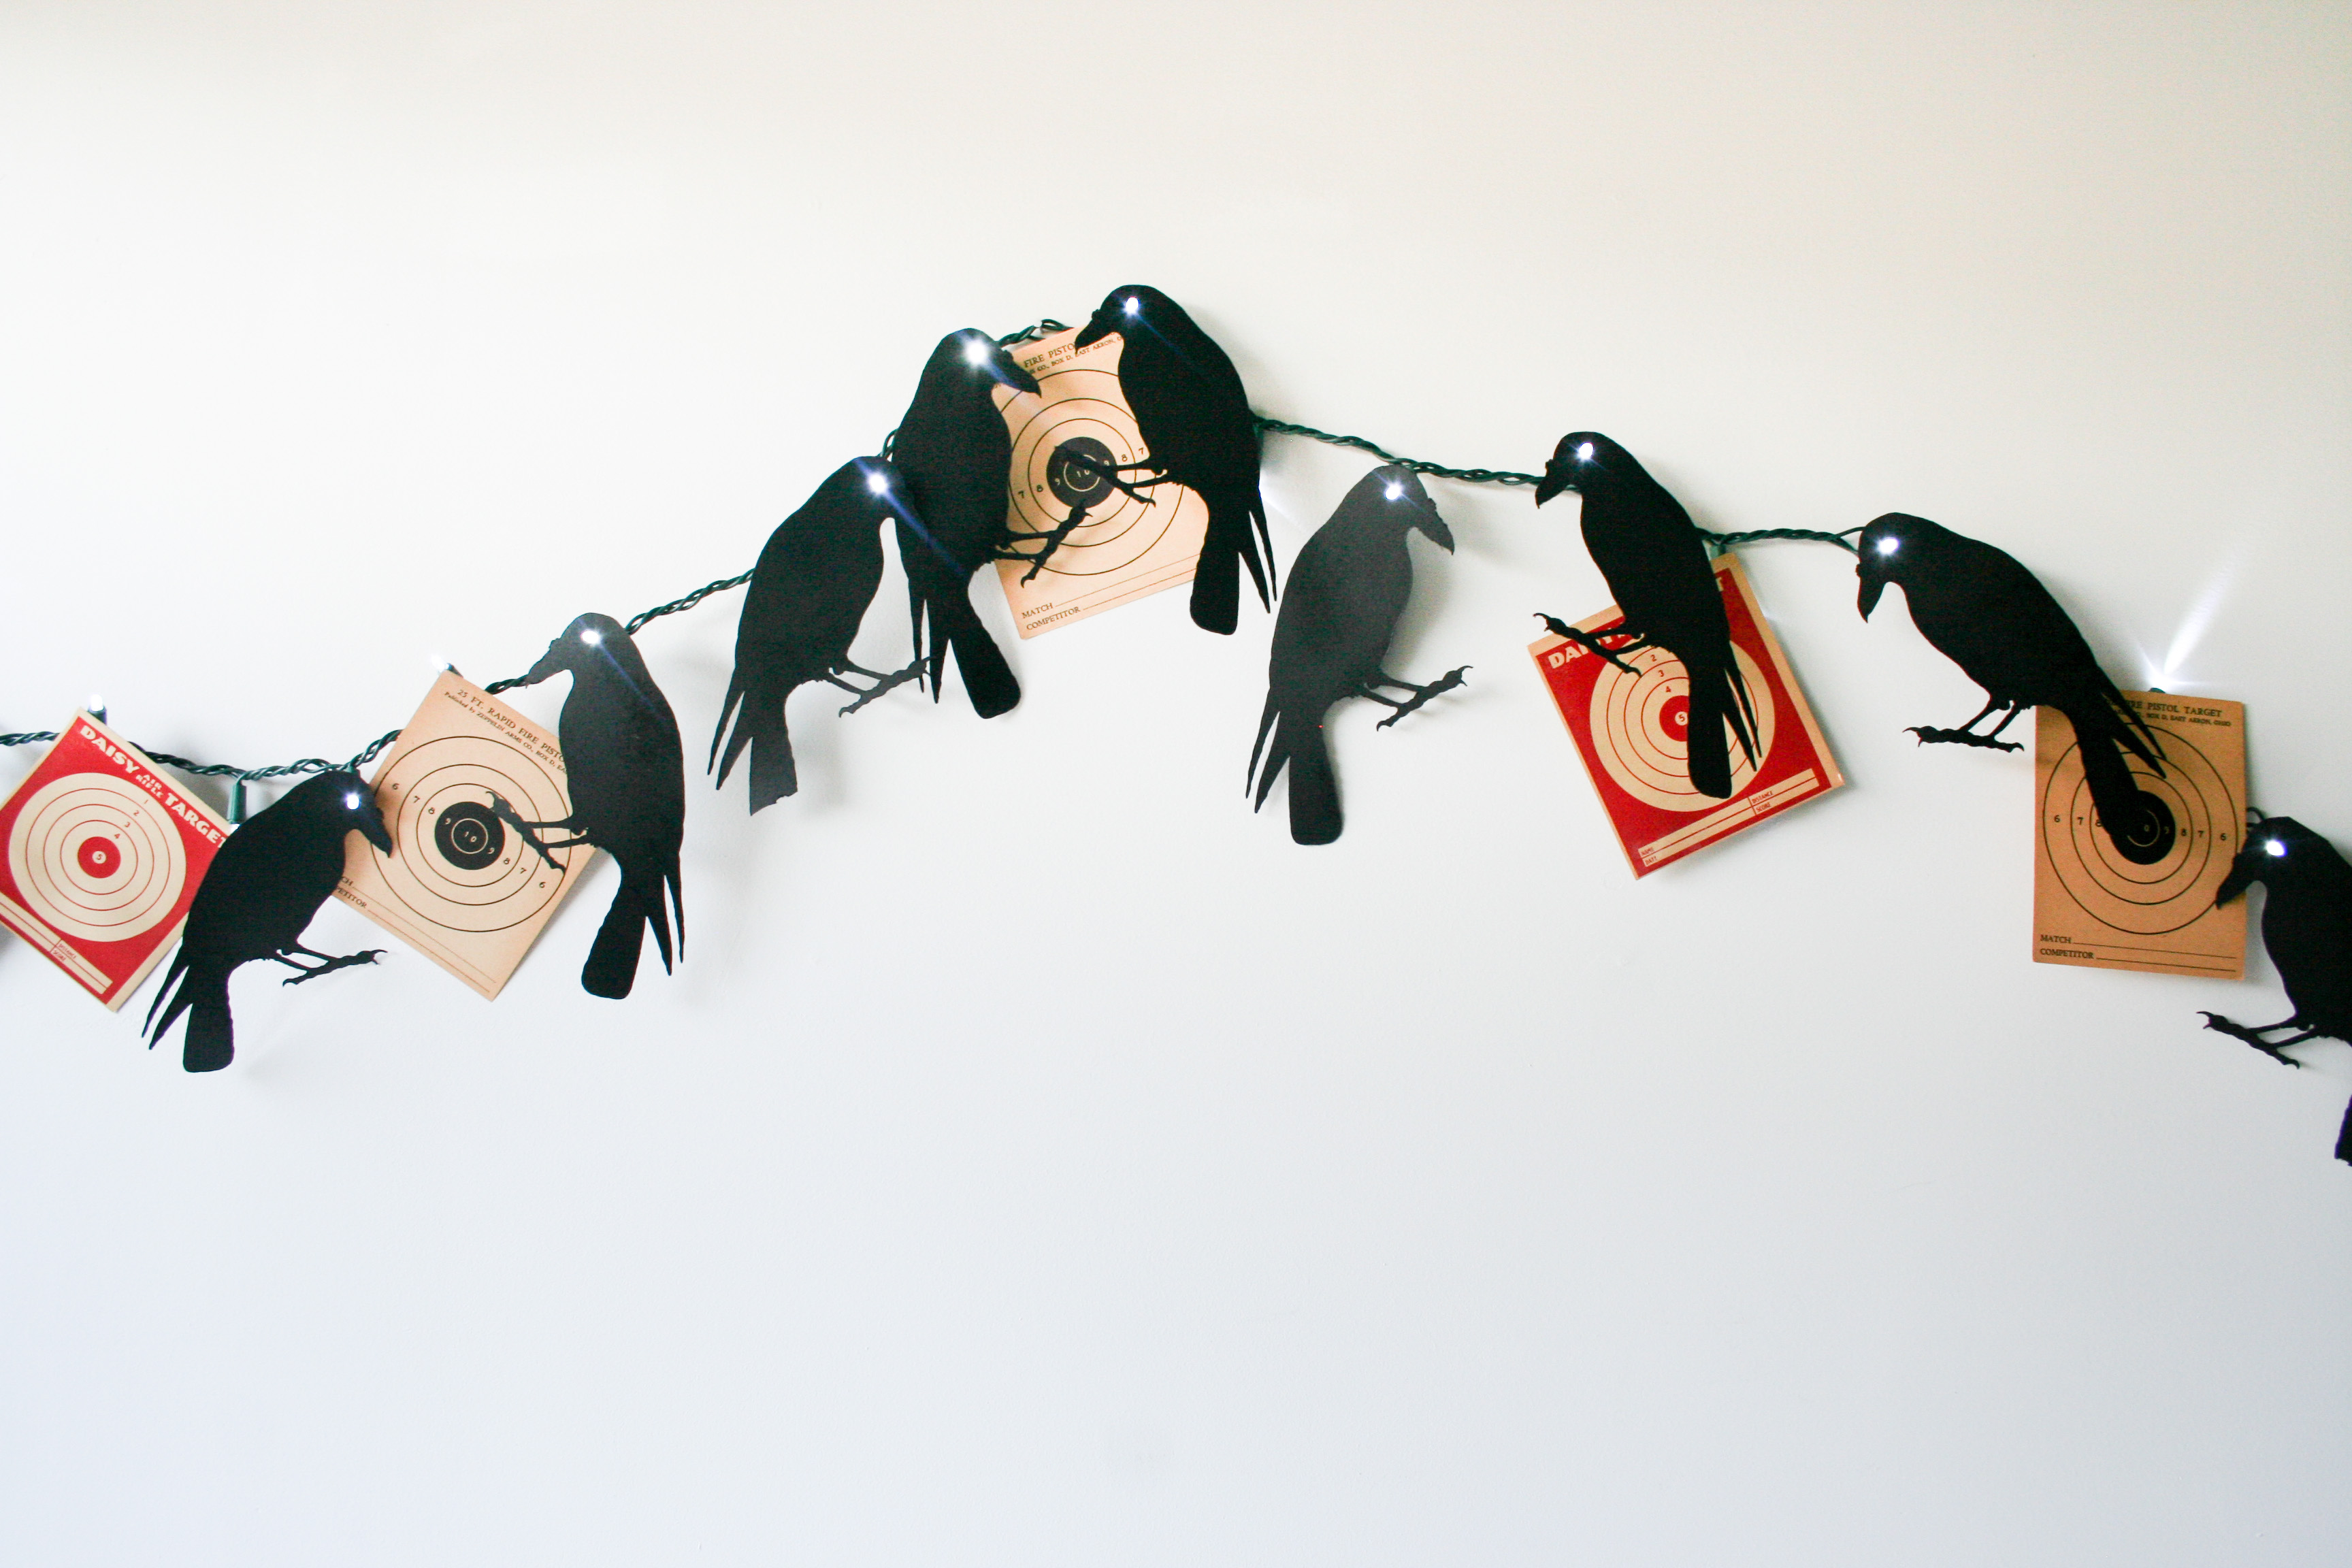
- 6 12×12 sheets of thin chipboard – makes 12 crows. (Hint, Michael’s has these and they sometimes go on sale for 14 cents a sheet. Stock up!)
- Black spray paint
- 1 strand of lights. I got my Mini LED lights from Target, similar here.
- Crow SVG file (FREE DOWNLOAD!)
Optional Materials:
- Drill and drill bits.
- Extra 12×12 sheets of thin chipboard (in case of any mistakes)
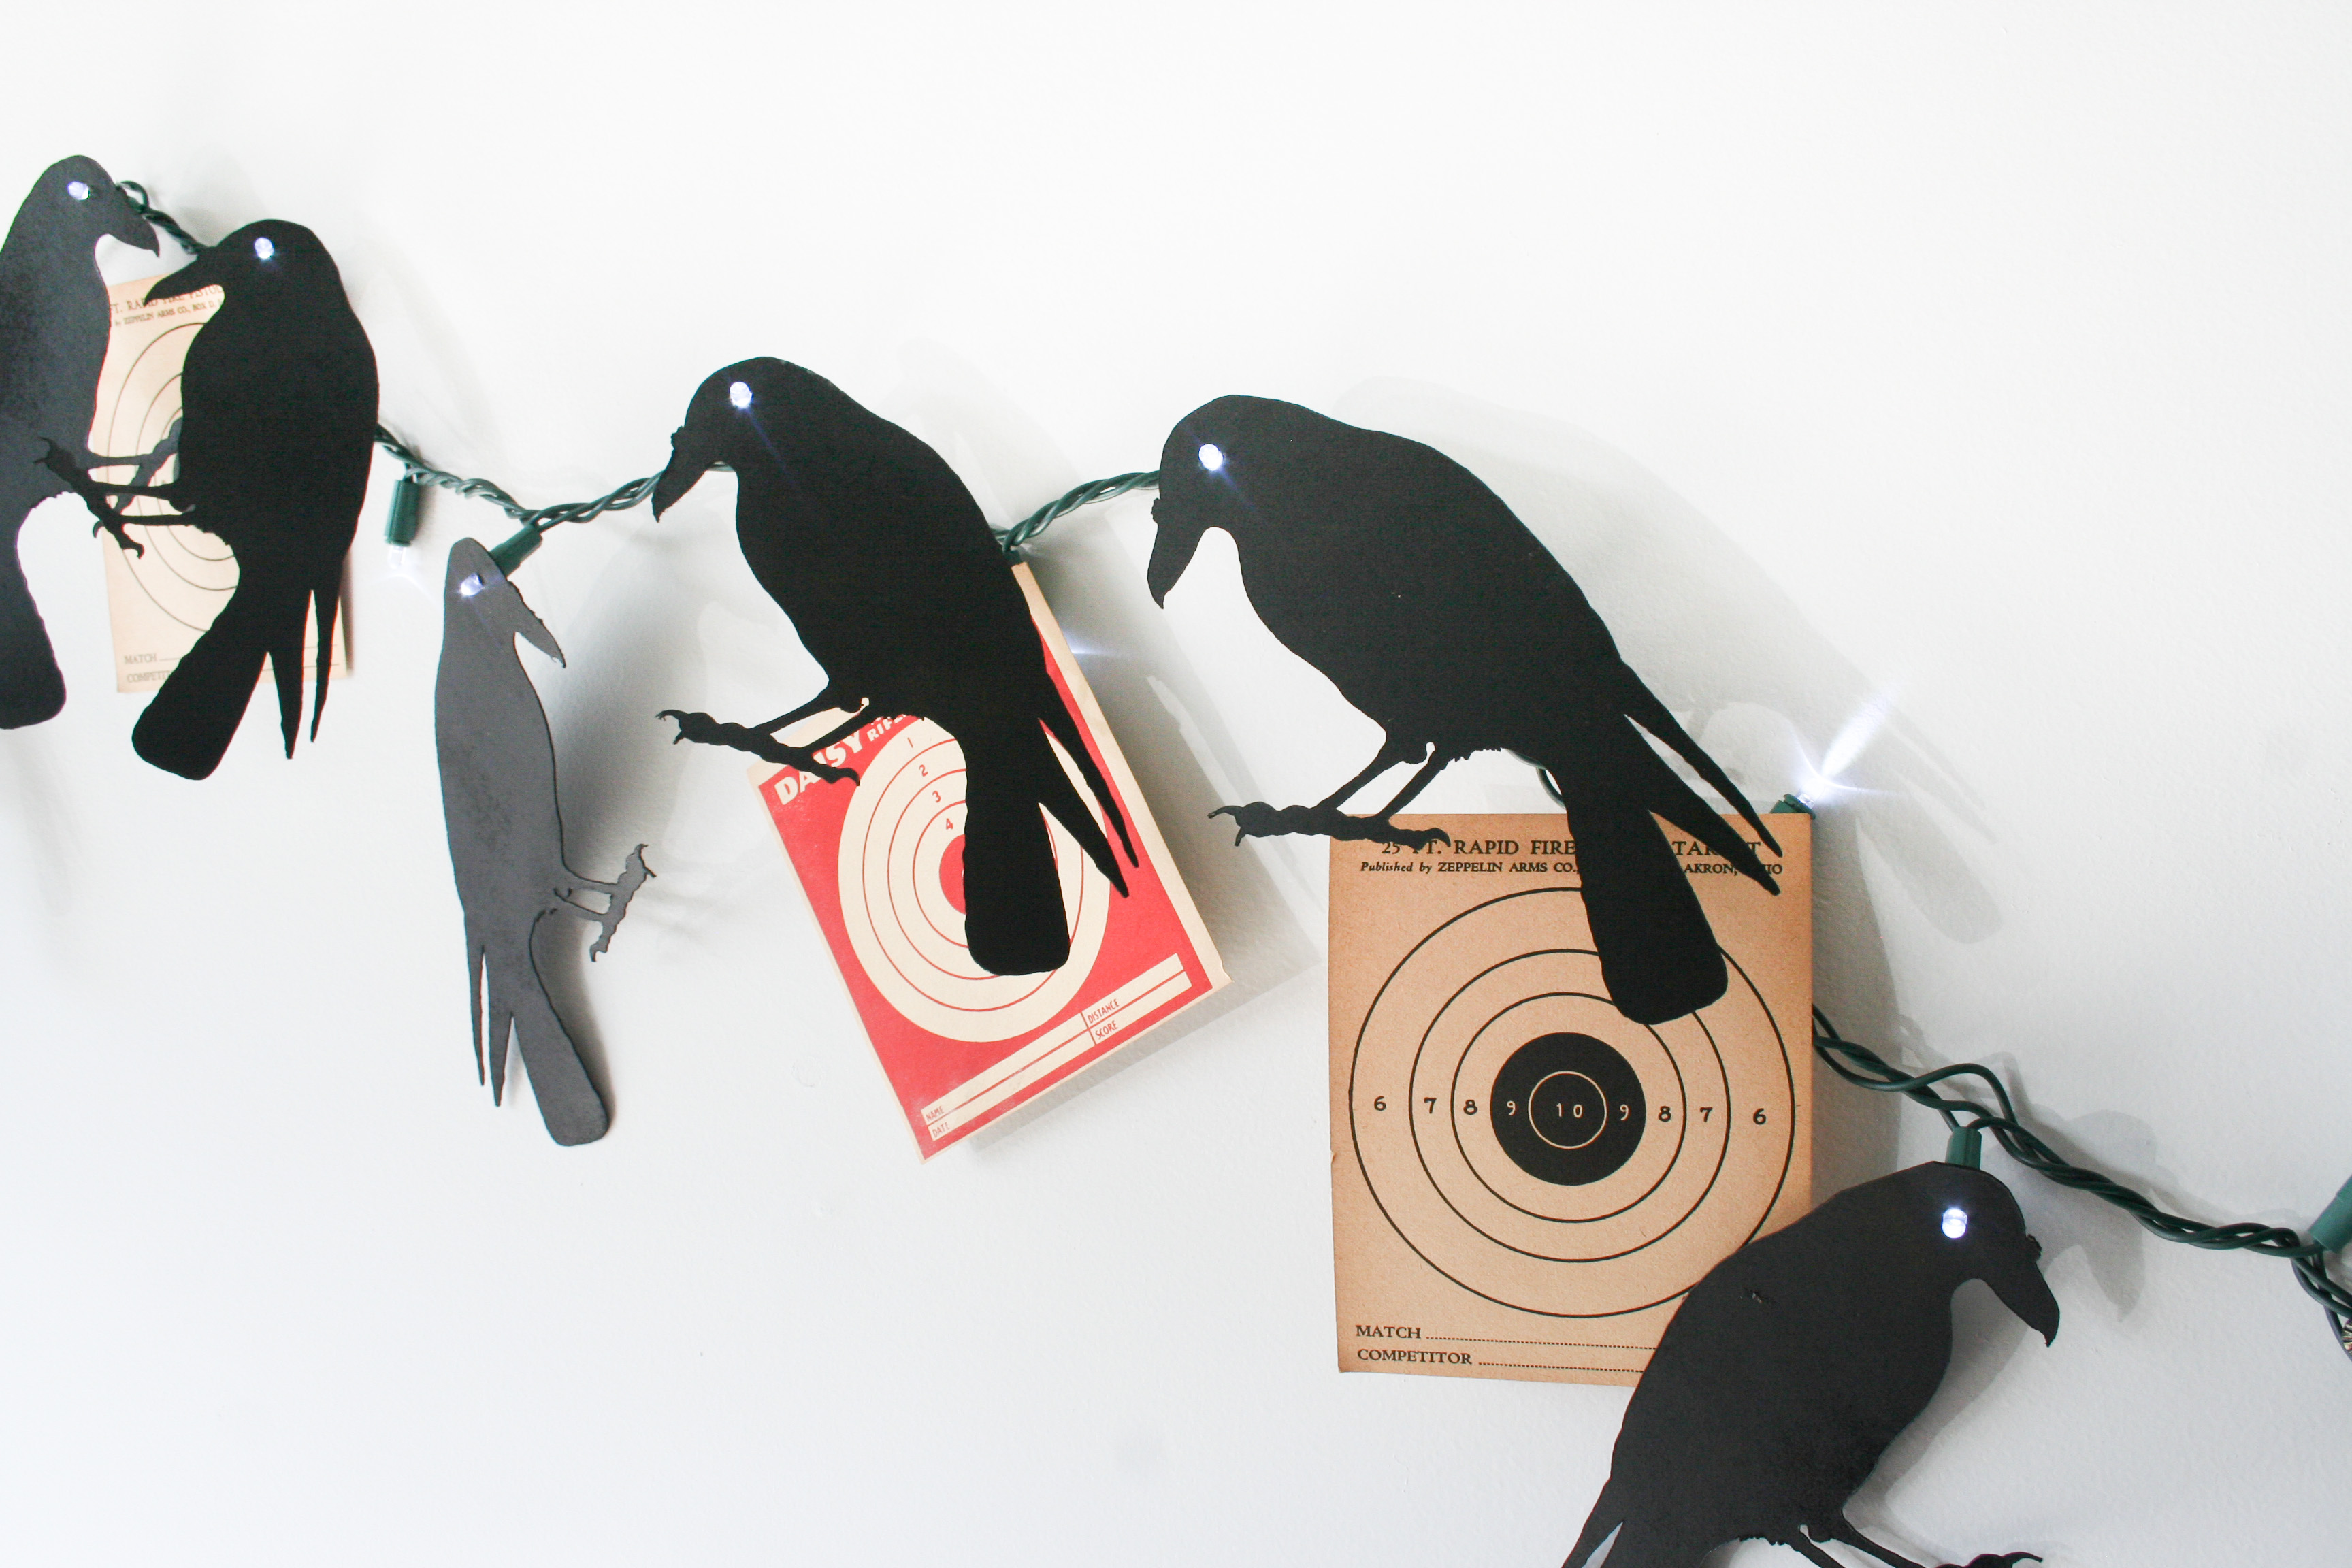
- Vintage targets, I sell them in my Etsy shop here and here.
- Red paint if you want to make the eyes/lights red.
Instructions: I designed my crow in Photoshop, exported it to Illustrator, and made an SVG file, meaning it is a vectorized file and you can make it as big or as small as you want.
Step 1: In Cricut Design Space, simply start a new project, then click “Upload Image”, click “Vector Upload”, browse and choose your downloaded crow file, and click “Save Image”. The crow will then be at the bottom of your screen, click on it, giving it a green checkmark, and click “Insert Images.”
Step 2: Remember how I said these are SVG files? Well, you can make the crow any size you would like. So go ahead and scale the crow to the size you want them to be. You could make bunting, or cupcake toppers, or cut them out on window cling material!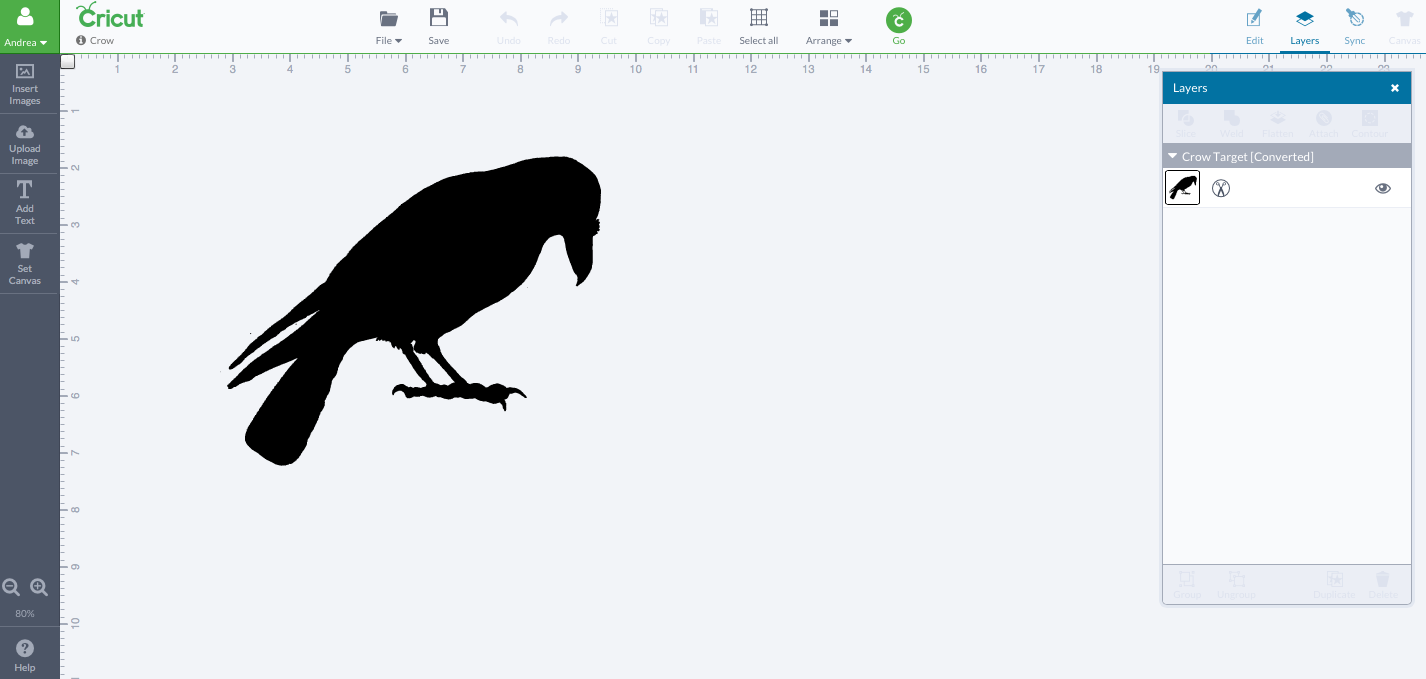 Step 3: Once you have the crow at the size you want, click the green GO button, and then decide how many crows you want in your garland. Where it asks “How many projects do you want to make, enter the amount of crows you want (12), and the software automatically lays out all of your crows for you. Then follow the instructions to load the mat and then let the Cricut do all your
 dirty work cutting!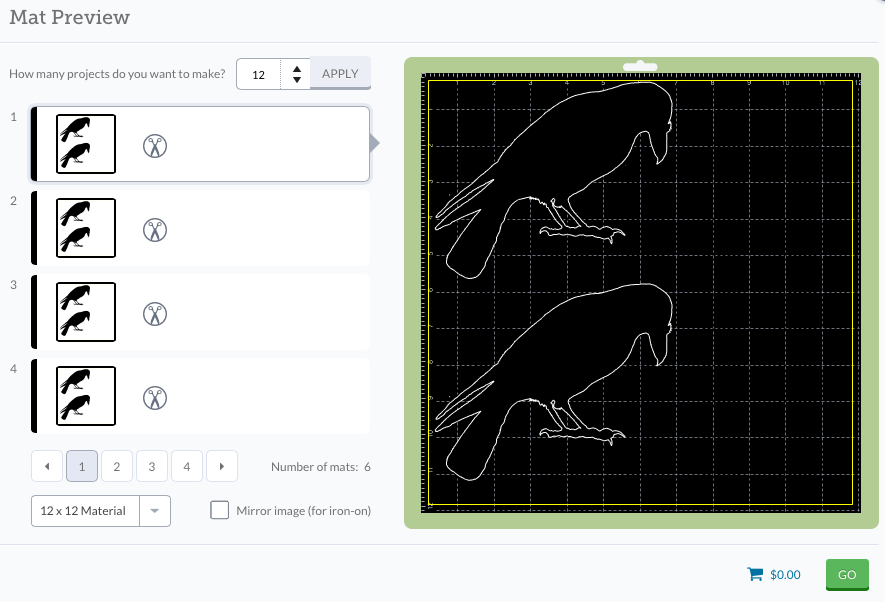
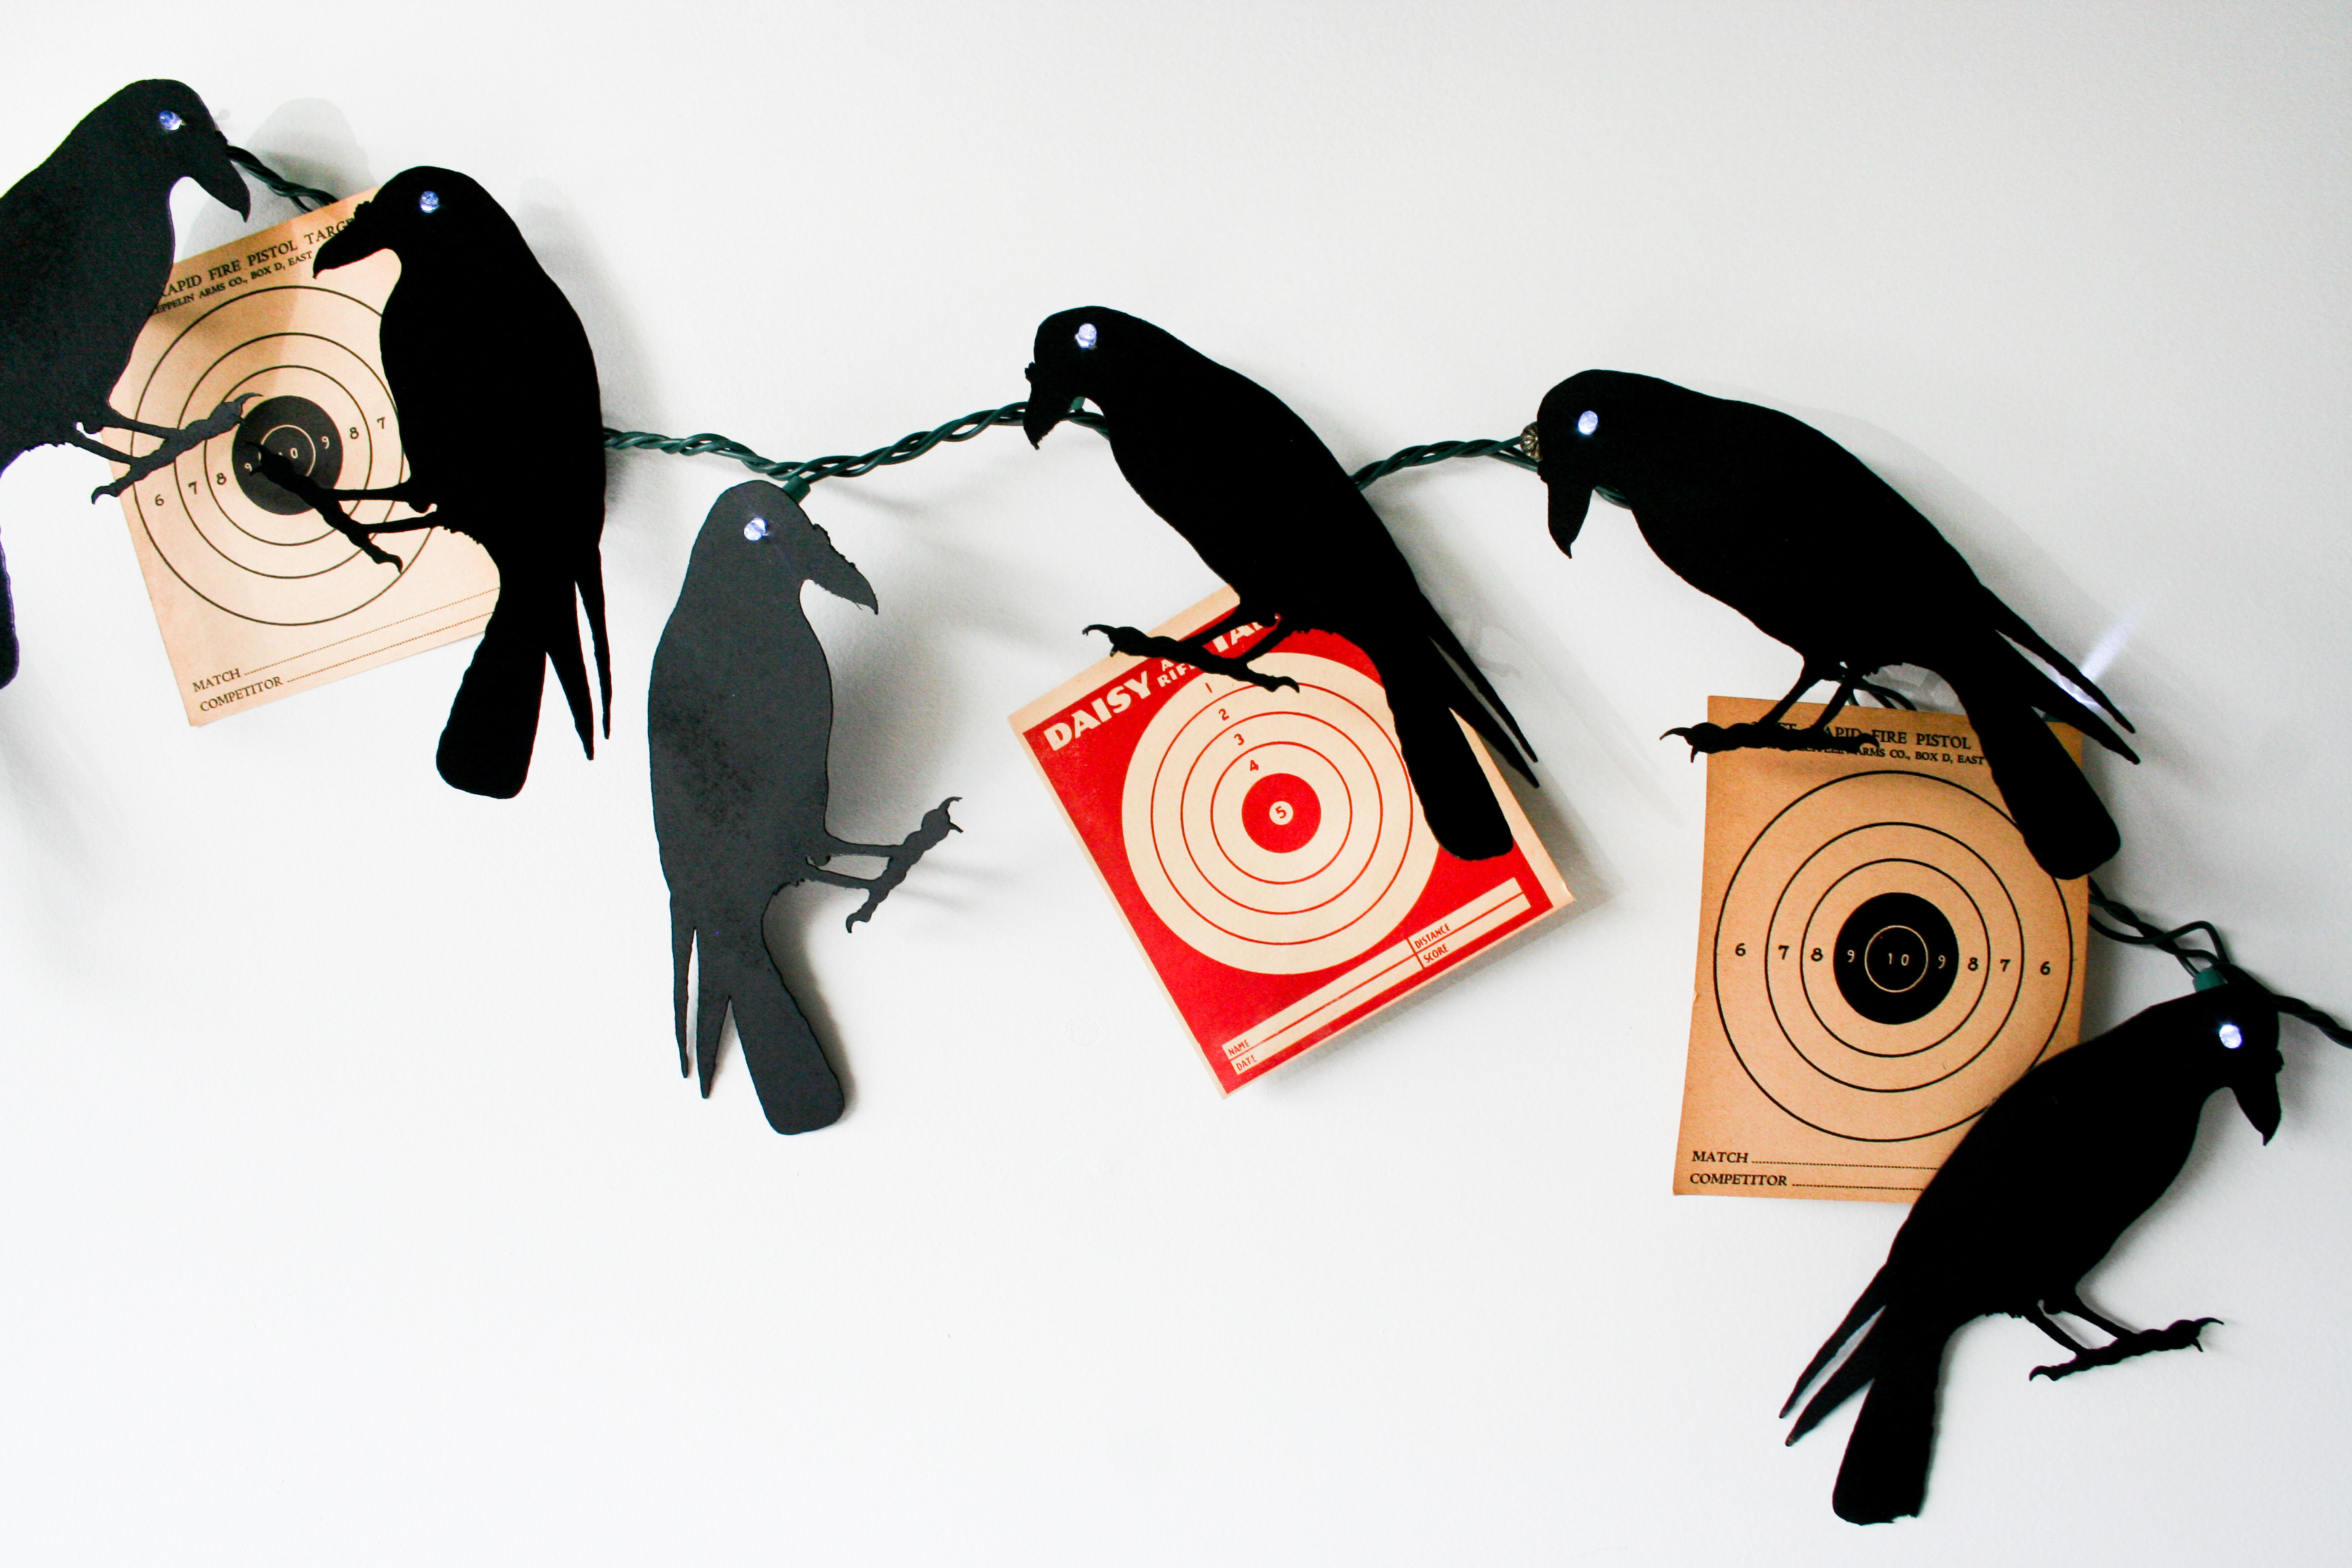
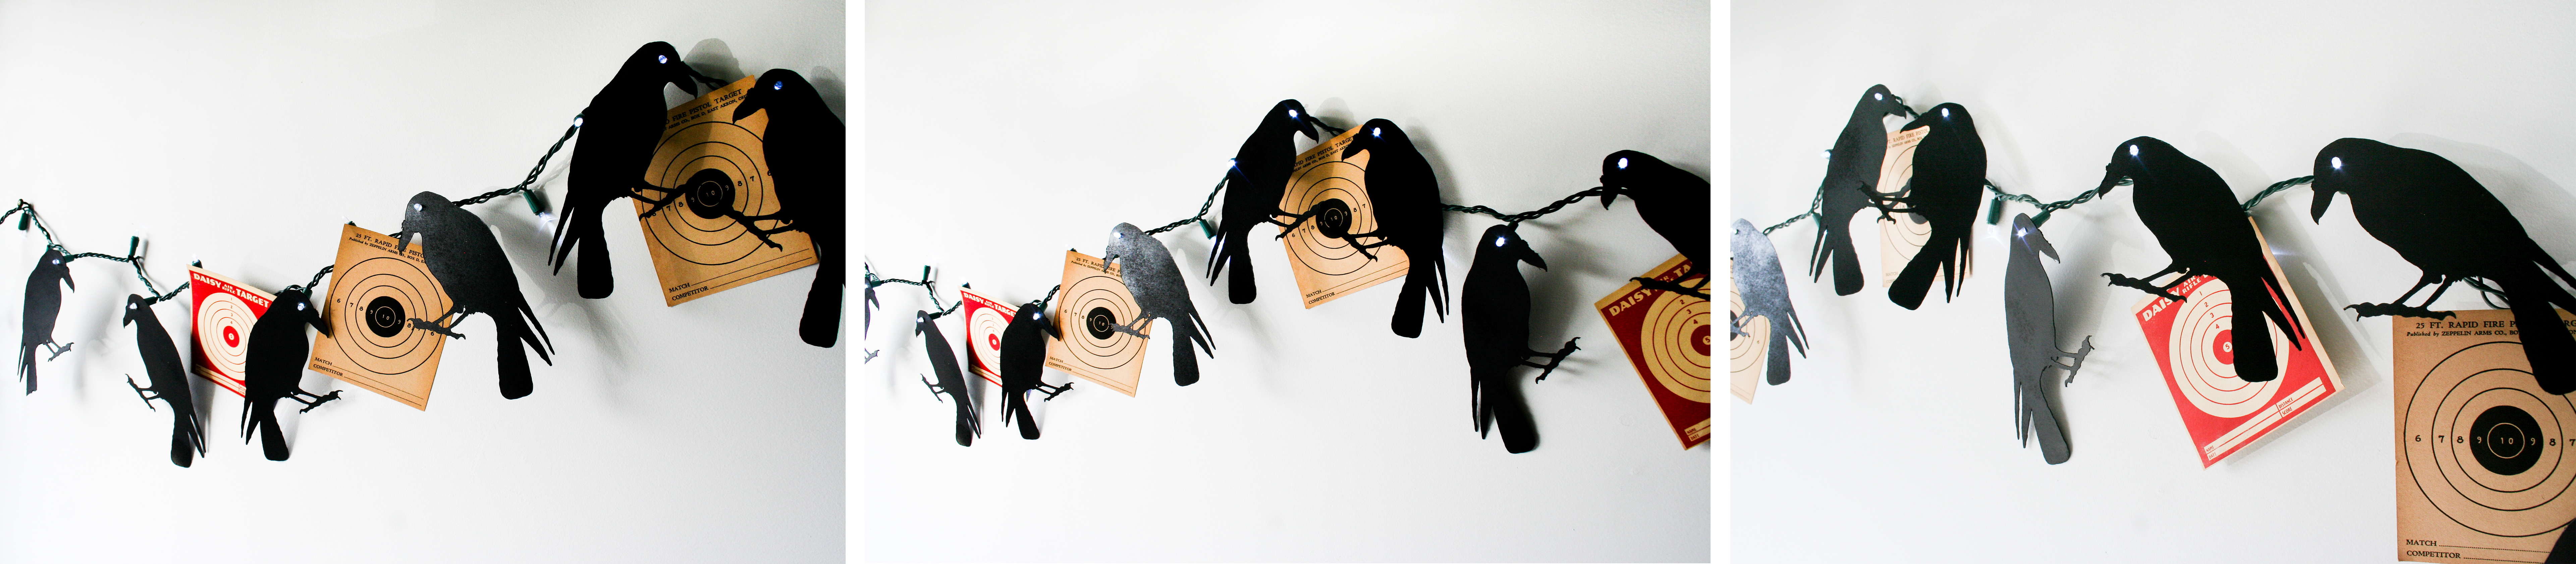
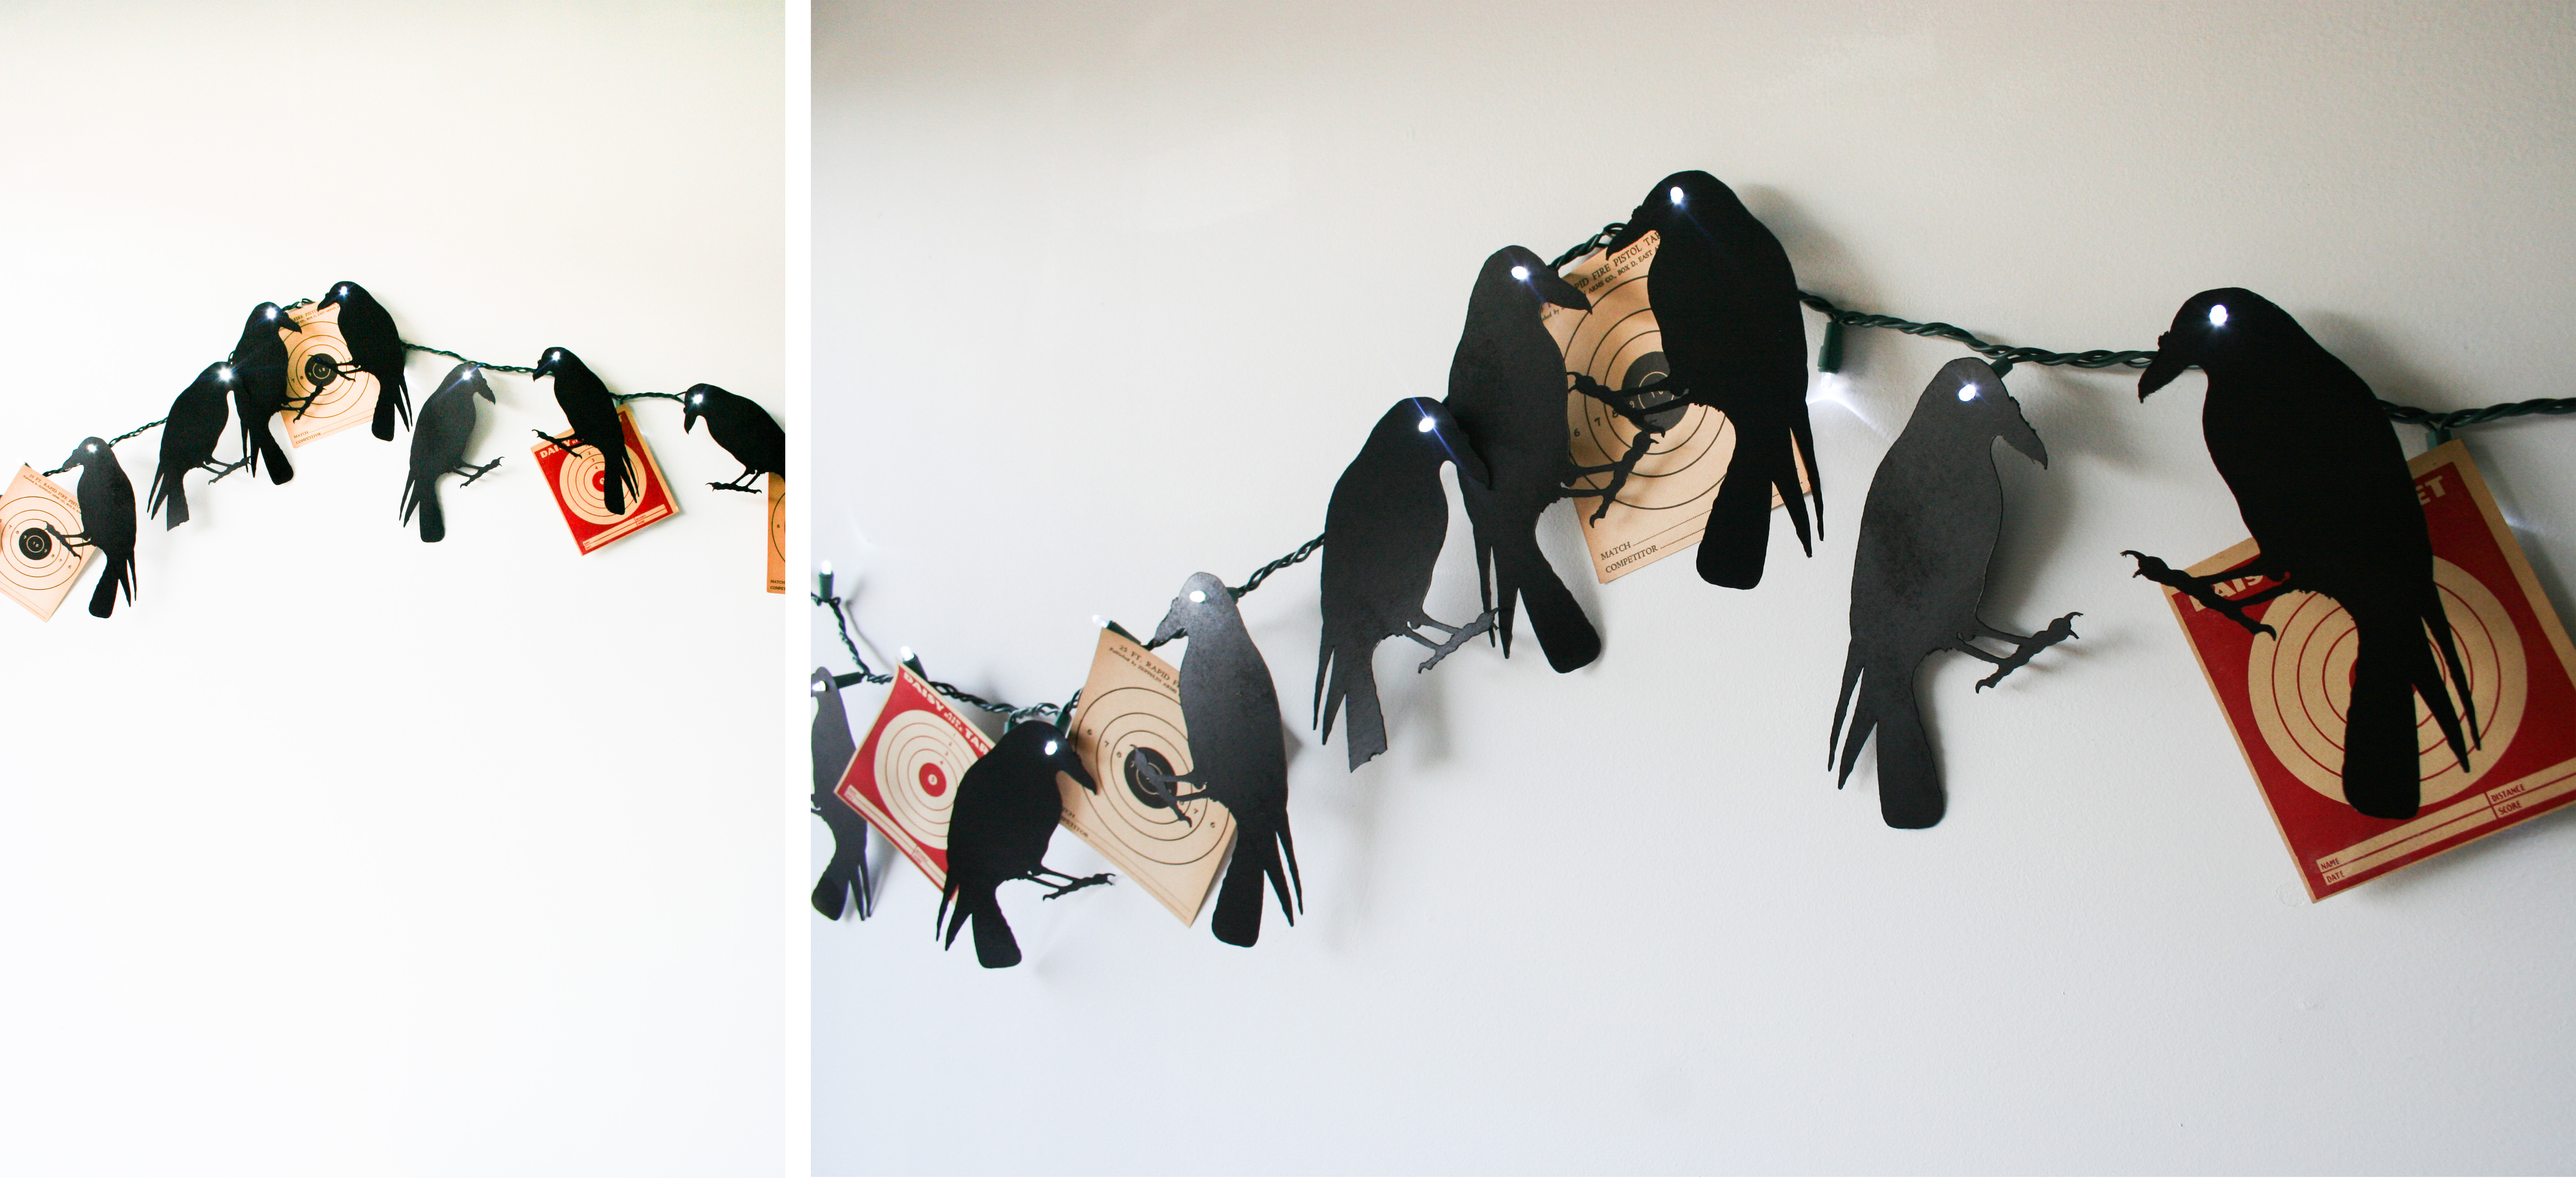
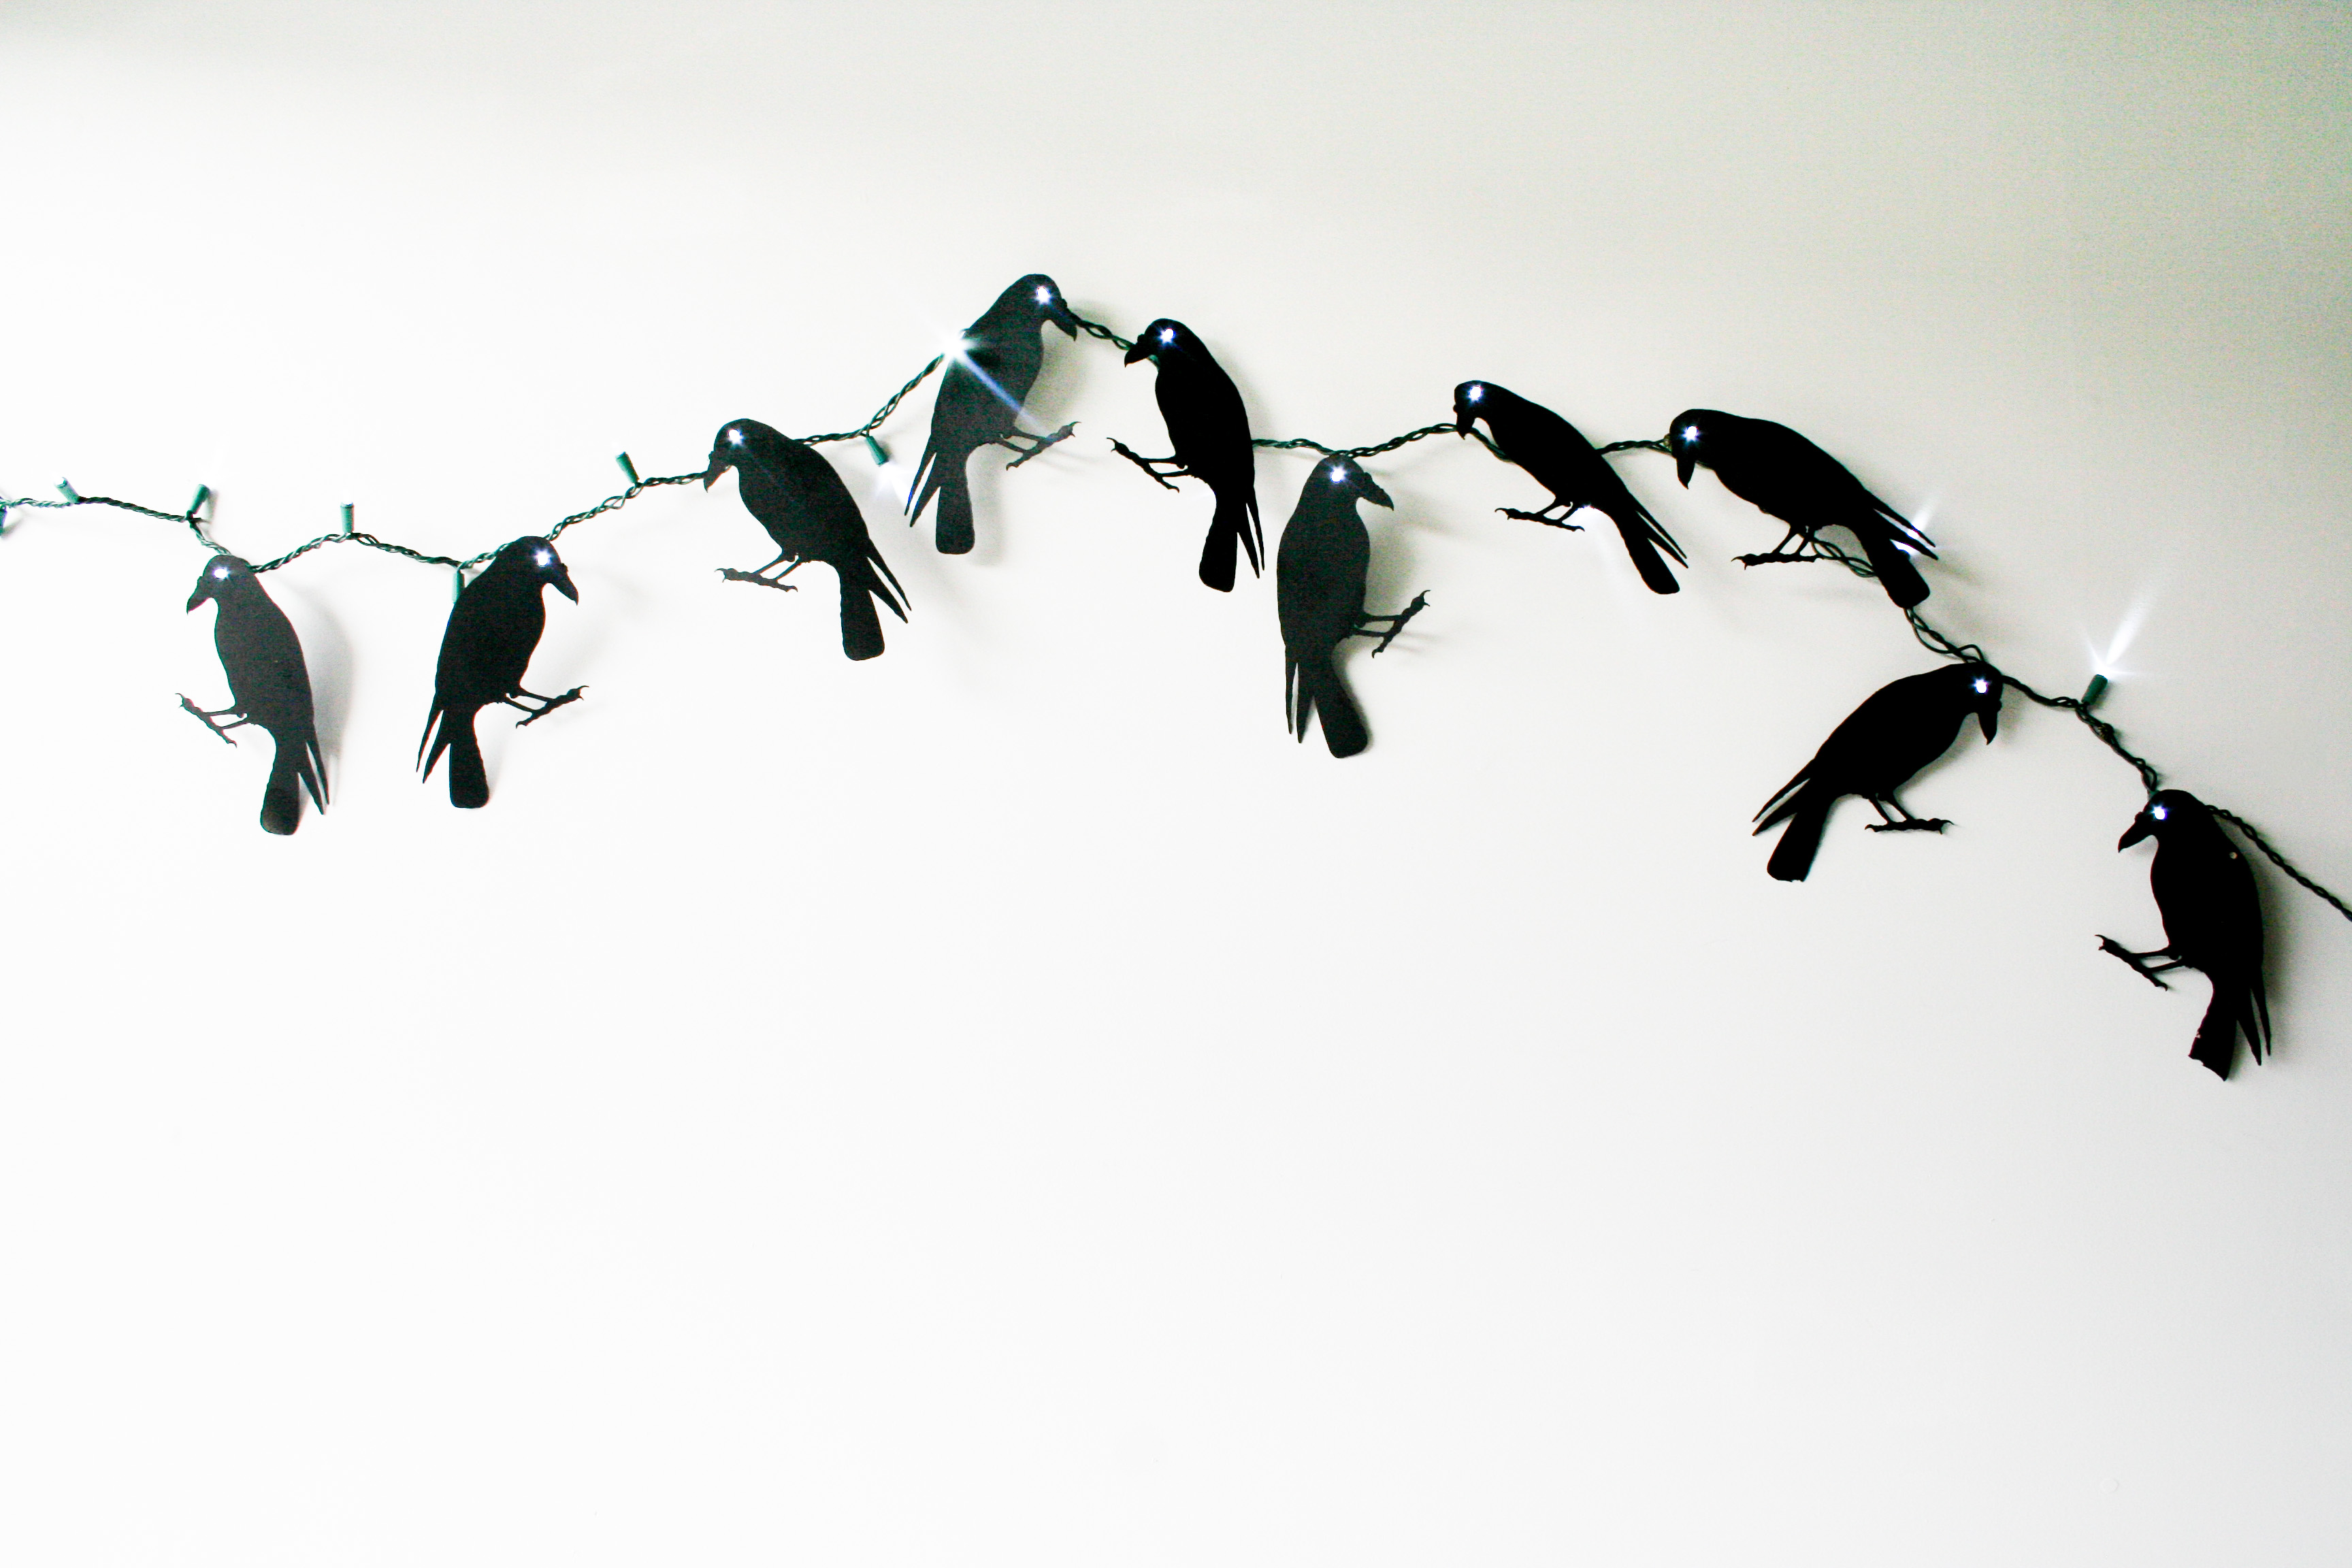
Step 4: Once the Cricut is done, remove the mat from the machine and CAREFULLY remove the chipboard from the mat. Be VERY careful around the leg and beak areas as the cuts gets a little thin there.
Step 5: After cutting out all of your crows, lay them on a tarp, spray paint black, and let dry. Flip them over and spray paint the reverse.
Step 6: Drill or poke holes in the eye areas of the crows. Just eyeball it … pun intended!
Step 7: Poke the lights through the holes in the eyes and use adhesive glue dots to attach a few targets. And that’s it! The crows hang on the lights. So easy!
Step 8: Hang and enjoy!
NOTE: PLEASE DO NOT LEAVE THE LIGHTS ON WHEN YOU ARE AWAY FROM HOME! The LED lights are cooler than most other lights, but still err on the side of caution and do not leave the lights on for more than a few hours at a time. Remember, that is paper and chipboard on hot lights!
Don’t have a Cricut, but willing to spend time cutting these out by hand? Get your PDF right here.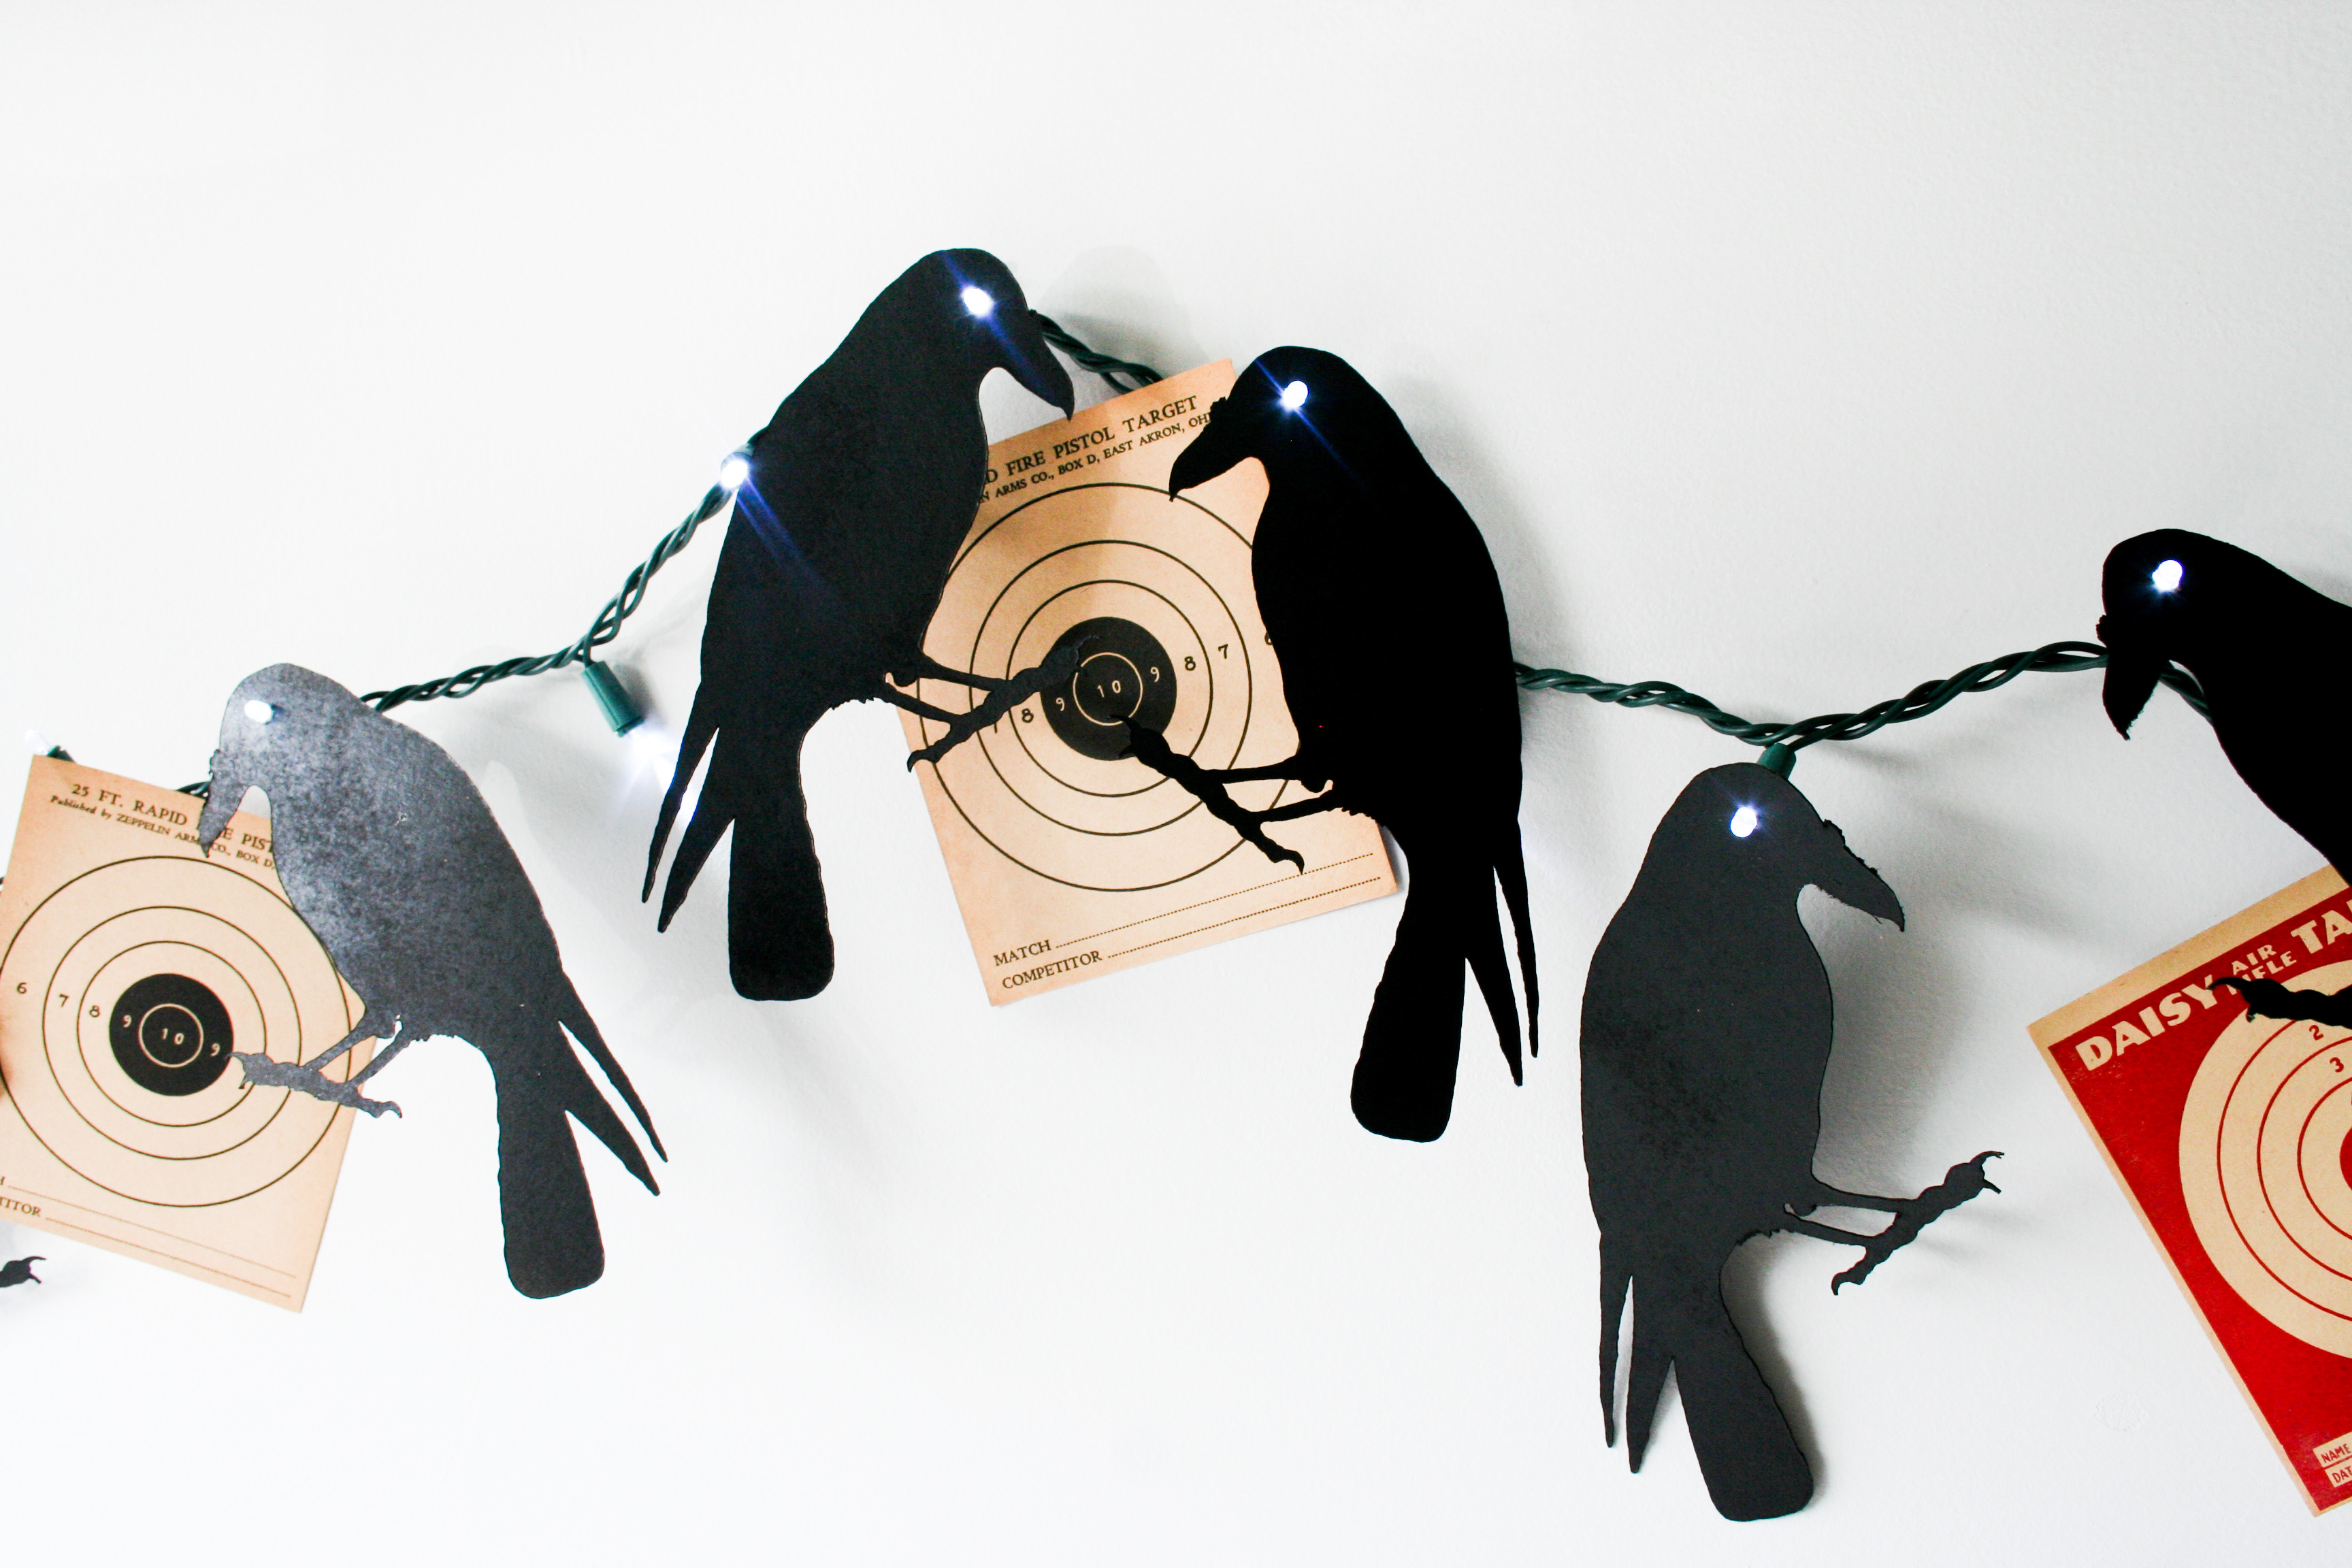
And if you haven’t yet purchased a Cricut Explore (and really, why haven’t you?) don’t forget to use coupon code HALLOWEEN31 for FREE SHIPPING on orders of $31+.
And be sure to check back in November for some more Holiday DIY crafting with Cricut and a few surprises! (Get excited!)
Disclaimer: I’ve been invited to work with Cricut. For my participation in Cricut’s Design Space Star competition, Provo Craft & Novelty, Inc. gave me a Cricut Explore. The Cricut Explore and access to Cricut’s Design Space featured in this post has been provided by them, but the ideas and opinions here are all my own. I am a member of the Cricut Blogger Network. I may receive prizes in exchange for my winning projects. (Fingers crossed!) Even though I am not being directly compensated for these posts, I am under consideration for a prize with Cricut Design Space Star™.
Turkey Shoot Thanksgiving Tablescape with DIY Crafts
Monday 12th of October 2015
[…] decorate for Thanksgiving dinner! Carrying on with my bird themed Halloween cake topper and garland, I thought I would design a beautiful, vintage-inspired Turkey Shoot tablescape! Using your Cricut […]
Kate Wilson
Sunday 15th of February 2015
Do you ever sell these ready made? I'd be interested to know how much they cost if so. Just the set of crows would be great!