
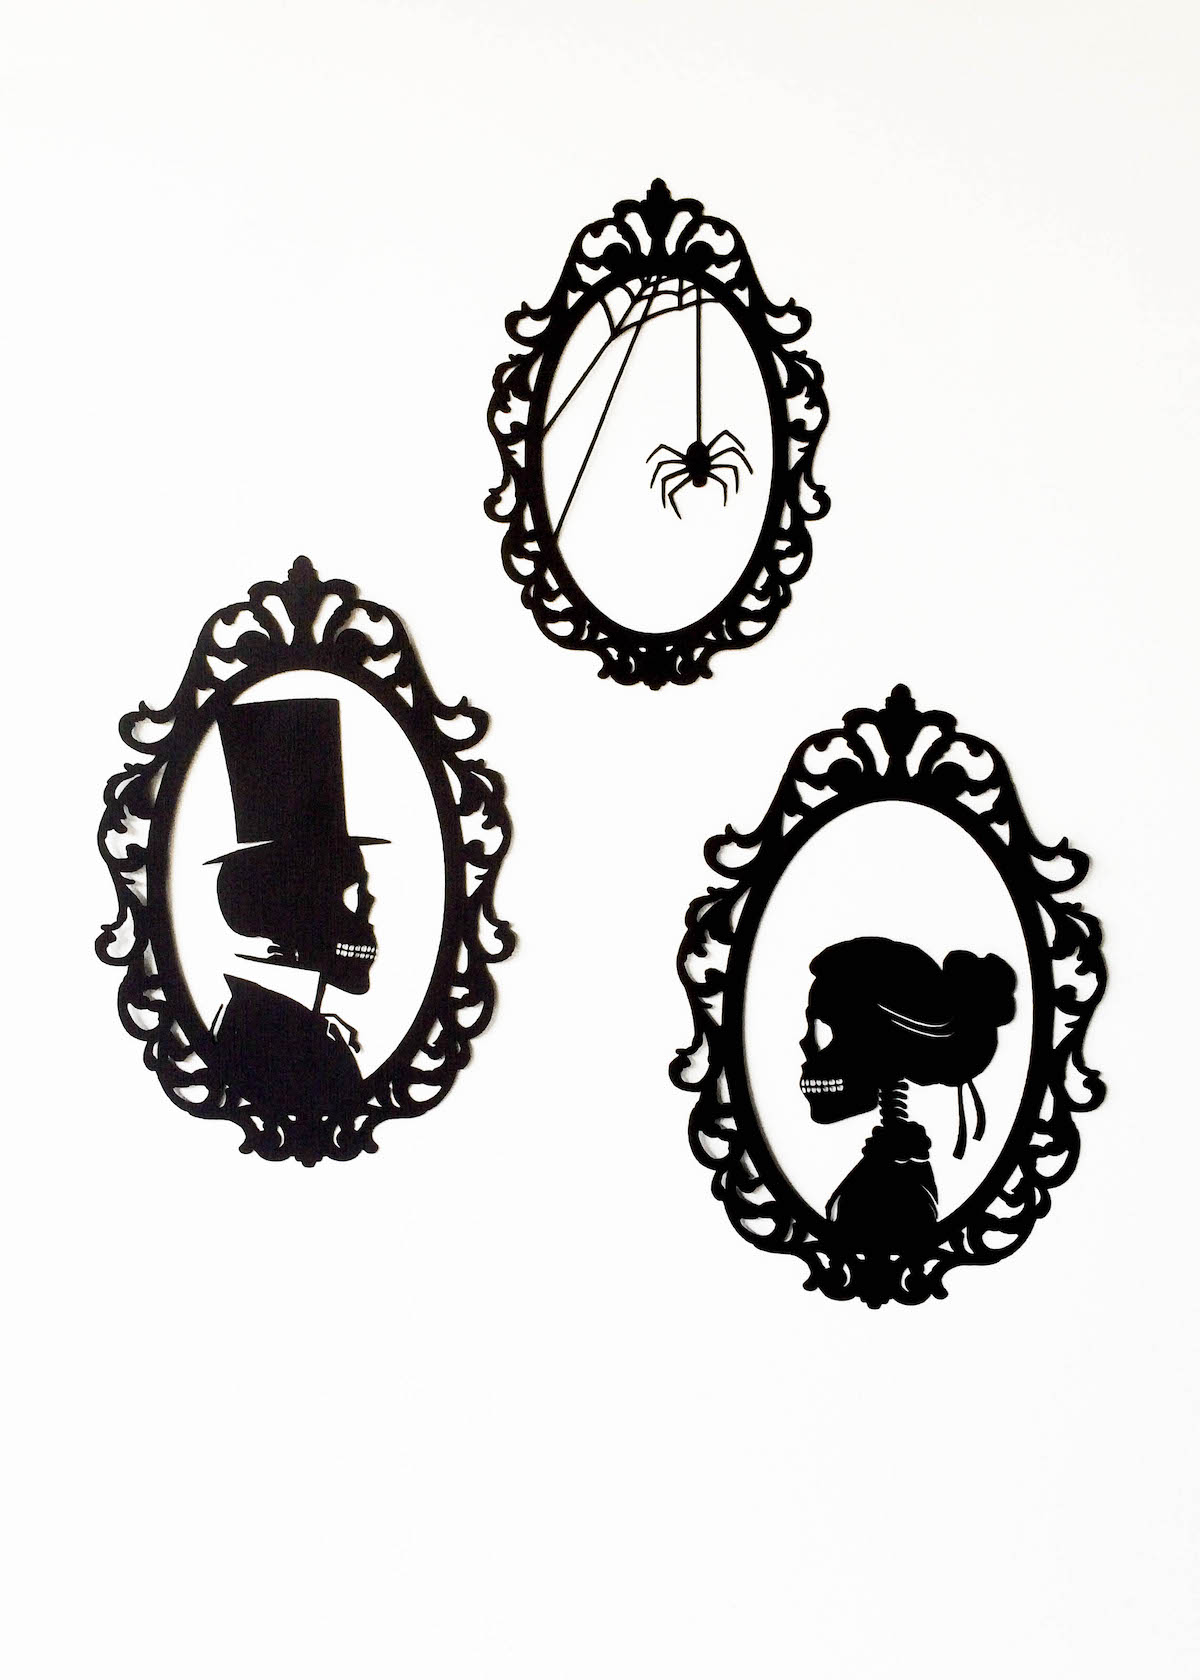
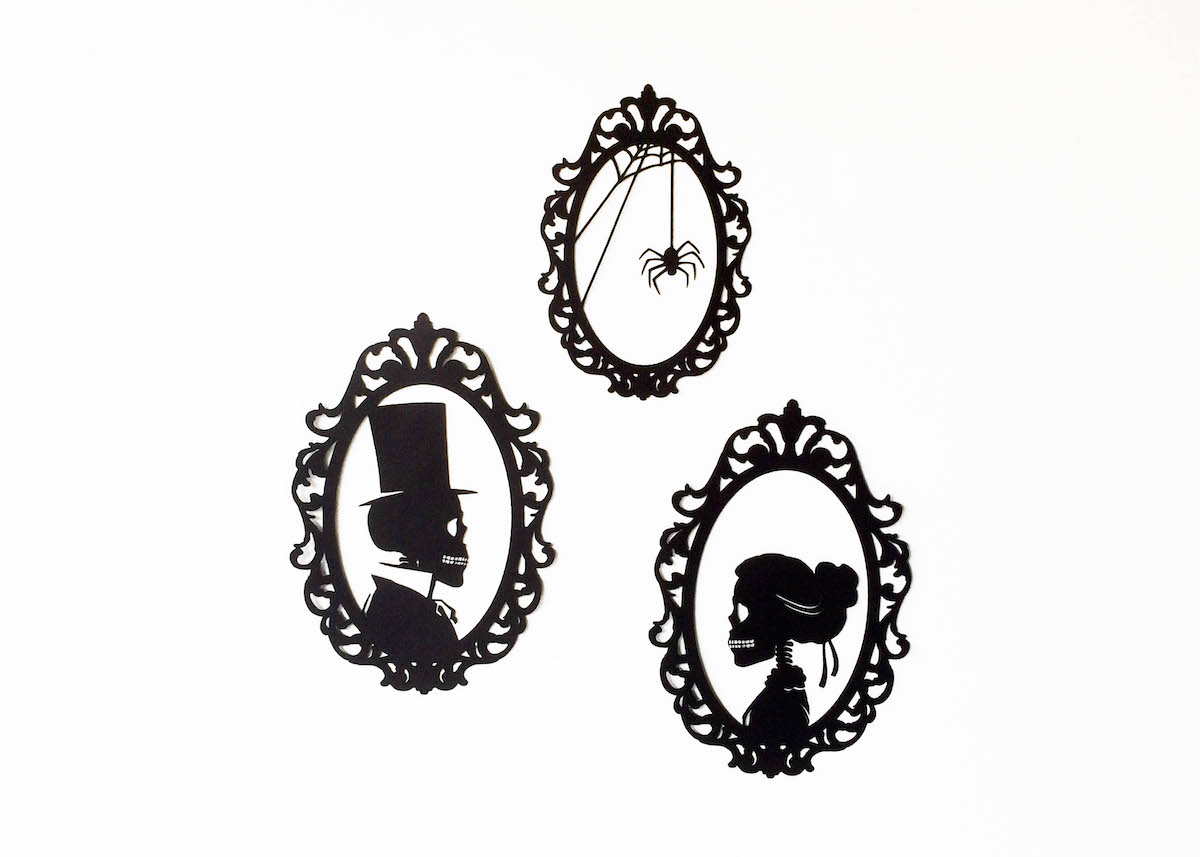
These Halloween Skeleton and Spider Silhouettes look like real, old-timey antique paper cut-out silhouettes and they’re super easy to make with a Cricut or paper cutting machine. I’ve included Free SVG File Downloads at the end of this post so you can make them yourself!
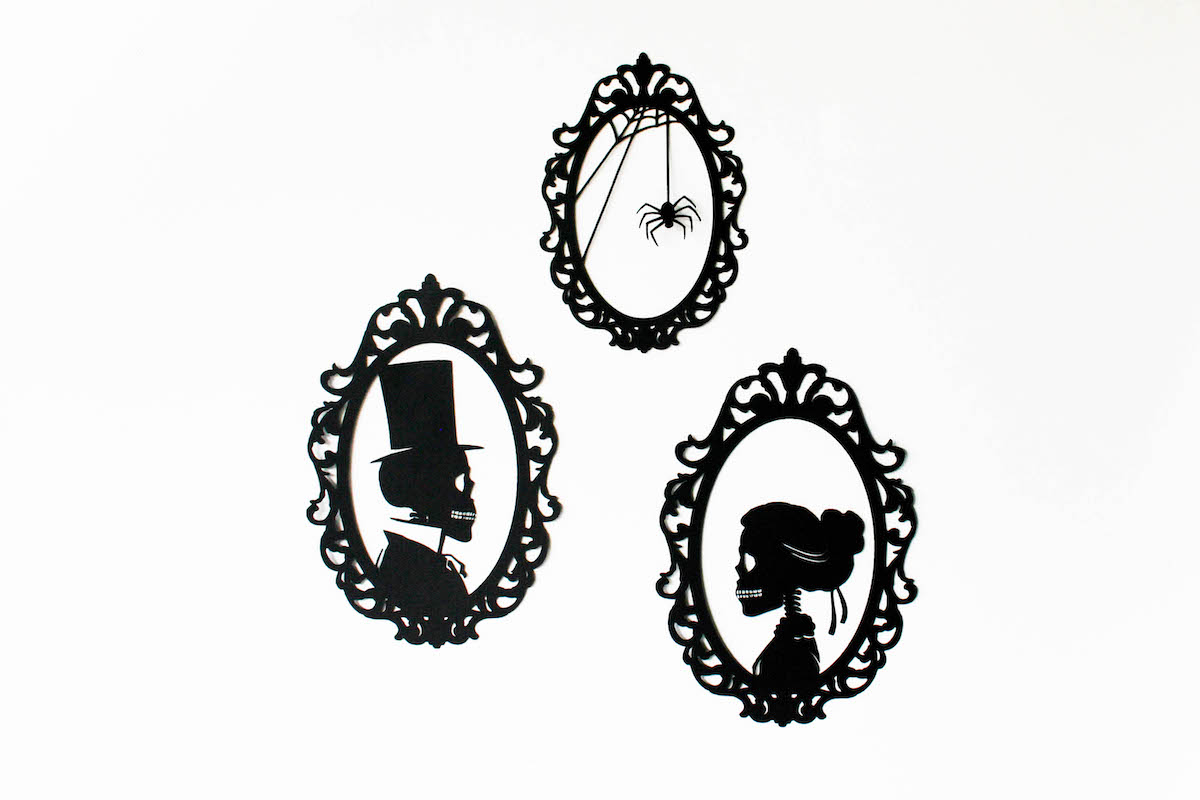

Halloween DIY Skeleton and Spider Silhouettes
Free SVG Download!
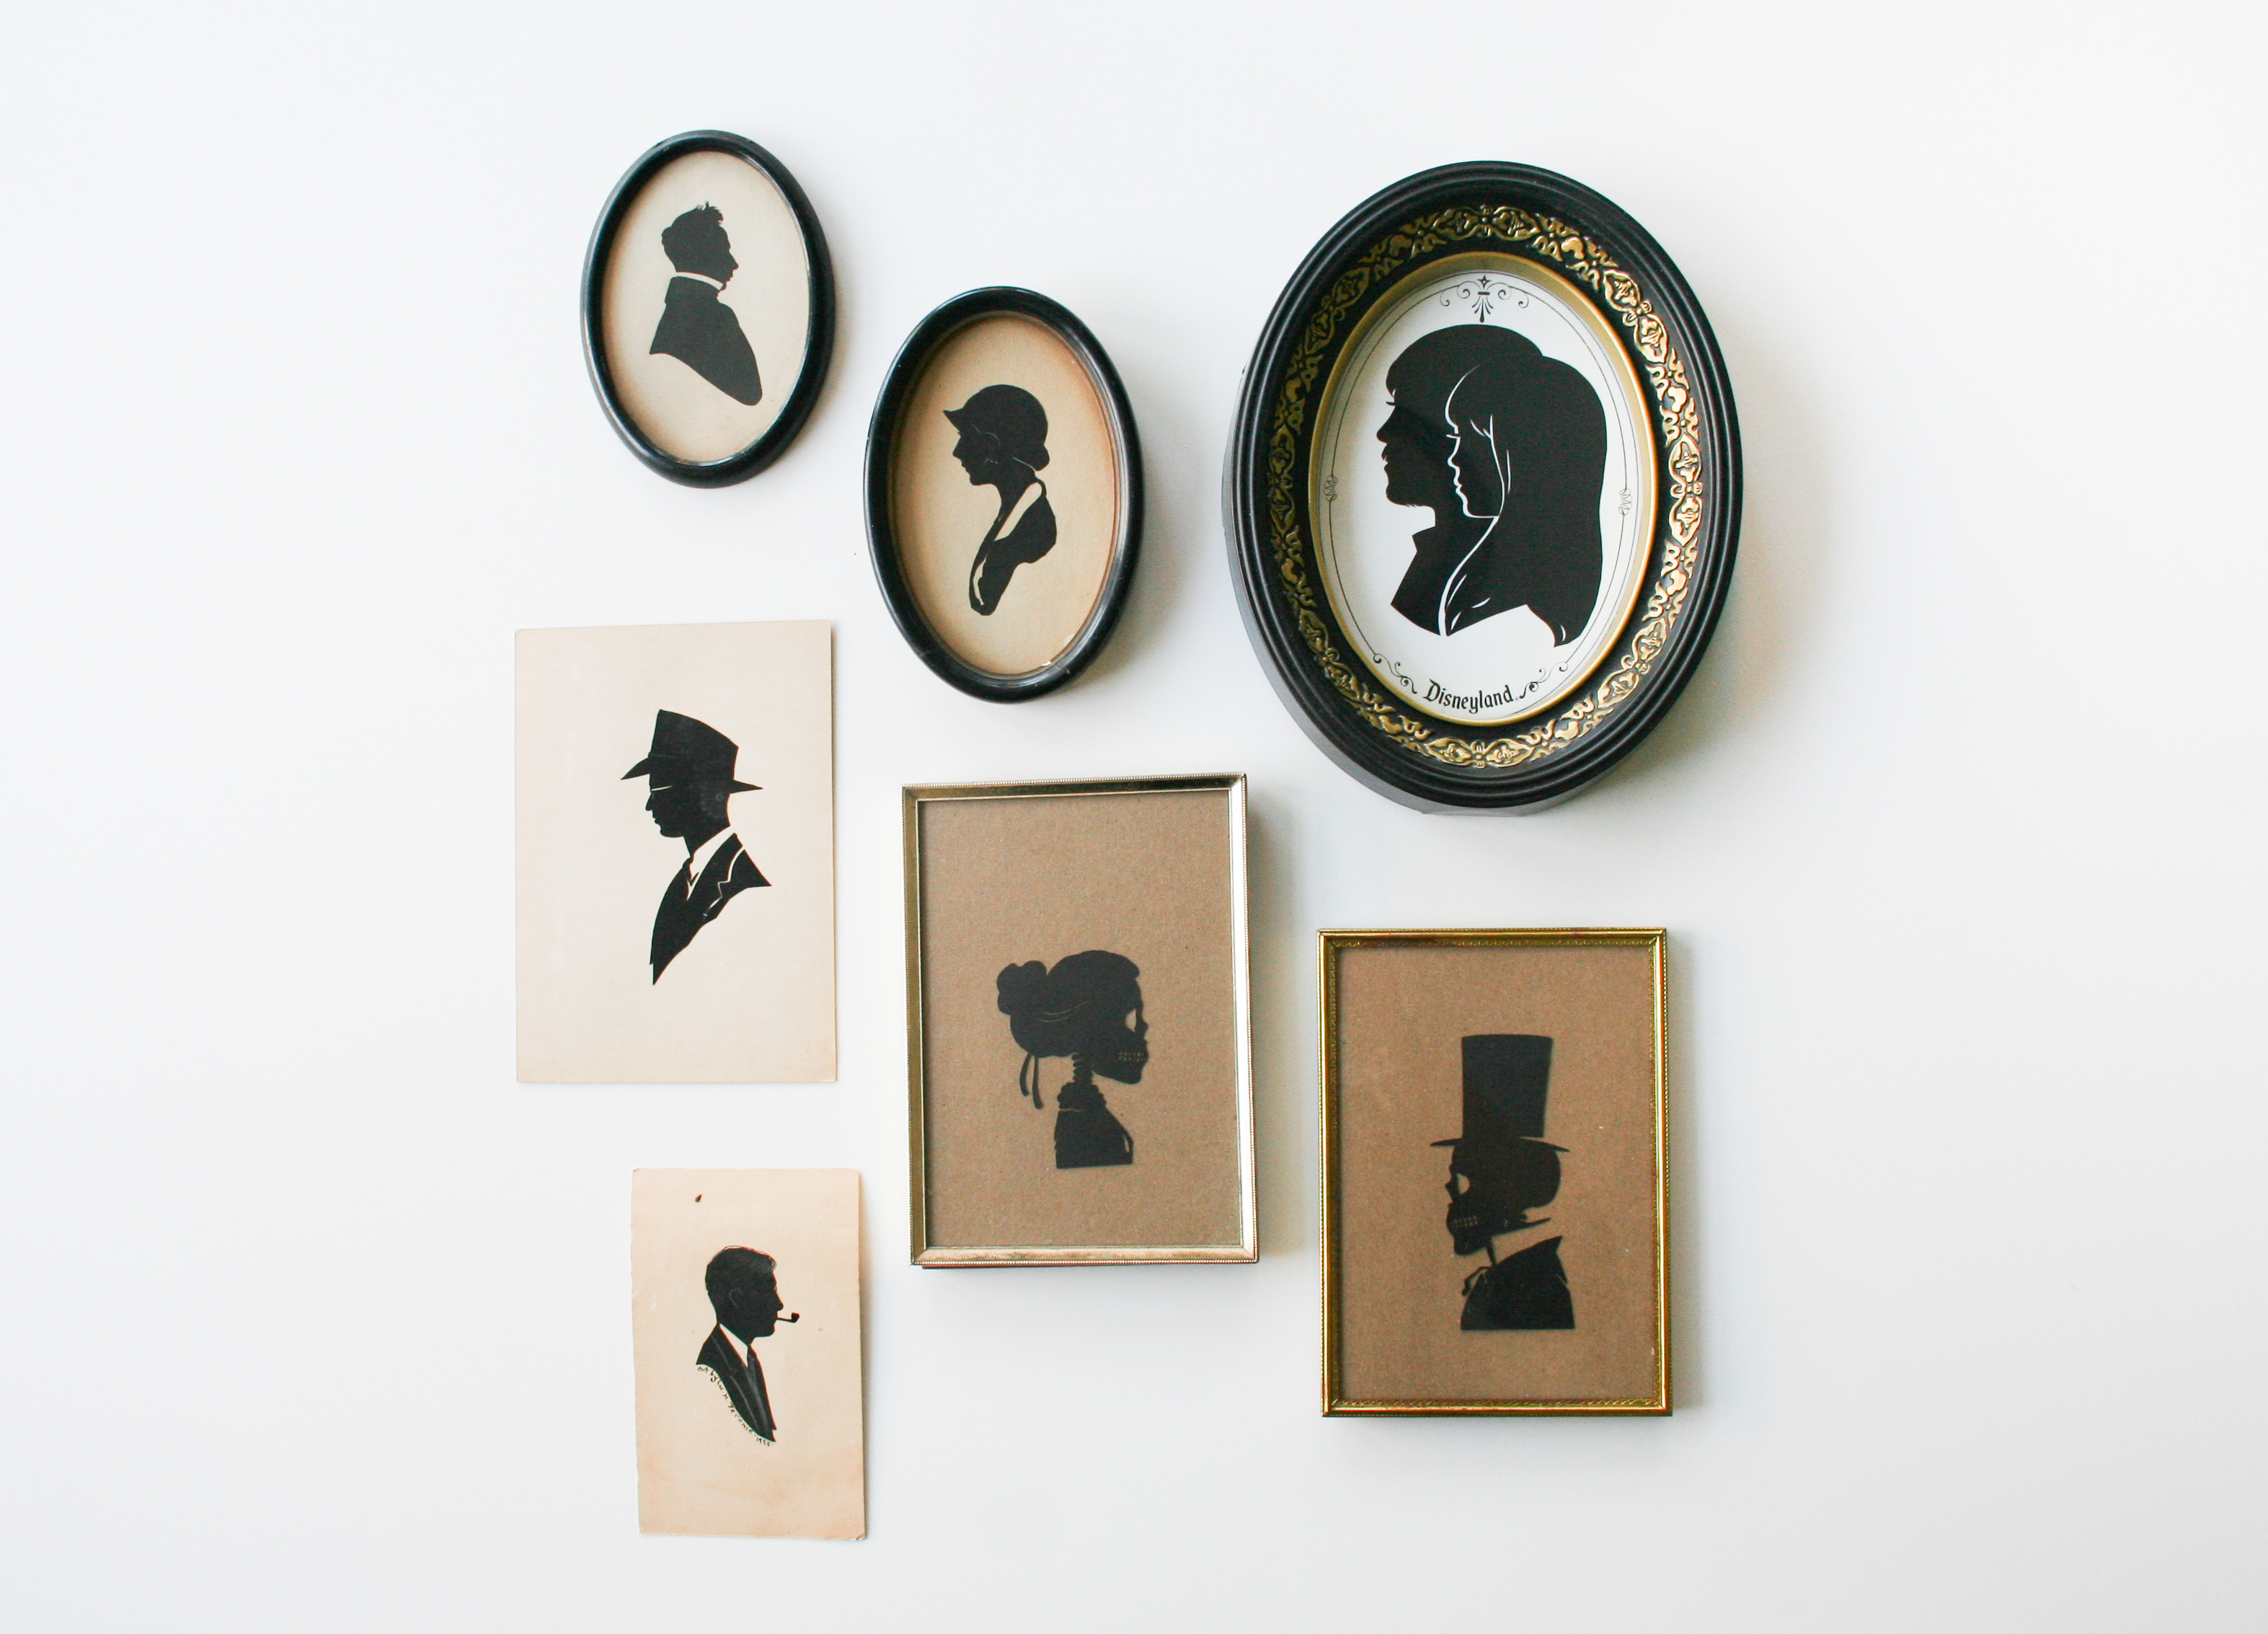
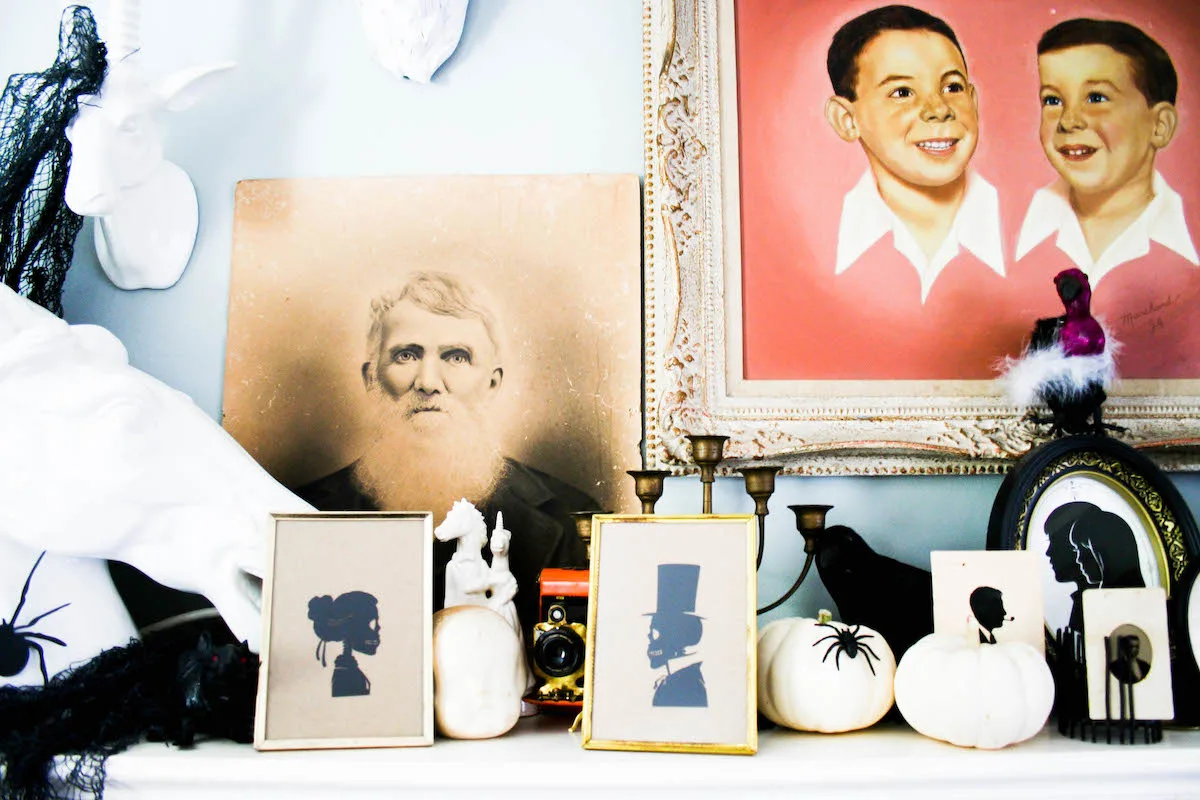
I made these using my Cricut Explore so they look like real, old-timey, handcut silhouettes, you know, like the ones you get at Disneyland! Don’t they fit right in with my antique and Disneyland silhouette collection?

Before we dive into the project, let’s chat for a hot minute about the Cricut Explore.
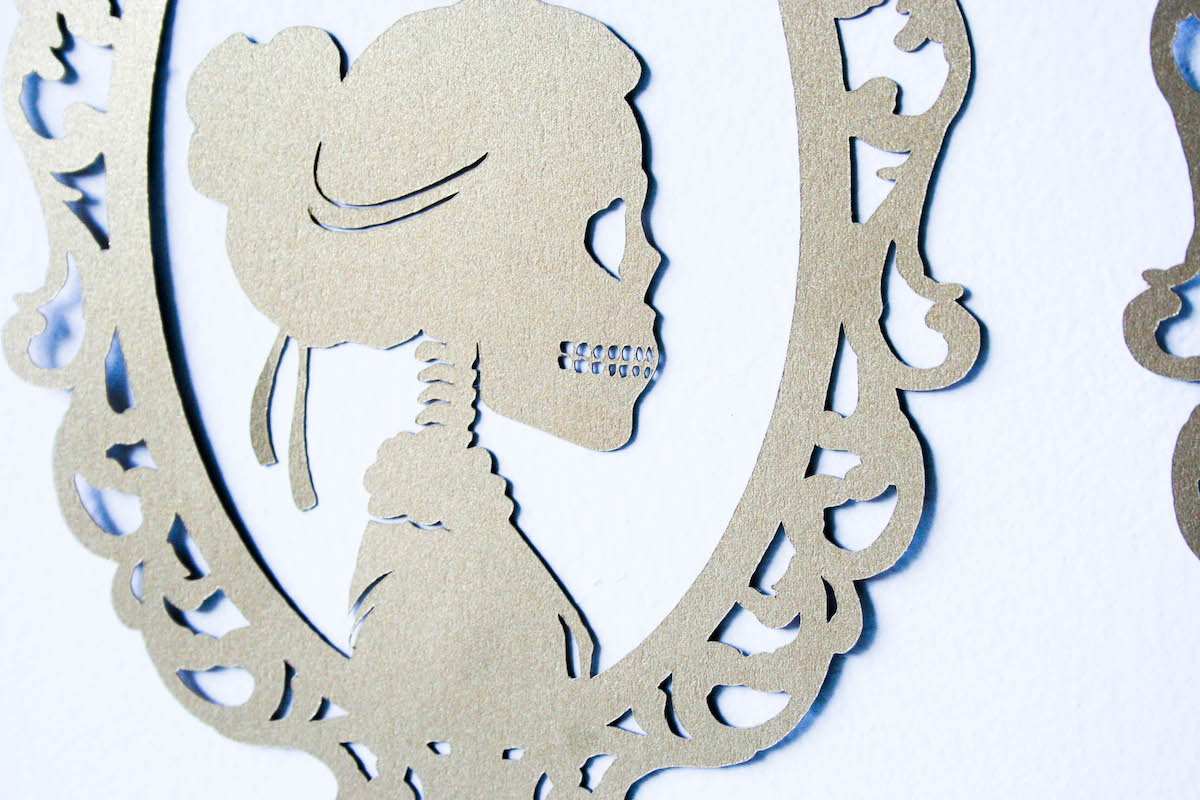
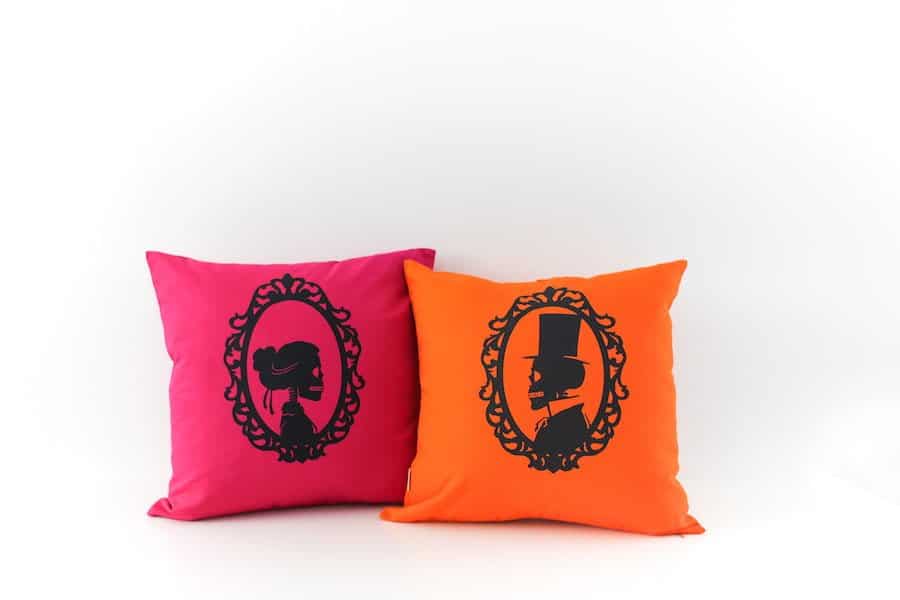
First of all, I was blown away by these silhouettes when I pulled them out of the machine. BLOWN AWAY.
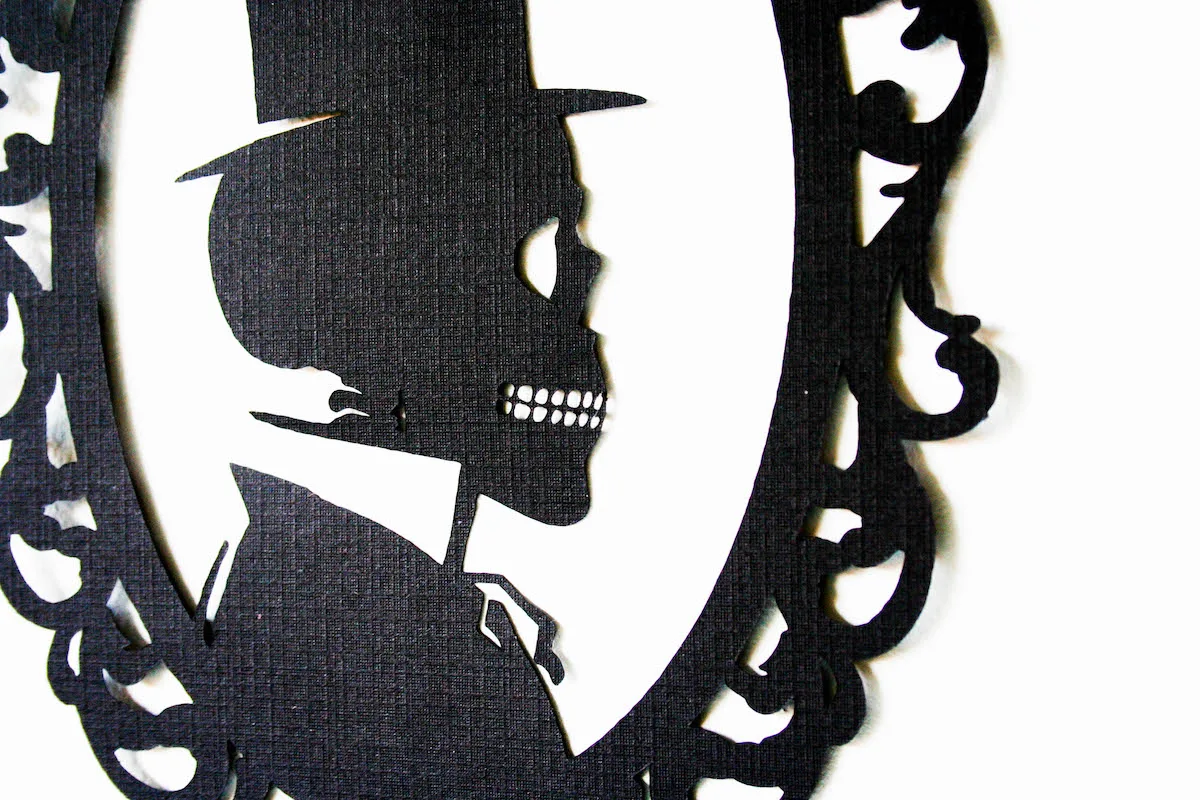
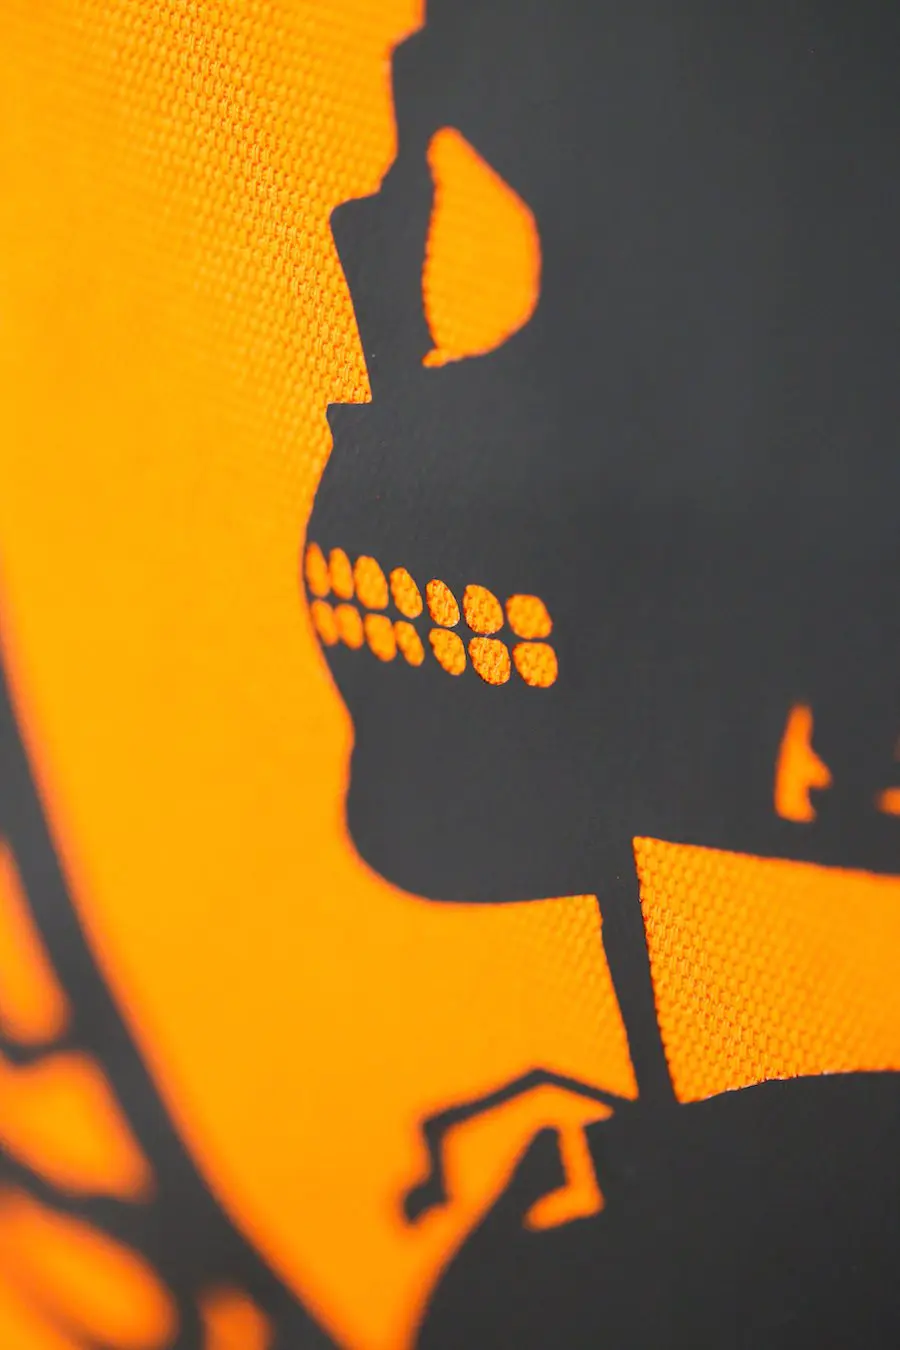
Look at that detail!

Plus, this was only my 4th project I’ve ever made using a Cricut paper cutting machine. I’m still a newbie. Seriously, if I can do this, you can do this. I hadn’t been interested in any of the die-cutting machines before the Cricut Explore because you had to use their designs, and I like being a little bit more … one-of-a-kind. But, with the Cricut Explore, you can upload YOUR OWN DESIGNS! So cool right? And, the Cricut can cut so many different types of materials including paper, card stock, felt, fabric, metal, and wood!
So go throw away your scissors! You won’t need them anymore!
Ok, so let’s get started making these haunting silhouettes. You’re going to need a few materials.
Materials Needed:
- Cricut Explore
- Cricut Weeding Tool
- 1 12×12 sheet of card stock – black, gold, your choice!
- Framed Skeleton Lady Silhouette SVG file – Free Download at bottom of post
- Framed Skeleton Man Silhouette SVG file -Free Download at bottom of post
- Framed Spider Silhouette SVG file -Free Download at bottom of post


Optional Materials:
- 1 12×12 sheet of card stock (in case of any mistakes)
- Vintage/Thrift frames, or
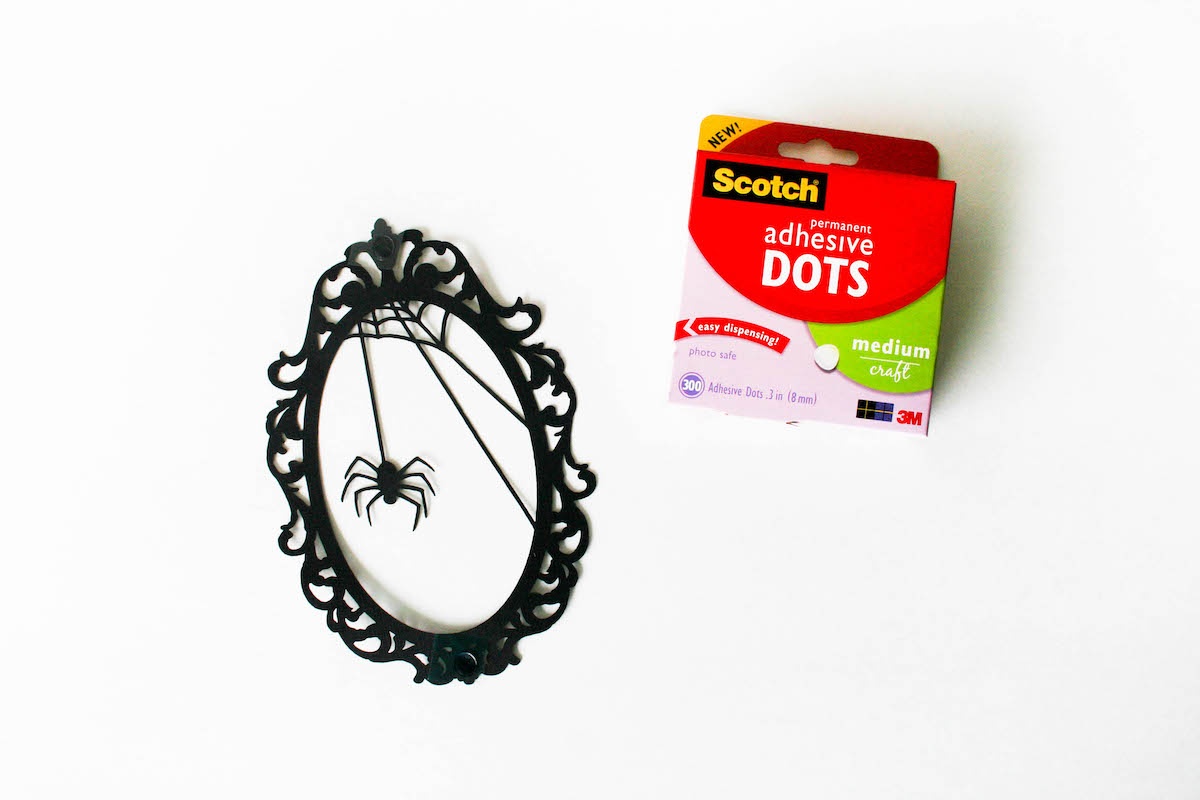
- Adhesive dots
- Cricut vinyl if you want to make these into window clings
- Cricut Tools Scraper – This would totally have helped me clean up and save time! Wish I had one!
Instructions:
My husband designed these silhouettes in Photoshop, then he exported them to Illustrator and I made SVG files, meaning they are vectorized files and you can make them as big or as small as you want.
(But not too small, those little teeth are pretty itty bitty, and yes, the Cricut can cut that small. BLOWN AWAY, right?)
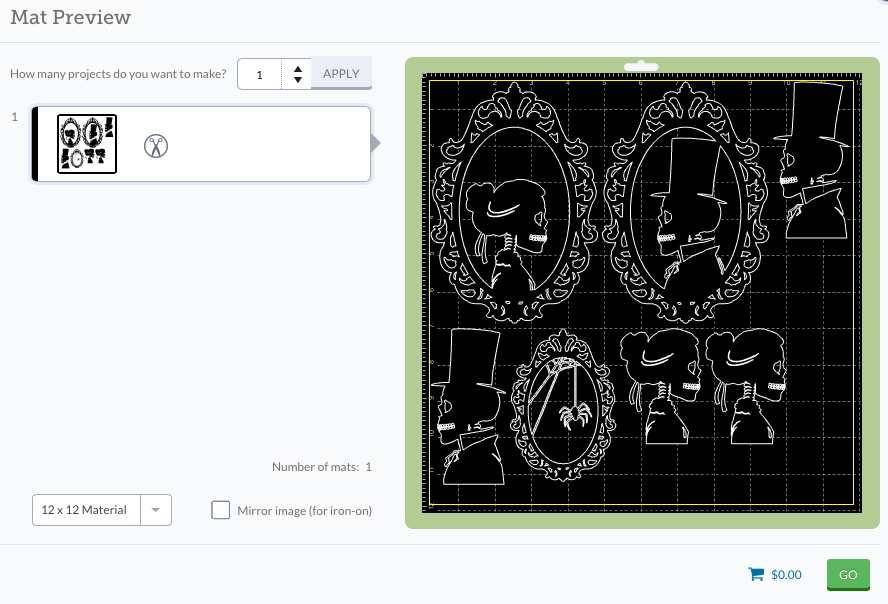
Step 1: In Cricut Design Space, simply start a new project, then click “Upload Image”, click “Vector Upload”, browse and choose the downloaded skeleton silhouette files, and click “Save Image”. Repeat the steps to upload the second silhouette. The two silhouettes will then be at the bottom of your screen, click on both of them, giving both a green checkmark, and click “Insert Images.”
Step 2: Remember how I said these are SVG files? Well, you can make them any size you would like. 4×6? Done. 5×7? Boom! 10×12? Okay! The only limitation is your Cricut mat. So go ahead and scale the silhouettes to the size you want them to be. They come with their own paper frames, so don’t worry about framing them!
Step 3: Once you have the images at the sizes you want, click the green GO button, follow the instructions to load the mat and then let the Cricut do all your dirty work cutting!
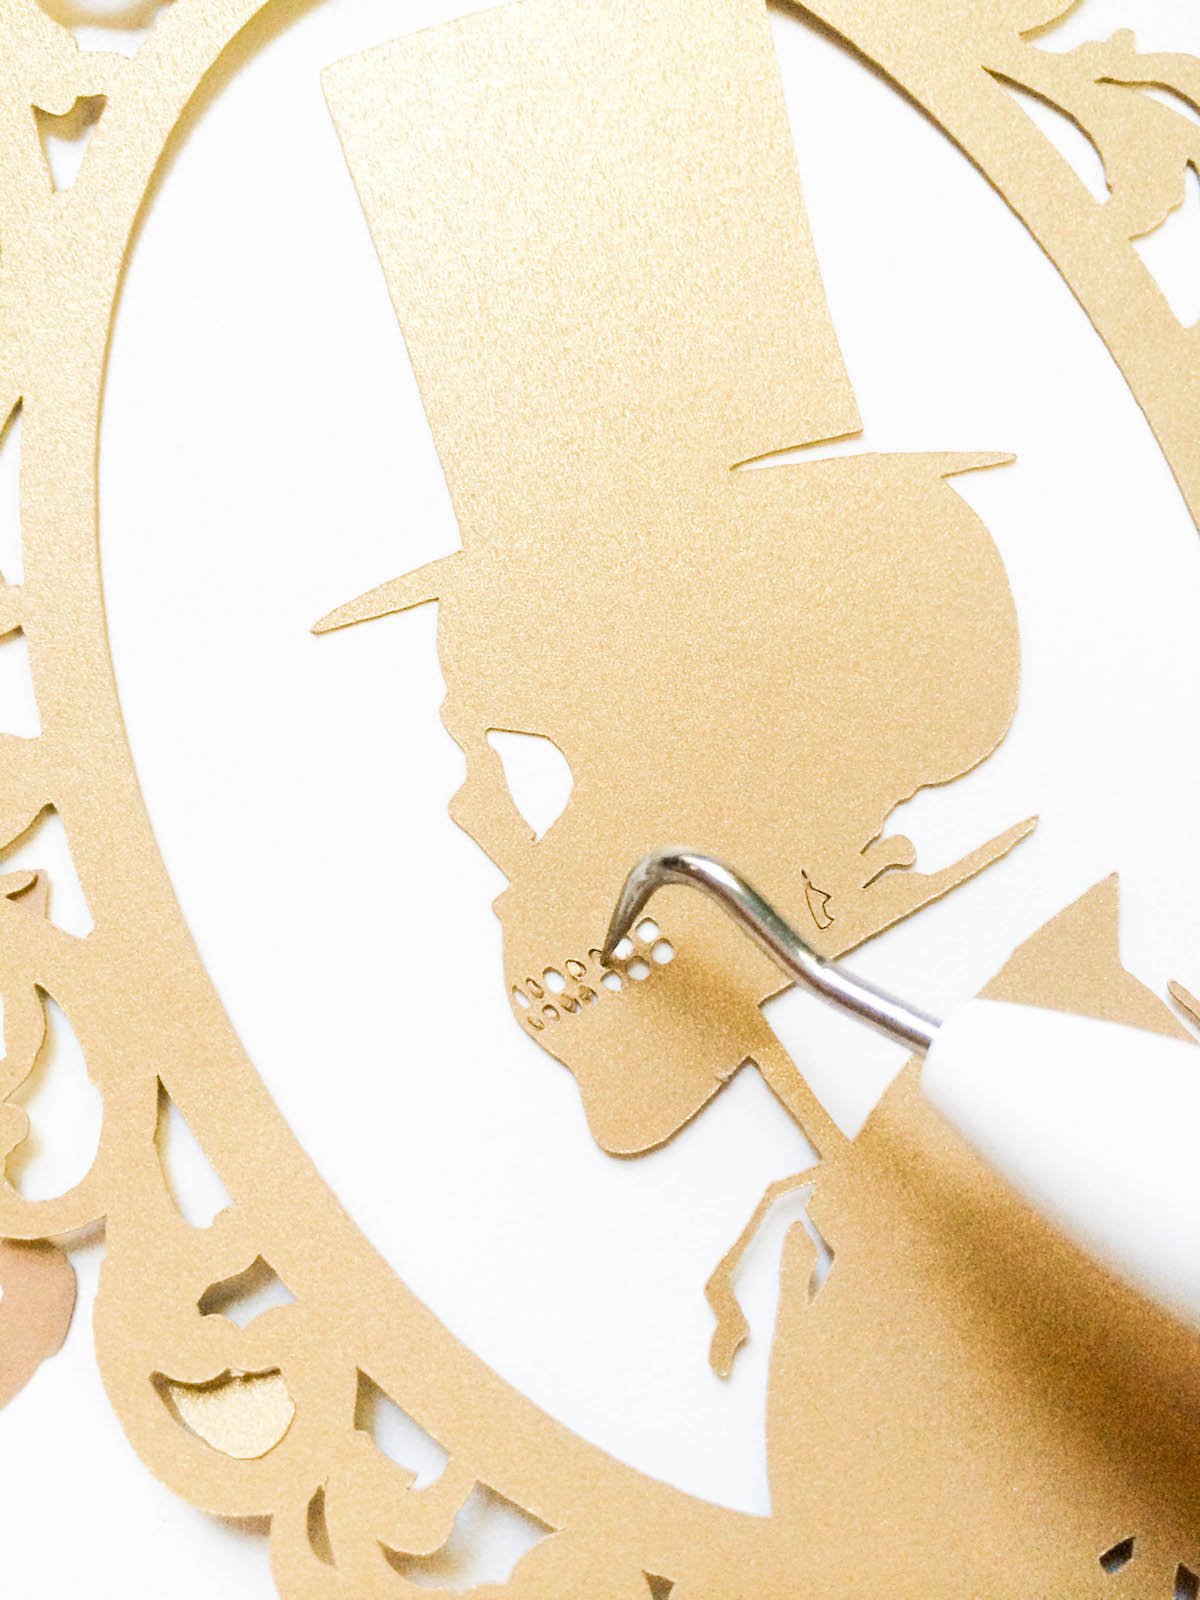
Step 4: Once the Cricut is done, remove the mat from the machine and CAREFULLY remove the paper from the mat. Be VERY careful around the neck areas, and her hair ribbons as the paper get a little thin there. Use the Cricut Weeder tool if you need to in order to get under the paper and help it off the mat.
Step 5: Use the Cricut Weeder Tool to remove any of the paper that you do not want. You will probably have some cuts in the frame and in the teeth that need to be helped out. And with that weeder tool, it’s just like your silhouettes are going to the dentist!

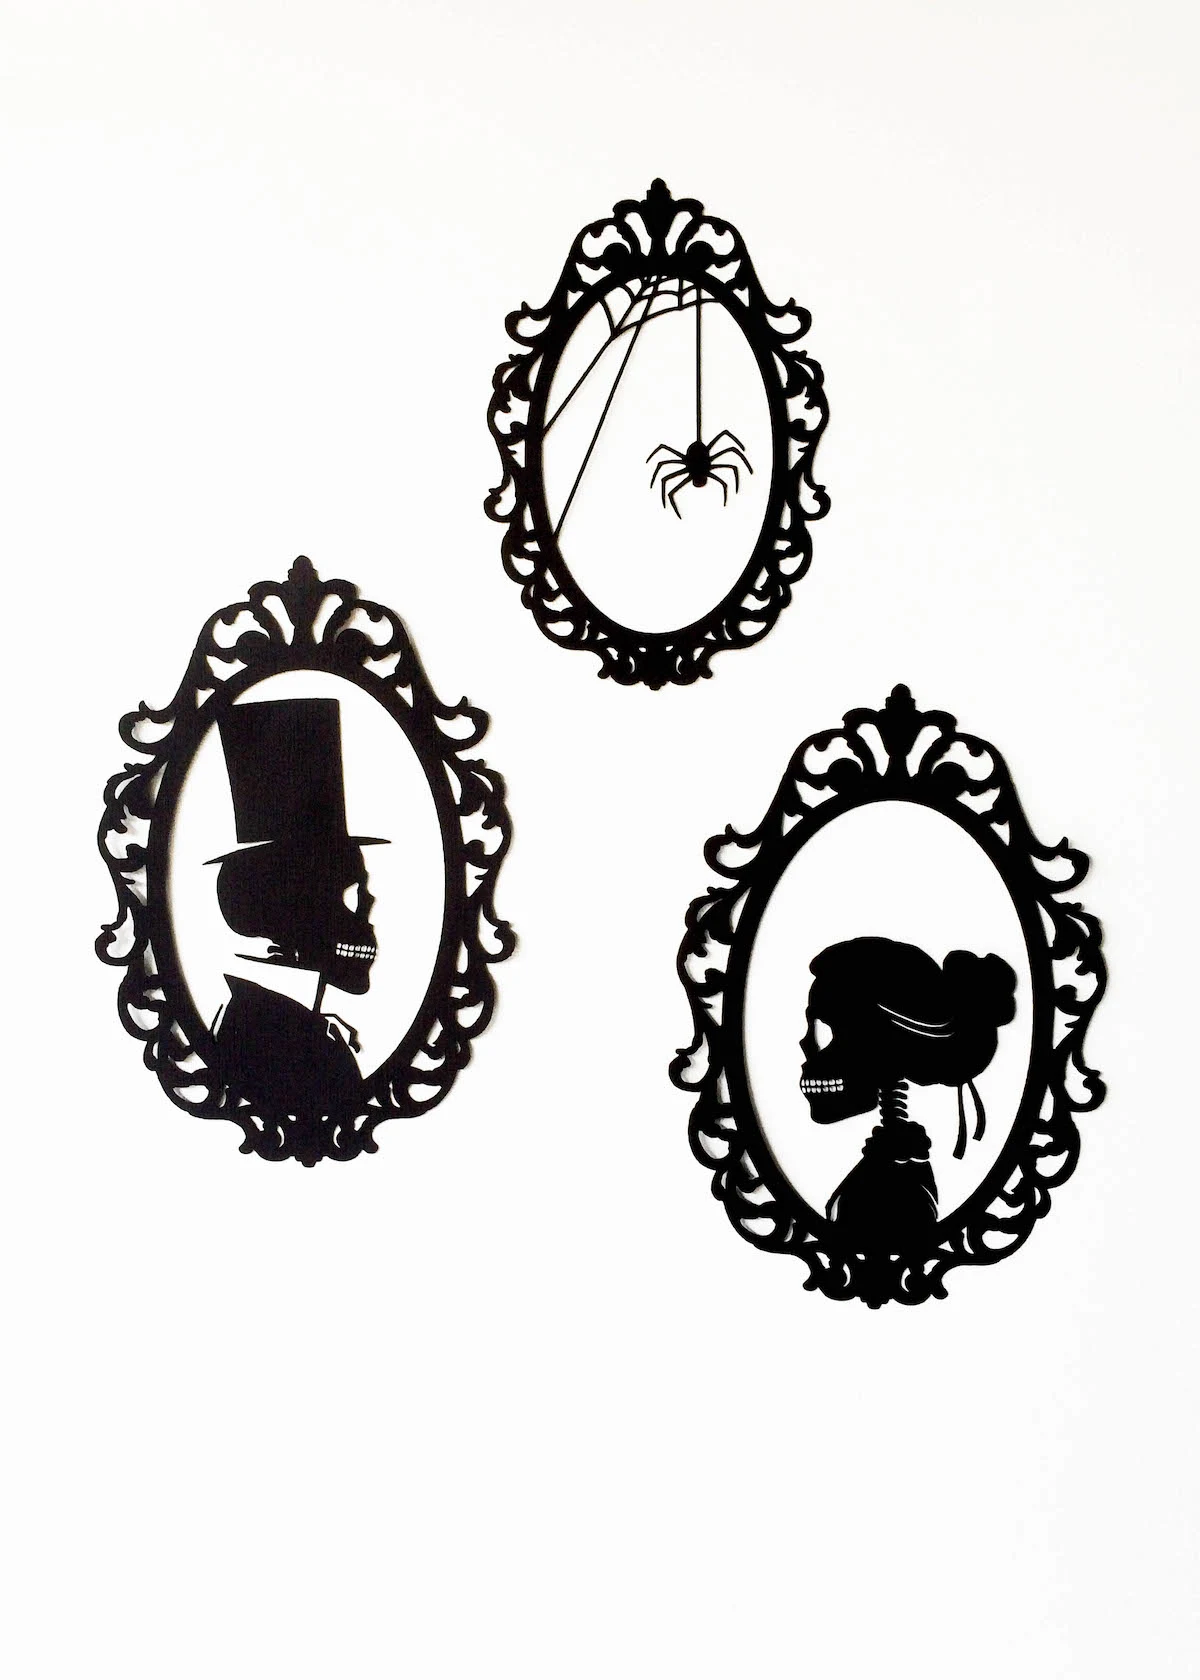
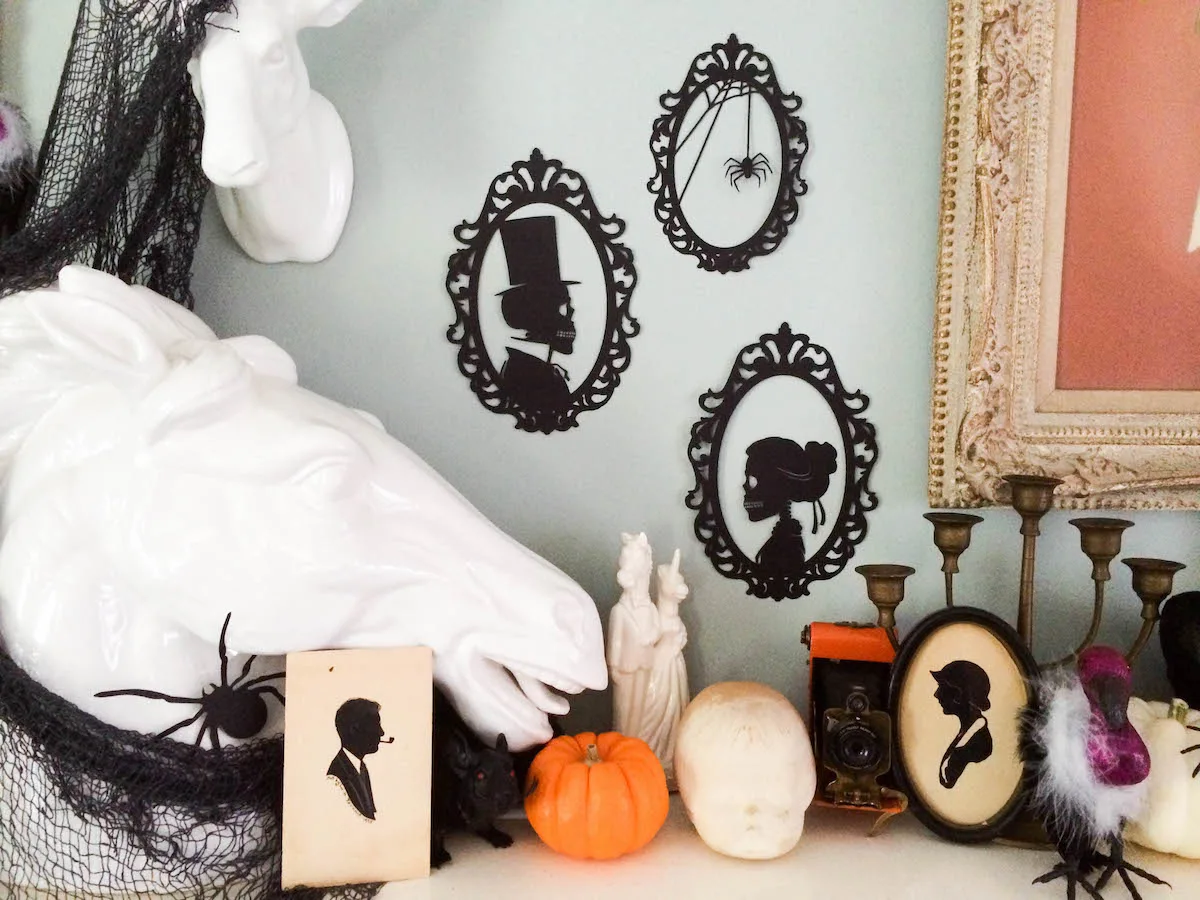
Step 6: Admire the detail. Aren’t they just like old-timey, hand-cut silhouettes?!? So much better than those cheap silhouette window clings you were thinking of buying at a craft store or dollar store, right?

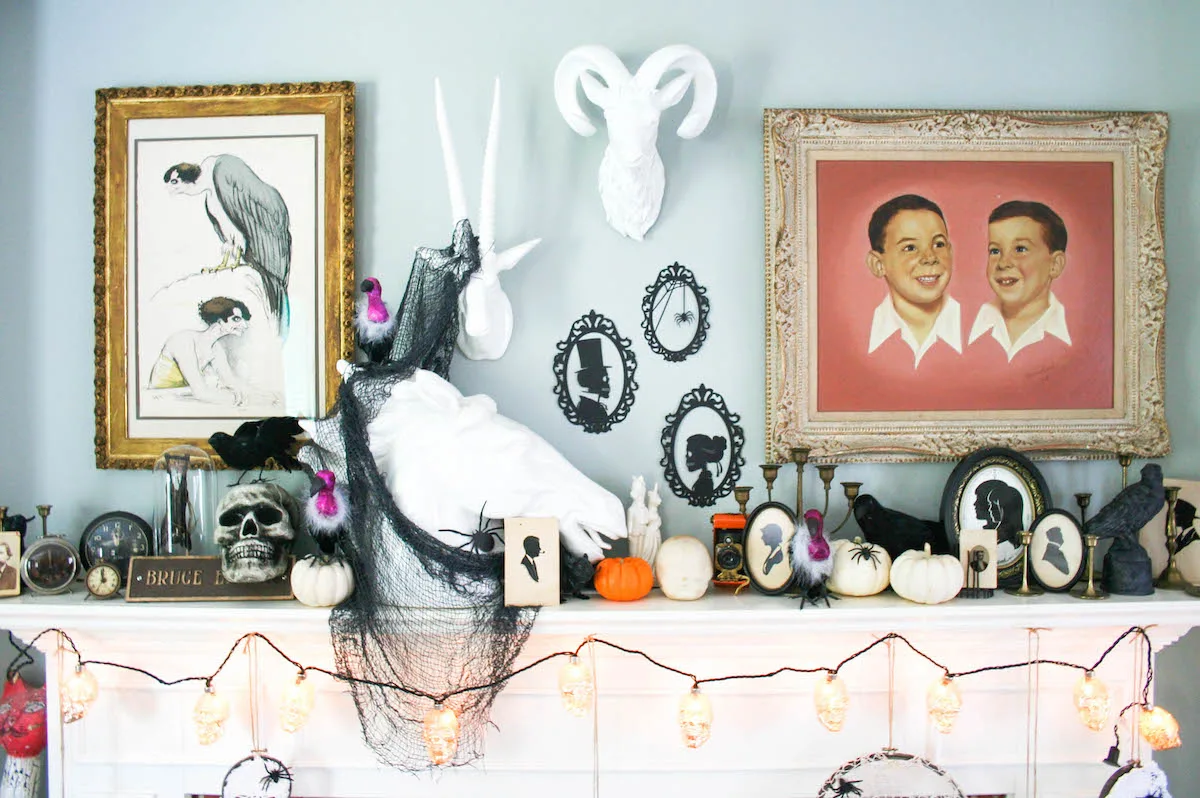
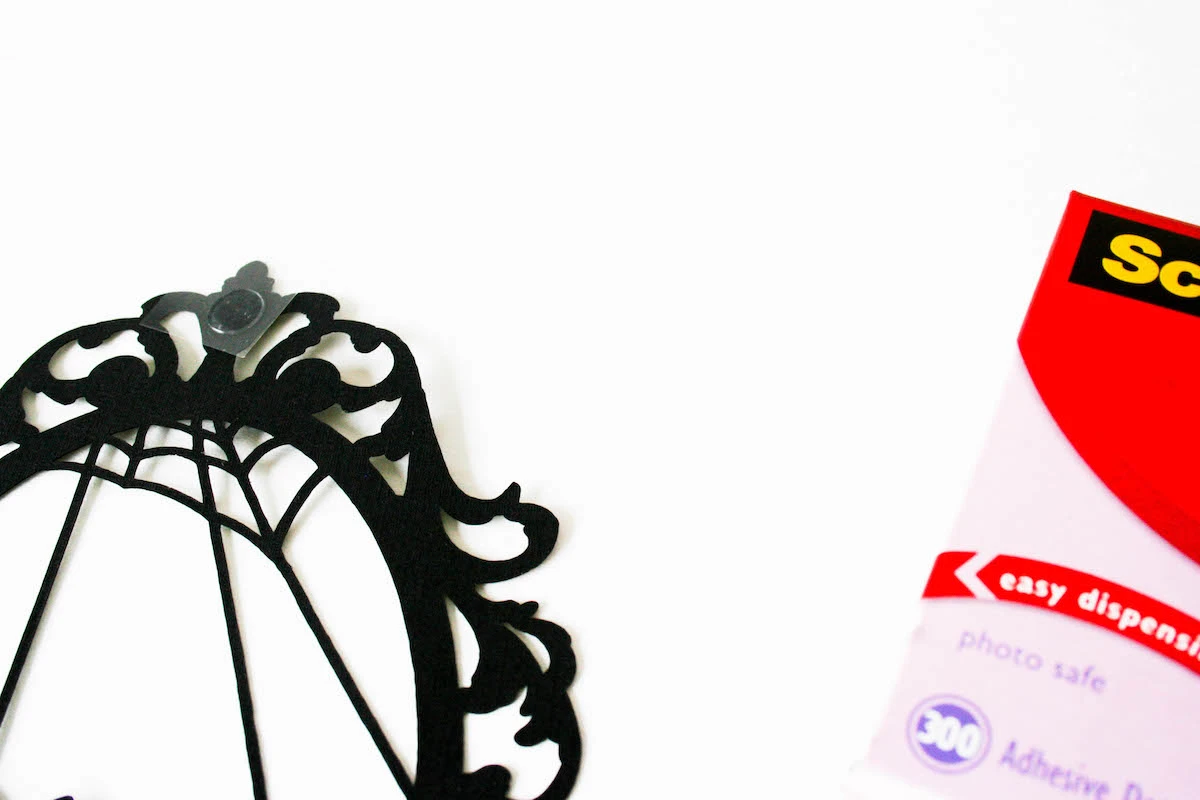
Step 7: Attach self-adhesive glue dots and attach to wall.

Optional Step 8: Or print the silhouettes using vinyl and attach to wall.
Optional Step 9: Want to frame them yourself? Grab the frameless versions below and put them into vintage/thrifted frames:


You can also iron these onto pillows, bags, shirts, etc. I’ve got the iron-on tutorial for you right here.

They iron-on detail is just as good!

Here’s the links to the Free SVG File Downloads of the Skeleton and Spider Silhouettes:
- Framed Skeleton Lady Silhouette SVG file -Free Download!
- Framed Skeleton Man Silhouette SVG file -Free Download!
- Framed Spider Silhouette SVG file -Free Download!
And frameless versions:
- Frameless Skeleton Lady Silhouette SVG File – Free Download!
- Frameless Skeleton Man Silhouette SVG File – Free Download!

Looking for more Halloween inspiration? Look right here:


Jennifer
Sunday 4th of September 2022
Thank you so much for sharing these! They're perfect :)
Samantha
Saturday 1st of October 2016
I saw these on Instagram and thought they looked fantastic. Thank you so much for putting the files on here for free. I can't wait to cut them and put them up in our sitting room. Will post a photo for you to see them !
Andrea
Saturday 1st of October 2016
You're very welcome! Can't wait to see how you use them!
Annette
Saturday 17th of September 2016
Hello. I downloaded Silhouette Design studio, despite not having a silhouette machine. I'm a circuit user, but I think Silhouette has better designs than Cricut design studio. Do you mind sharing how you downloaded this skeleton SVG files. I converted them to PDG, cause my circuit was acting up cutting SVG files. It prefers PDFs that are converted to PNGs. Anyway, can you please tell me how to download any images that I purchased from Silhouette studio and save them to my computer to use?
Andrea
Monday 19th of September 2016
Hi Annette, I don't have a Silhouette and I don't use Silhouette Design Studio, so unfortunately, I can't give you a tutorial. Best of luck! Thanks!
Lisa Friloux
Wednesday 4th of May 2016
Thank you so much can't wait to make these!
Danielle
Tuesday 27th of October 2015
Thank you so much for these BEAUTIFUL freebies! And for including both svg and pdf versions. Have a great day!