
Sponsored Post Disclaimer: I’ve been invited to work with Cricut. For my participation in Cricut’s Design Space Star competition, Provo Craft & Novelty, Inc. gave me a Cricut Explore. The Cricut Explore and access to Cricut’s Design Space featured in this post has been provided by them, but the ideas and opinions here are all my own. I am a member of the Cricut Blogger Network. I may receive prizes in exchange for my winning projects. (Fingers crossed!) Even though I am not being directly compensated for these posts, I am under consideration for a prize with Cricut Design Space Star™. This post contains affiliate links. 
![]()
![]()
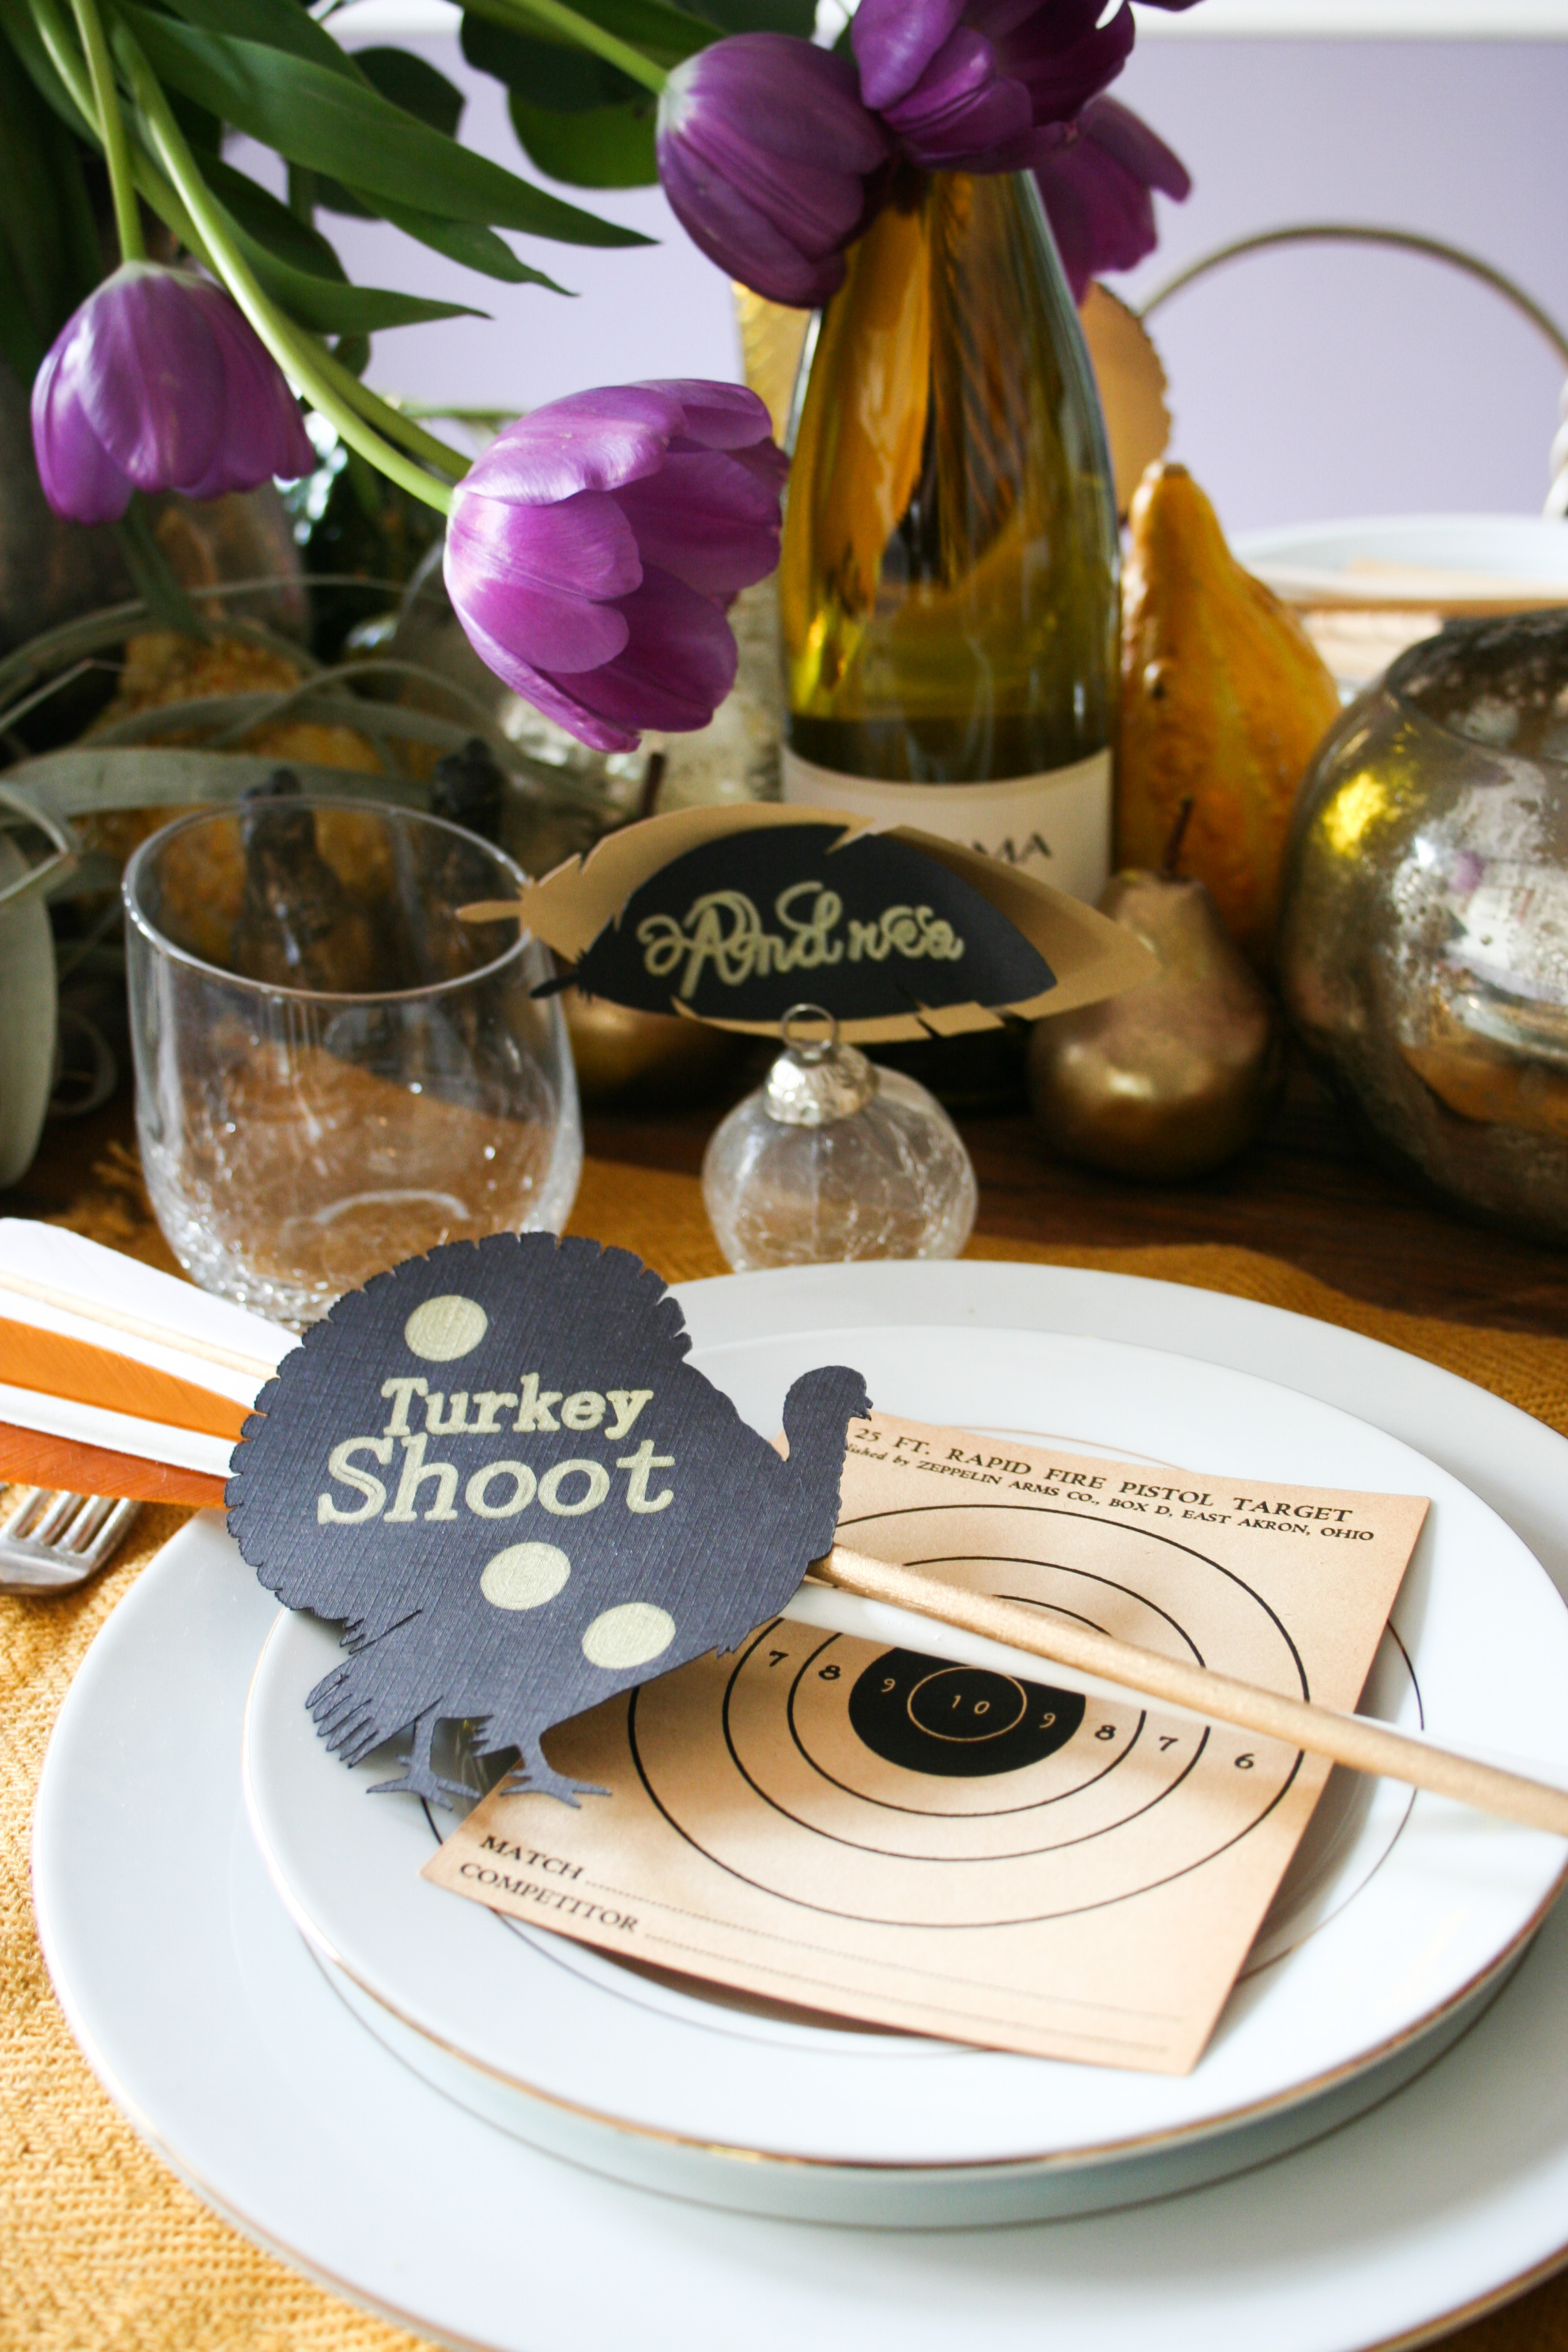
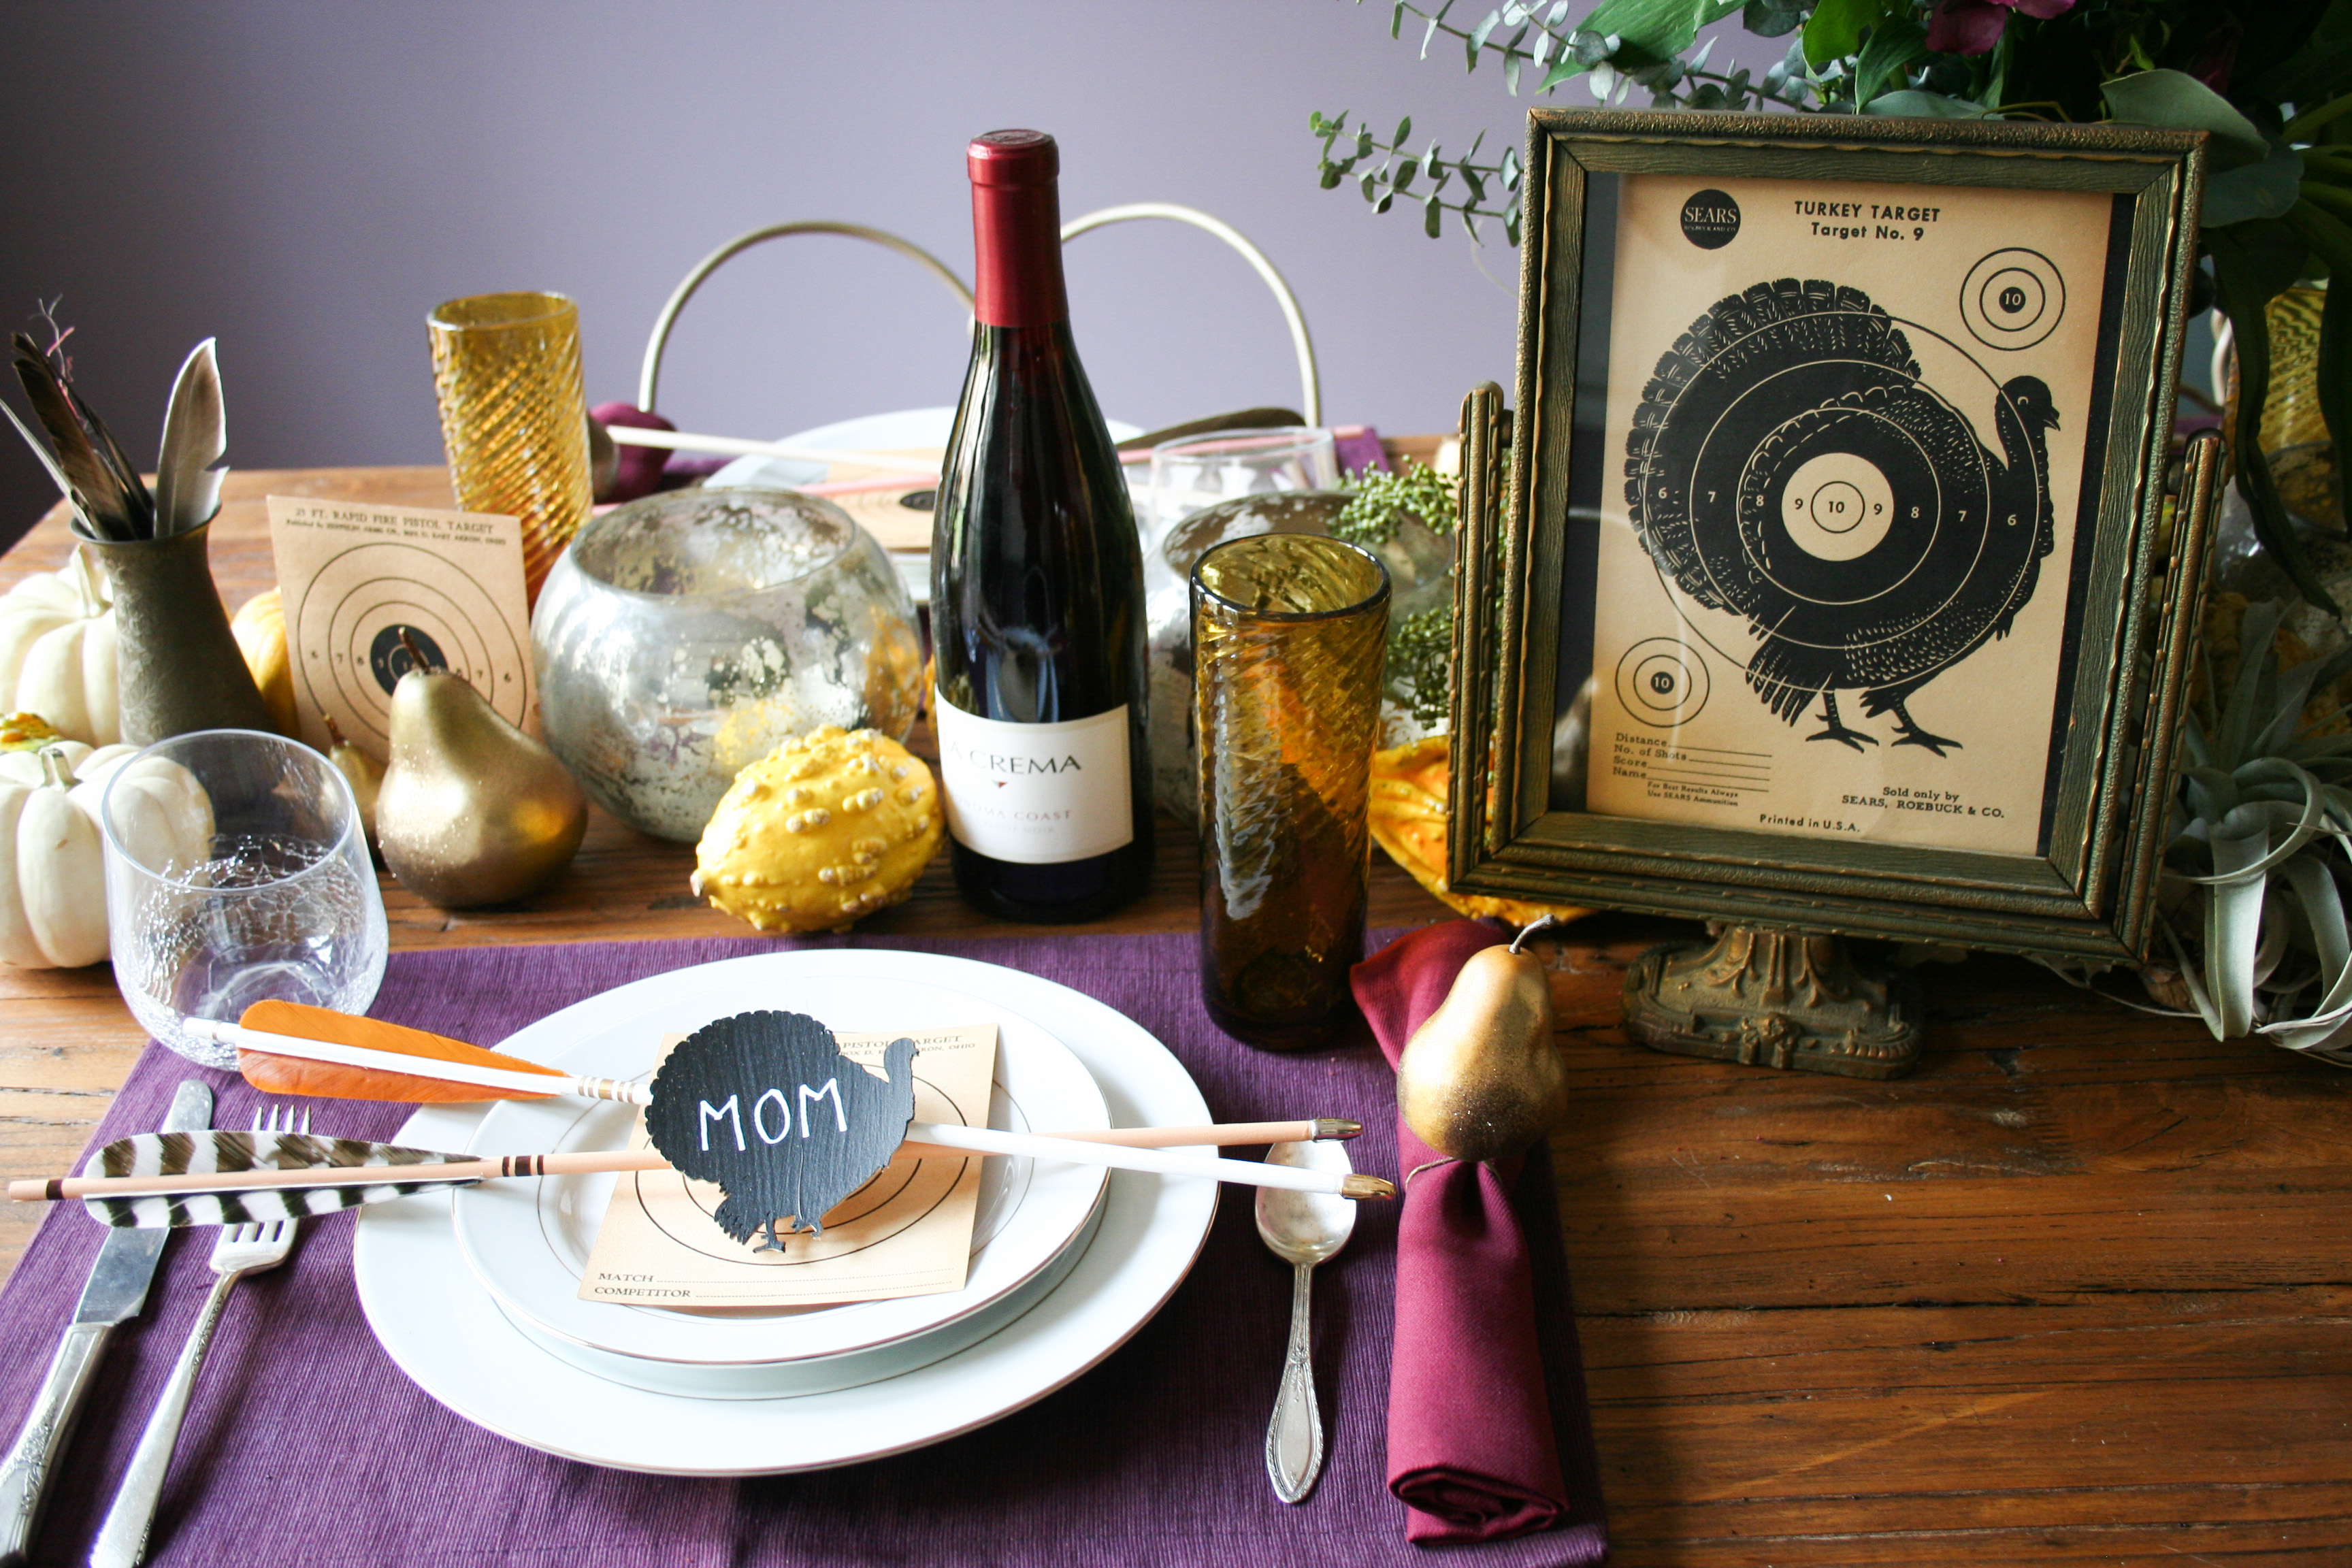
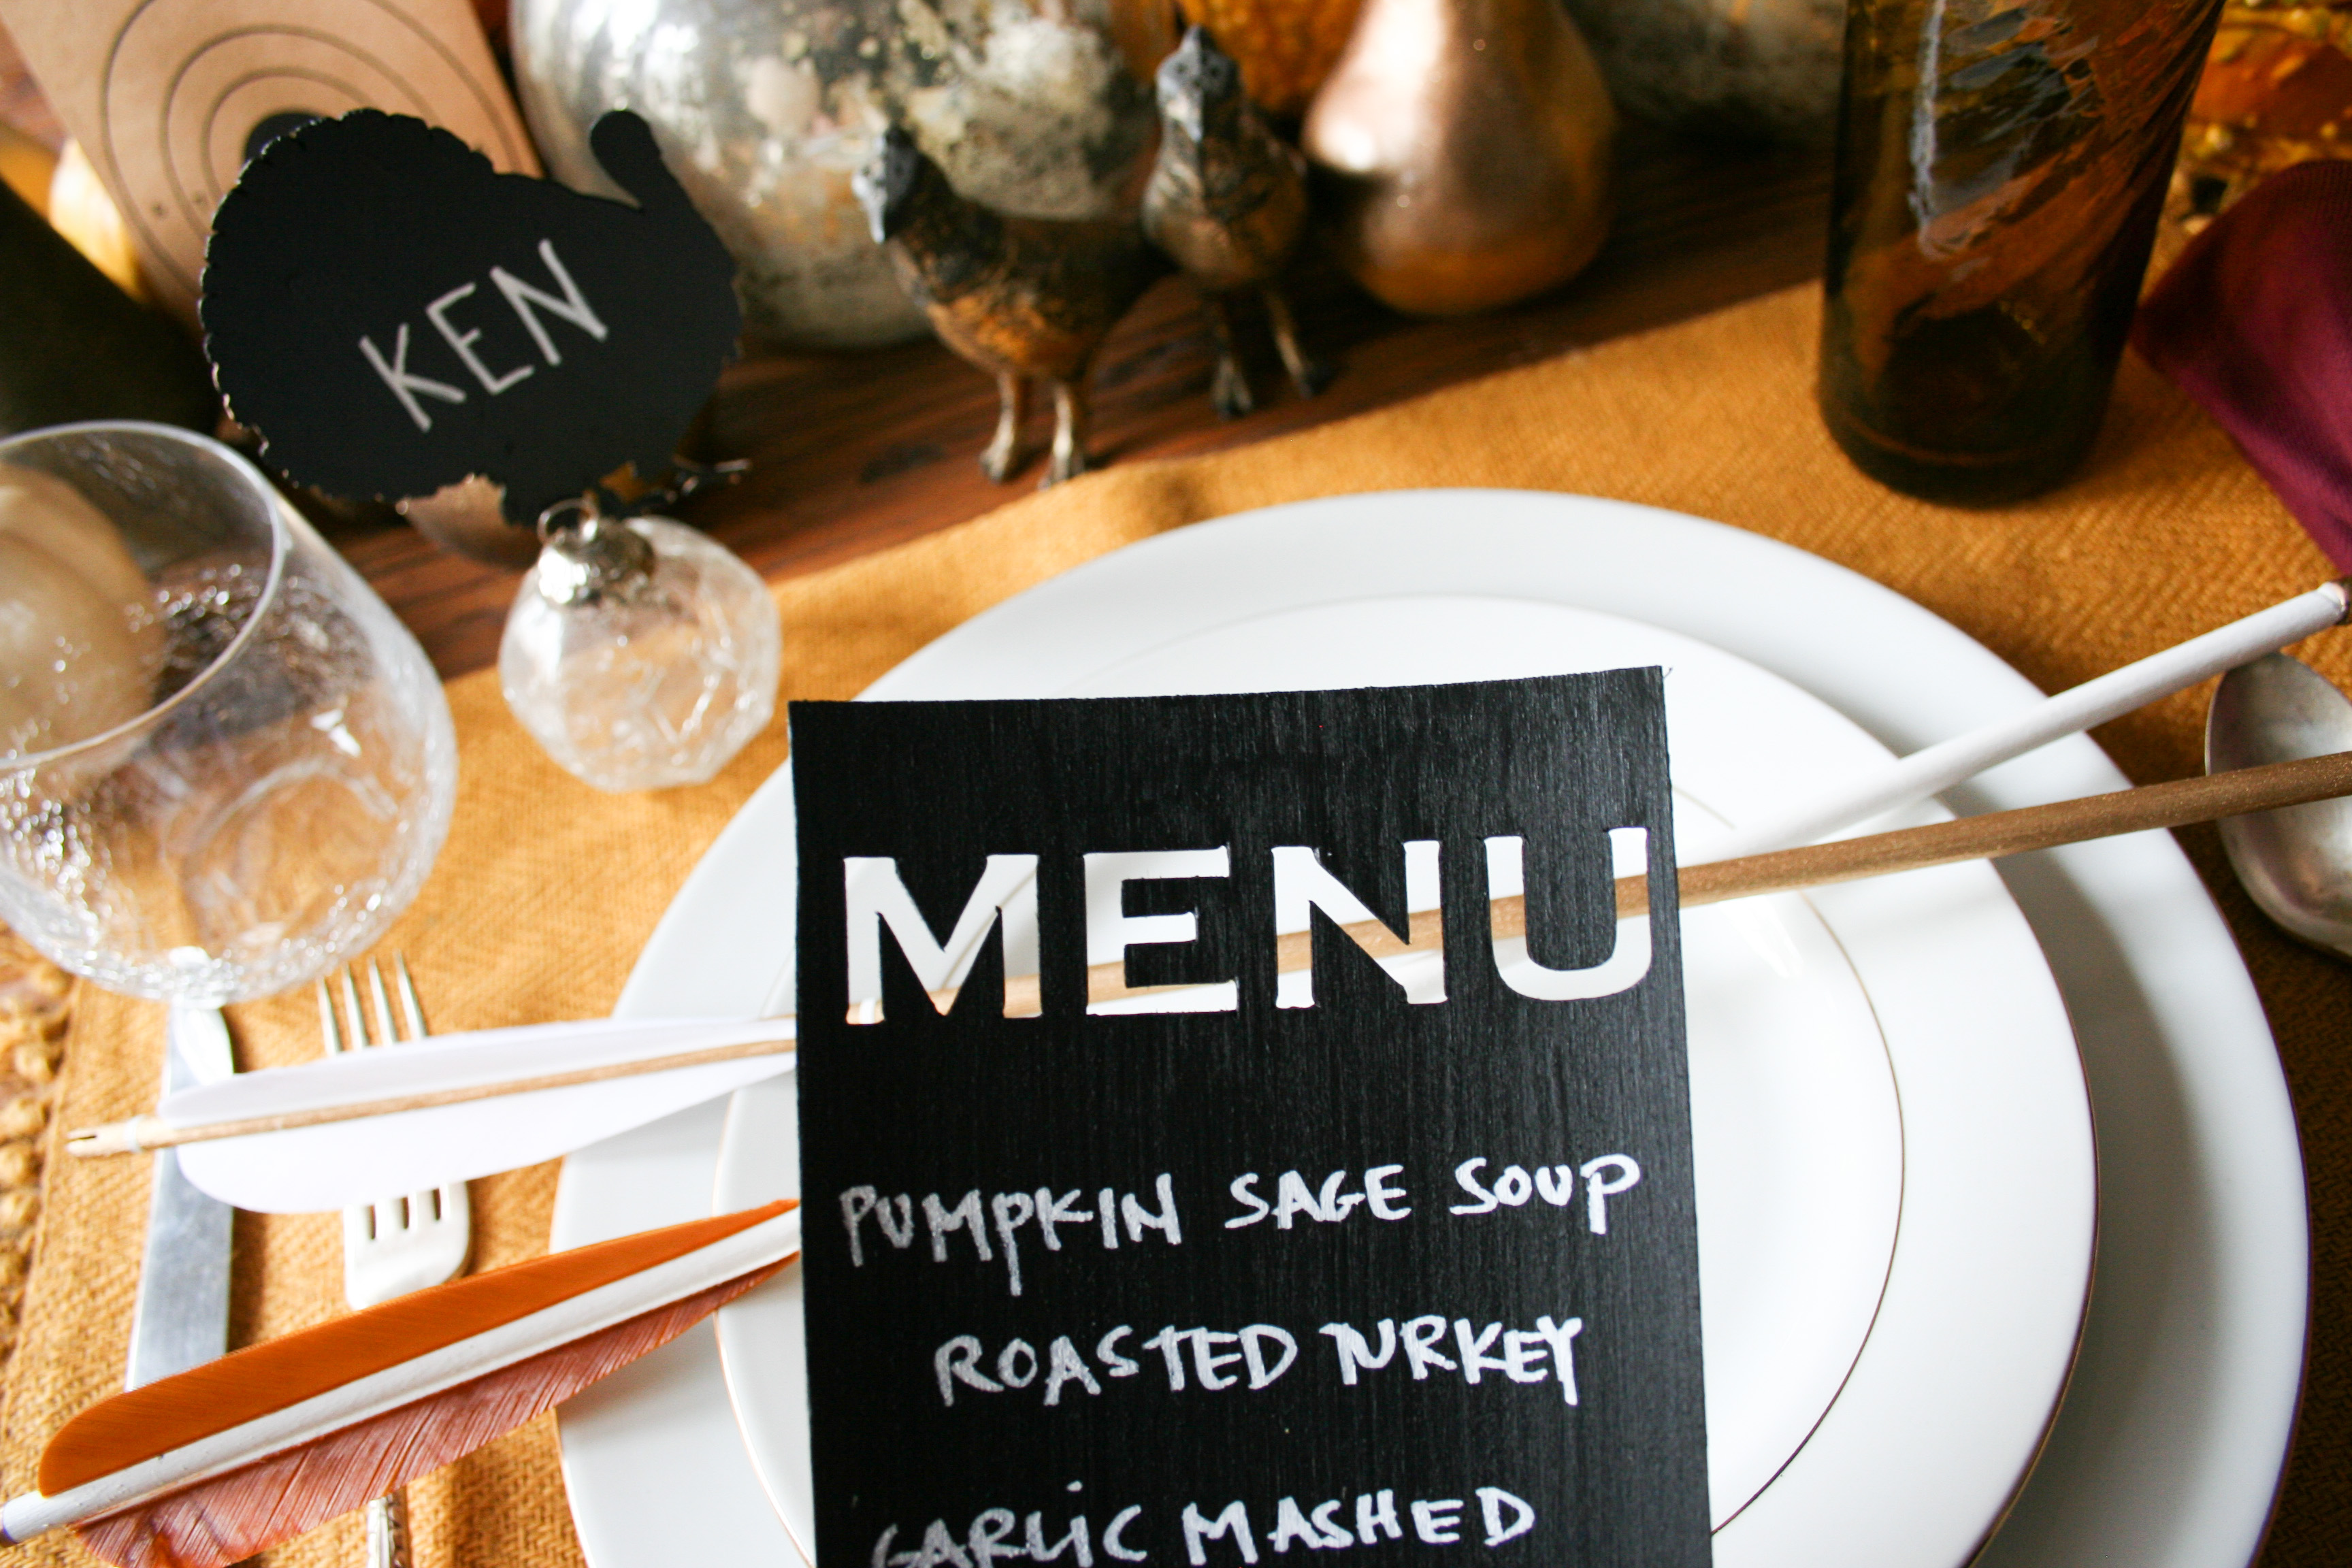
It’s that time again! I’ve got a few DIY projects to do with your Cricut Explore™ to decorate for Thanksgiving dinner! Carrying on with my bird themed Halloween cake topper and garland, I thought I would design a beautiful, vintage-inspired Turkey Shoot tablescape! Using your Cricut Explore, you can make the Turkey Chalkboard Place Card or Feather Place Card, and the Chalkboard Menu.
Side note, I was inspired by Marilyn and her Turkey Shoot: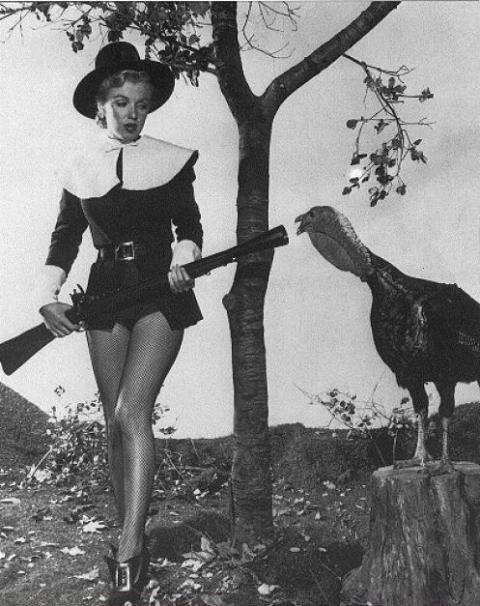
 Before we dive into the project, let’s chat for a hot minute about the Cricut Explore™. In case this is your first time on my blog, I have to ask, did you know that with the Cricut Explore™, you can upload YOUR OWN DESIGNS! So cool right? And, the Cricut Explore™ can cut so many different types of materials including paper, card stock, felt, fabric, metal, and wood! Check out the Cricut Explore Cut List here. So no more endless cut outs with scissors or exacto knives!
I’ve worked with paper for my past Cricut Explore projects, so for this Turkey Shoot I thought I would explore (pun intended) working with wood. Wood is a bit more durable for packing away after the holidays, and with place cards and menus you want to be able to change the names and foods year after year, so I thought chalkboard painted wood would be great for a Thanksgiving tabletop.
Ok, so let’s get started making some quick and easy Thanksgiving DIYS. Let’s start with the Turkey Place Cards. You’re going to need a few materials: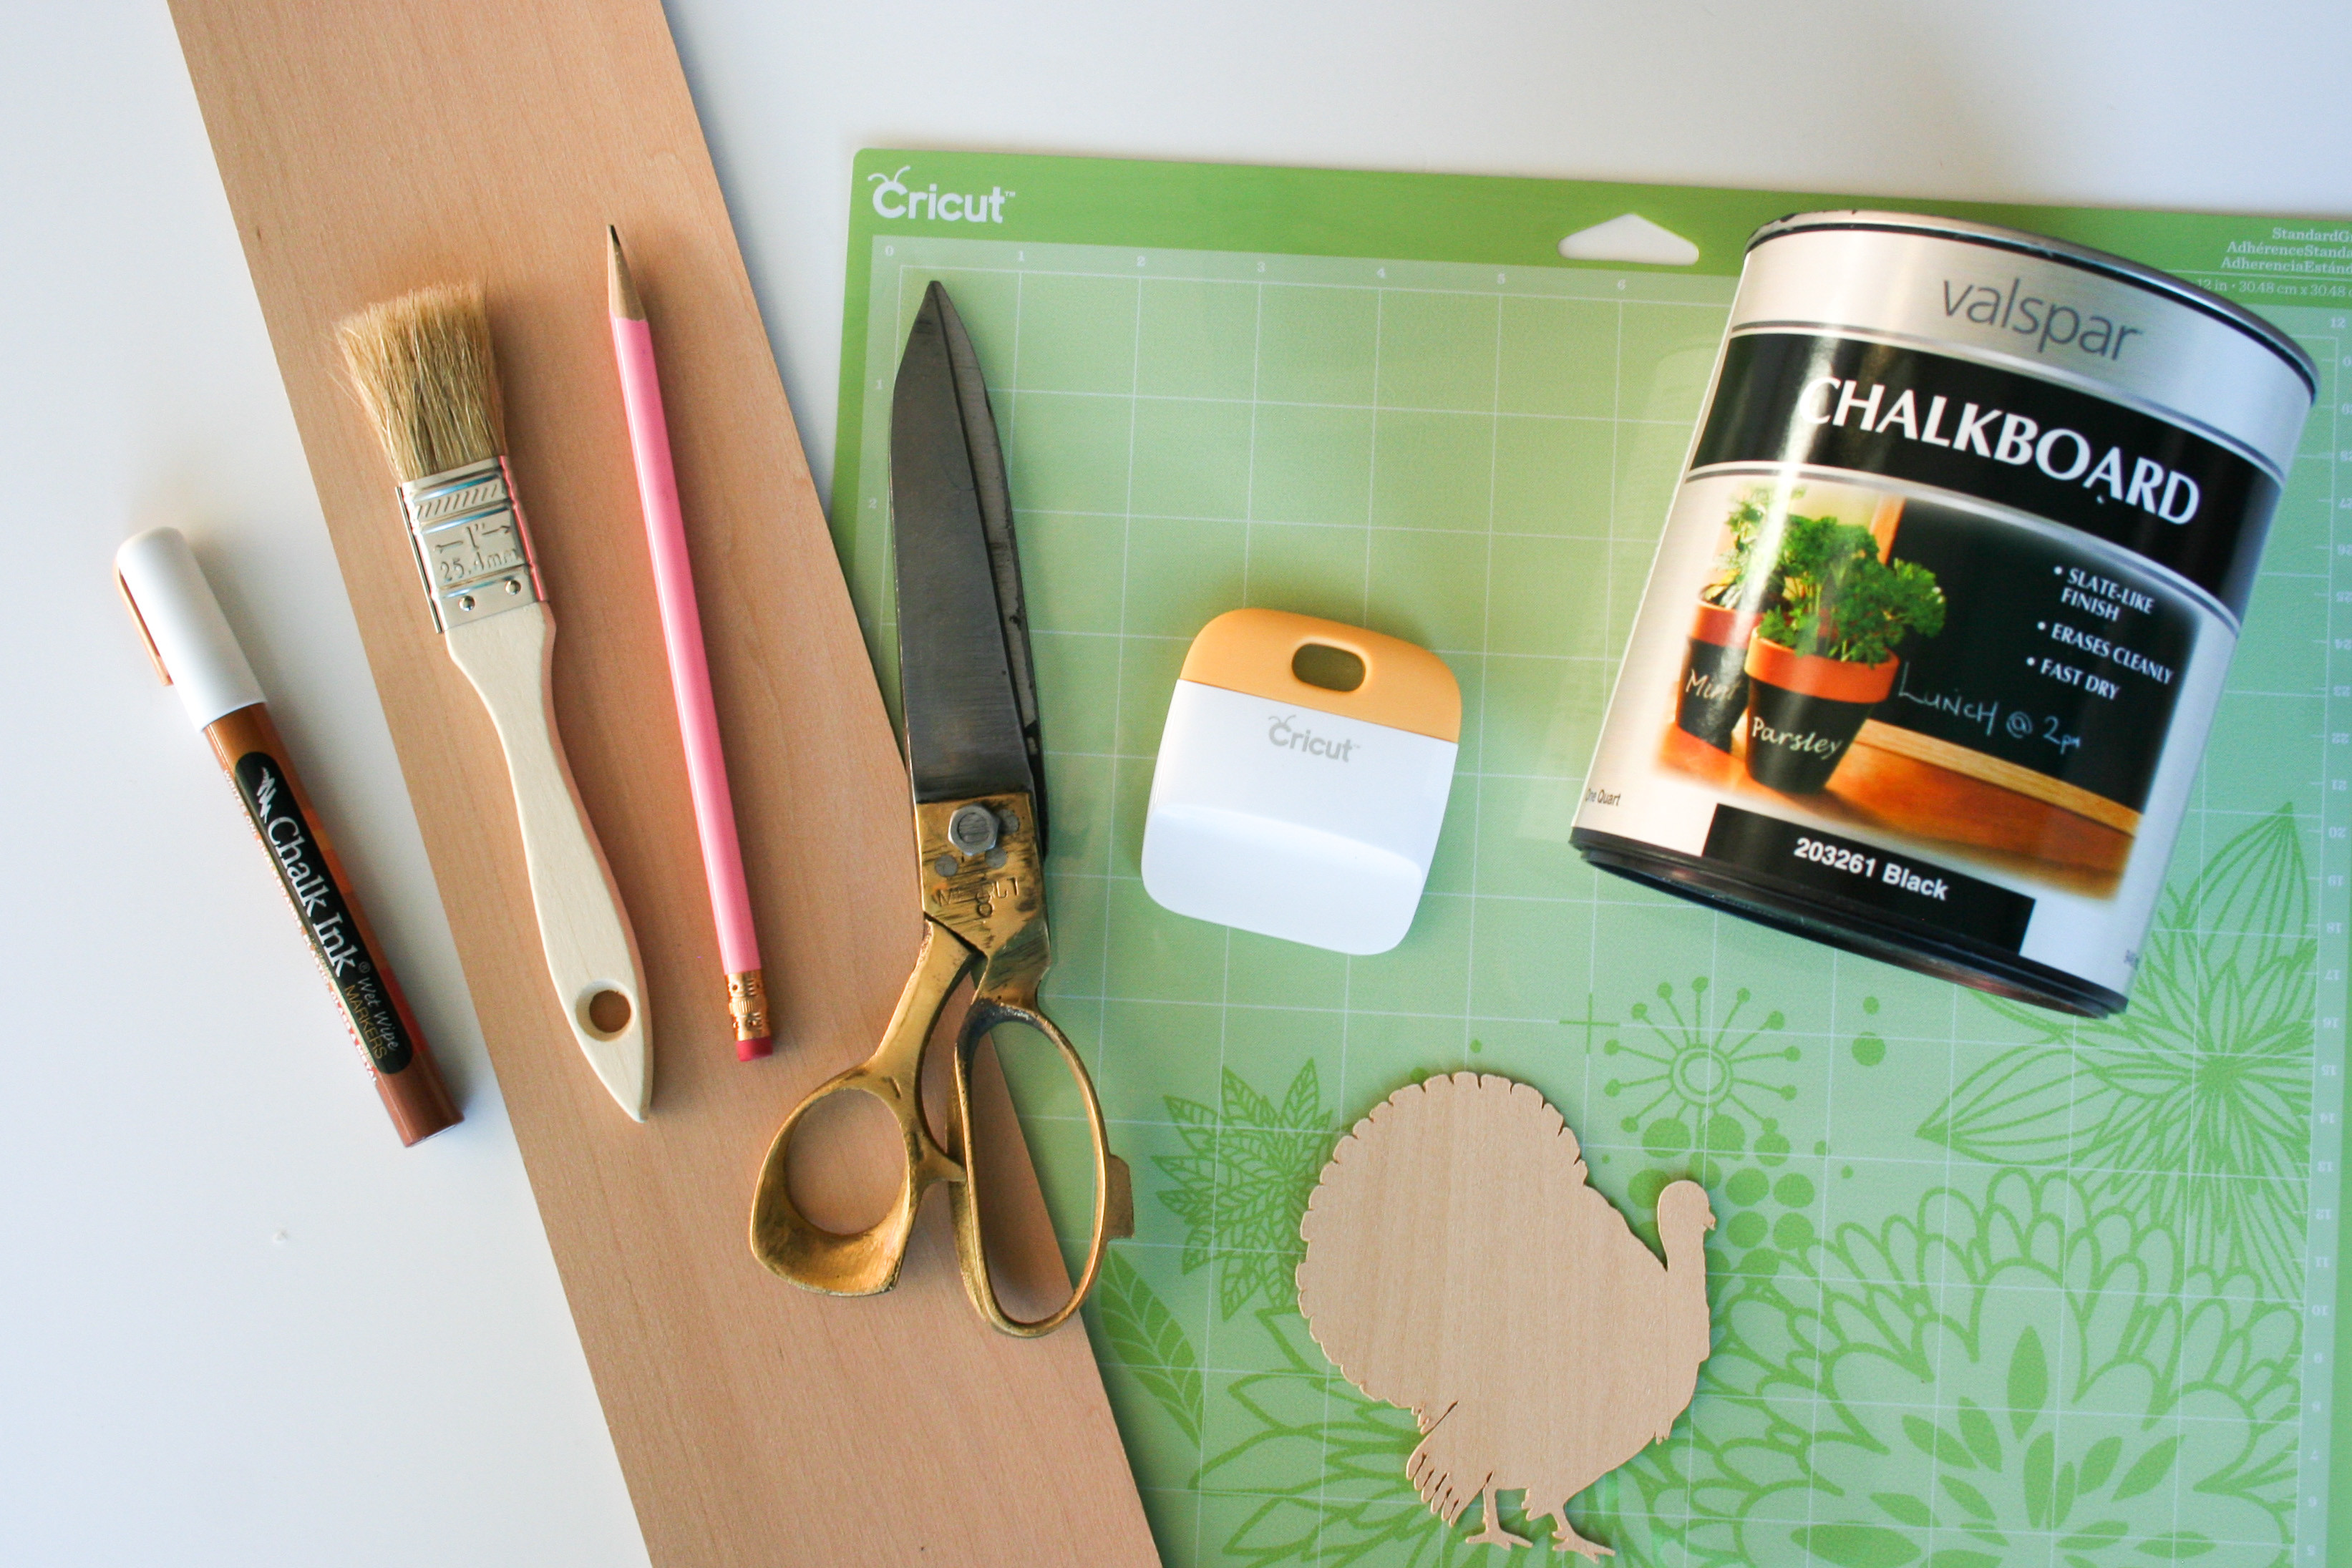 Materials Needed:
- Cricut Explore™
- Cricut
- 2-3 sheets of 1/32 thick wood – depending on size of the wood sheet and your number of dinner guests
- Turkey SVG file (FREE DOWNLOAD!)
- Chalkpaint
- Paint brush
- Chalk marker
- Pencil
- Ruler
- Scissors
Optional Materials:
- Extra sheets of card stock (in case of any mistakes)
Instructions: I designed my turkey in Photoshop, exported it to Illustrator, and made an SVG file, meaning it is a vectorized file and you can make it as big or as small as you want.
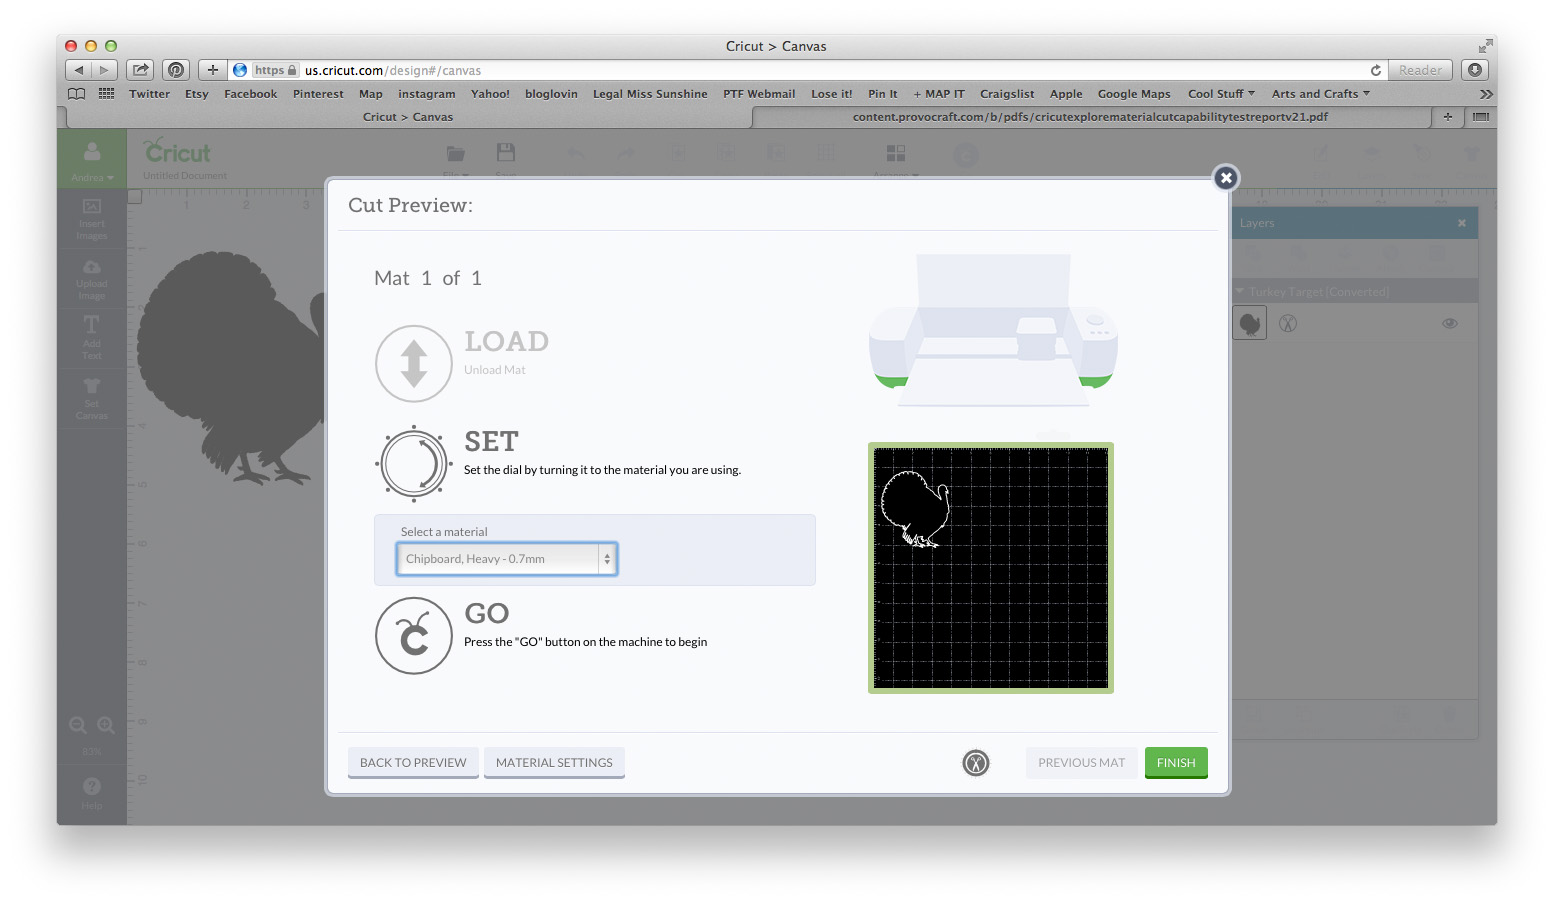
Step 1: In Cricut Design Space, simply start a new project, then click “Upload Image”, click “Vector Upload”, browse and choose your downloaded turkey file, and click “Save Image”. The turkey will then be at the bottom of your screen, click on it, giving it a green checkmark, and click “Insert Images.”
Step 2: Remember how I said these are SVG files? Well, you can make the turkey any size you would like. So go ahead and scale the turkey to the size you want it to be. You could make bunting, or cupcake toppers, or this place card! If making the place card, I sized mine to 3.61″ x 4.87″ and used a piece of wood that was 4″x5″.
Step 3: Click the green GO button, and then decide how many turkeys you want. Where it asks “How many projects do you want to make, enter the amount of turkeys you want, and the software automatically lays out all of your turkeys for you. Then follow the instructions to load the mat, make sure you set the dial to Custom and choose the correct option for the thickness of your material, and then let the Cricut do all your dirty work cutting!
NOTE: Because I was using thin strips of wood (which is what I happened to find at the craft store with the best price), I had to cut my wood down to 4″x5″ and have the Cricut Explore cut out one turkey at a time. It was no big deal, it just meant I had some extra time to do some online shopping for the holidays while the turkeys cut.
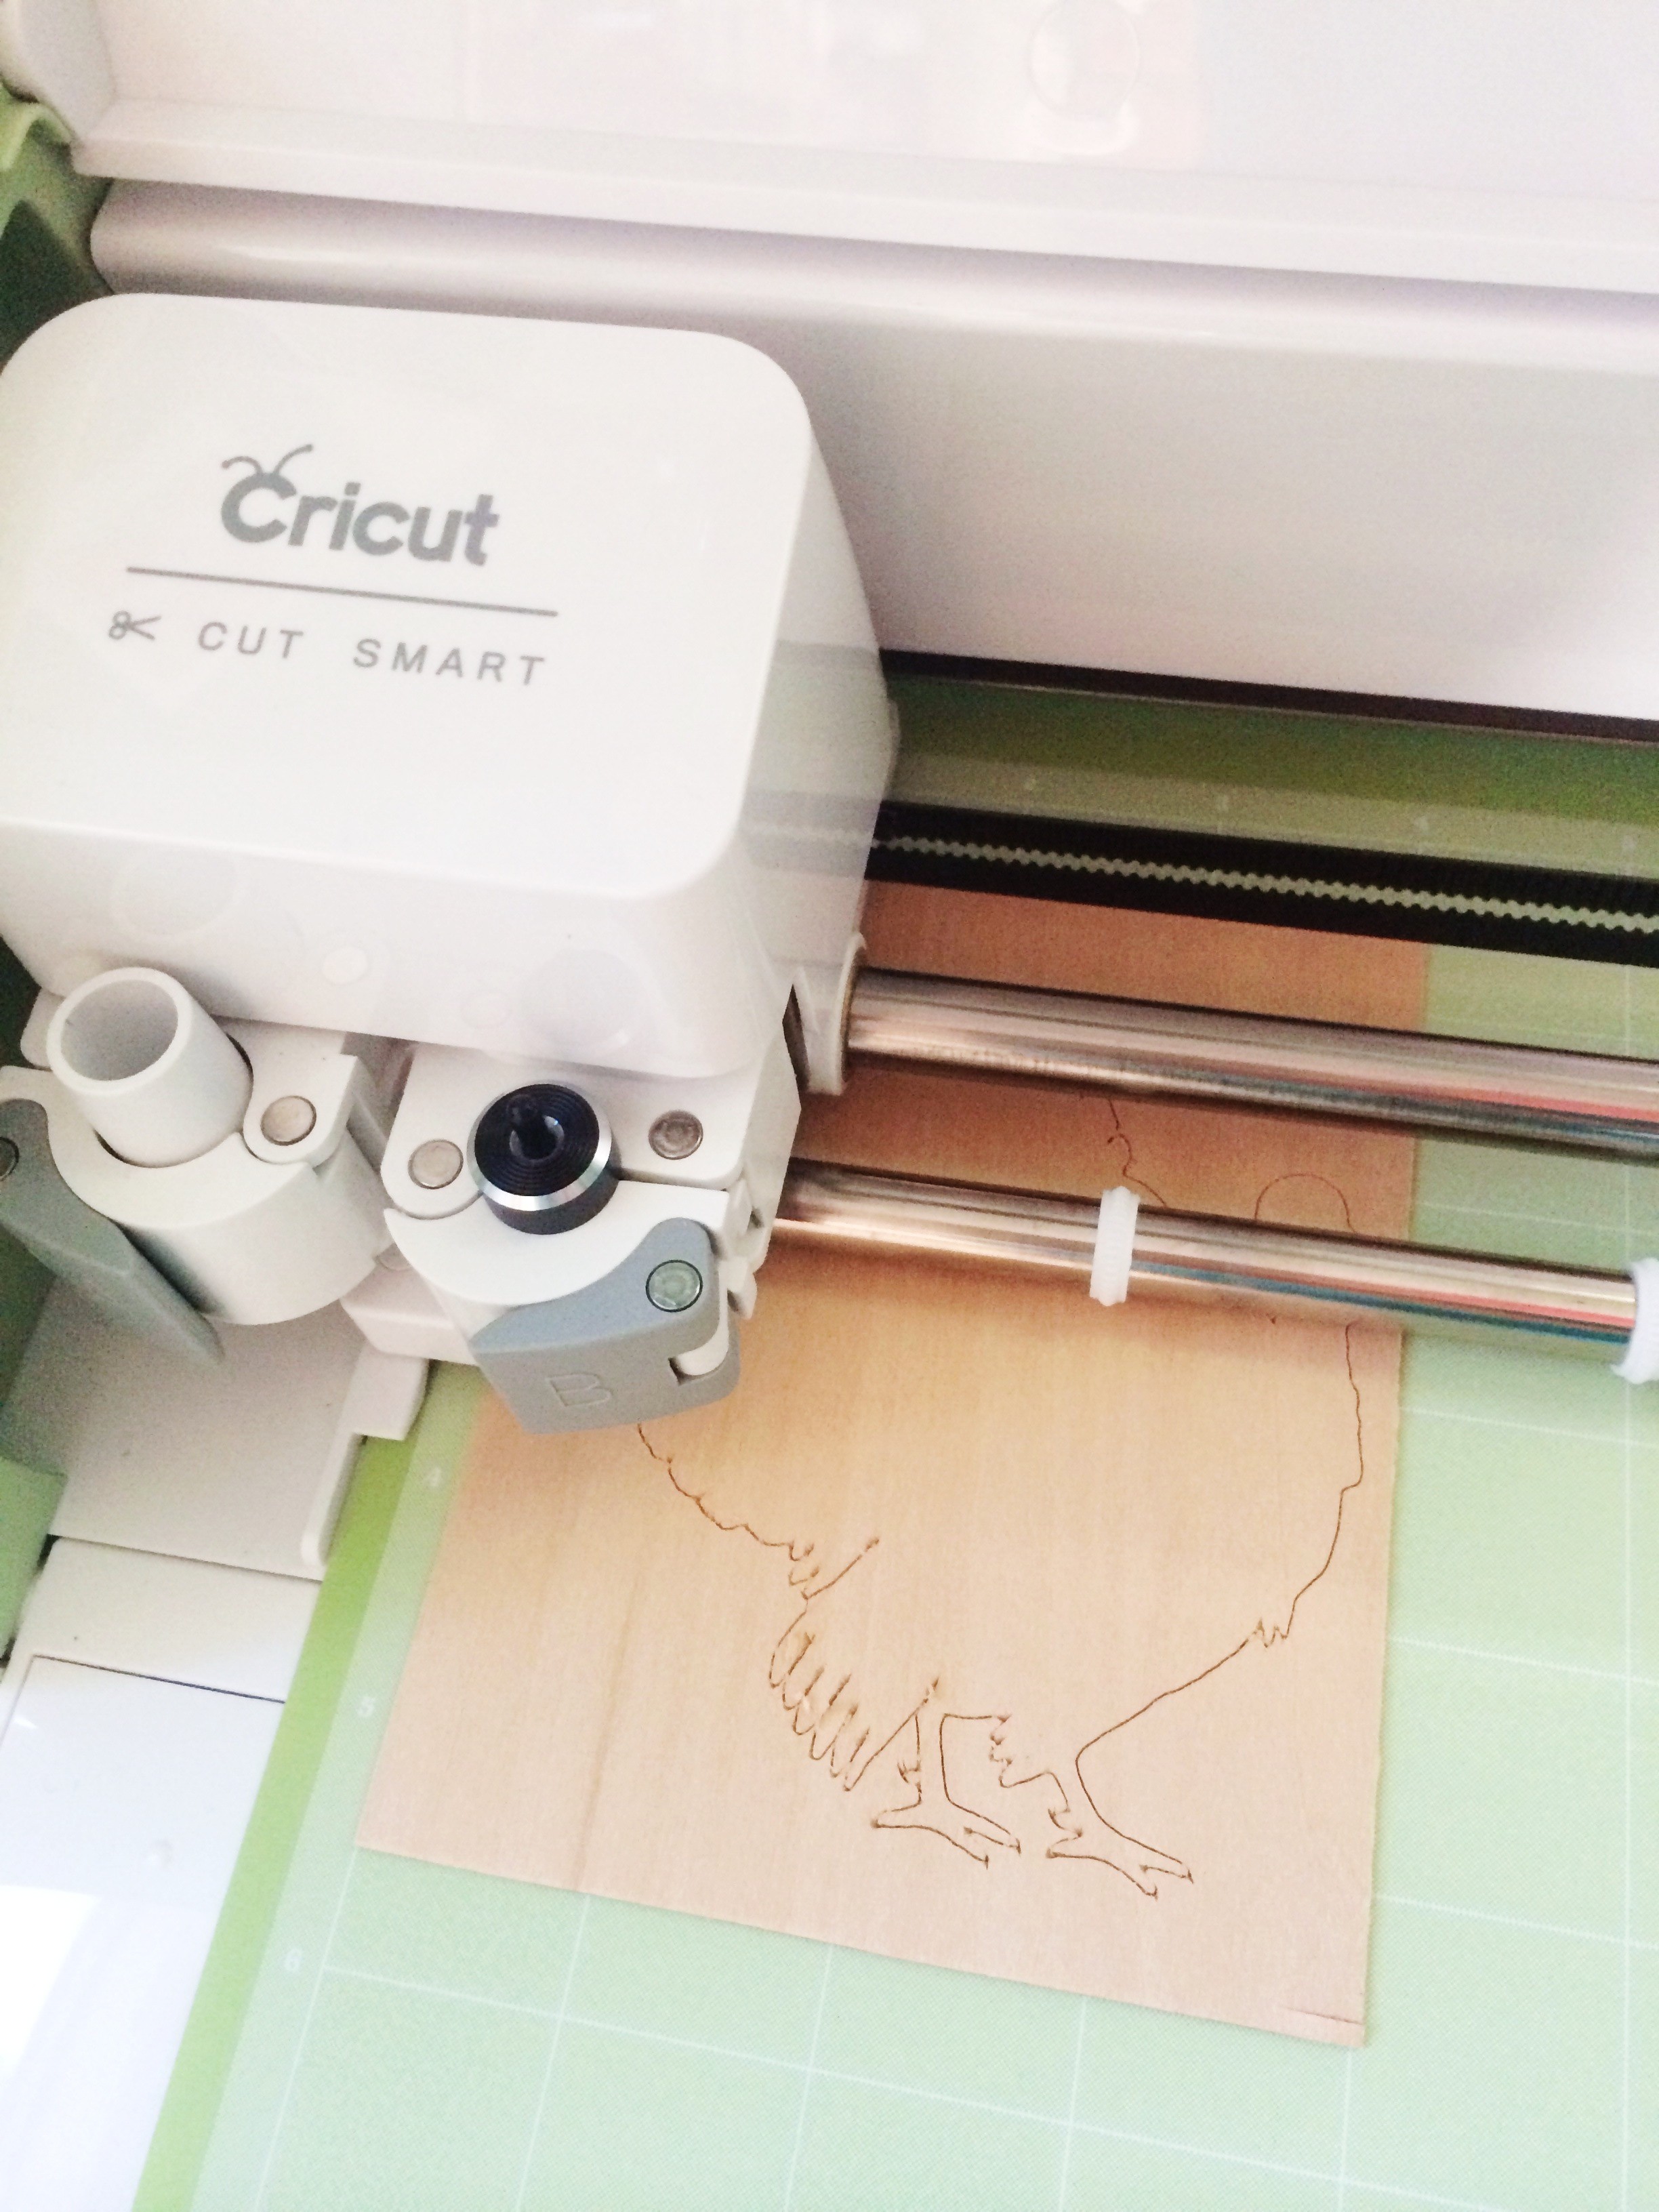
Step 4: Once the Cricut is done, remove the mat from the machine and remove the wood from the mat.
Step 5: Repeat Steps 3 and 4 until you have the desired number of place cards.
Step 6: Paint the turkeys with chalkboard paint and allow to dry.
Step 7: Write guests names on turkeys with chalk paint marker.
Step 8: Place turkeys on table and wait for your guests to ooh and aah! And since they are chalkboard, just wipe them off and use them again next year! 
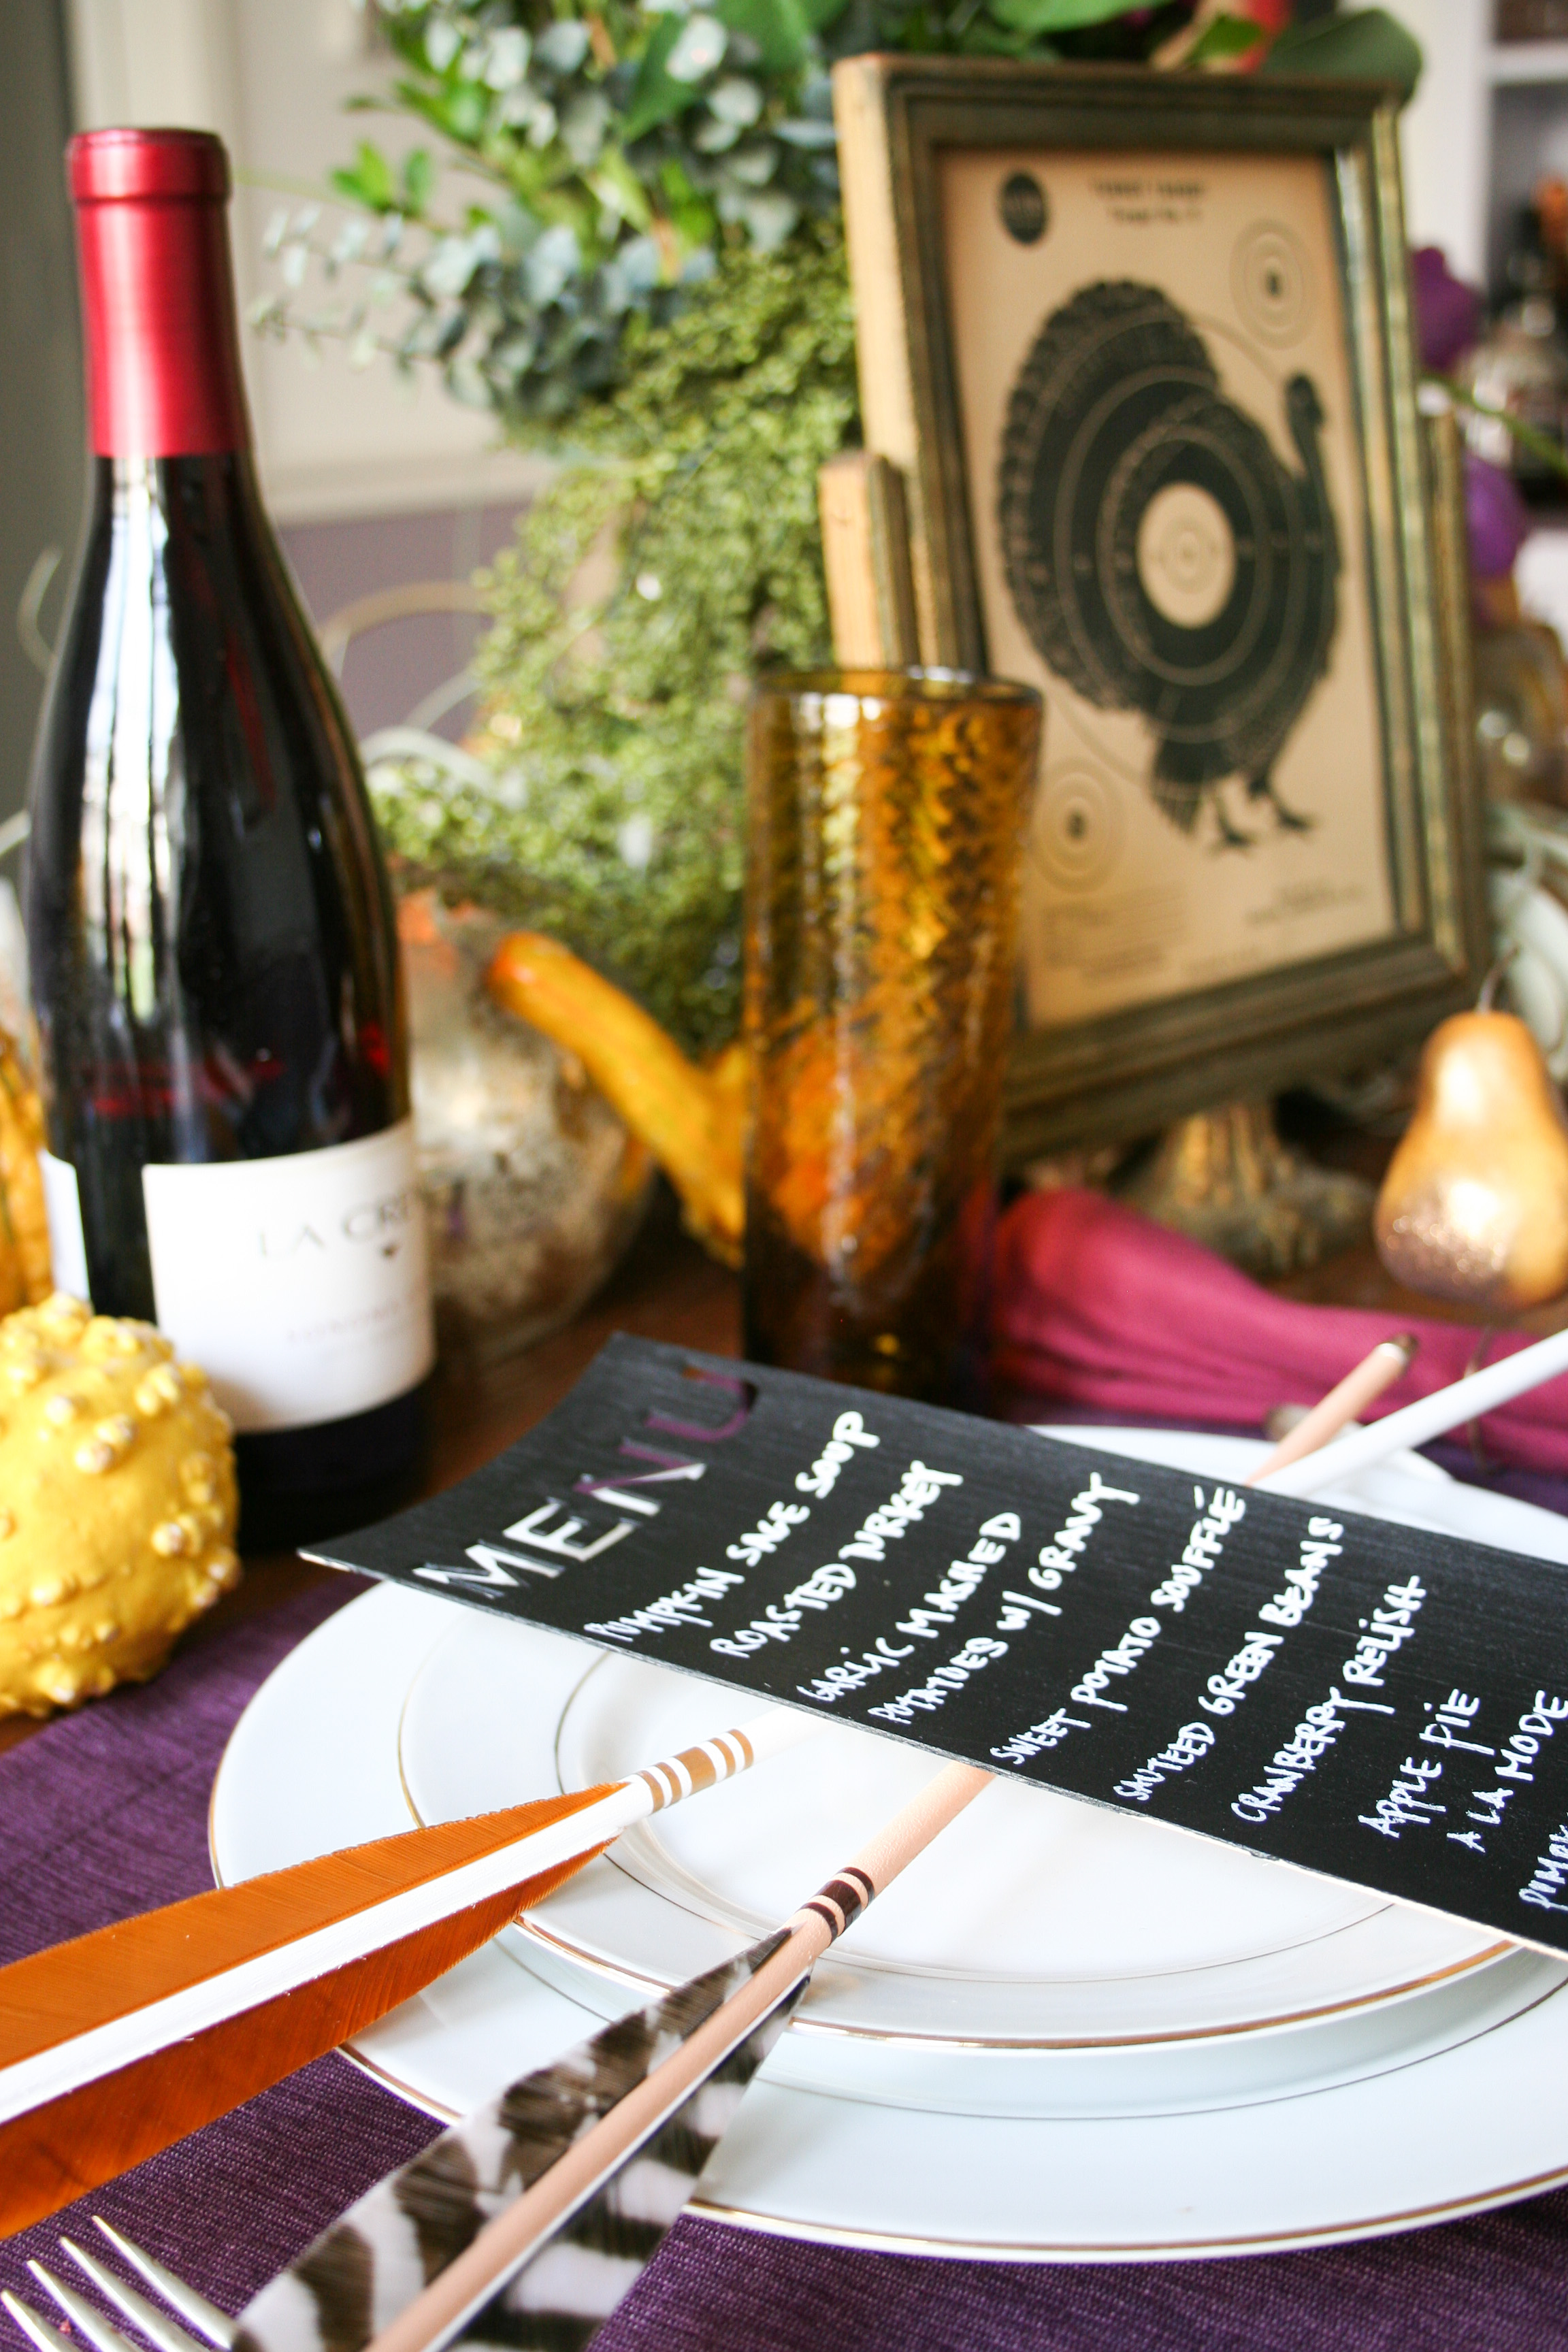
 Next, let’s tackle the super simple wooden chalkboard Menus!
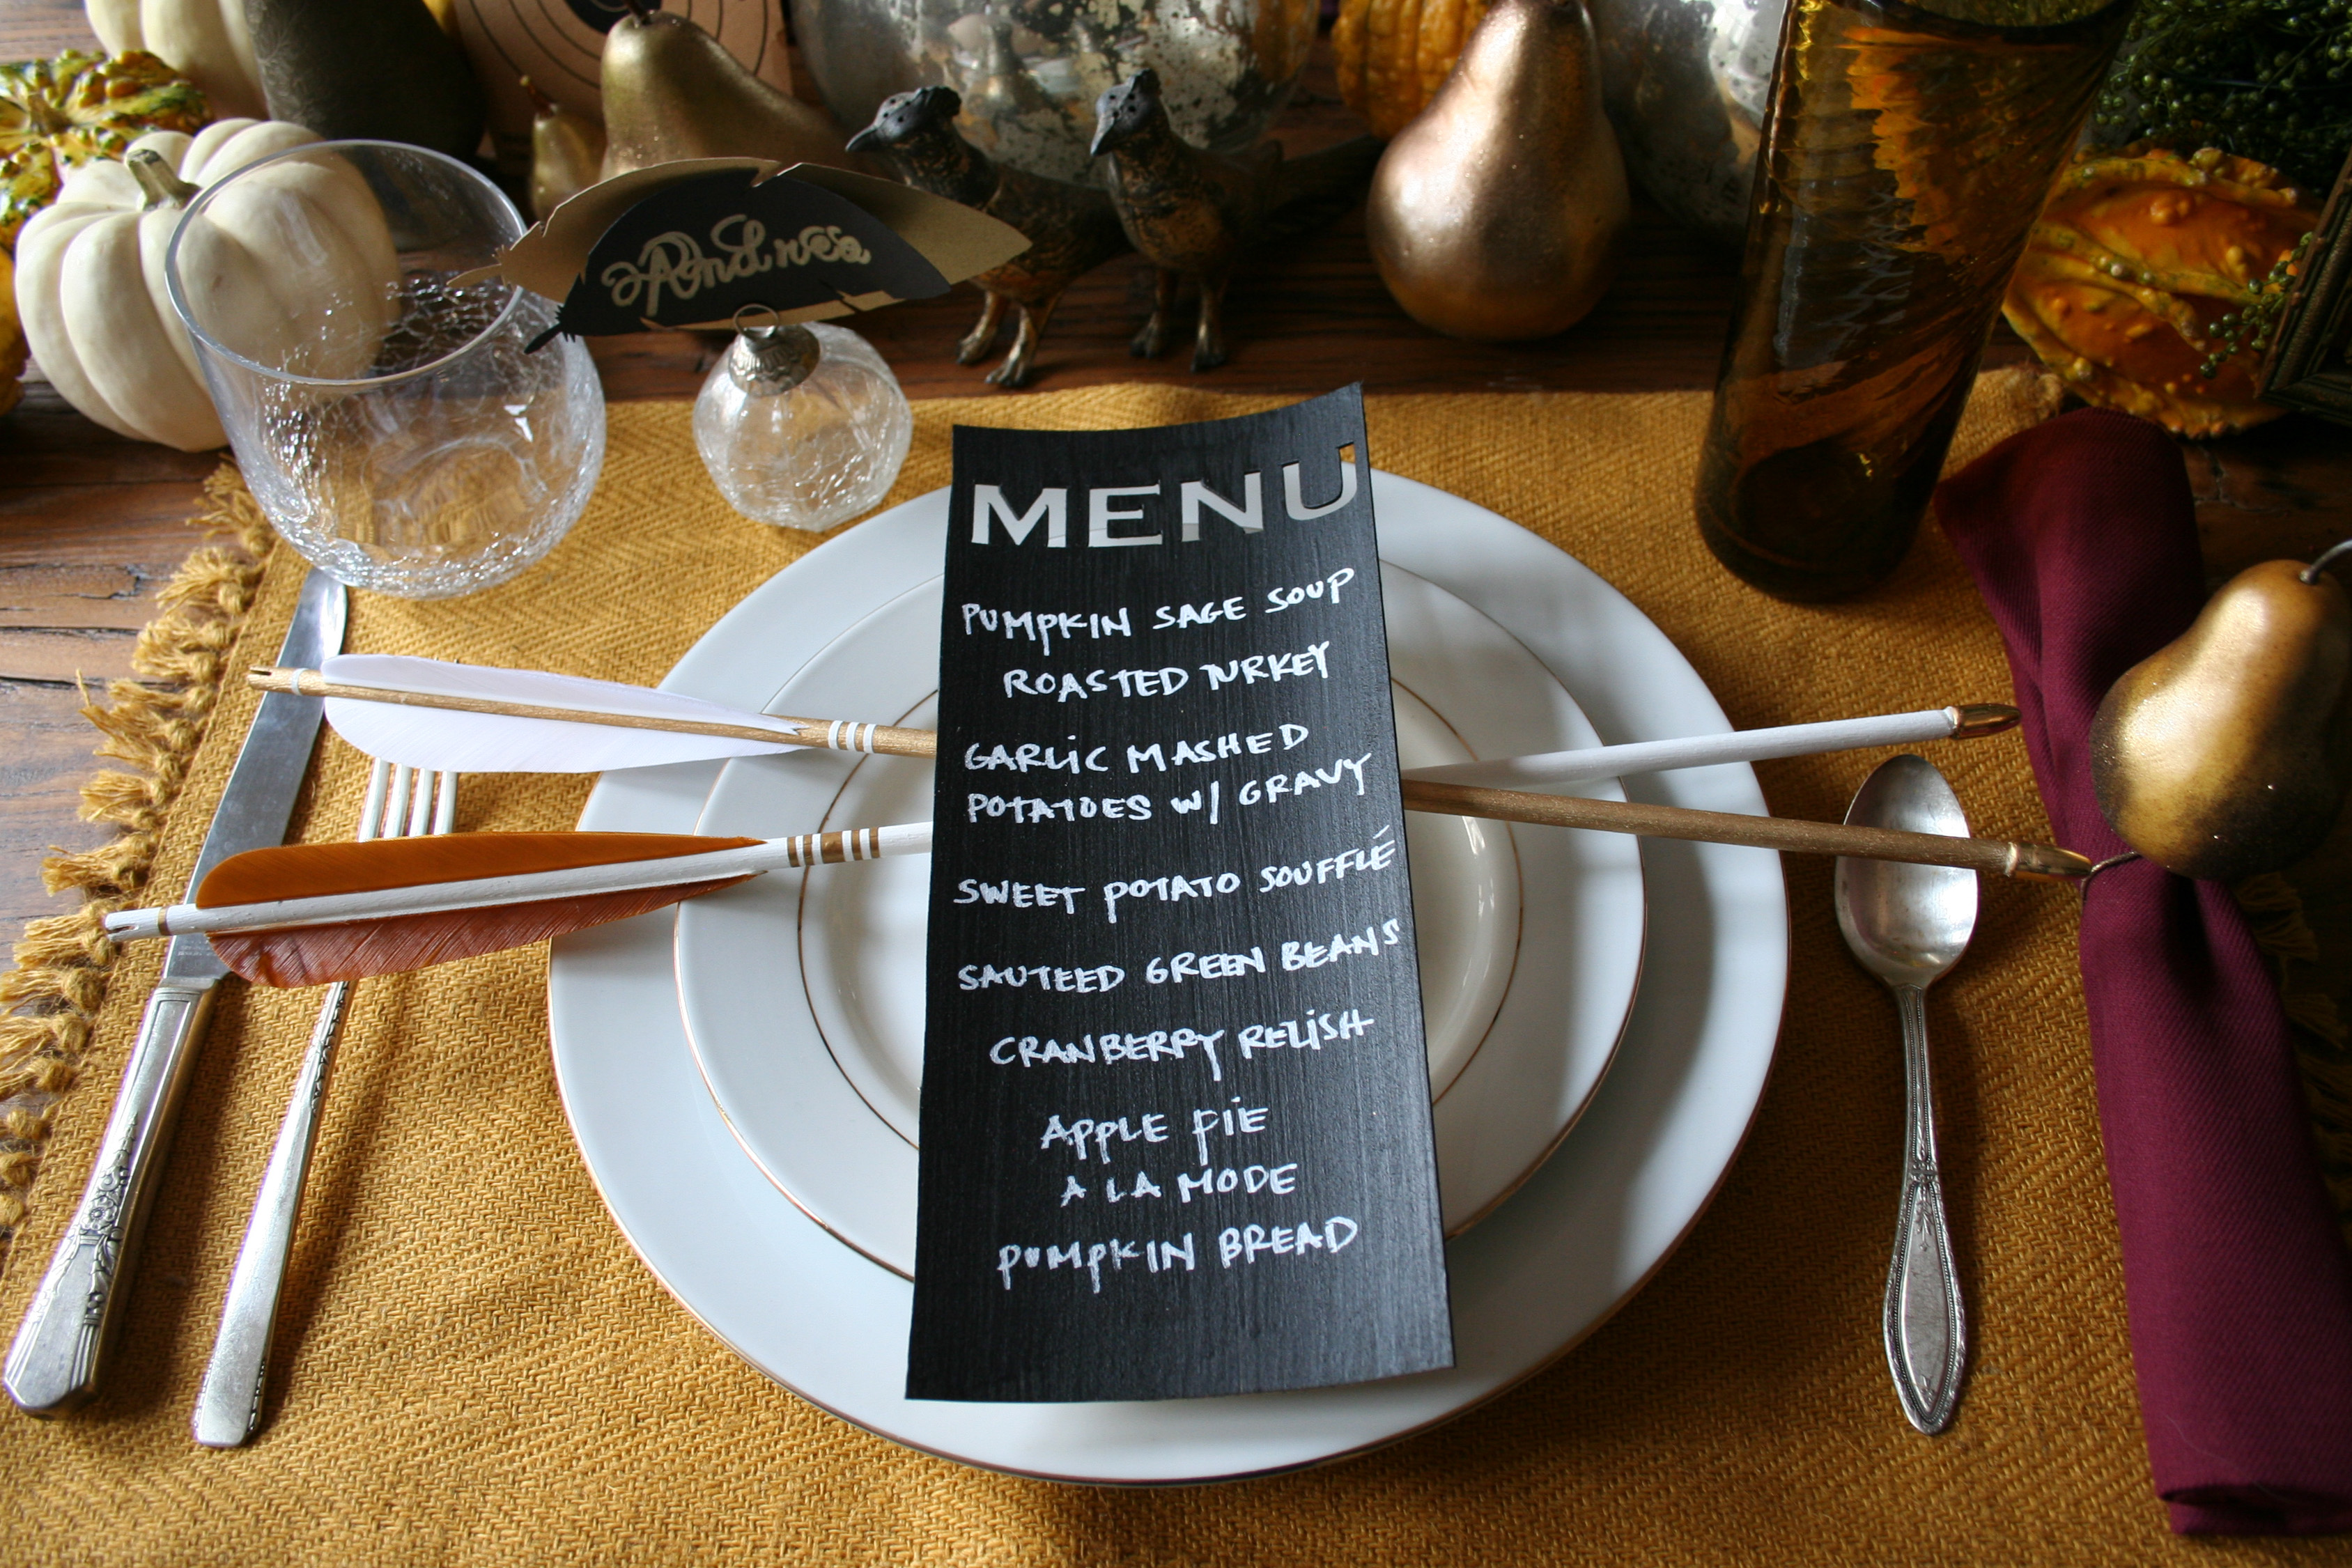 Materials Needed:
- Cricut Explore™
- 2-6 sheets of 1/32″ wood – maybe more depending on your number of dinner guests
- Menu file (FREE LINK!)
- Chalkpaint
- Chalkpaint pen
- Paint brush
- Scissors
- Pencil
- Ruler
Optional Materials:
- Extra sheets of 1/32″ wood (in case of any mistakes)
Instructions: I designed my Menu in Design Space and you can get the free file here. I didn’t need Photoshop or Illustrator, just the Design Space software which comes with your Cricut Explore.
Step 1: In Cricut Design Space, add text. I selected Copperplate Gothic Bold since I’m cutting the letters out and I want them to read well. Type MENU.
Step 2: Size the word MENU to fit your wood.
Step 3: Click the green GO button, then follow the instructions to load the mat, make sure you set the dial to Custom and choose the correct option for the thickness of your material, and then let the Cricut do all your dirty work cutting!
Step 4: Once the Cricut is done cutting, remove the mat from the machine and remove the wood from the mat.
Step 5: Paint the menu board with chalk paint and allow to dry.
Step 6: Write your Thanksgiving menu out on the piece of wood. Either make enough menus for each place setting, or simple create one for the table.
Step 7: Start defrosting that turkey!

 If you don’t like the turkeys and want to keep it vegetarian, I’ve also got a feather place card for you:
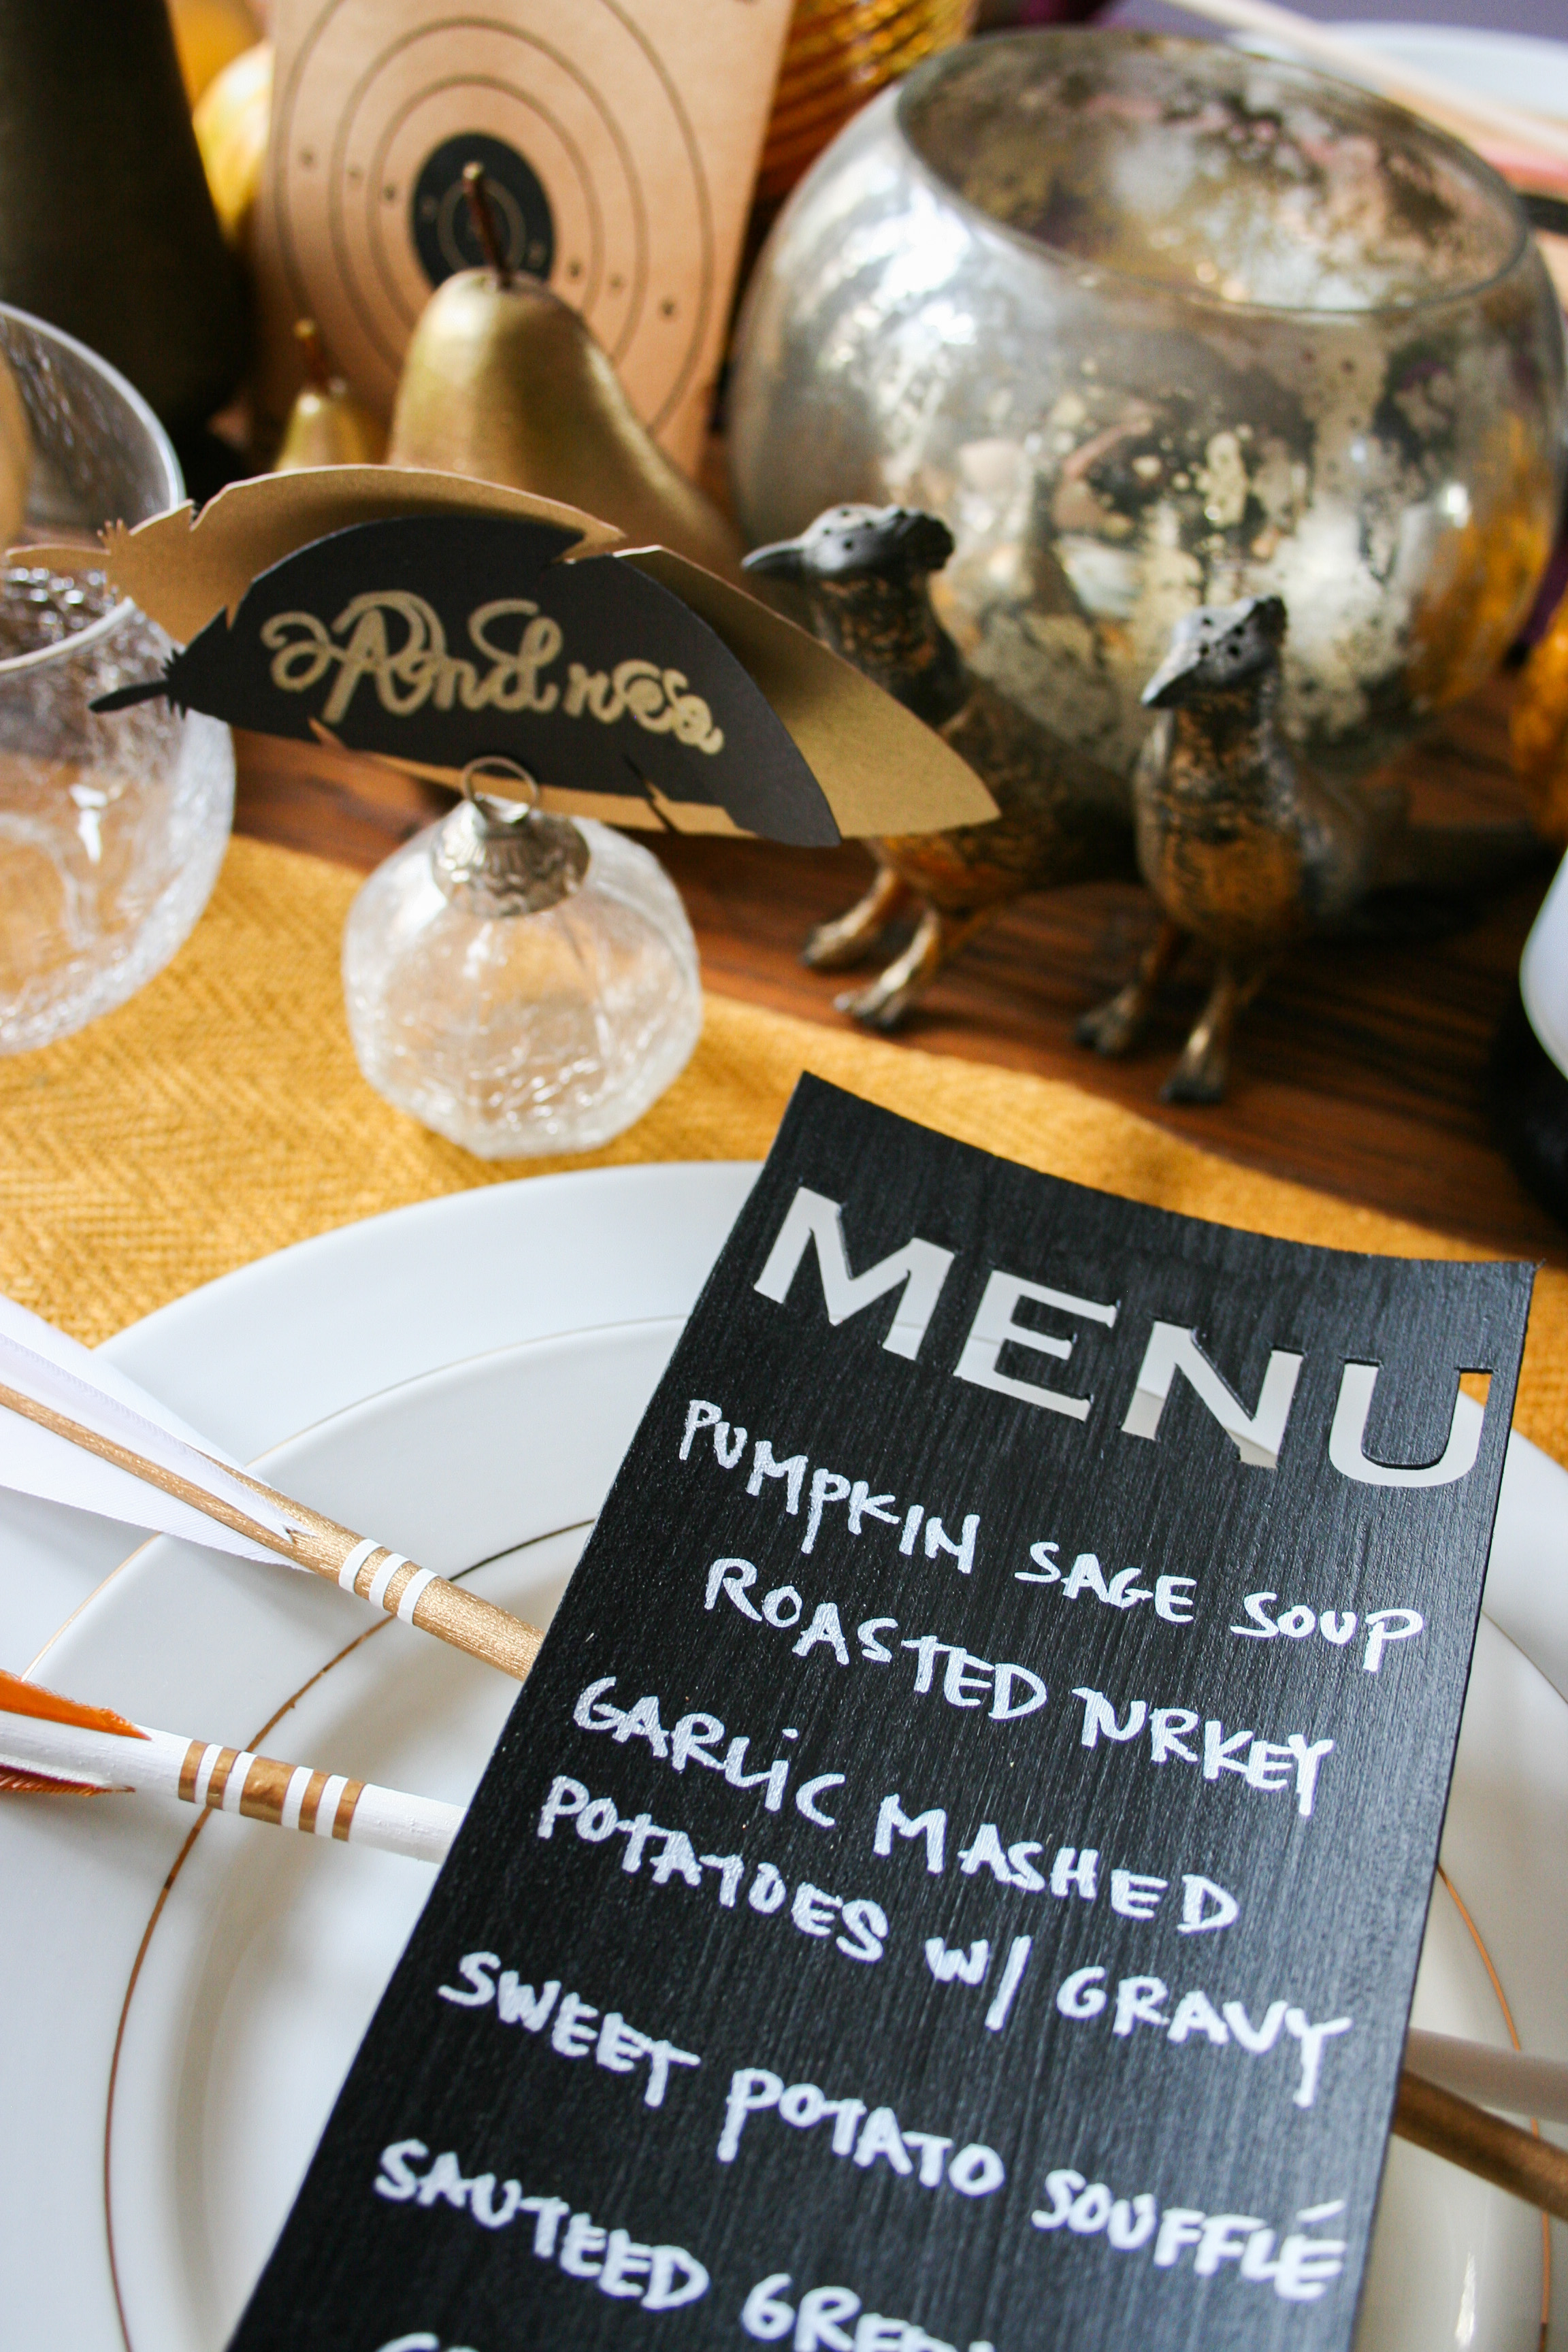
Materials Needed:
- Cricut Explore™
- 2-3 sheets of 12″x12″ card stock – maybe more depending on your number of dinner guests
- Feather SVG file (FREE DOWNLOAD!)
- Janda Celebration Script (Free Font!)
- Cricut gold marker
Optional Materials:
- Extra sheets of 12″x12″ card stock (in case of any mistakes)
Instructions: I designed my Feather in Photoshop, exported it to Illustrator, and made an SVG file, meaning it is a vectorized file and you can make it as big or as small as you want.
Step 1: In Cricut Design Space, simply start a new project, then click “Upload Image”, click “Vector Upload”, browse and choose your downloaded Feather file, and click “Save Image”. The Feather will then be at the bottom of your screen, click on it, giving it a green checkmark, and click “Insert Images.”
Step 2: Remember how I said these are SVG files? Well, you can make the Feather any size you would like. So go ahead and scale the Feather to the size you want it to be. You could make bunting, or cupcake toppers, or this place card! Once you have the size you want, copy and paste the feather to create as many place cards you will need.
Step 3: Add your guests names as text to the Feathers using the Janda font and make sure you attach the text to each feather so the Cricut prints and cuts correctly.
Step 4: Click the green GO button then follow the instructions to load the mat and then let the Cricut do all your printing and cutting!
Step 4: Don’t forget to load the gold pen! Make sure the arrow is all the way done before you hit start. And remember, the Cricut will always print first and then cut, so if it isn’t printing, press pause, unload and start over.
Step 5: Once the Cricut is done, remove the mat from the machine and remove the paper from the mat.
Step 6: If you want to create a second feather for contrast as I did in the photo, repeat the steps above, minus the addition of the text, and cut out a second batch of feathers.
Step 7: Add them to placeholders and enjoy!
Be sure to check out the other projects my talented teammates have created!
THREE LITTLE MONKEYS STUDIO | GIFTING SWEET | SMALL FOR BIG | THE CELEBRATION SHOPPE | CLEVER PINK PIRATE | THE ROAD TO THE GOOD LIFE | LEGAL MISS SUNSHINE | LITTLE RETREATS | FLAMINGO TOES | AESTHETIC NEST
Will you be having dessert with your Thanksgiving dinner? Or sending guests home with leftovers? Stay tuned for my next post which will have some quick and easy Pilgrim and Turkey silhouettes for you to cut out and add as a pie topper or make decorated pie boxes and send slices of pie home as favors.
And if you haven’t yet purchased a Cricut Explore™ yet (and really, why haven’t you?) you might want to wait until Black Friday! I promise to have an amazing deal JUST FOR YOU to purchase a Cricut Explore™ but also a special coupon code for all of my readers with an EXTRA discount! Check back on Thanksgiving day to find the special discount and coupon code.
And check back soon for a post discussing the non-crafty elements of the tablescape including the thrifted items, linens, beautiful Mineral and Matter arrows, and amazing La Crema wine.
This post is included in a Thanksgiving Crafts and Decor Round-up on Dwelling in Happiness!
DIY Thanksgiving Crafts and Decor - Dwelling In Happiness
Monday 19th of October 2015
[…] place settings are a great way to personalize your table, and this turkey shoot Thanksgiving tablescape from Legal Miss Sunshine is great inspiration! I love the menu, and the turkey shoot is […]
Thanksgiving Tablescape and a GIVEAWAY!
Friday 21st of November 2014
[…] Post)Did you happen to see my Thanksgiving Tablescape yesterday? Usually we’re so busy cooking that we don’t have time to put together a […]
LegalMissSunshine
Friday 21st of November 2014
Thank you, Asia!
Cricut Design Space Star: Merry and Bright Christmas Light Garland
Thursday 20th of November 2014
[…] Or sending guests home with leftovers? Check out my previous posts with some quick and easy Turkey Shoot tablescape DIYs, Pilgrim and Turkey silhouettes for you to cut out and add as a pie toppers, or make decorated pie […]
Cricut Design Space Star: Pilgrim and Turkey Silhouettes
Thursday 20th of November 2014
[…] Thanksgiving dessert! These Pilgrim and Turkey silhouettes go perfectly with my vintage-inspired Turkey Shoot Tablescape and using your Cricut Explore, you can make these Pie Topper Pilgrim and Turkey Silhouettes or Take […]