Isn’t it funny how when you’re a teenager, all you want to do is get out of the house and have fun with your friends? Currently, my idea of fun is ice cream … on the couch … with a movie … by myself. Sometimes I just need some “me time” with a cheesy, chick-flick movie and some ice cream. So I thought I would make some fun DIY Painted Ice Cream Bowls to celebrate “me time” and I’m showing you how below! 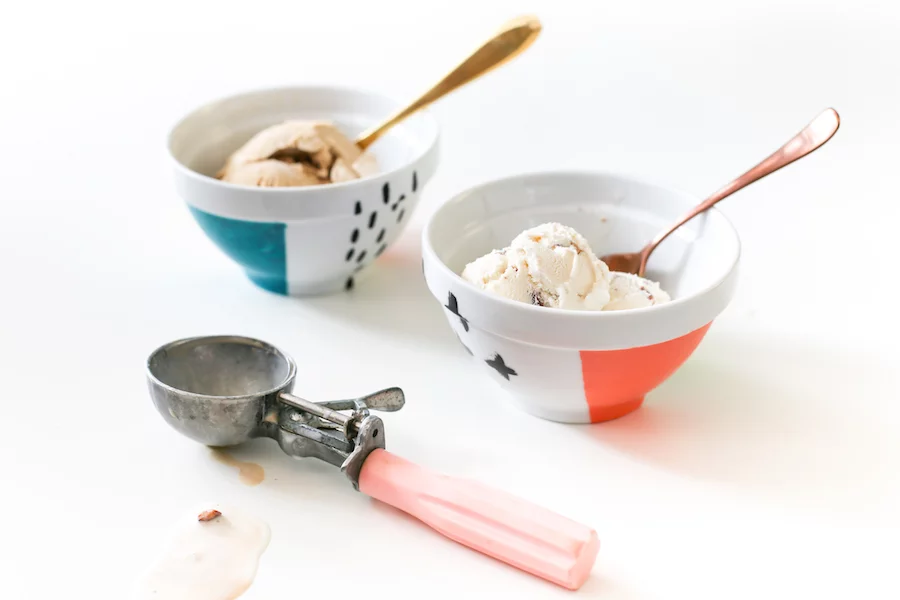 Aren’t these DIY Painted Ice Cream Bowls cute? Sometimes you just have to have your very own ice cream bowl that no one else uses. It’s the little things in life.
My own ice cream bowl, ice cream, and a movie! Sounds like an awesome Friday night! 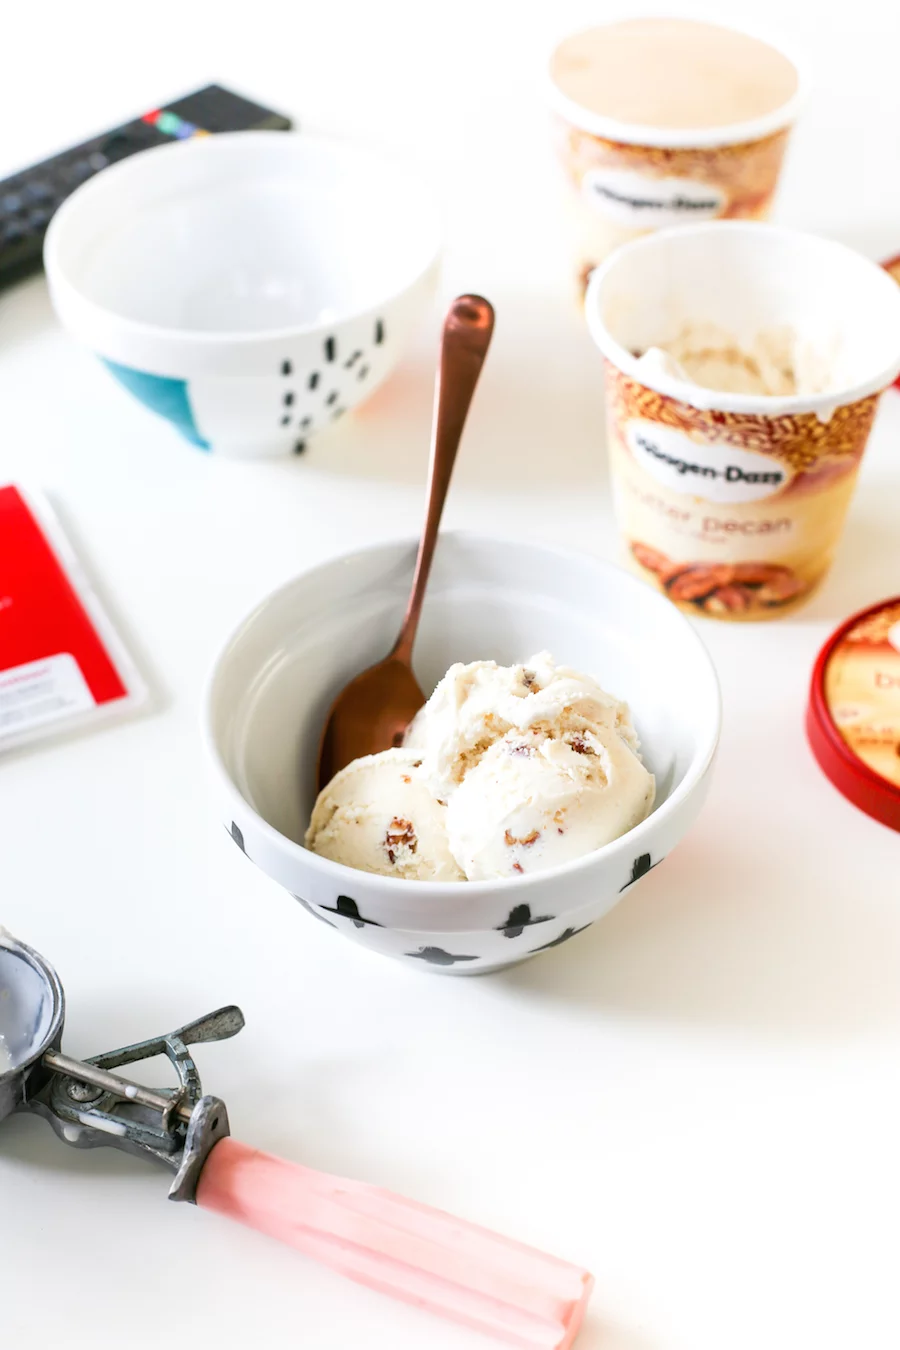 Ready to make your own DIY painted ice cream bowl? You’re going to need a few supplies:
 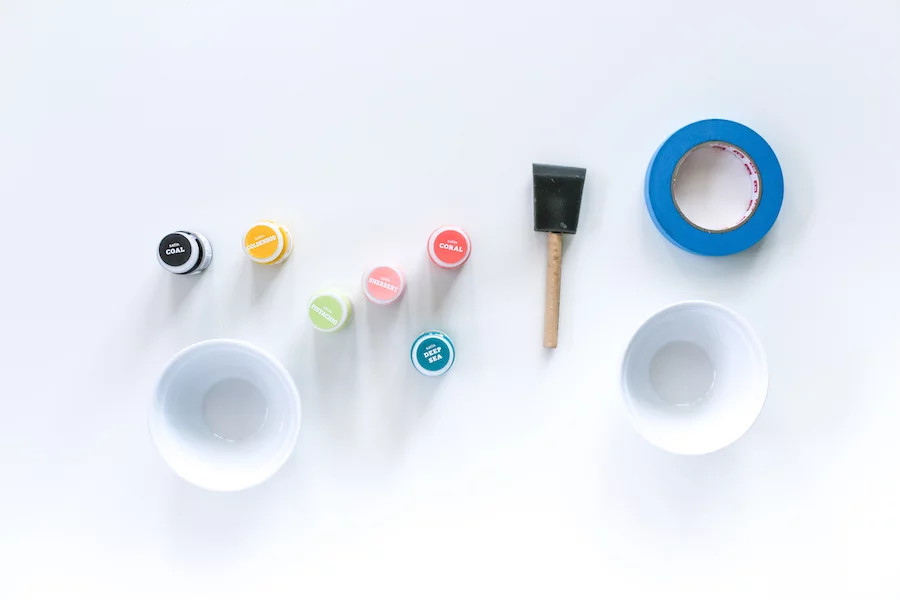 Supplies:
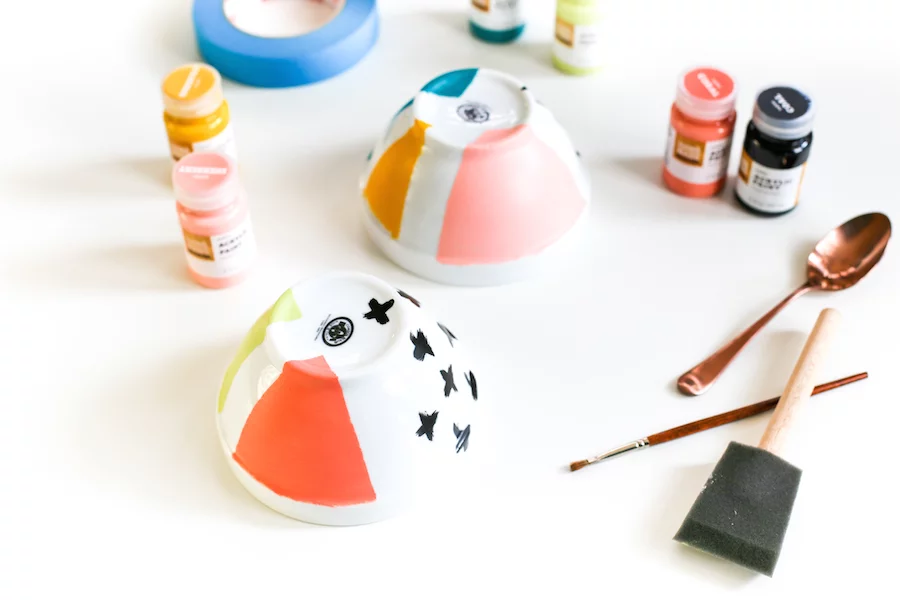
- oven-safe white bowl
- 3-4 paint colors
- foam brush
- small paint brush
- rubbing alcohol
- painter’s tape
- 1 pint of ice cream
Instructions:
First, prep the outside of your bowl by wiping it with rubbing alcohol. Then use your painter’s tape to tape off a pattern. It can be anything you want – vertical stripes, horizontal stripes, triangles, etc., just make sure the tape is tightly adhered on the edges so the paint doesn’t bleed underneath. 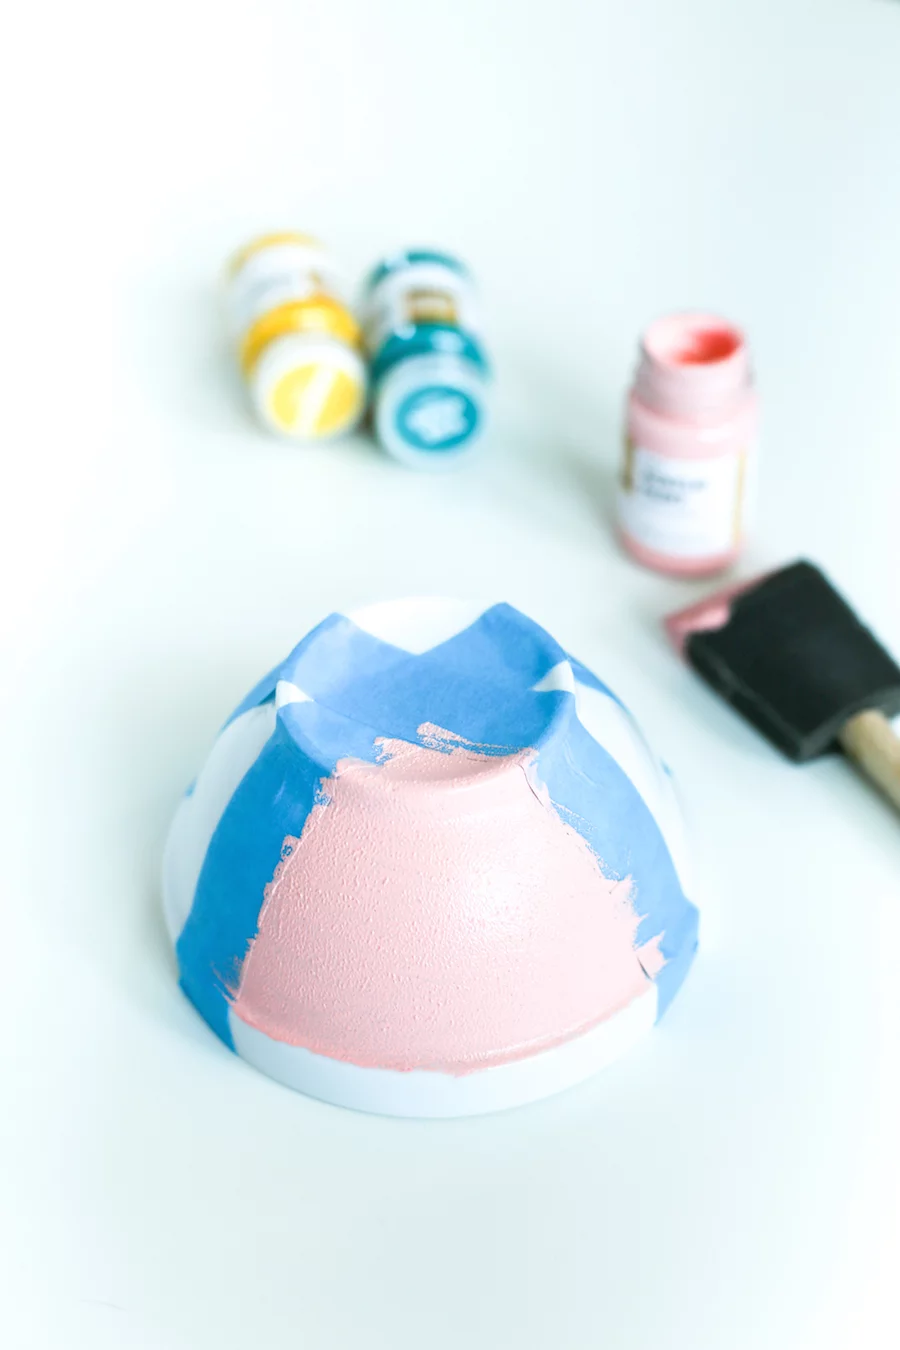
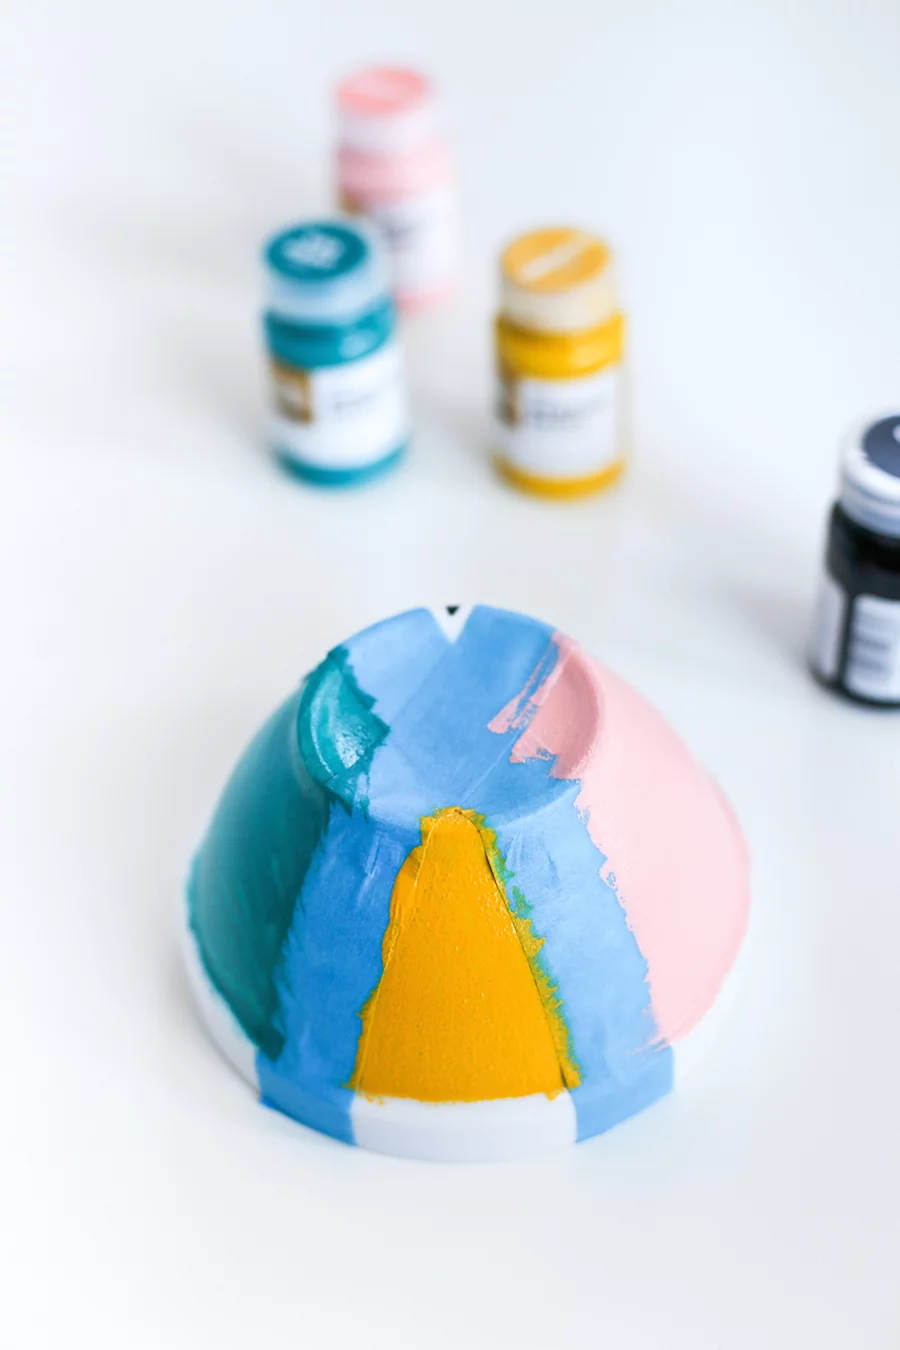 Next, use your foam paint brush to daub on your paint colors. If you want to paint on a small design, use your small paint brush. Dots, lines, and cross-hatches are some great, but easy designs that you can do!
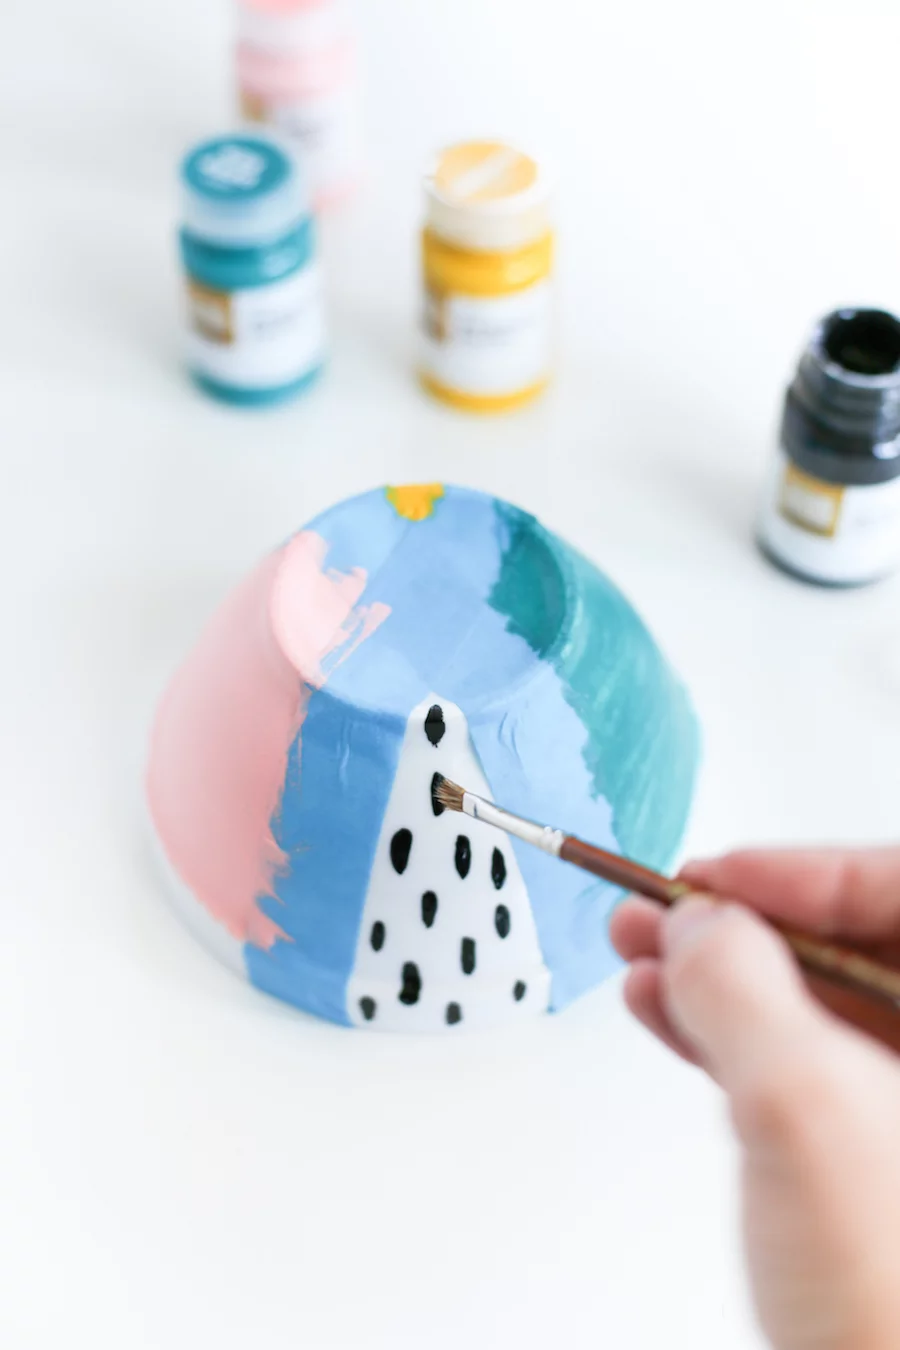 When you’re done painting, carefully peel off the painter’s tape, then bake your painted oven-safe bowl in the oven for 20 minutes at 350 degrees F to cure the paint. (Hand wash only.)
  Ta-da! All ready for ice cream!
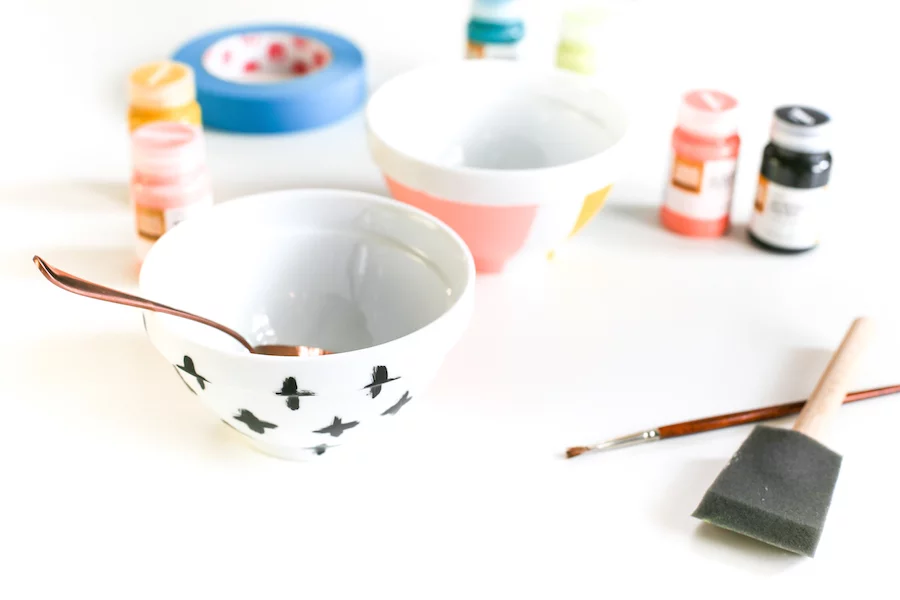
What’s your favorite ice cream flavor? Let me know in a comment!

cathy
Tuesday 5th of July 2016
What cute bowls, the perfect bowls for ice cream! {client}
Andrea
Tuesday 5th of July 2016
Thanks, Cathy!