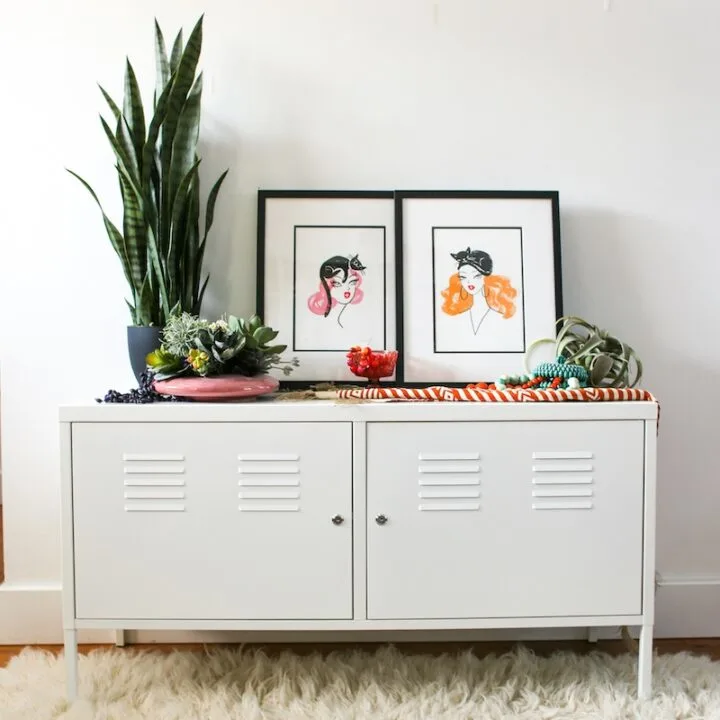
Are you tired of looking at a litter box or do you have a cat that kicks all the litter out? Try this IKEA Cabinet Kitty Litter Box Hack! The litter box stays hidden within the cabinet and there’s even some room to store an extra bag of litter and cat supplies!
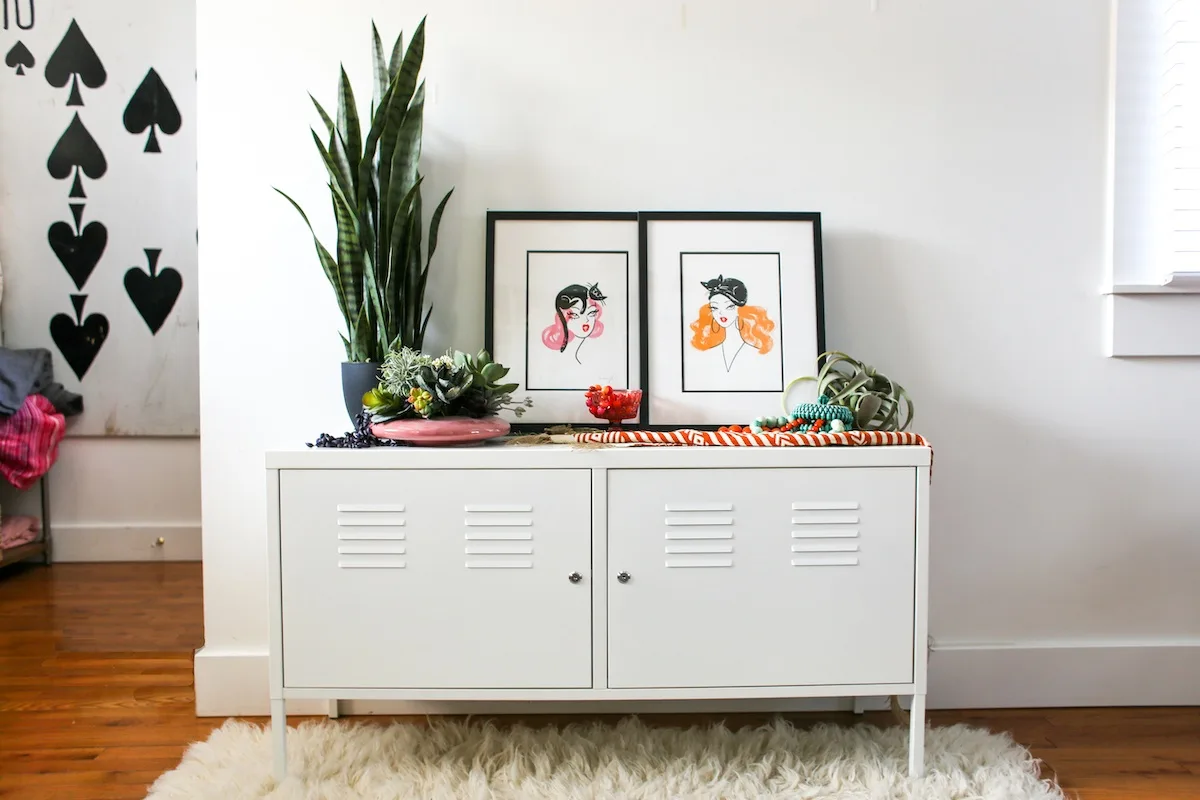
Ok, so I went a little overboard with making my own Kitty Litter Box Cabinet. But with two cats and two litter boxes, I was done messing around!
I mean, would you even guess that there is a LITTER BOX in there?!?
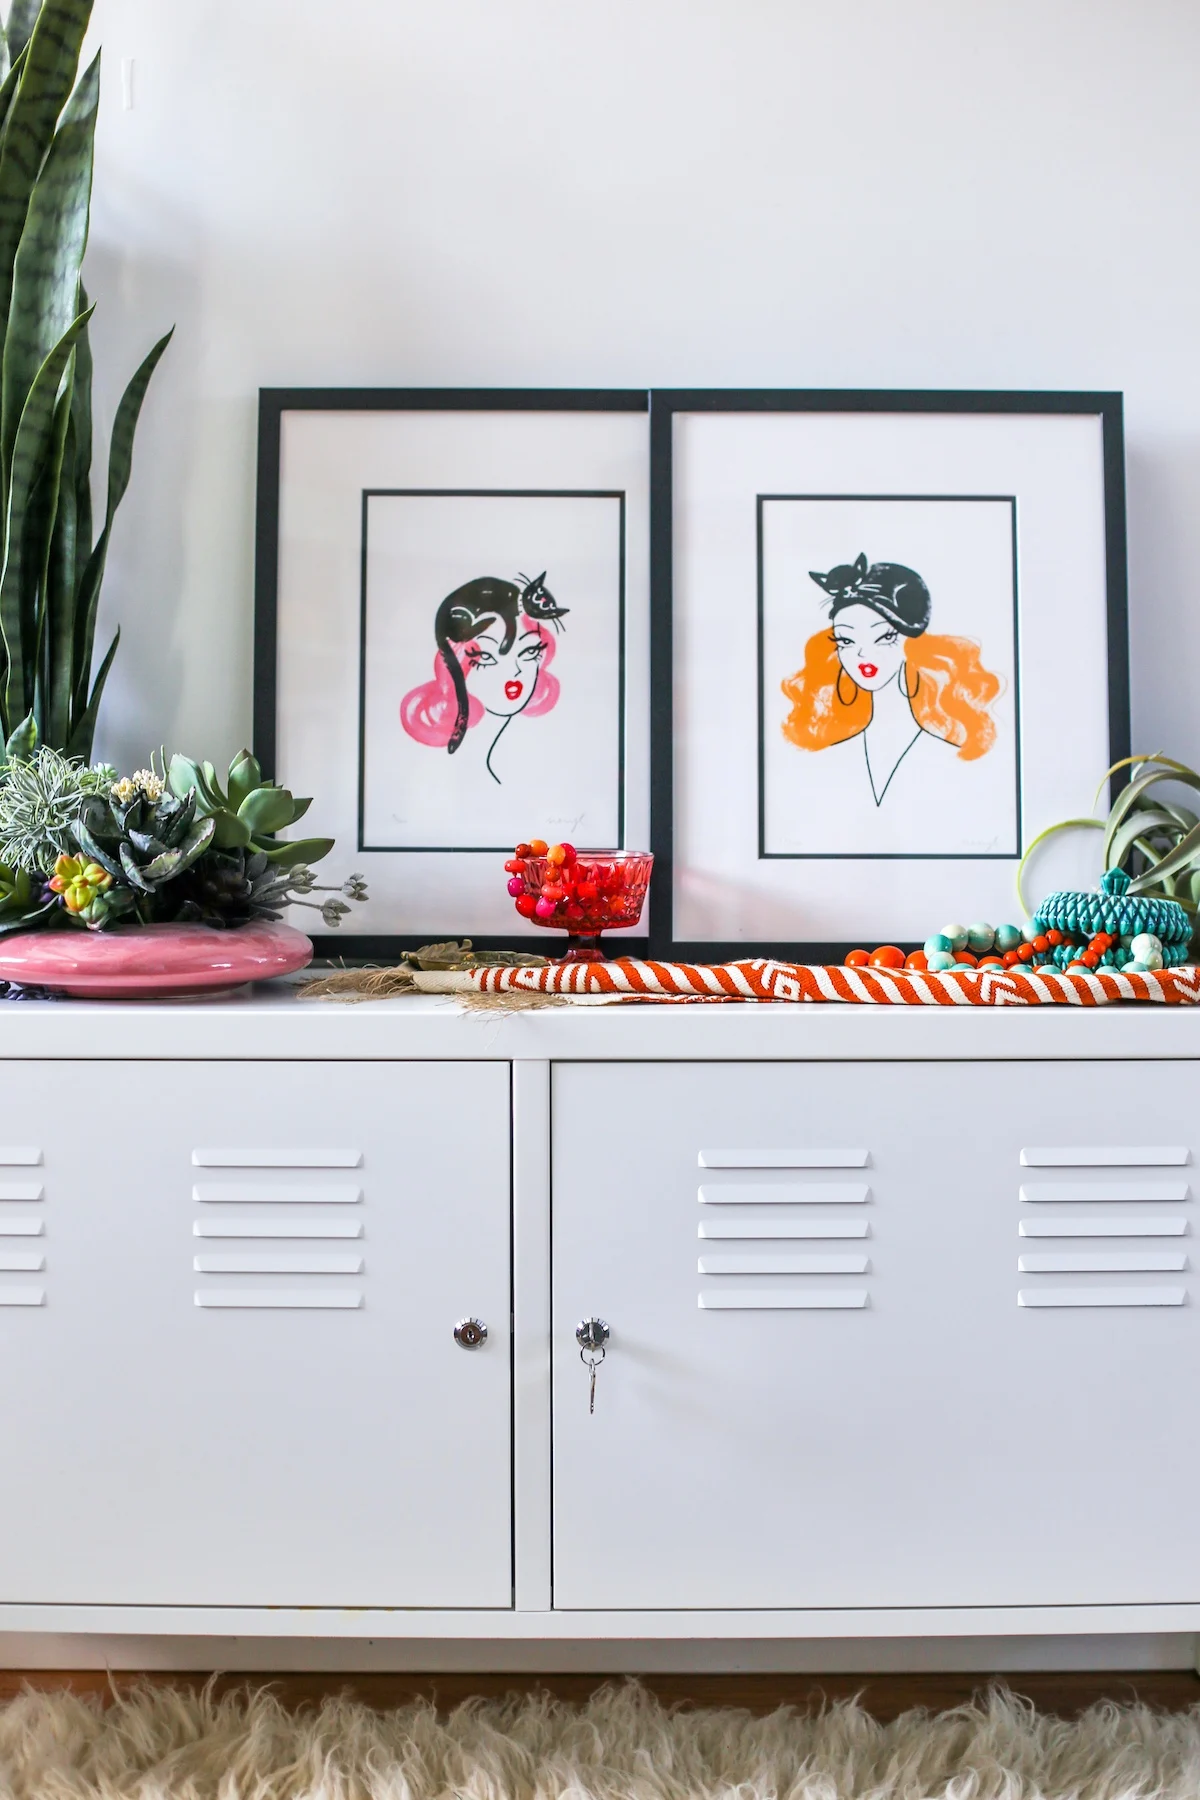
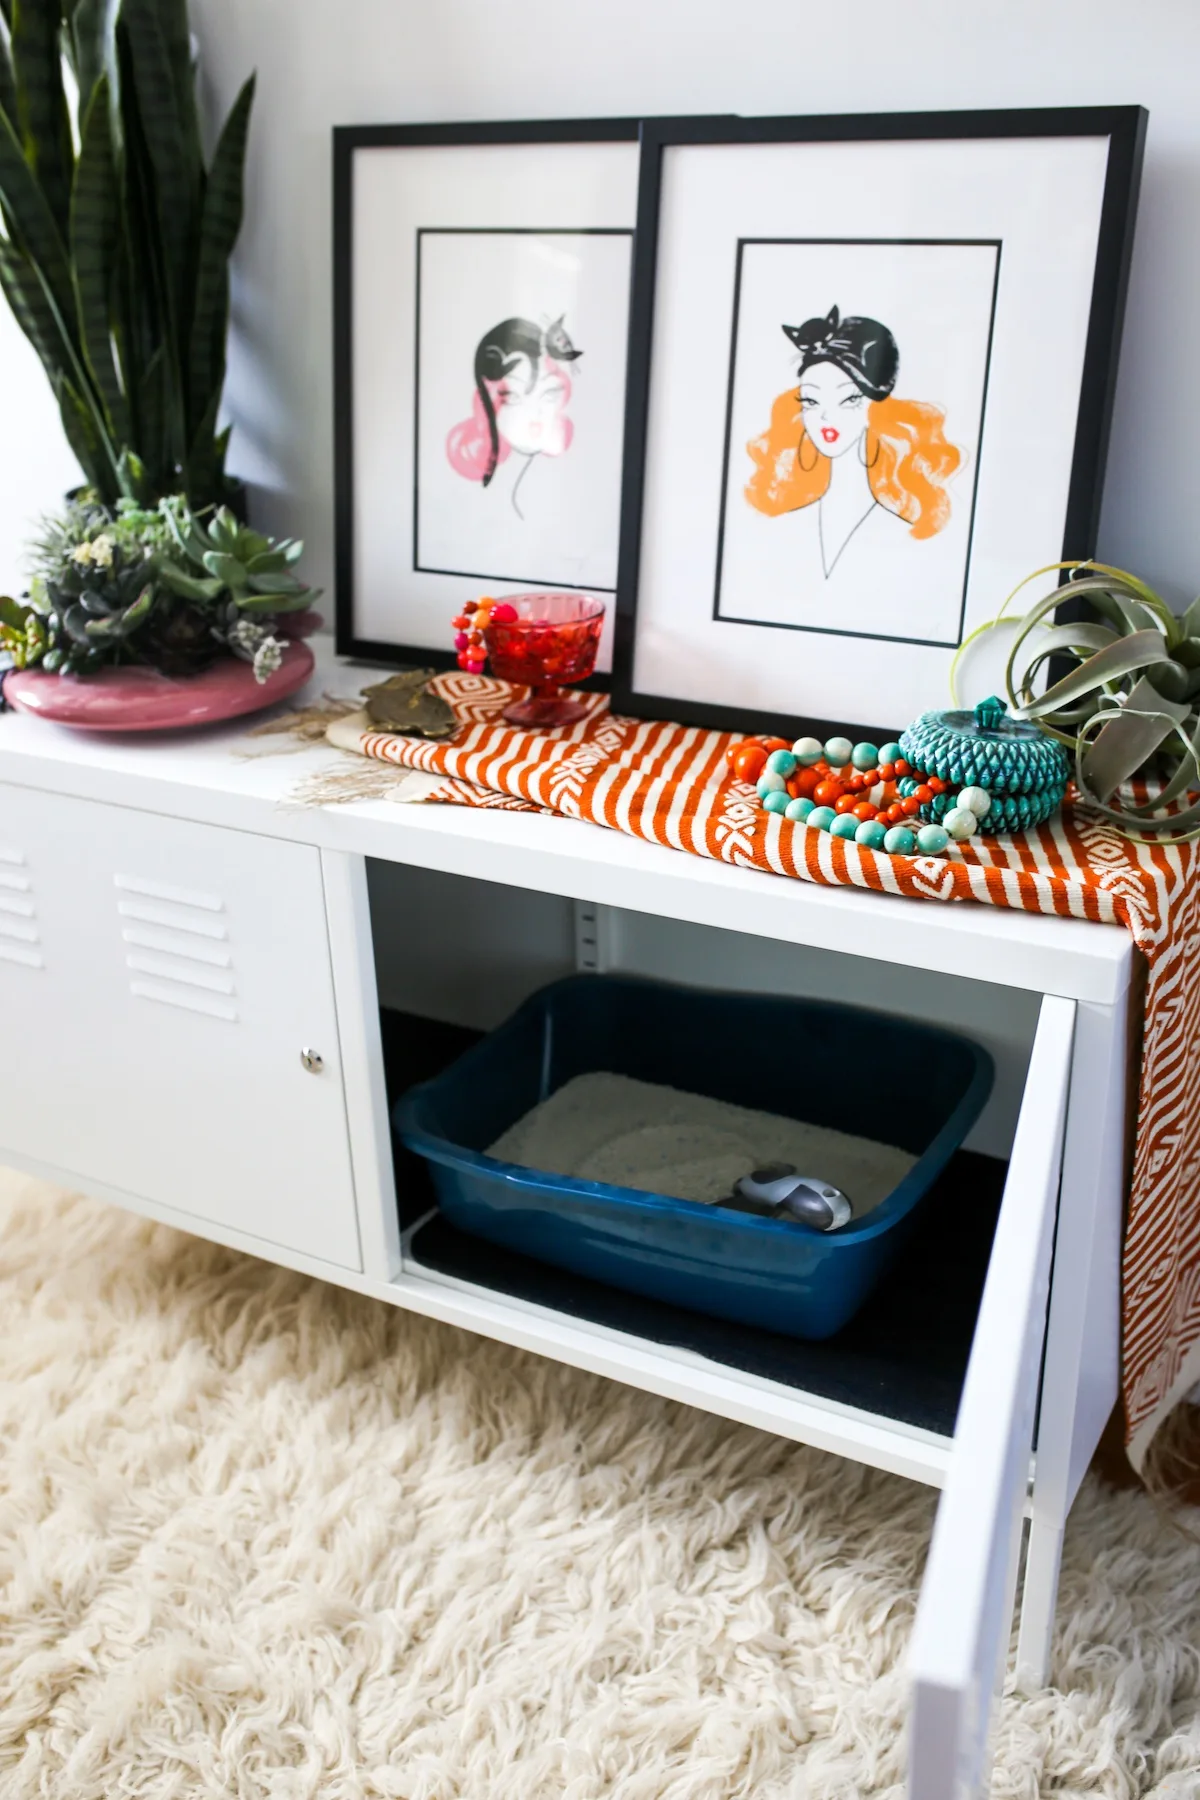
I hate (HATE!) looking at the litter boxes, I hate looking at the bags of litter, I hate looking at the scooper, and I’m tired of all the tracked litter throughout my house (even in my bed!), so I thought that an enclosed Kitty Litter Box Cabinet with a little kitty door on the side might be the best way to go.
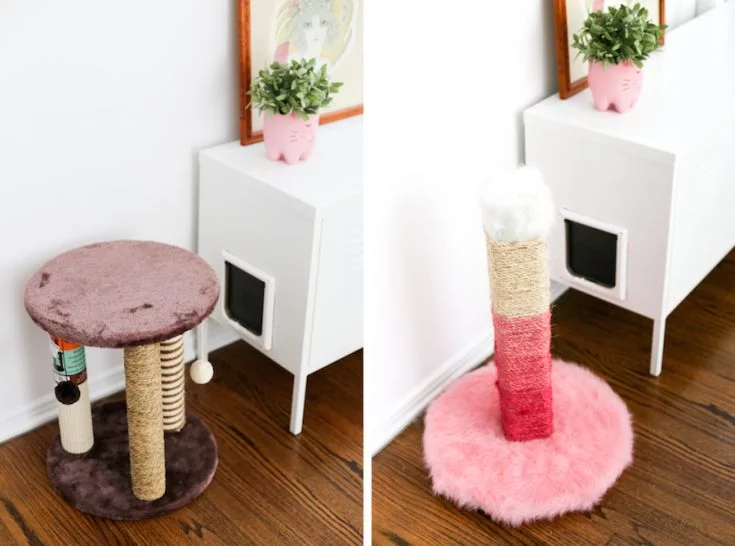
It keeps the litter box out of sight, it stores an extra bag of litter, it holds a few cat supplies, and because she walks across a kitty litter mat on her way out, it helps cut down on litter tracking throughout the house.
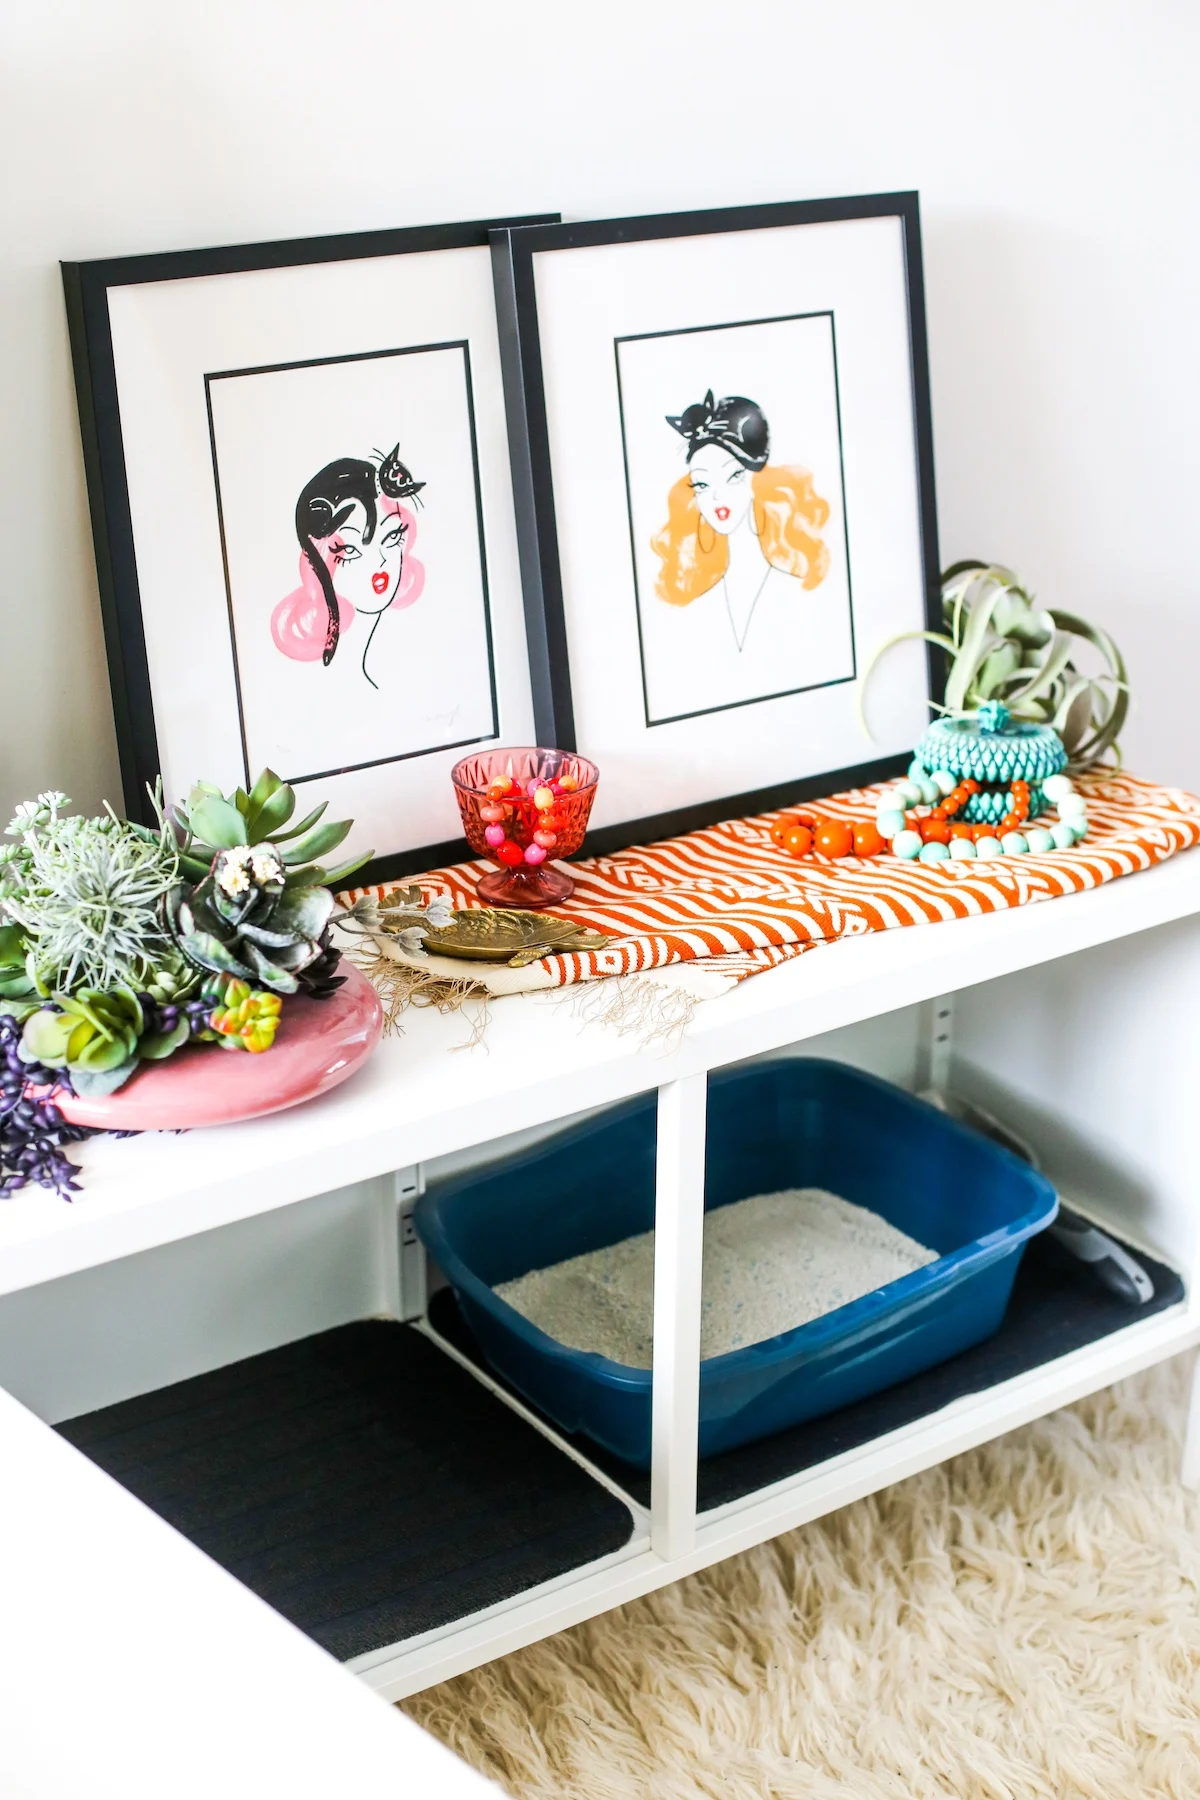
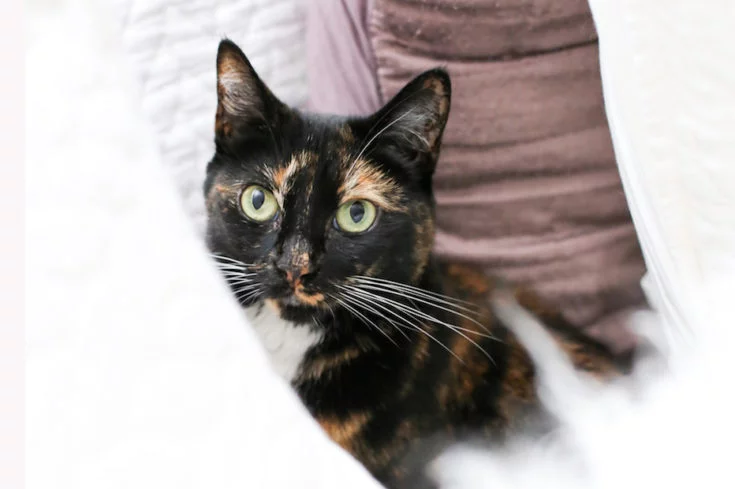
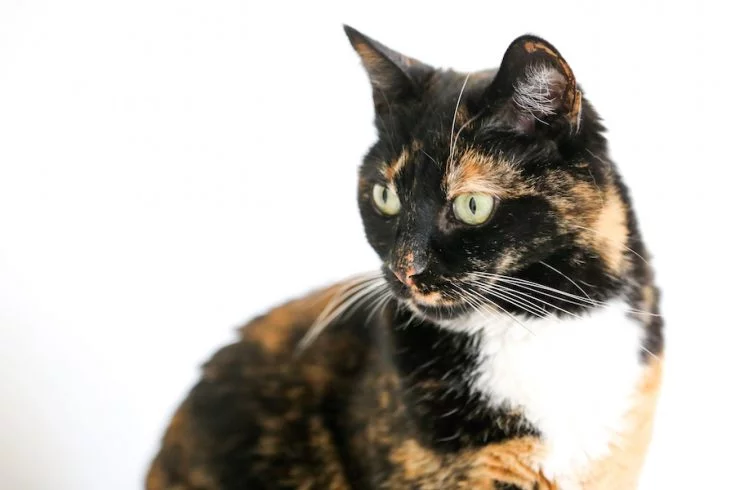
Here’s the backstory: I recently acquired a second cat! Her name is Lucy! The day I rescued her, I purchased a beautiful, brand new kitty litter box … and then I quickly learned that she kicks litter out of the litter box. There was litter ALL OVER my bathroom floor.
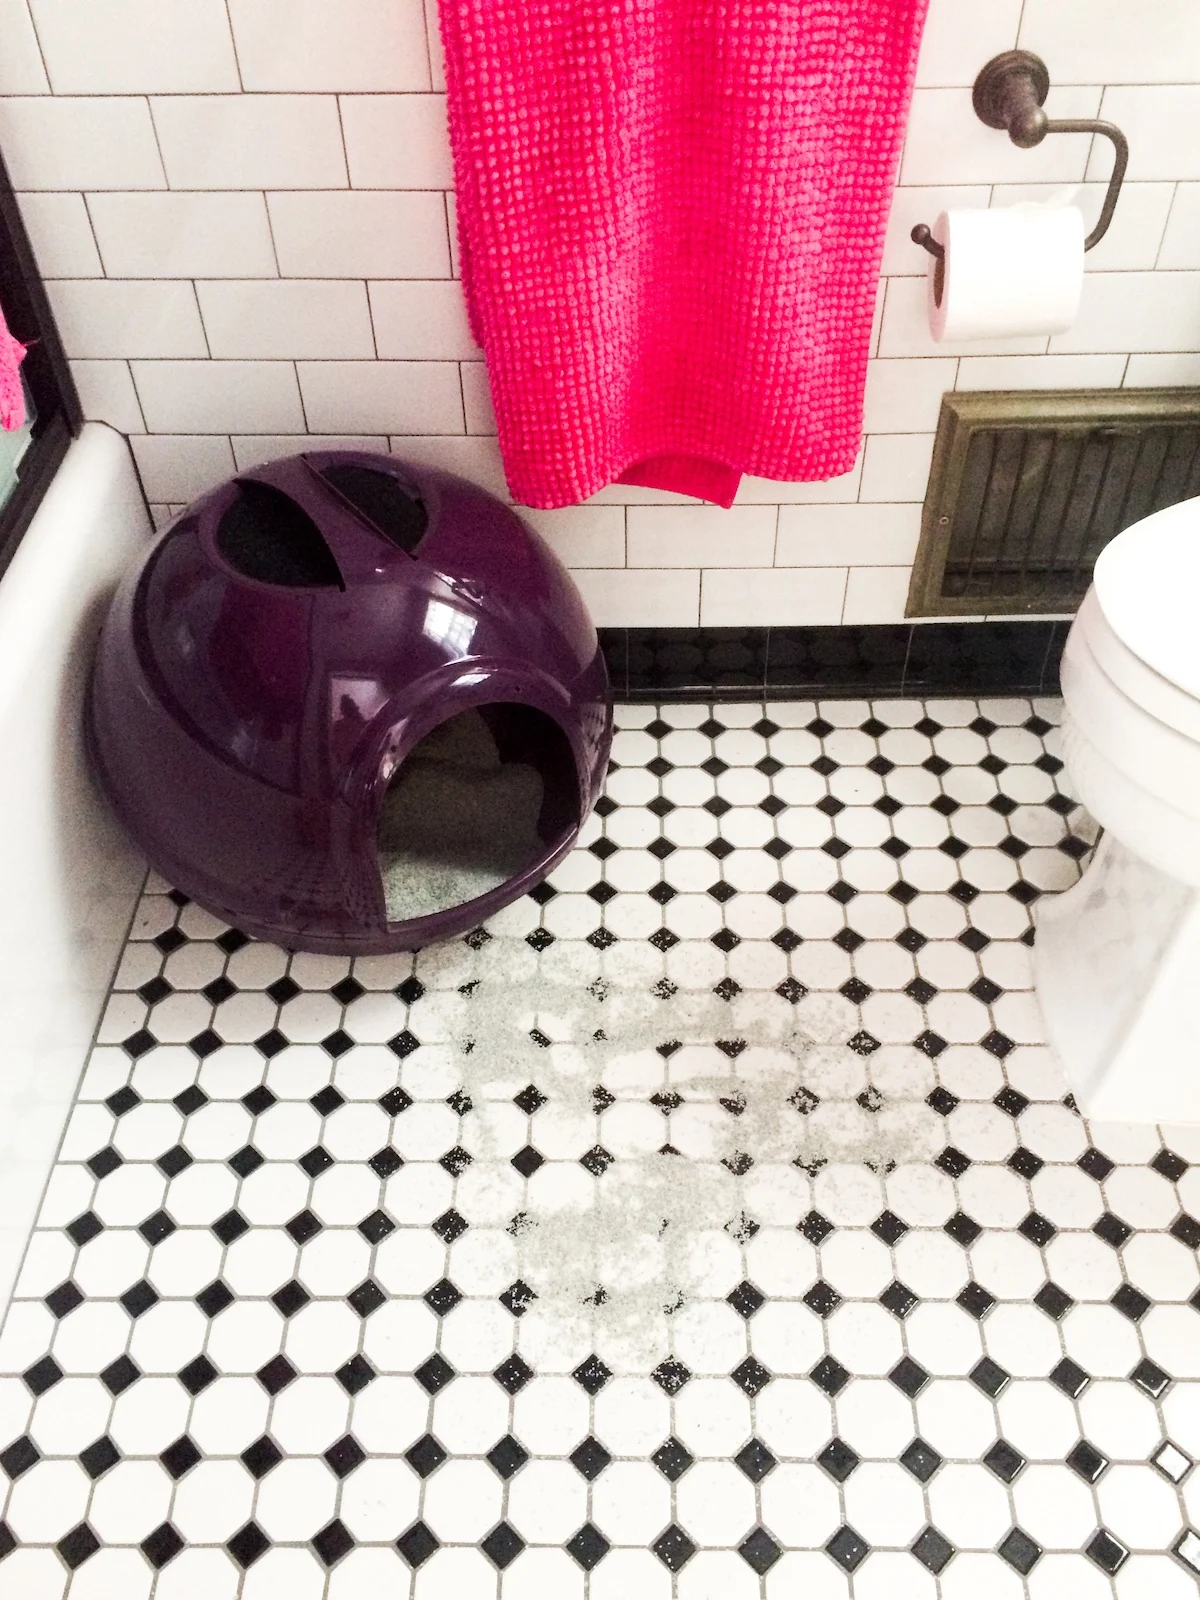
There was more litter on the floor than in her litter box! And if there is poop in there? That got kicked out, too!
Obviously that beautiful, brand new litter box was not working. So, I then DIY-ed a top-loading kitty litter box using a plastic storage bin by cutting a hole in the lid. But there was STILL litter everywhere.
So I decided to make this IKEA Cabinet Kitty Litter Box Hack. This way, she kicks and the litter stays in the cabinet. And, I won’t have to see it! Plus, I have some tips below on how not to SMELL it!
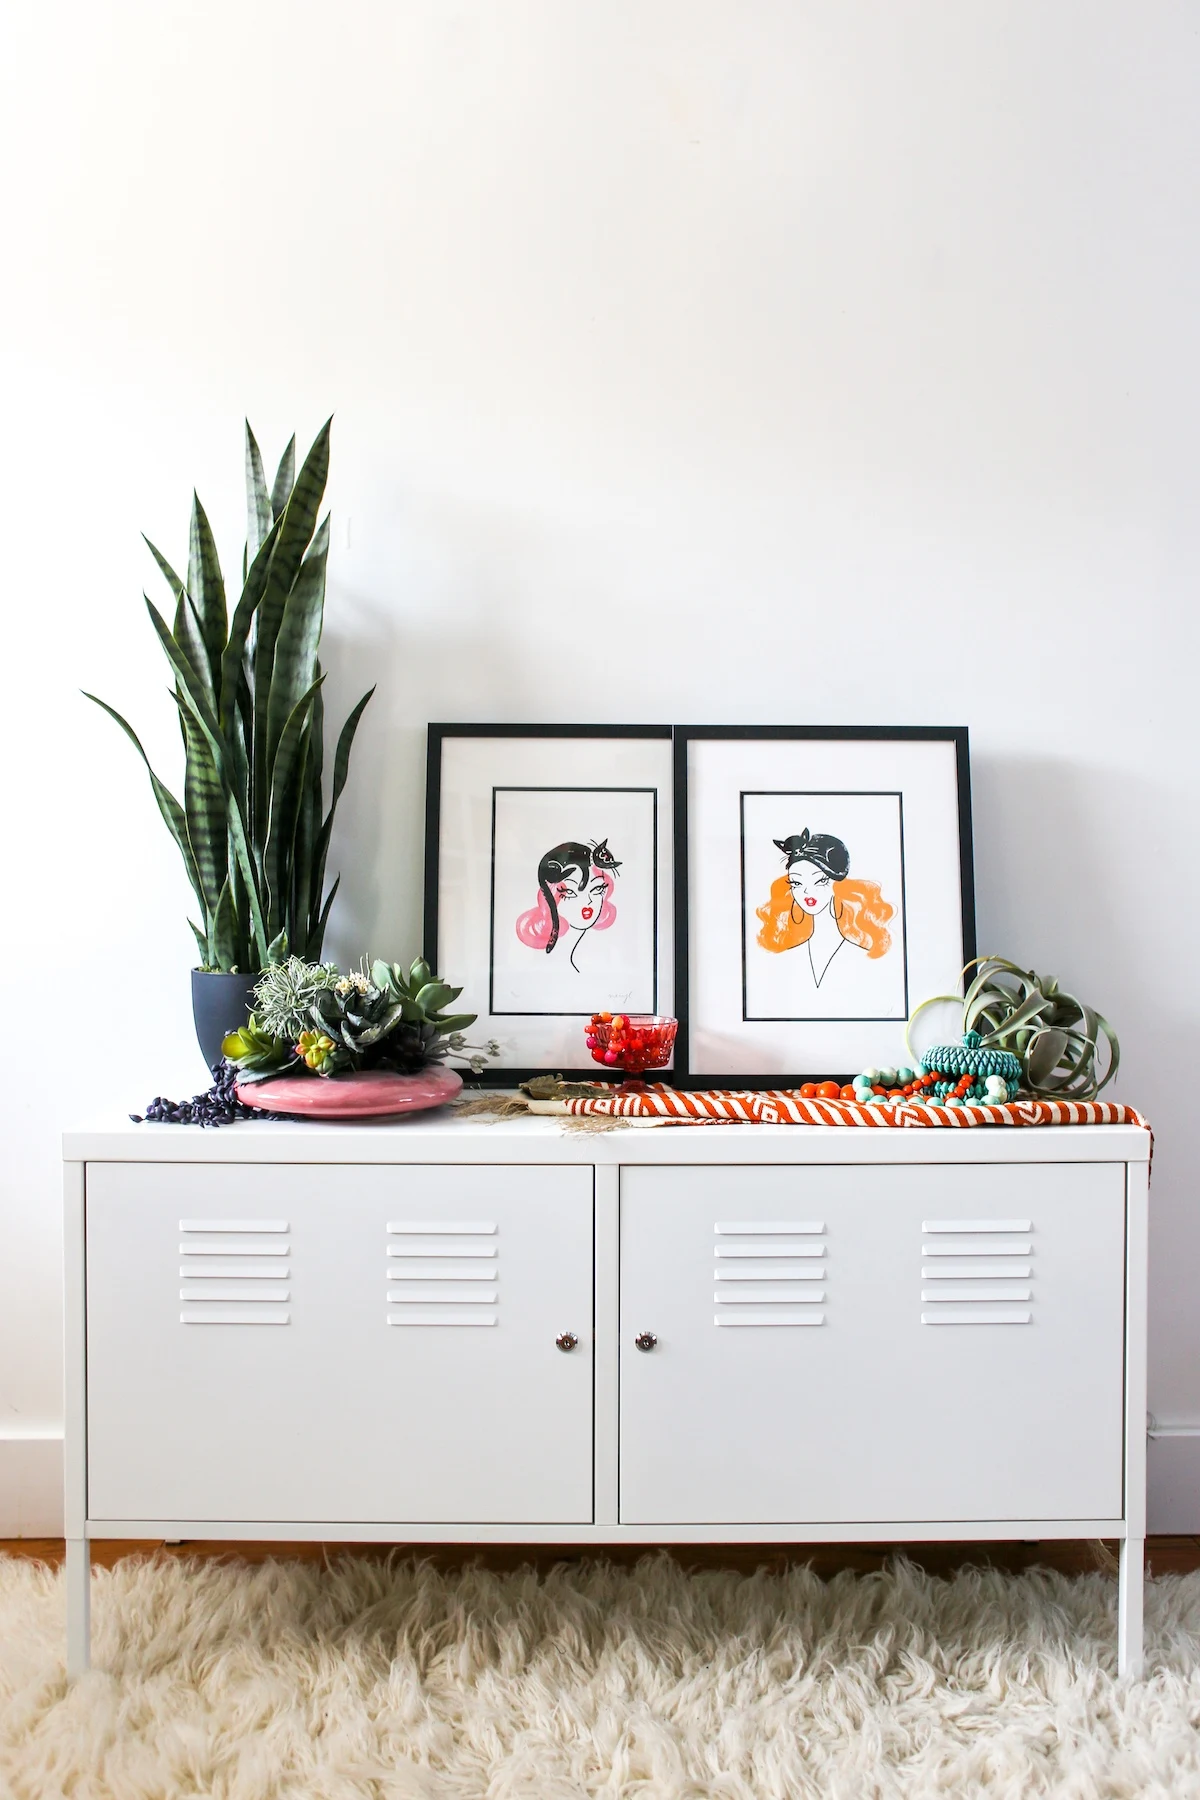
How to DIY a Kitty Litter Box Cabinet
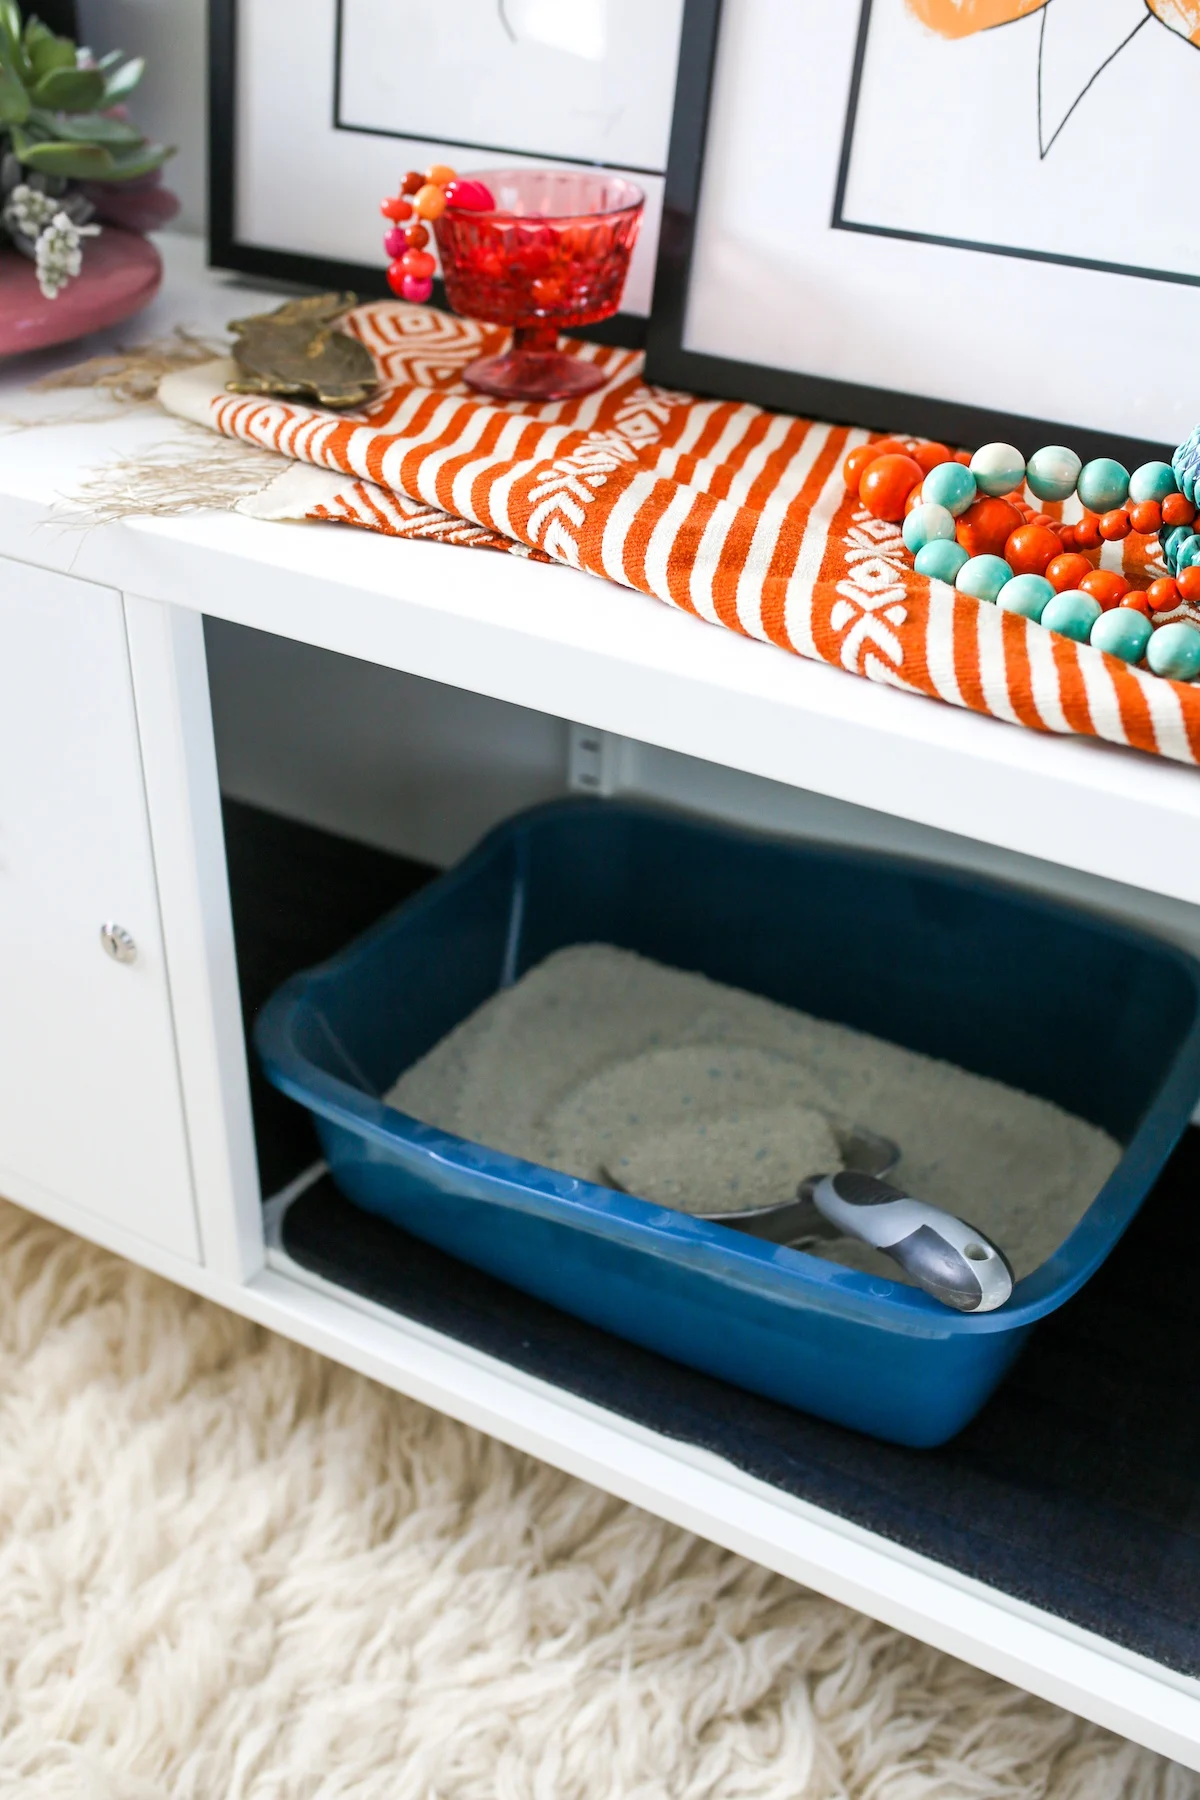
I went with this IKEA double locker cabinet so I could eventually put a litter box for each cat on each side. If you only have one cat, this is still a great piece of furniture because you can put the litter box in the middle-ish and all of your cat supplies (kitty litter, scooper, catnip spray, laser pointer) on the other side.
2022 UPDATE: Ok, so everything at IKEA is now always sold out, so here are a few other similar options that seem like they would work. Obviously, double-check measurements.
- This cabinet could also work and comes in multiple color options
- Another cabinet, same locker type style, and comes in several color options!
- This taller cabinet could also work if you leave out one of the shelves. Plus, it’s a super cute pink!
If you want to make your own Kitty Litter Box Cabinet using my IKEA Cabinet Hack, the full printable tutorial is below, but first, I’m going to go over the supplies and step-by-step instructions.
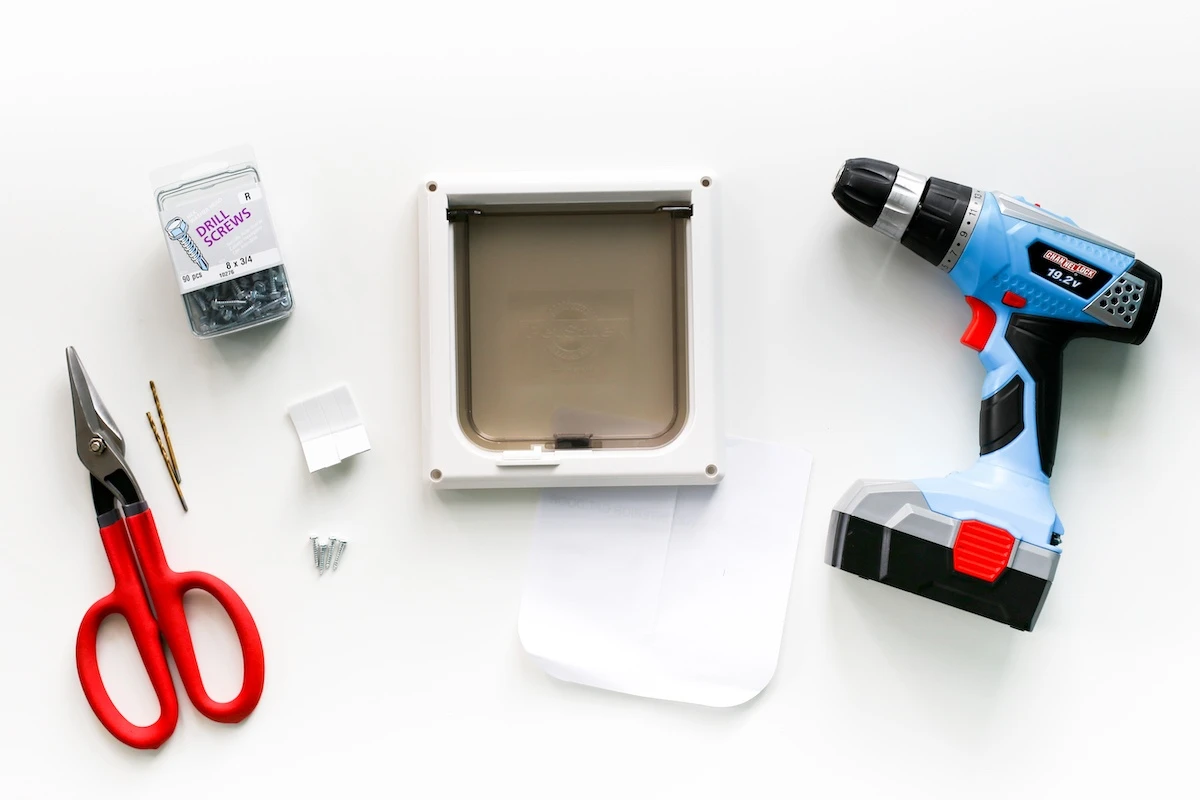
IKEA Cabinet Kitty Litter Box Hack Supplies
- IKEA Cabinet
- Cat Door
- Drill and Metal Drill Bits
- Tin Snips
- Pencil
- Gloves
- Litter box – double check the measurements of the box and your cabinet to be sure it fits!
- Kitty Litter
- Litter Mat (optional, but recommended to reduce litter tracking and aid in cleanup)
- Catnip Spray (optional to lure cat to go inside the cabinet through the door
IKEA Cabinet Kitty Litter Box Hack Step-by-Step Instructions
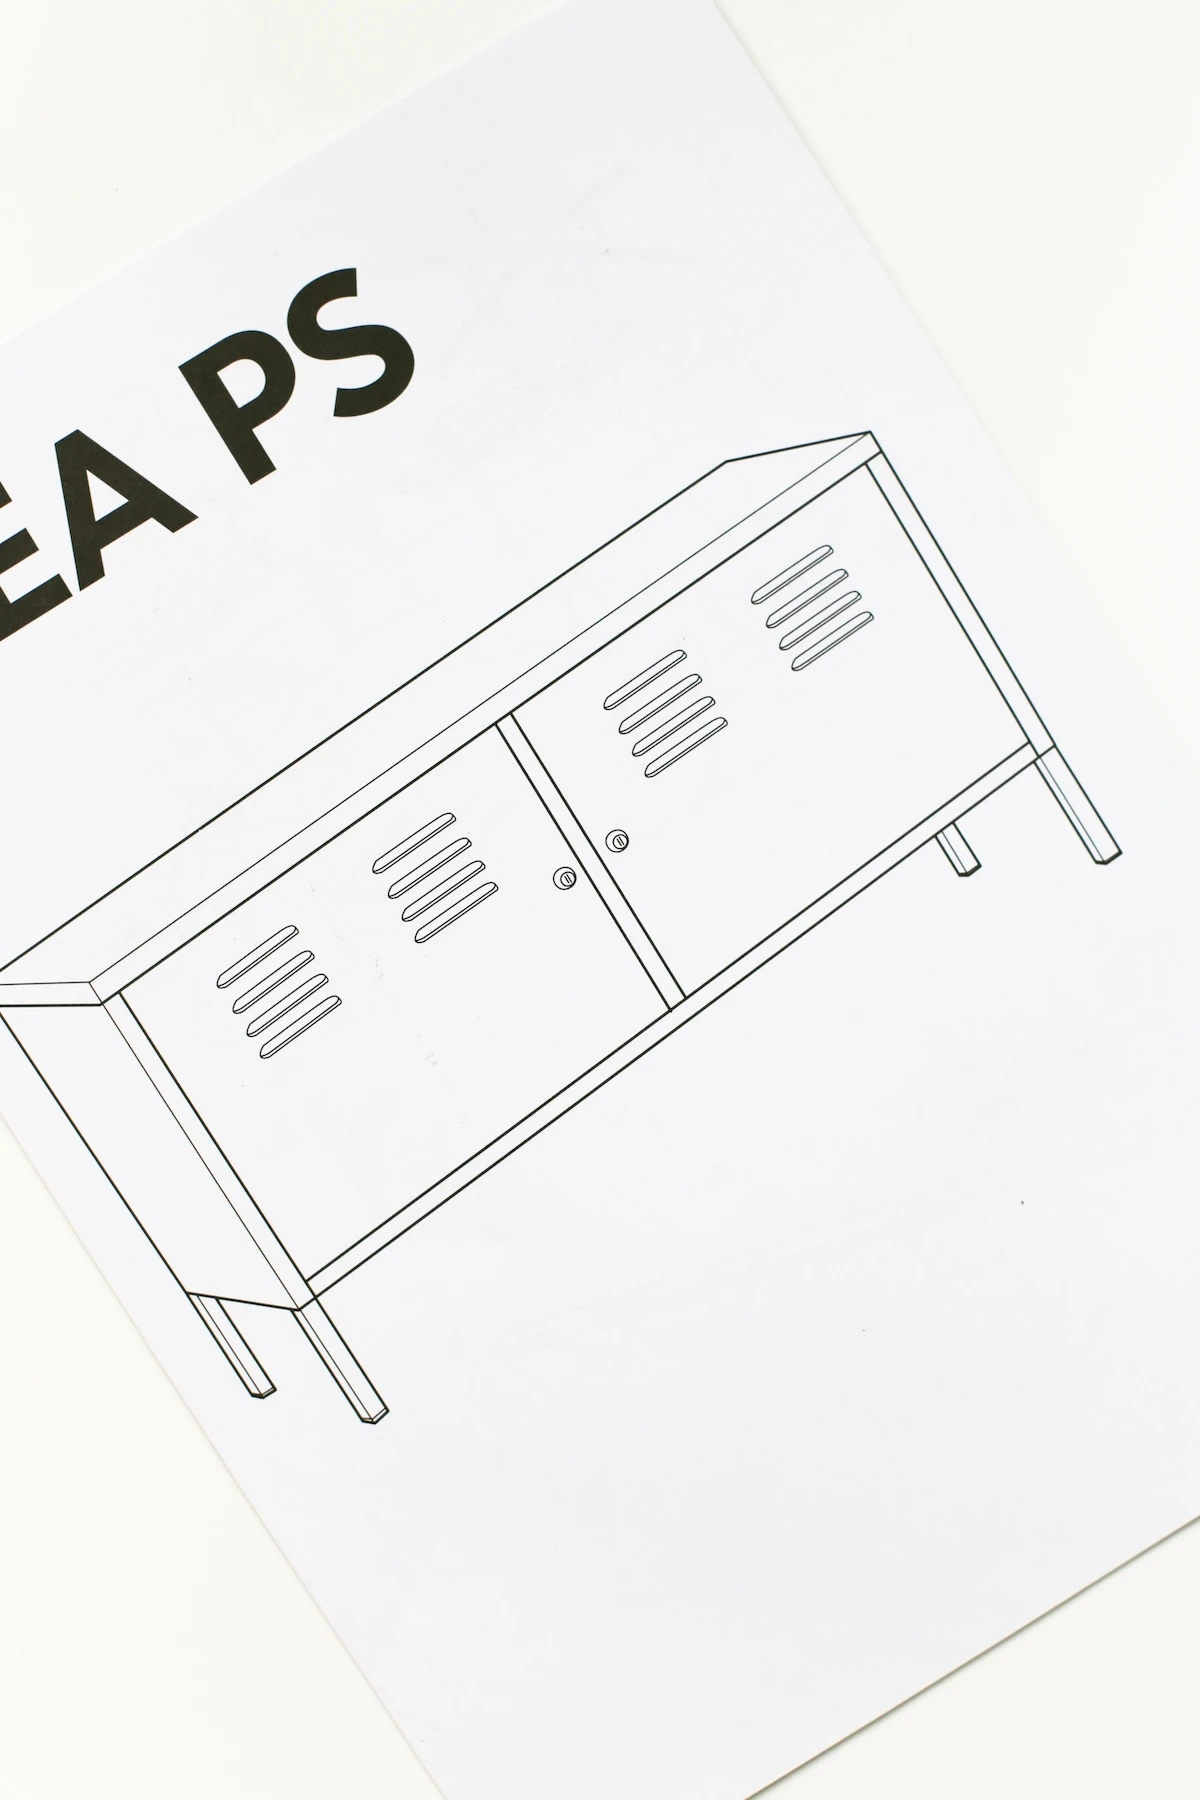
Step 1: The first step is to build the cabinet. But, don’t install the shelves, you won’t need those. Don’t forget to read the instructions and make sure all the pieces are there before you start! Oh! And be sure to charge your drill so it’s ready for Step 3.
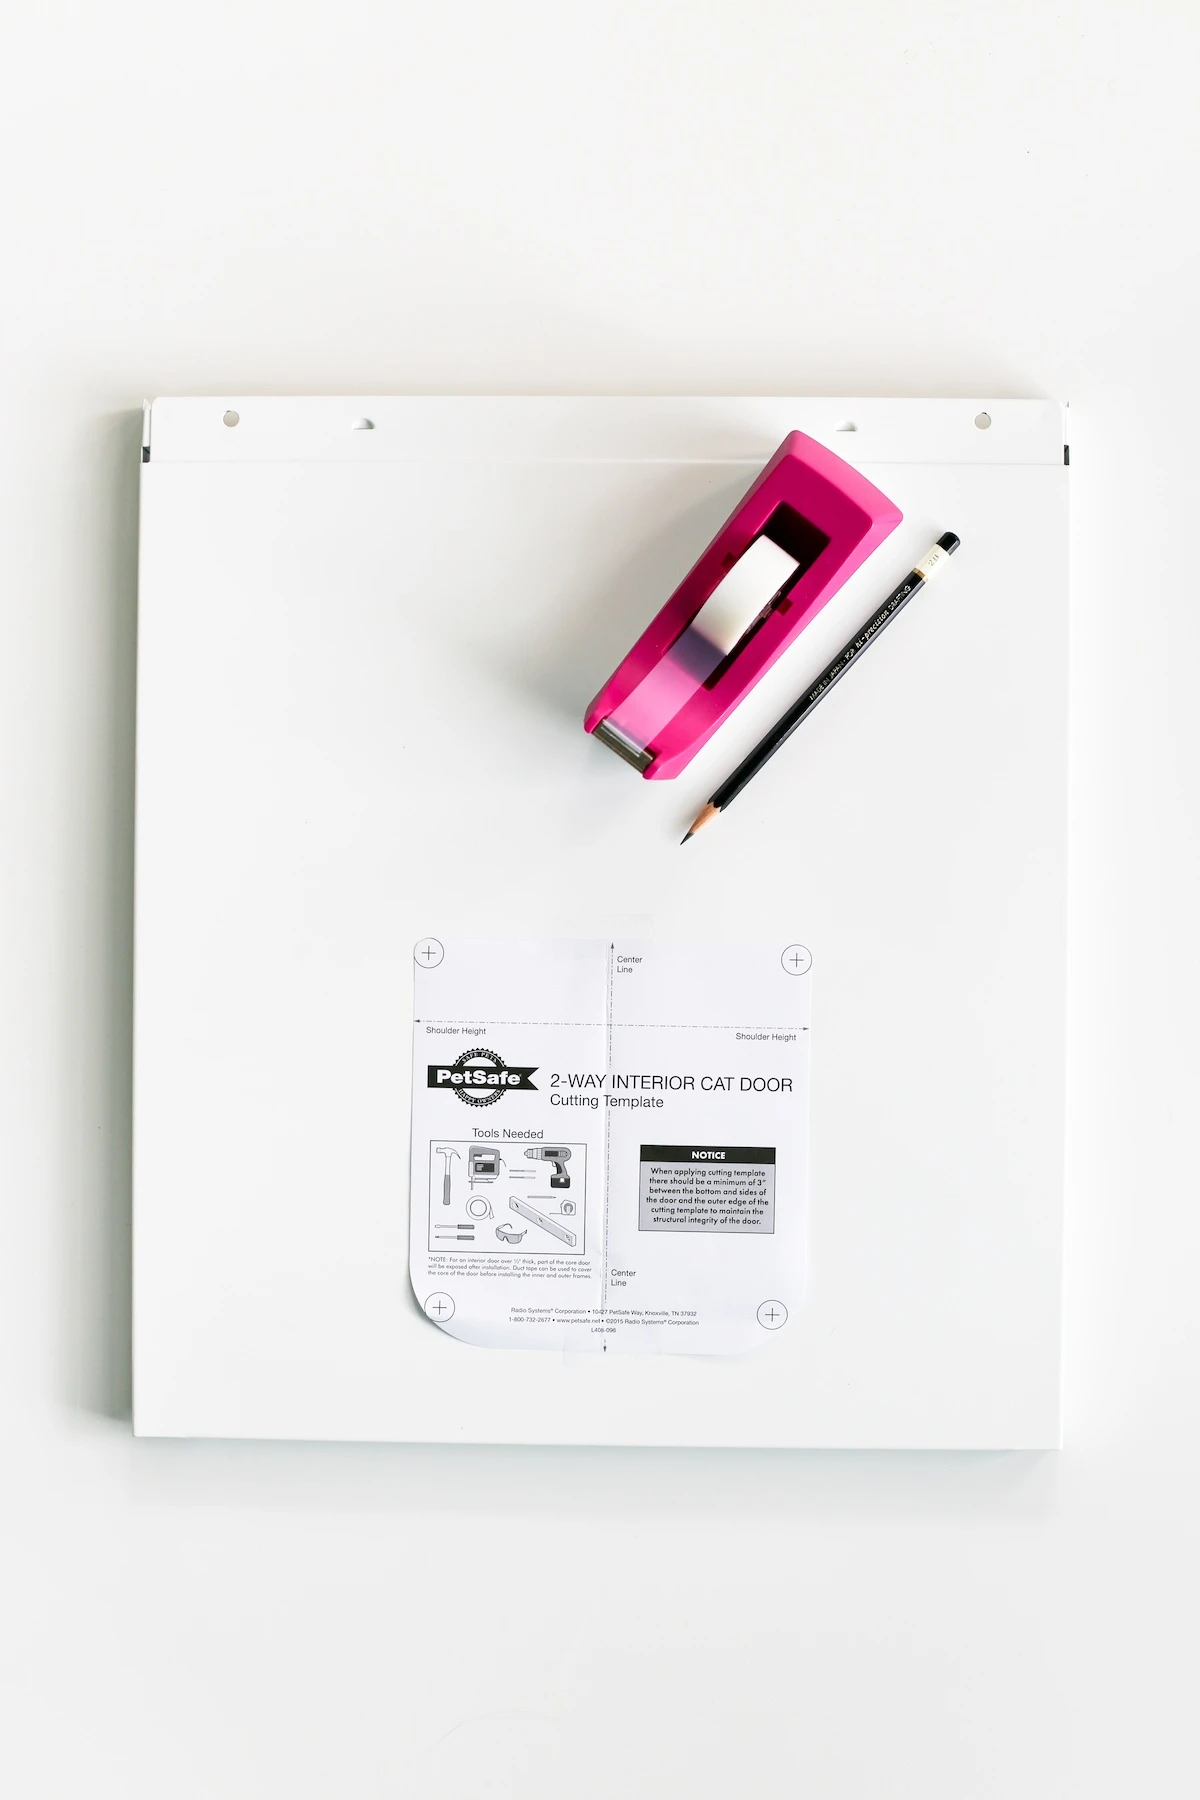
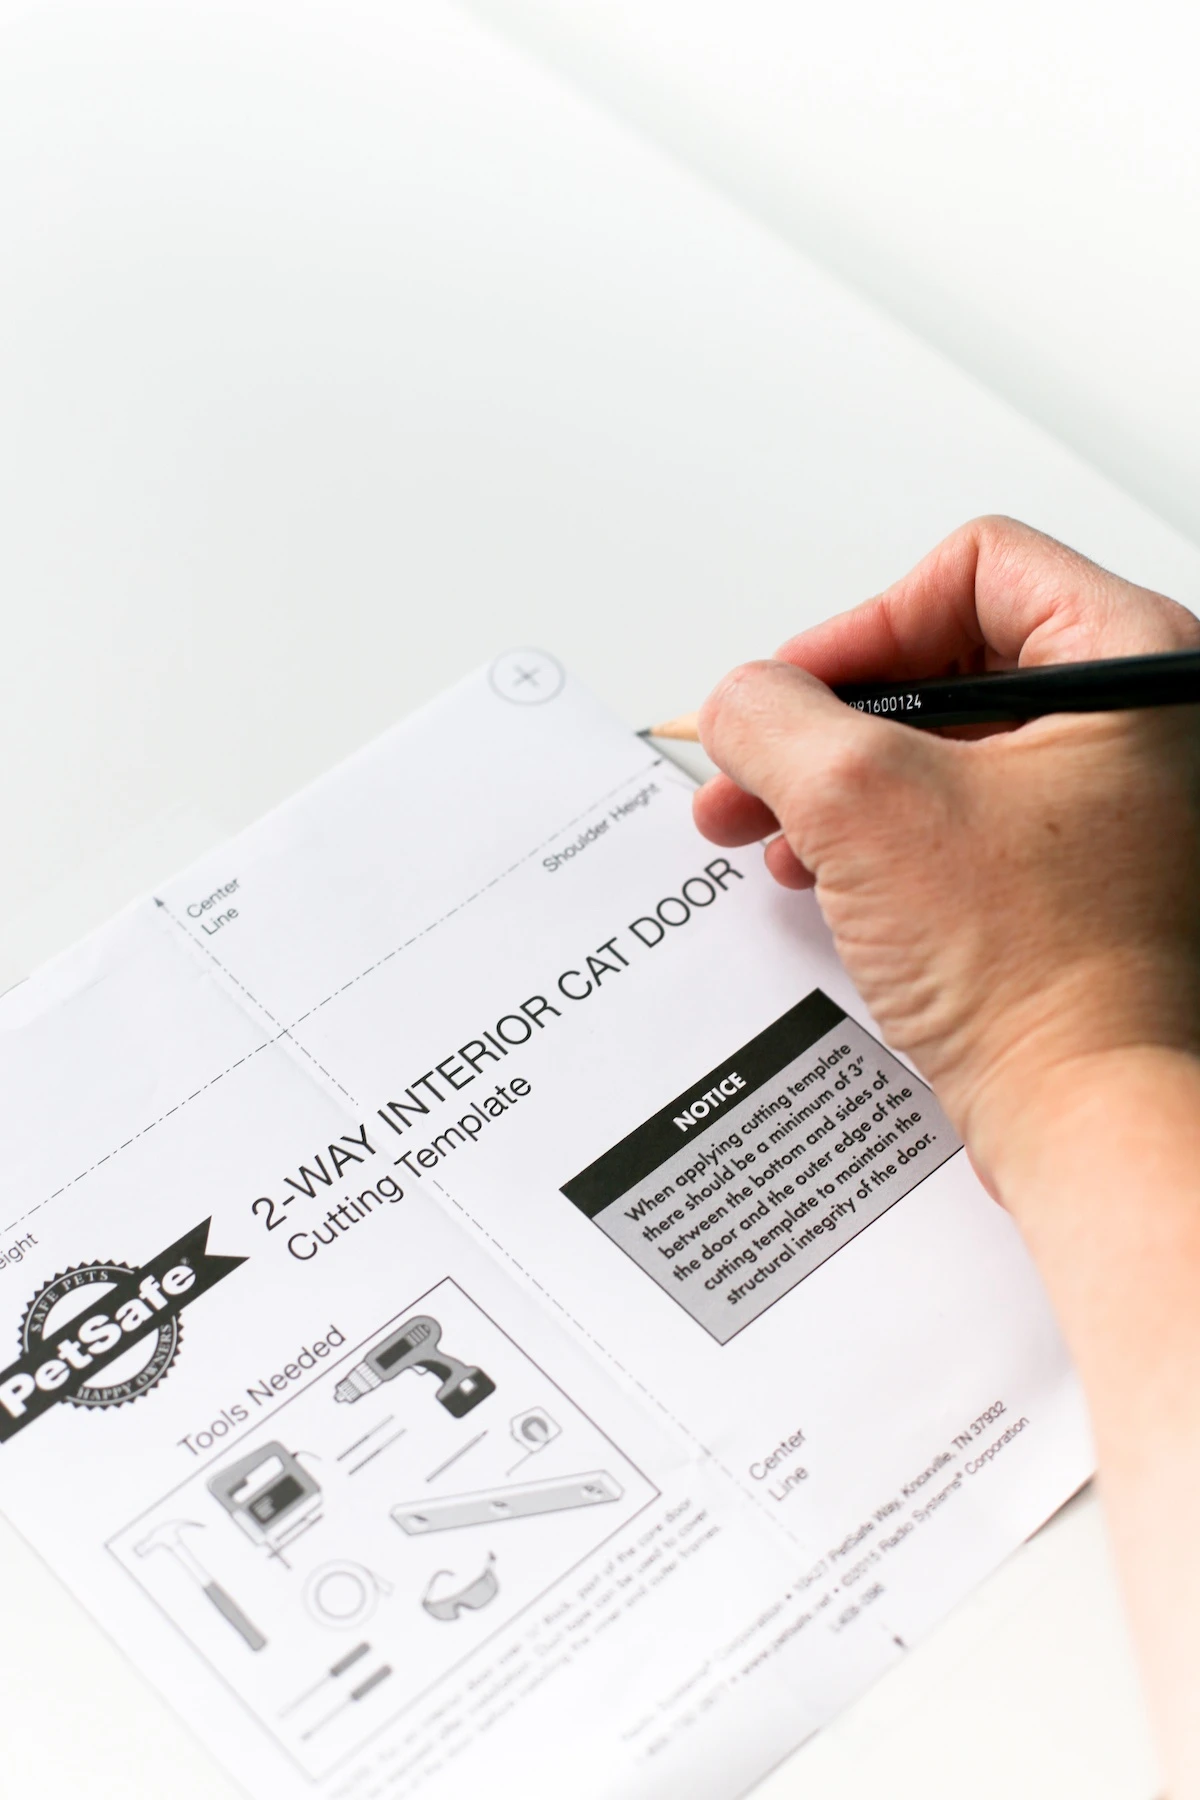
Step 2: Follow the instructions on your kitty door and trace the outline onto your cabinet.

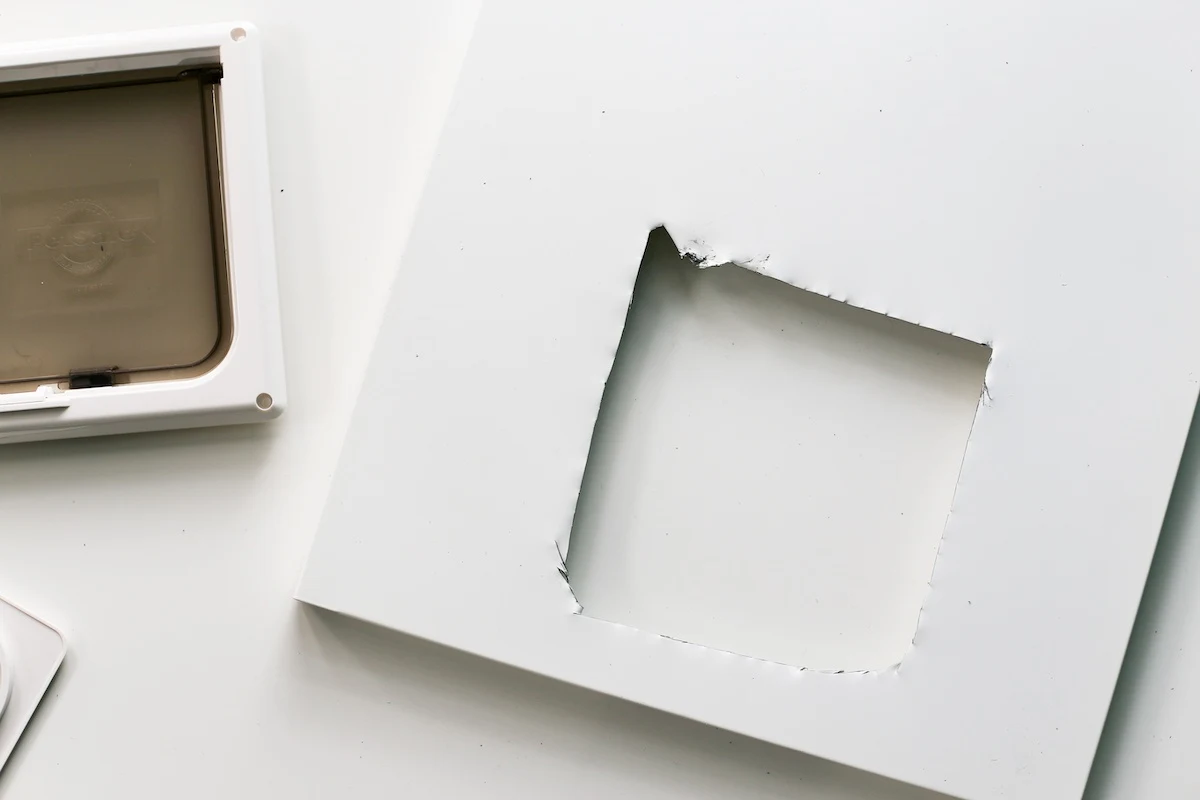
Step 3: Use a drill with drill bits that go through metal to drill some pilot holes into your outline so you can get the tins snips into the cabinet and cut out the hole. The hole I made isn’t the prettiest, but I don’t have any machines or power tools, and I did this all by myself.
So if I did it, you can, too!
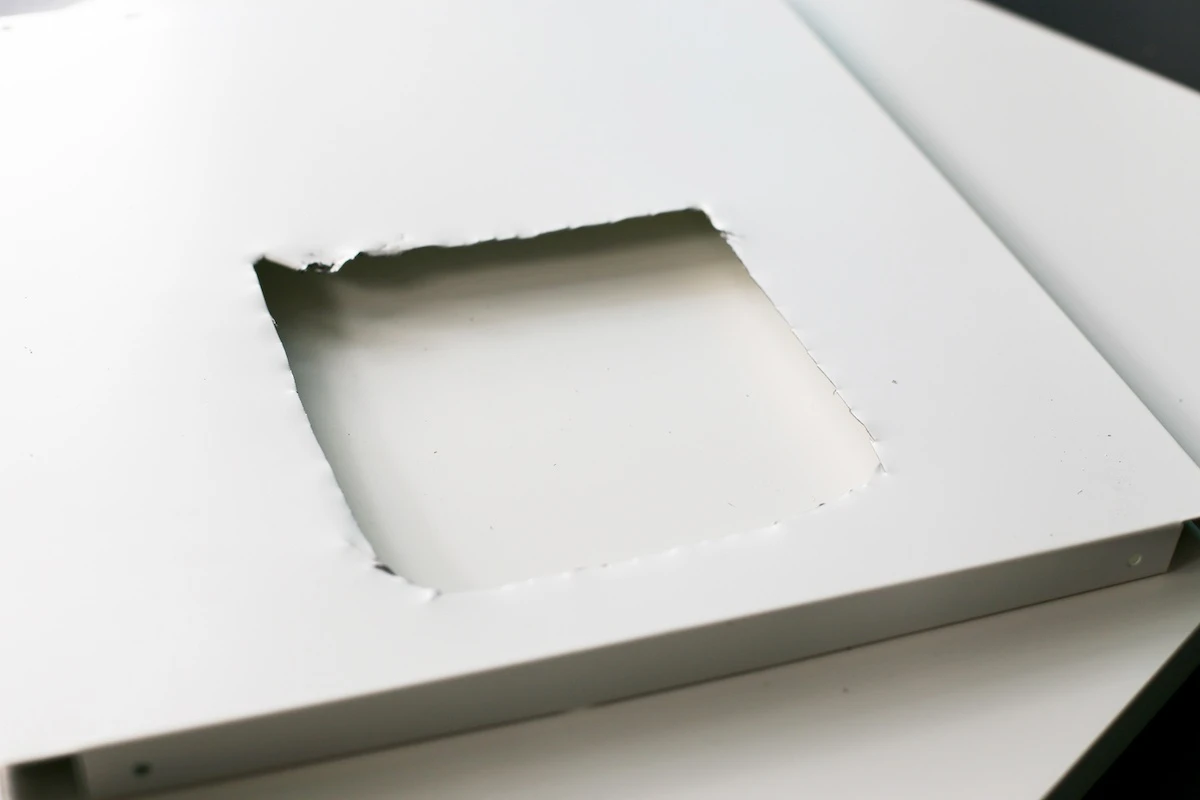
Step 4: Follow the manufacturers’ instructions on the kitty door to install the door onto the side of the cabinet. Please be sure there aren’t any sharp metal edges exposed to your cat after it is installed.
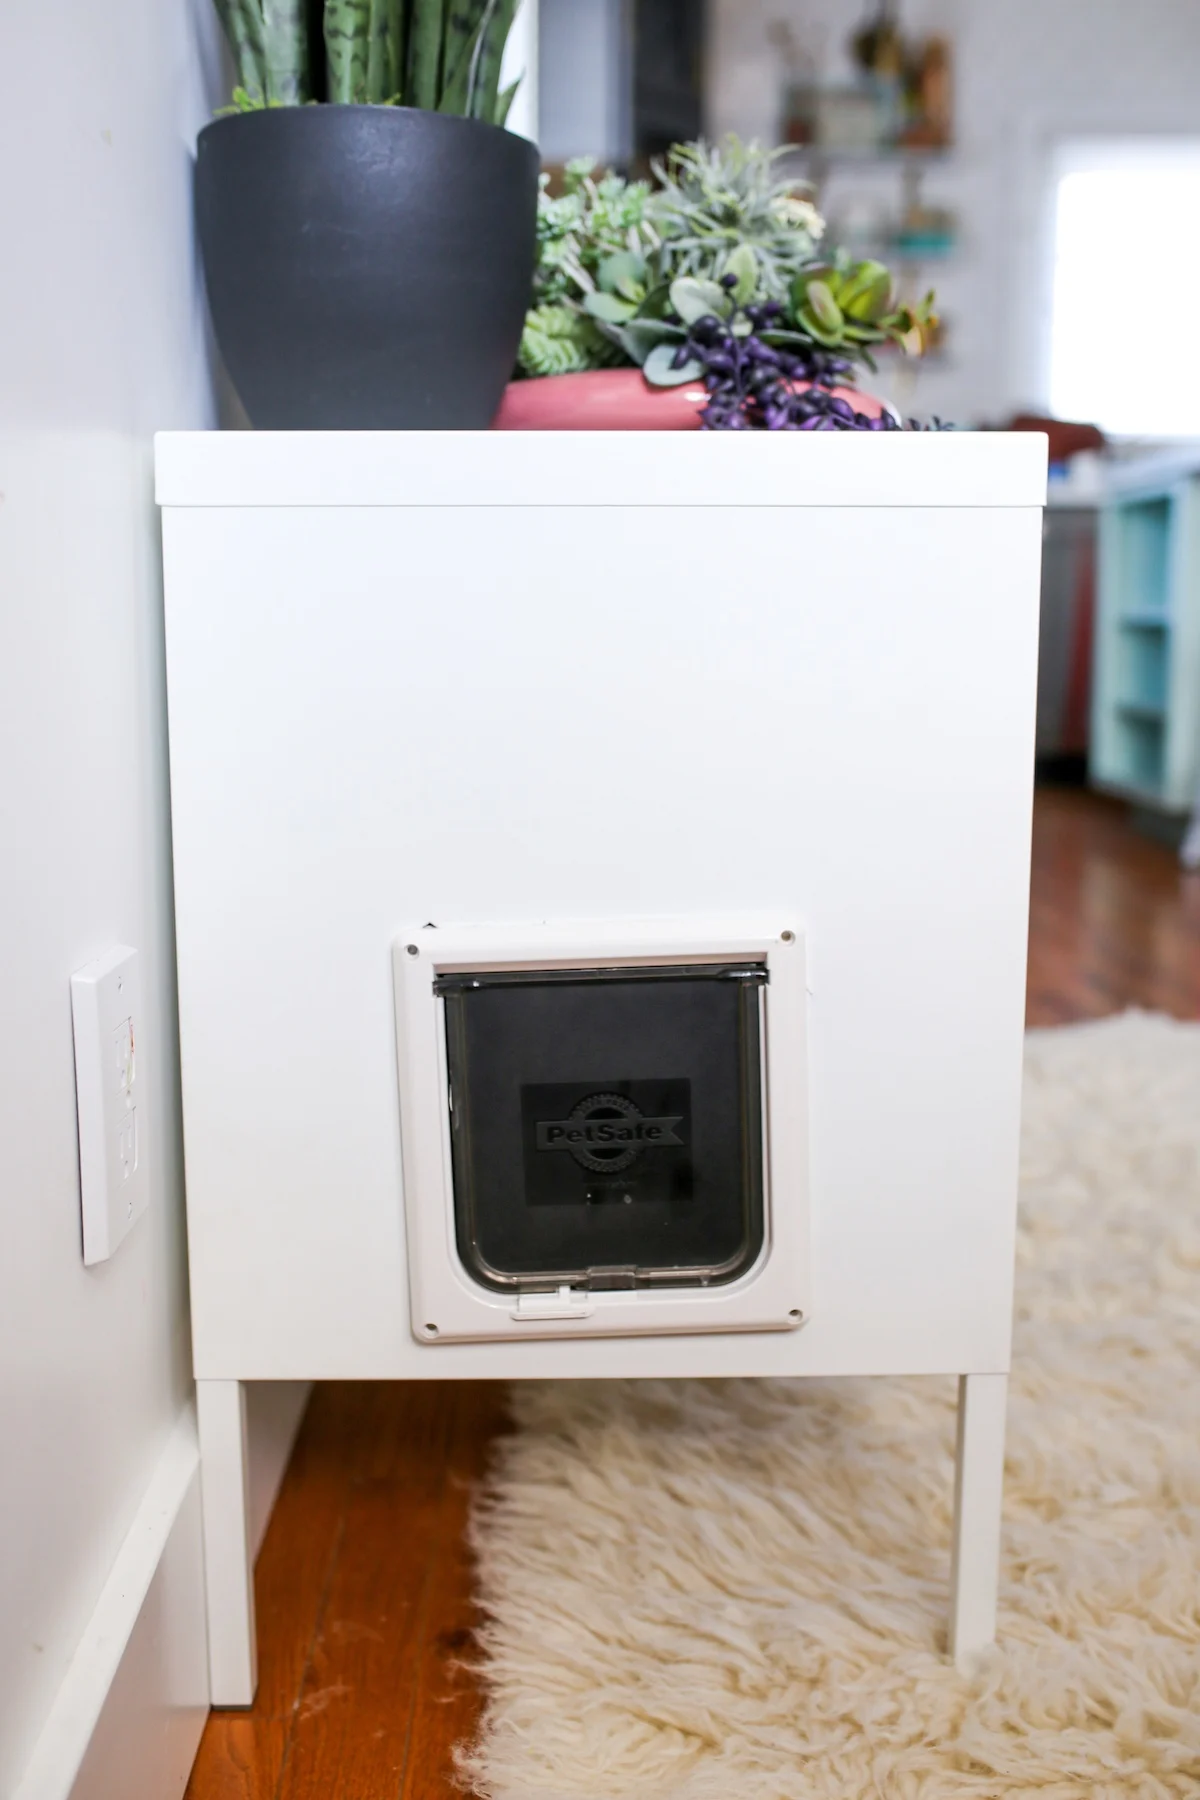
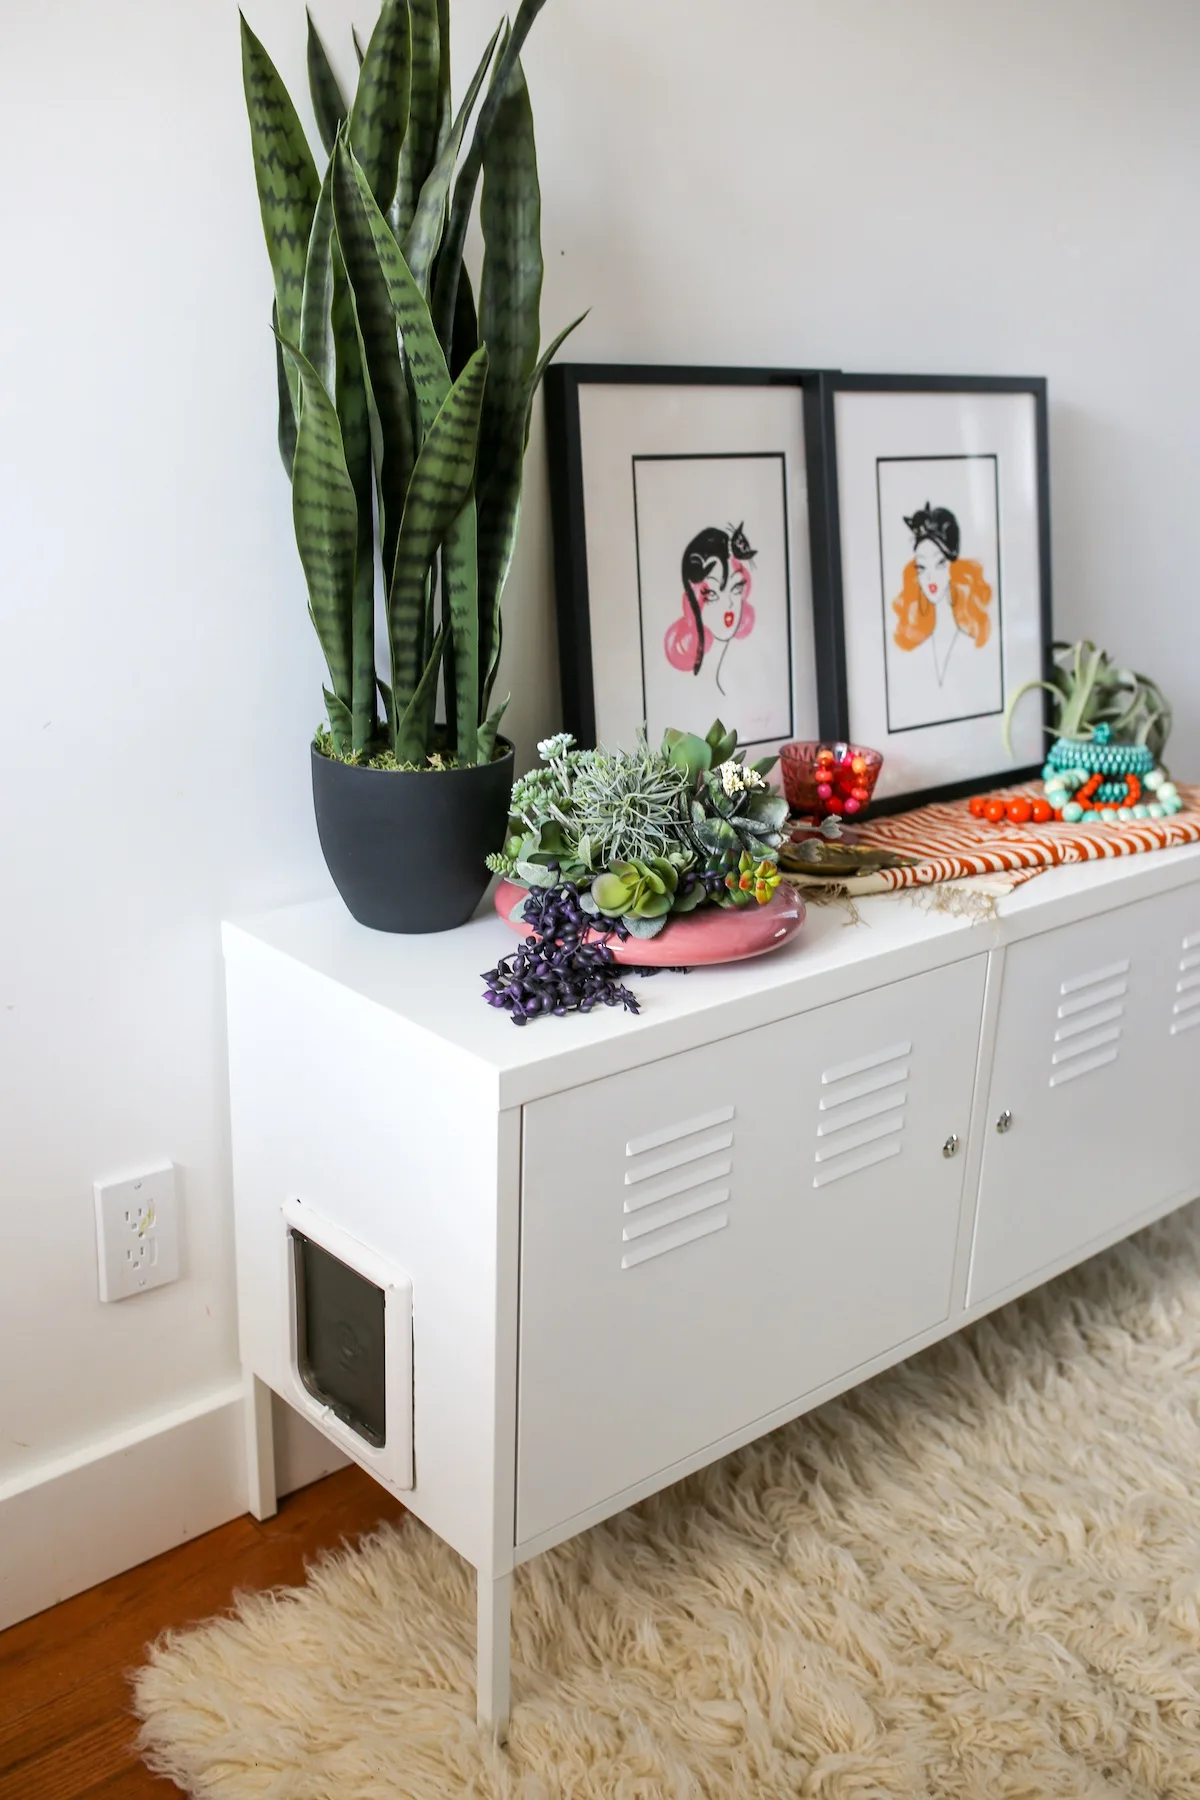
Step 5: Place a litter box inside the cabinet and fill with kitty litter.
If you want to reduce litter tracking, place the litter box at the far end of the cabinet away from the kitty door and place a Litter Mat next to the kitty door to grab all the tracked litter before your cat exits the cabinet.
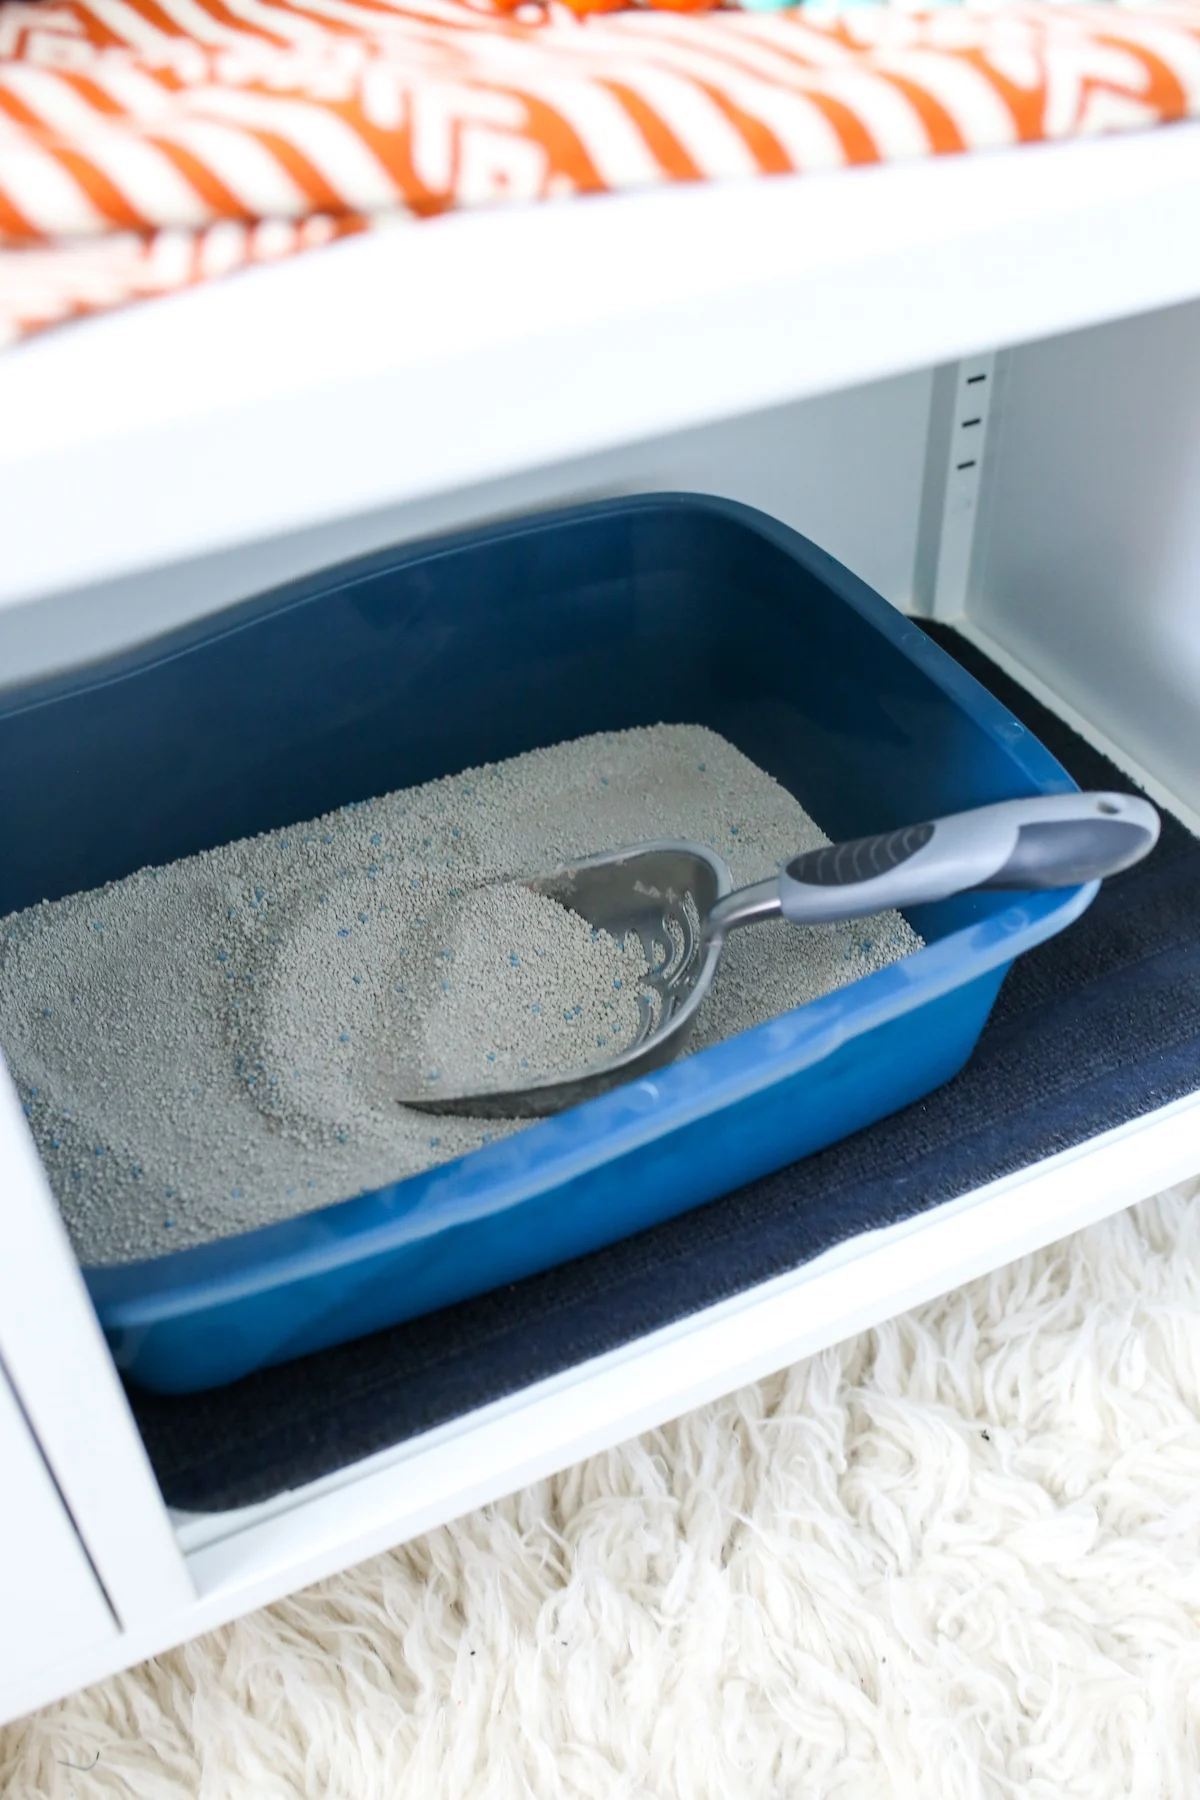
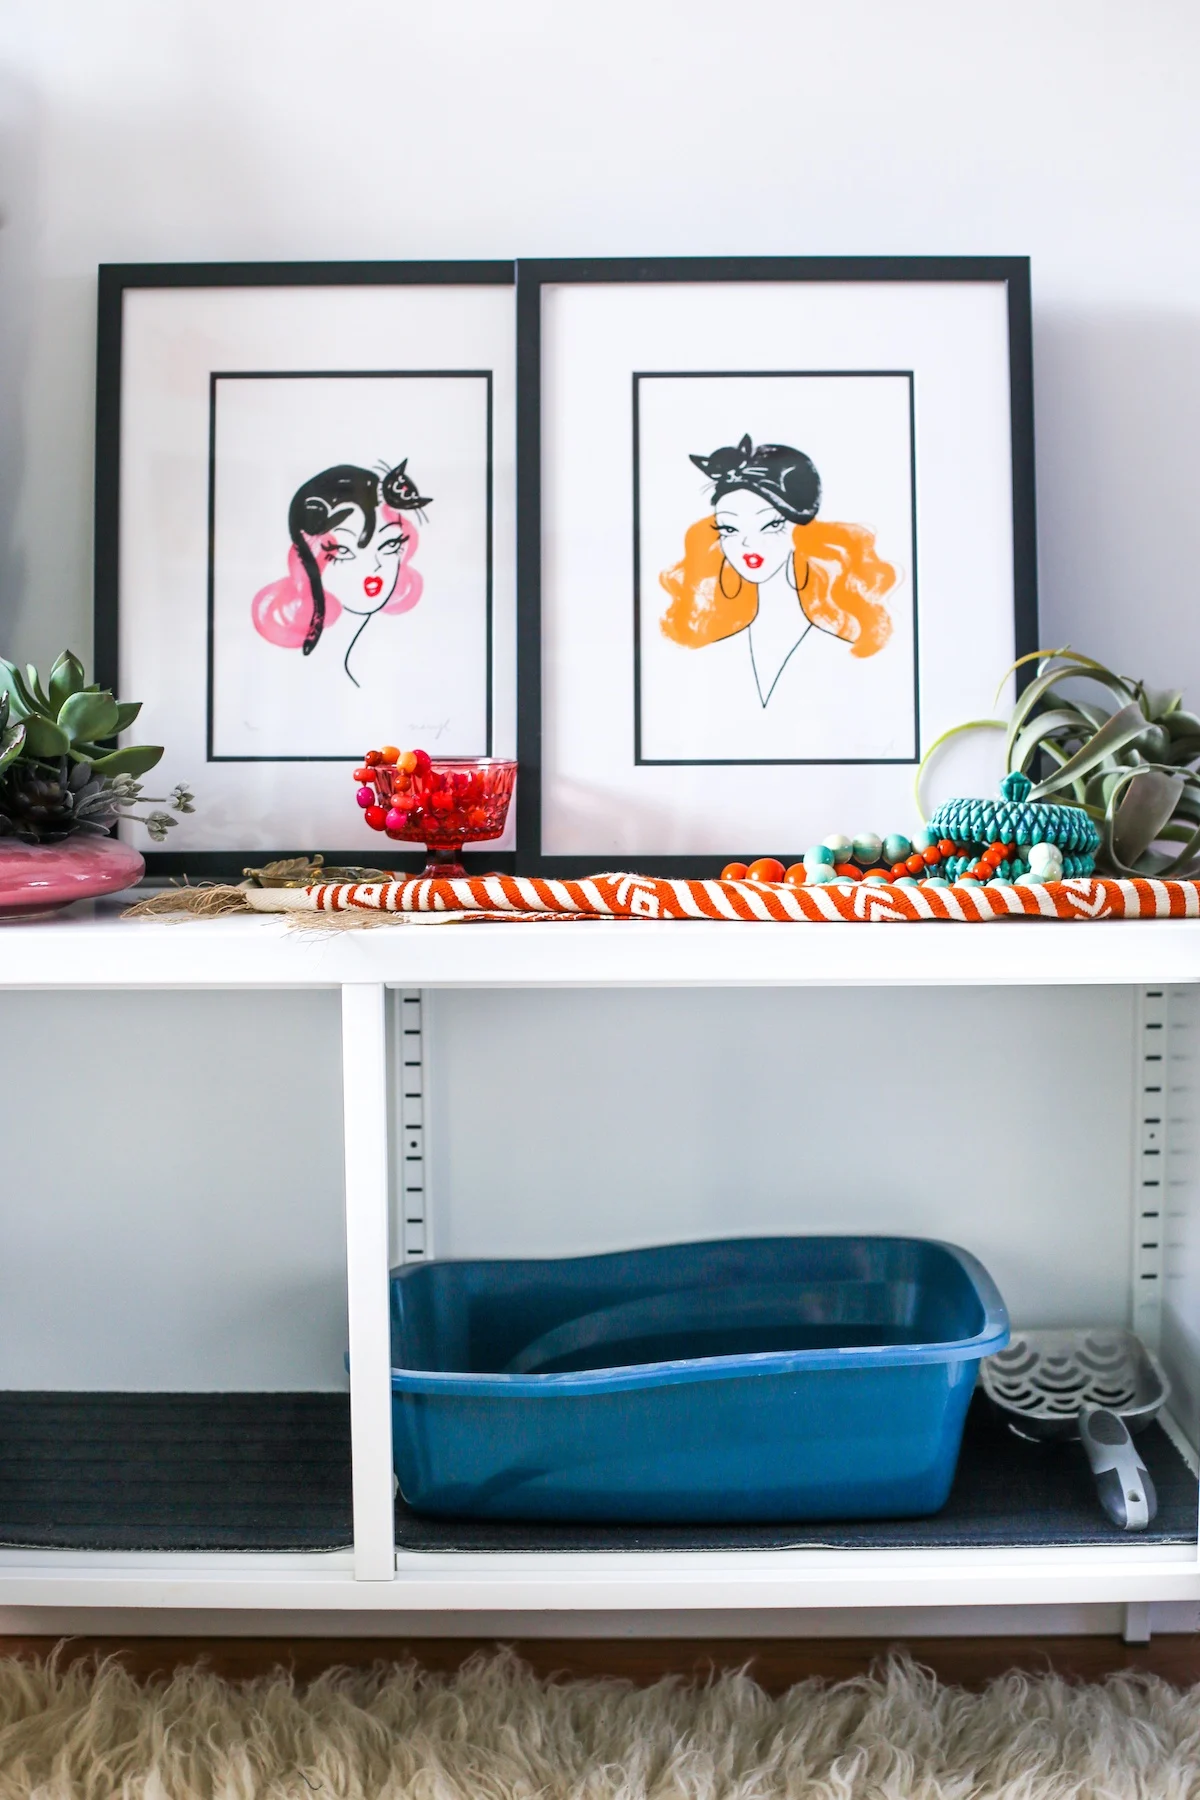
Now all that is left to do is to introduce the cat to the new litter box!
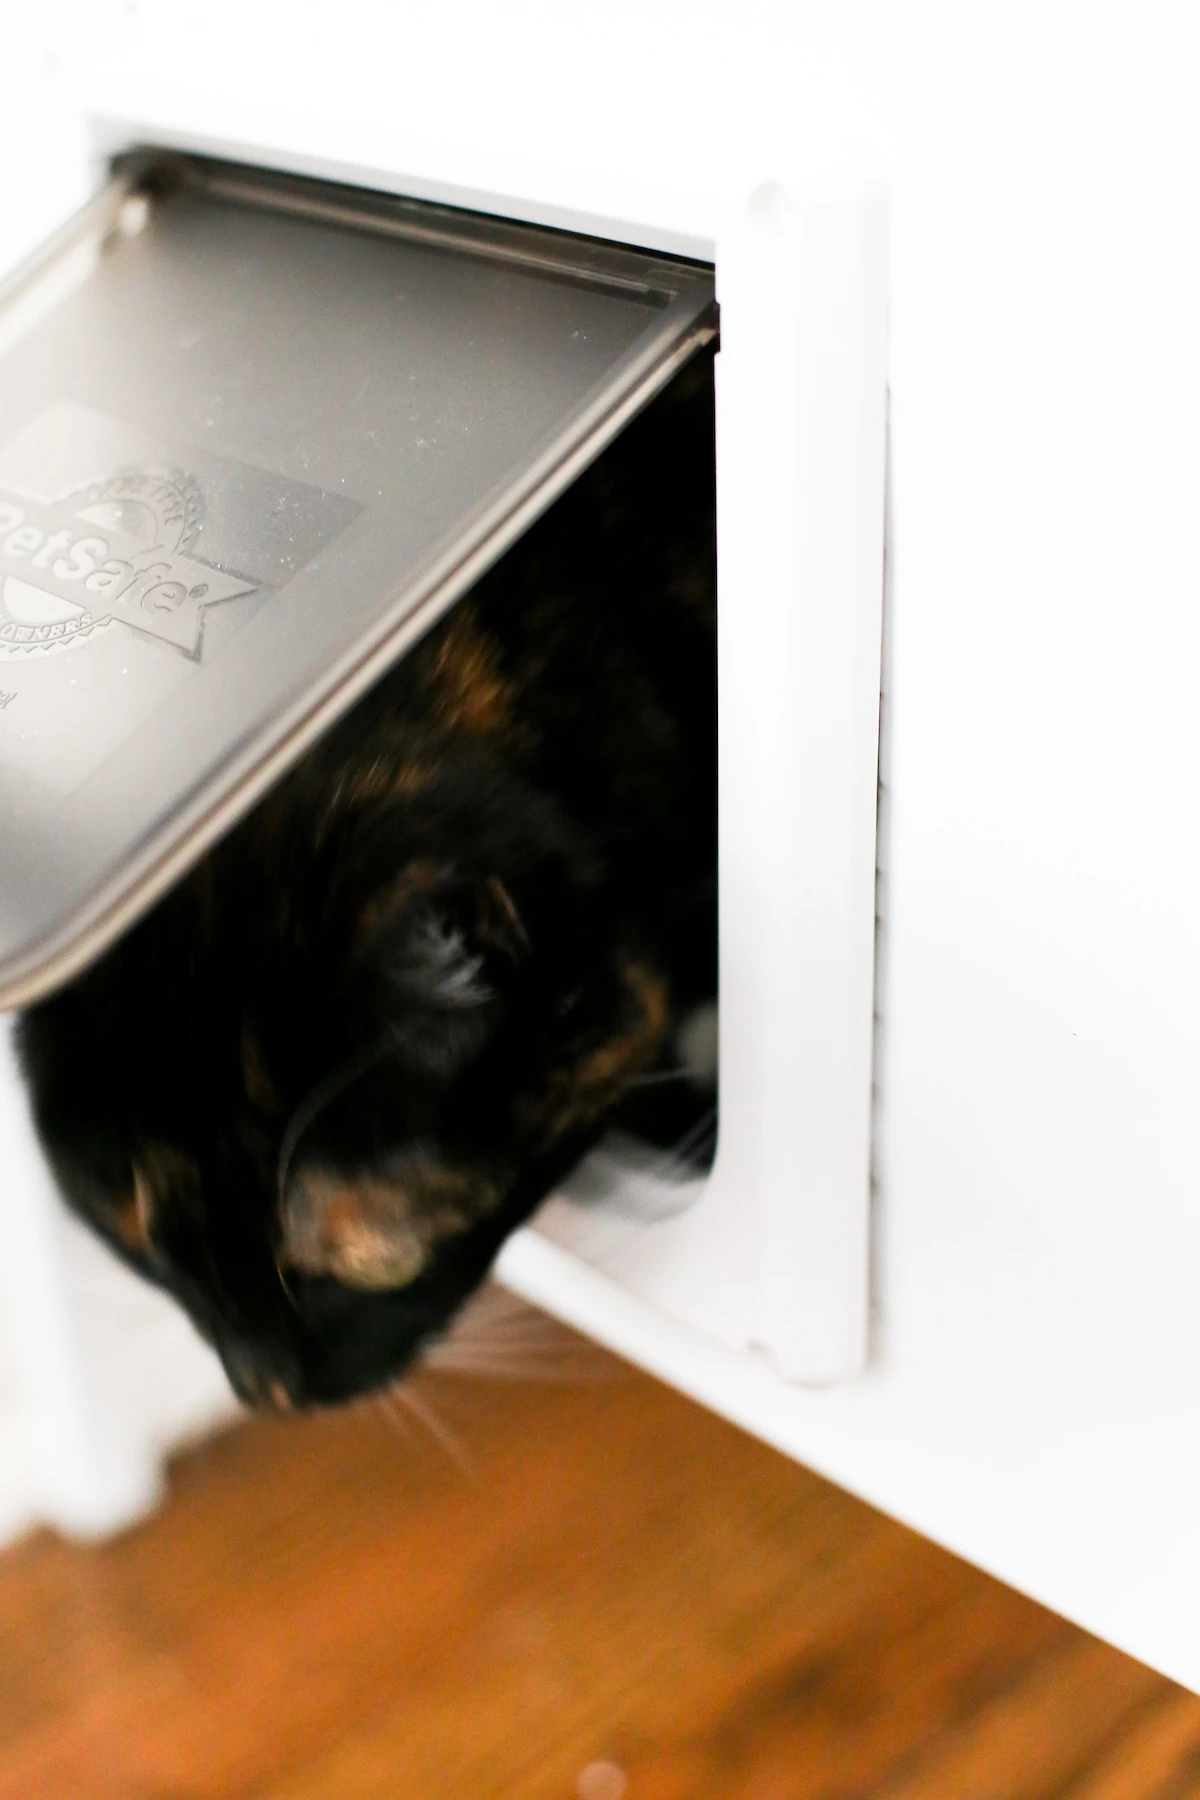
Yay! She went in!
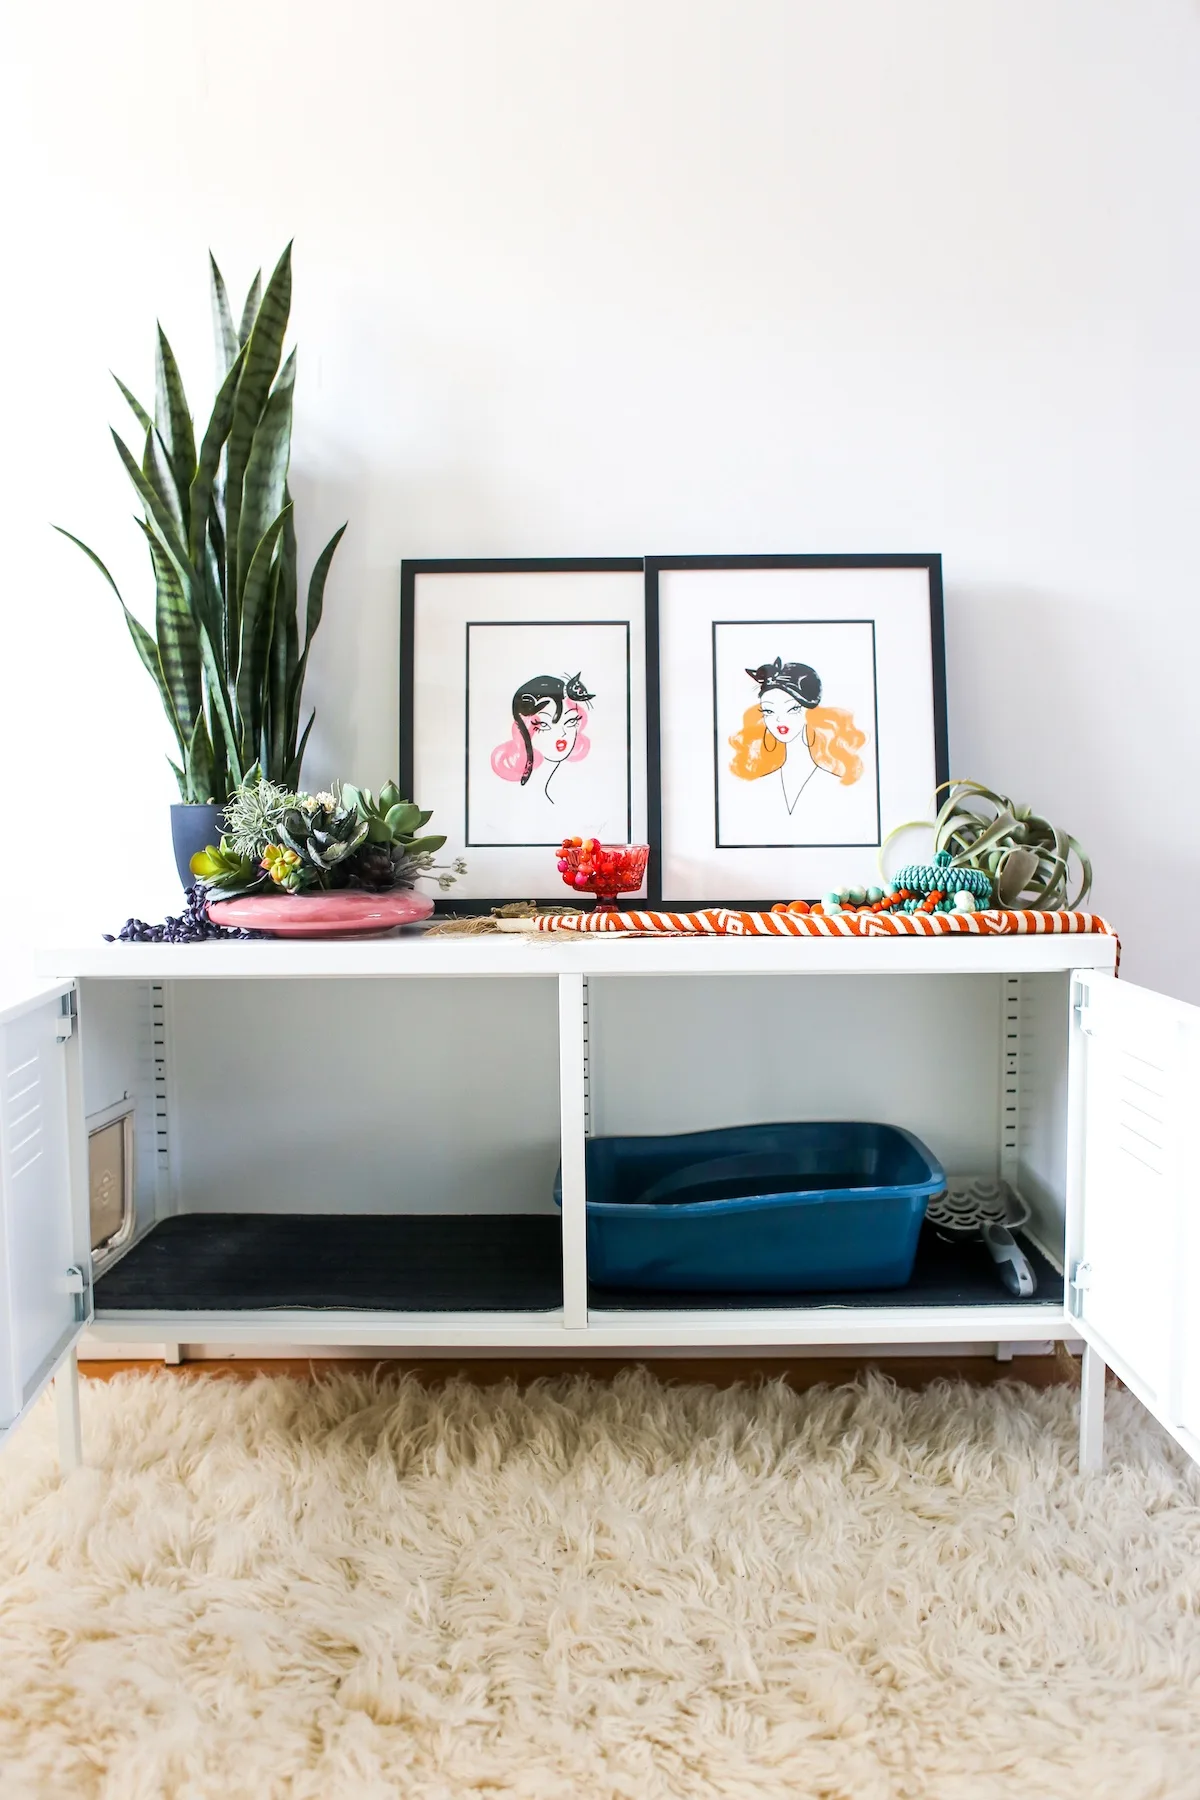
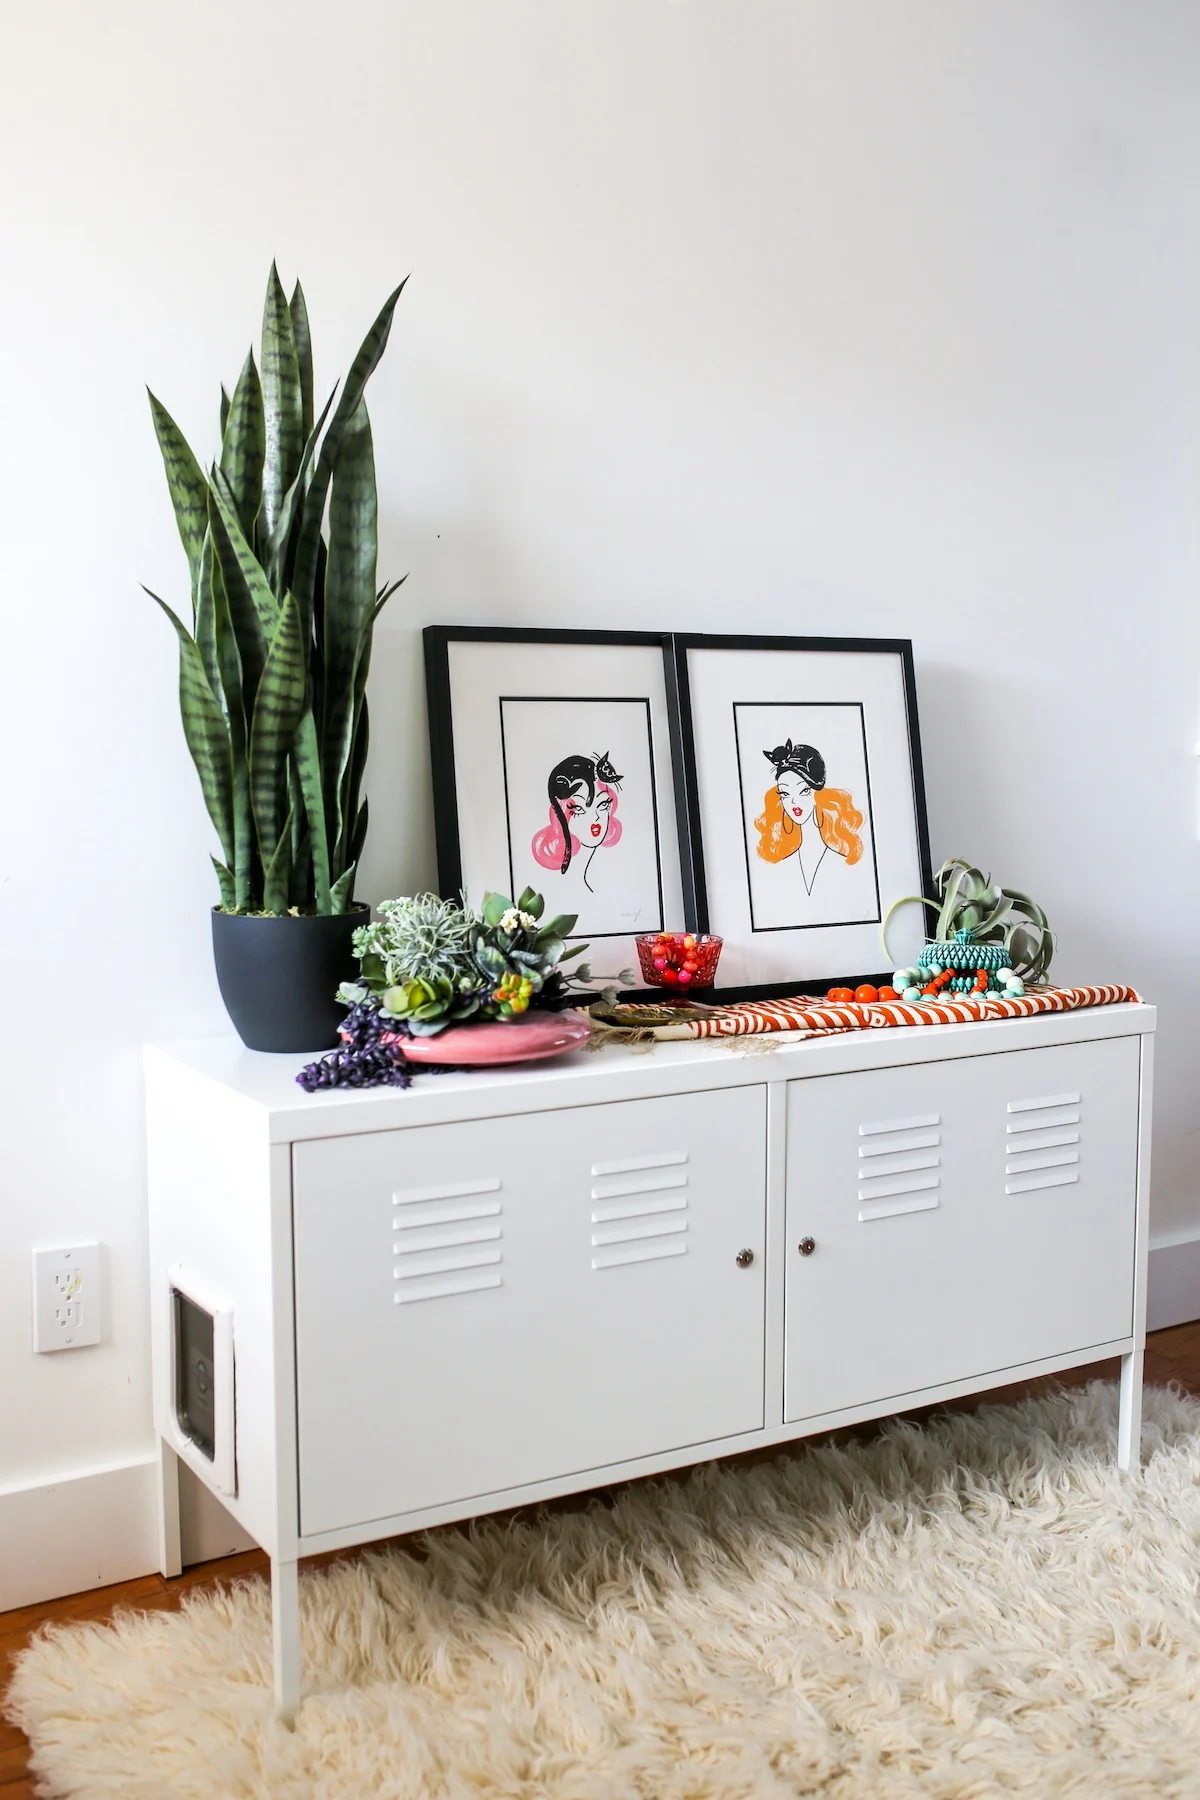
If you want to see a video of someone following my tutorial and making this cabinet, check it out here.
I also highly recommend getting a Litter Genie pail. Since I got one for our house, my husband is better about scooping the litter box every single day! And it doesn’t smell! The Litter Genie pail keeps up to 3 weeks of cat poop and I promise you, it DOES NOT SMELL! It might be the best $20 I’ve ever spent.
I am so happy to offer this blog post for free, but … if you liked this article or it helped you in some way, please consider buying me a cup of coffee. Thank you!
And if you’re looking for other cat tips and tricks, check out some of my other cat blog posts:
IKEA Cabinet Kitty Litter Box Hack
Materials
- IKEA Cabinet
- Cat Door
- Litter box
- Kitty Litter
- Litter Mat
- Catnip Spray
Tools
- Drill and Metal Drill Bits
- Tin Snips
- Pencil
- Gloves
Instructions
Step 1: The first step is to build the cabinet. But, don’t install the shelves, you won’t need those. Don’t forget to read the instructions and make sure all the pieces are there before you start! Oh! And charge your drill gun so it’s ready for Step 3.
Step 2: Follow the instructions on the kitty door and trace the outline onto your cabinet.
Step 3: Use a drill with drill bits that go through metal to drill some pilot holes into your outline so you can get the tins snips into the cabinet and cut out the hole. The hole isn’t the prettiest, but I don’t have any machines, and I did this all by myself. So if I did it, you can, too!
Step 4: Follow the manufacturers’ instructions on the kitty door to install the door onto the side of the cabinet. Be sure there aren’t any sharp metal edges exposed to your cat after it is installed. If so, cover up the sharp edges using duct tape.
Step 5: Place a litter box inside the cabinet and fill with kitty litter.
If you want to reduce litter tracking, place the litter box at the far end of the cabinet away from the kitty door and place a litter mat next to the kitty door to grab all the tracked litter before your cat exits the cabinet.
Step 6: introduce the cats to their new litter boxes.


Emily
Tuesday 20th of June 2023
Just wanted to thank you for the great DIY idea! I recently used this post as a foundation for my own litter furniture build. I used Ikea's "Vihals" sideboard to store 2 litter boxes and followed your instructions for the cat doors. It turned out AMAZING, and my cats are on board! What a transformation for my laundry room--couldn't be happier!
Jessica
Tuesday 13th of September 2022
I was wondering how did you install the door? I got the same door! But it doesn’t seem to hold? The screws doesn’t screw onto the cover on the other side.
Linda
Tuesday 19th of July 2022
I made this too! But for the life of me I could NOT cut the metal out so I ended up taking it to a Muffler installation place to get the door cut out. In the end it all came together and I added in a light for fun!
Kelly
Friday 13th of January 2017
This is awesome! Litter - is a 4-letter word. I'm curious, since your build have you added a second litter box? If so did you add a divider so it feels like a second litter box to the cats? Did you just put in a plastic open litter box inside? I'm assuming the round covered one didn't fit inside. Great work! I'm starting this project this weekend!
Andrea
Friday 13th of January 2017
Hi Kelly, I love it! Litter IS a 4-letter word! I did NOT add a second litter box - my cats are still not getting along and I decided not to push them in this area. So it's only the one side and I used a low-sided plastic storage bin as the litter box (because they're cheaper than litter boxes). Good luck with the project!
Marceia Egler
Wednesday 9th of November 2016
That's a great hack! You're very brave for assembling an IKEA cabinet! They always seem to have a million parts to deal with. I'm in the process of making an enclosure now for my cats. I think you have the right idea. Buy something pre-cut so all you do is assemble, then add a kitty door. Are those cabinets hard to paint, you think?