
Happy Pink Flamingo Day! To celebrate, I’m sharing this fun and silly Lawn Flamingo Taxidermy Tutorial! This flamingo is perfect for someone who loves pink lawn flamingos, but lives in an apartment or doesn’t have a lawn outside in which to stick pink flamingos. Or it’s great if you just LOVE lawn flamingos and want to bring them inside and onto your walls!

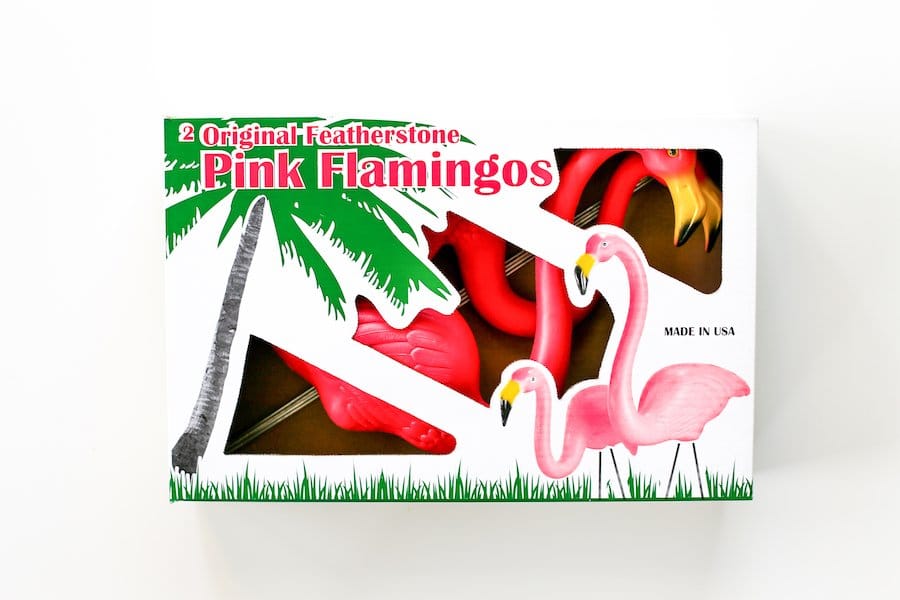
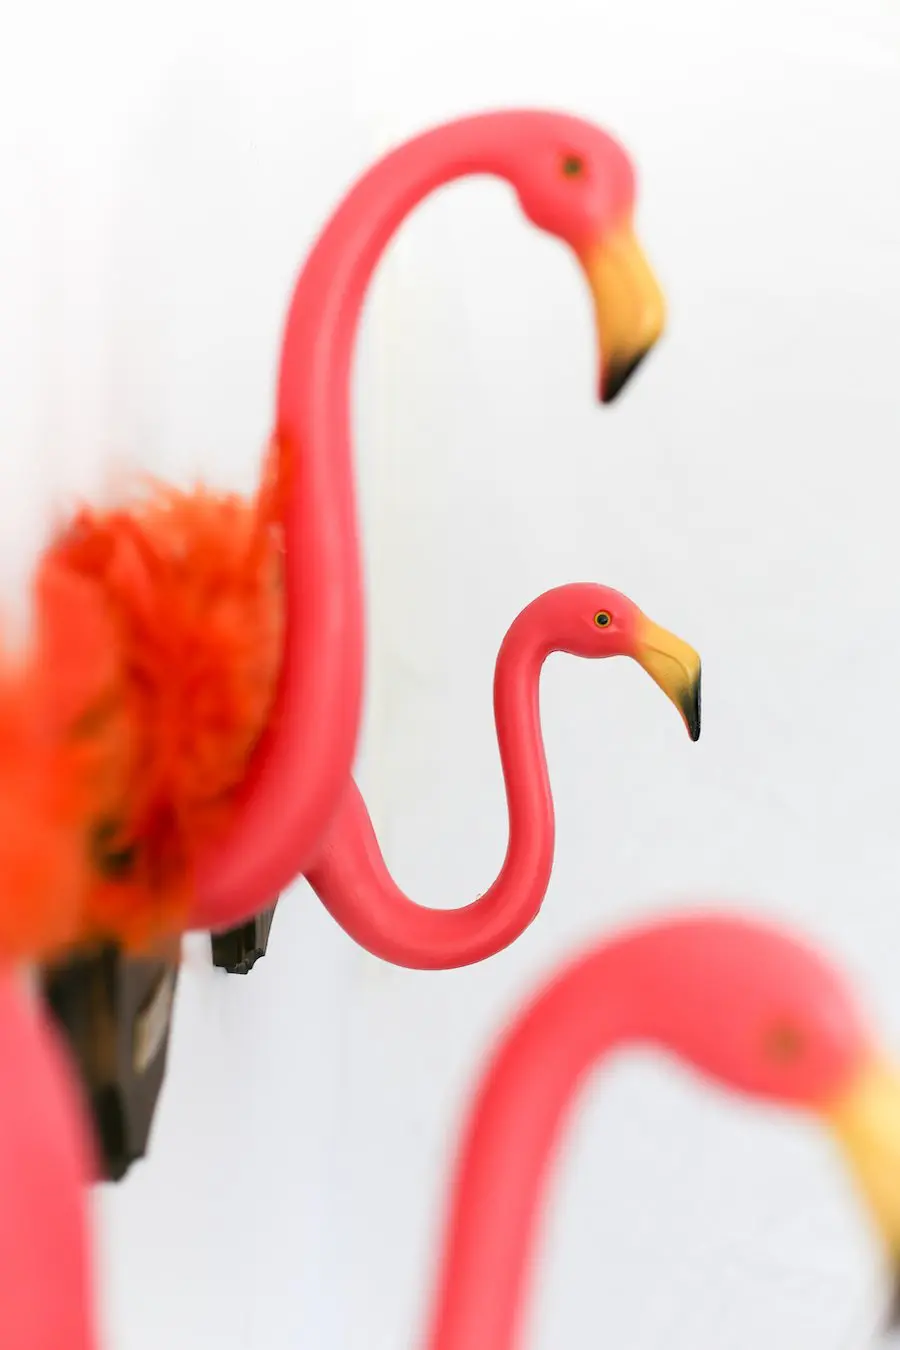
First, I highly recommend using Original Featherstone Pink Flamingos. Don Featherstone invented the plastic pink flamingo in 1957 and they’ve been kitsching up lawns ever since! In my opinion, Featherstone flamingos have very expressive eyes and the knock-off versions just aren’t as good.
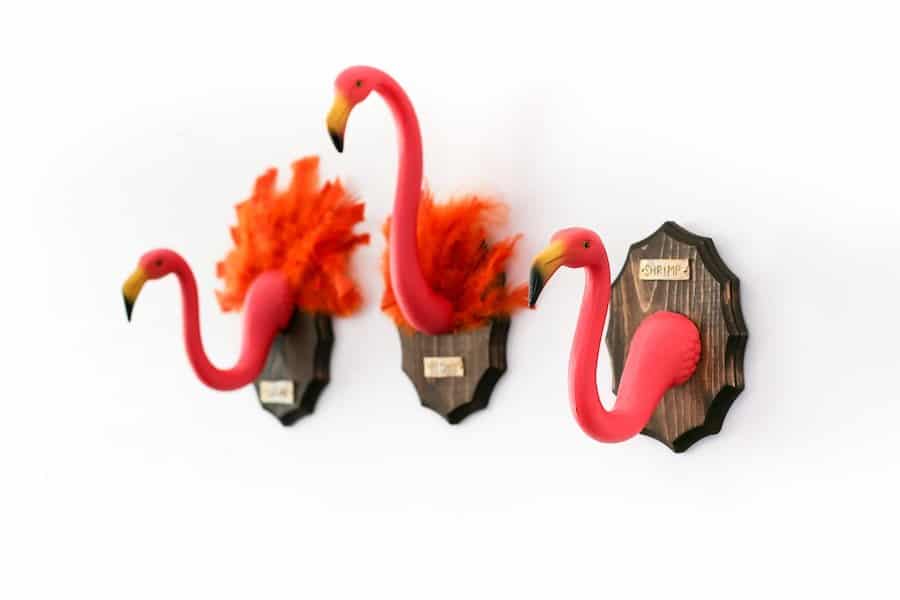
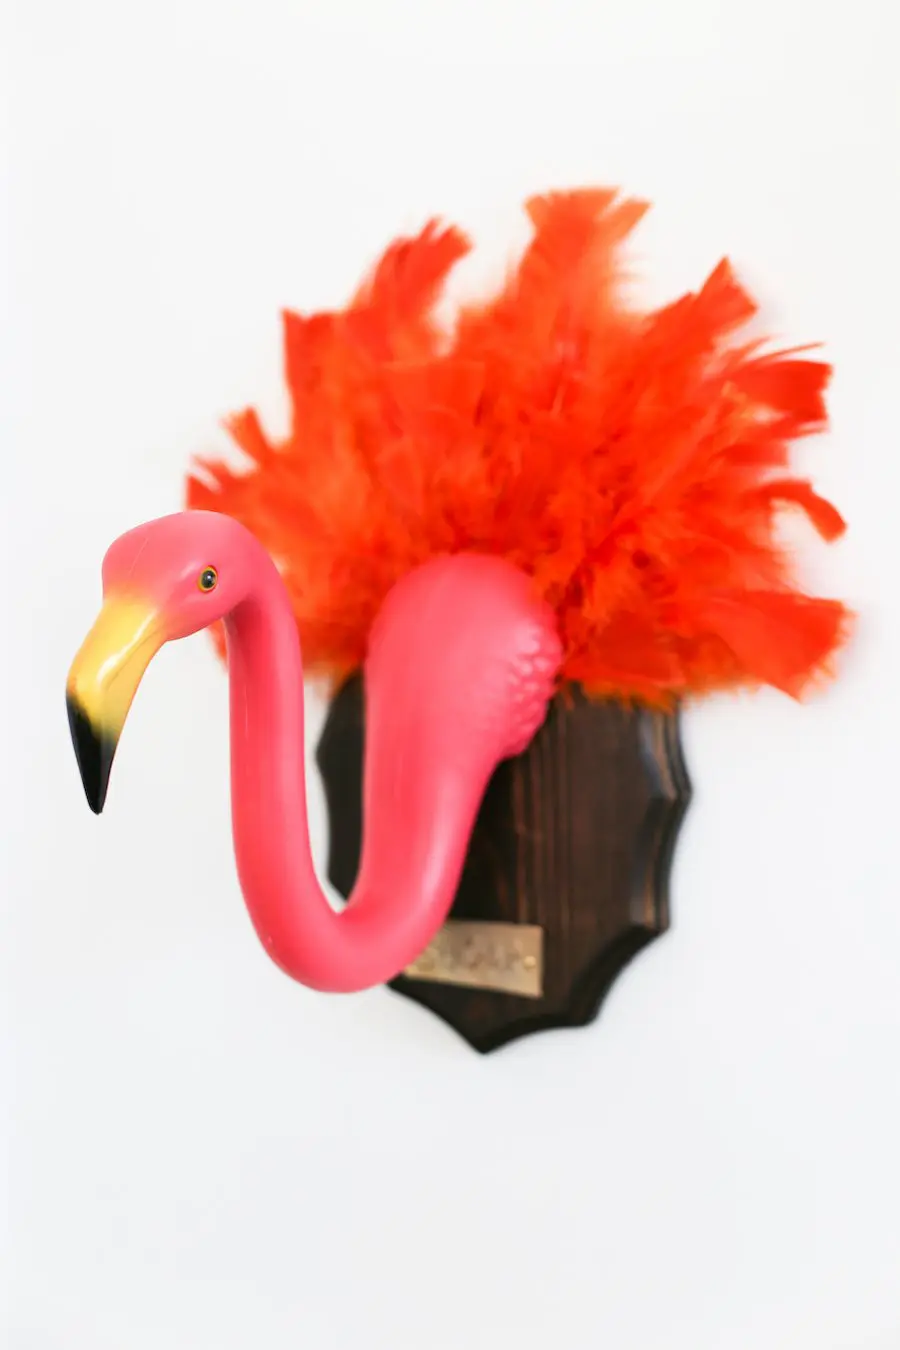
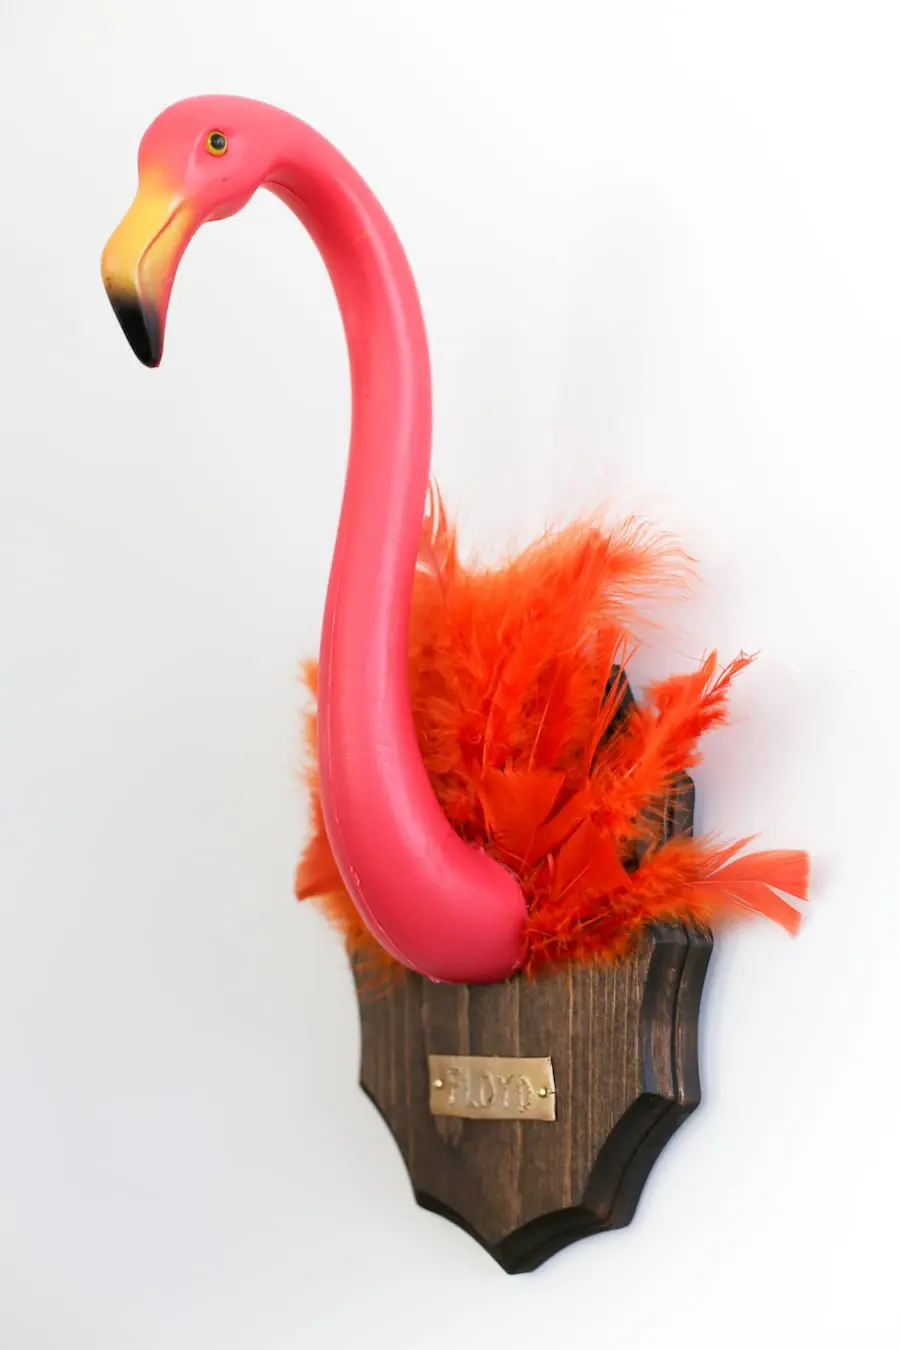
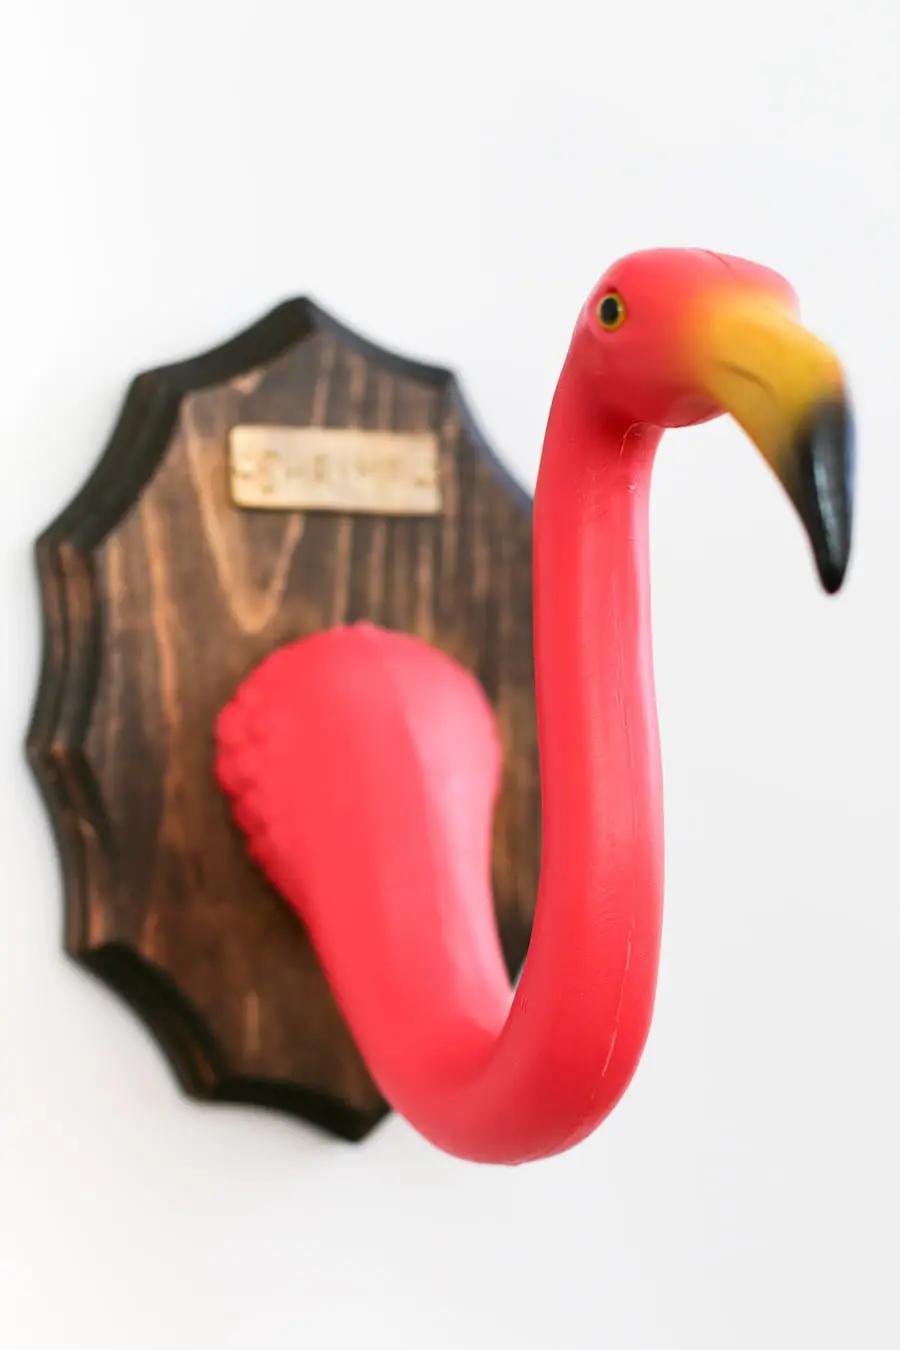
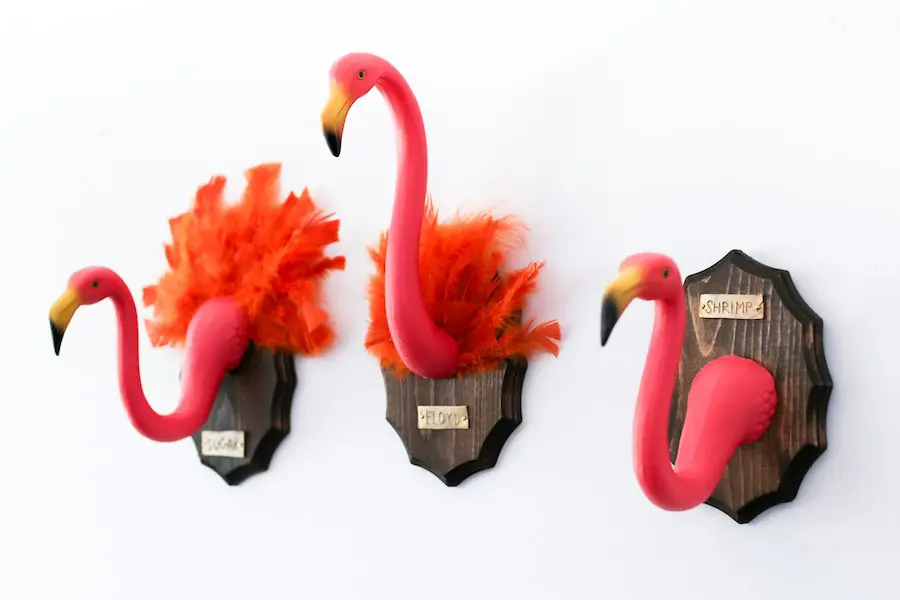
How cute are they with the little name tags? Real taxidermy sometimes has brass plates attached to the plaque with the name of the hunt and the date engraved in it, but I didn’t want to be so literal, so I simply gave each of my flamingos a fun name. My flamingos are Floyd, Sugar, and Shrimp!
A couple of fun flamingo facts: a flock of flamingos is called a colony, stand, or flamboyance. Flamingos are monogamous. The backward bending “knee” on the flamingo’s leg is actually it’s ankle! Talk about a twisted ankle! And the word “flamingo” comes from the Spanish word “flamenco” which is a derivative of the Latin word for fire and refers to the bright pink, orange, or red colored feathers!

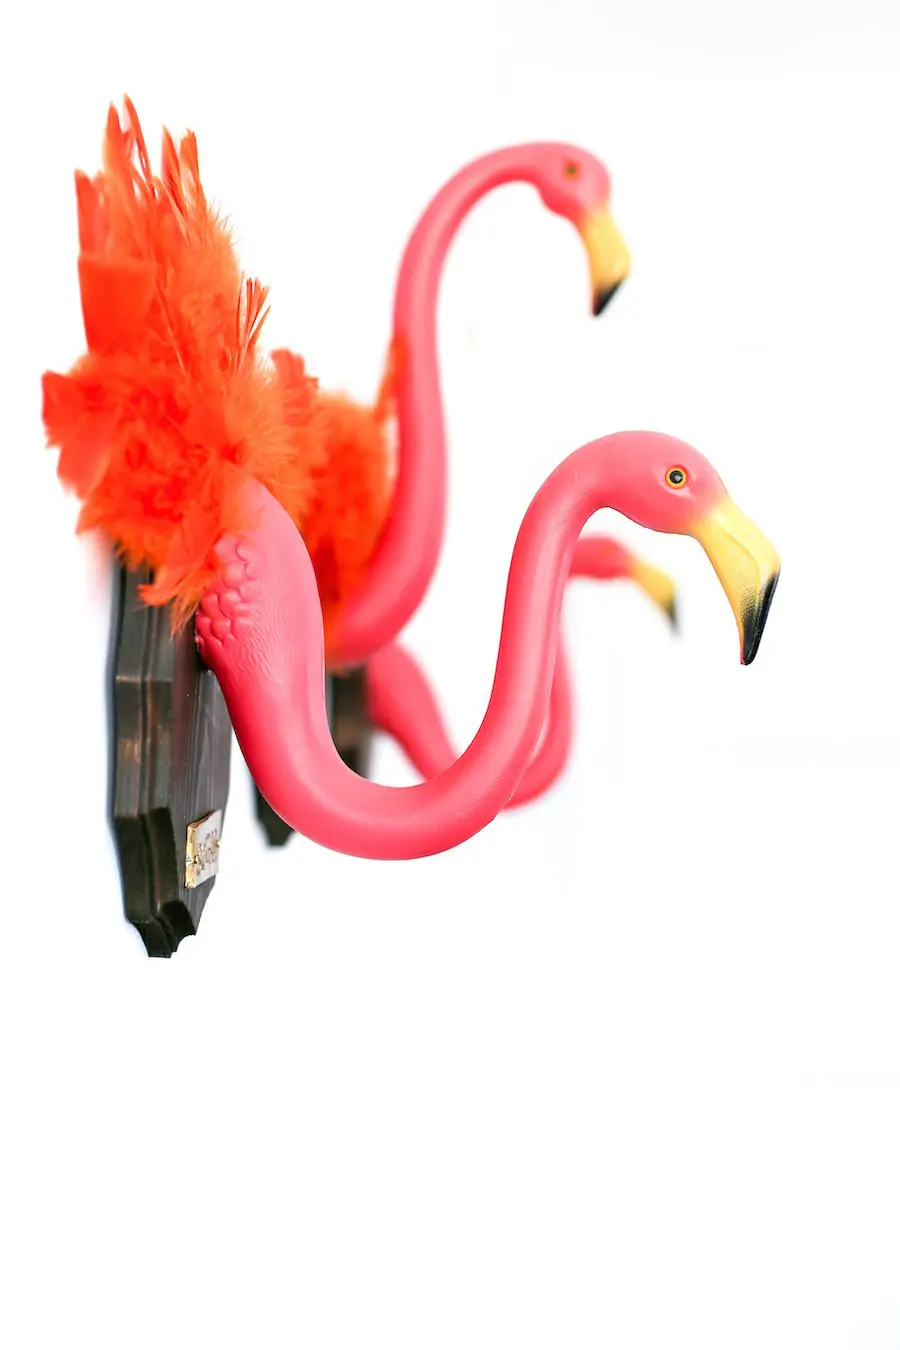
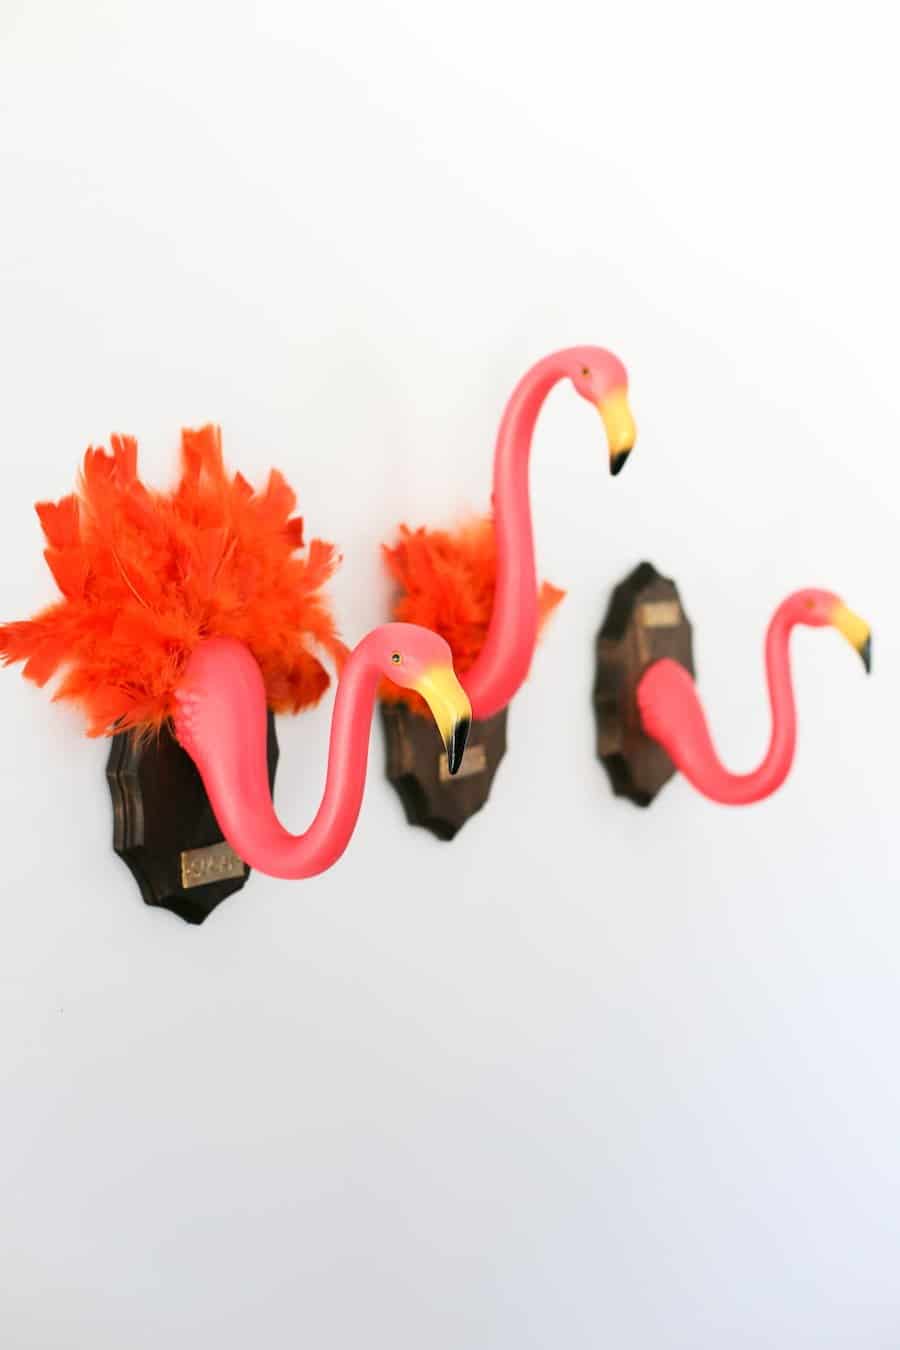
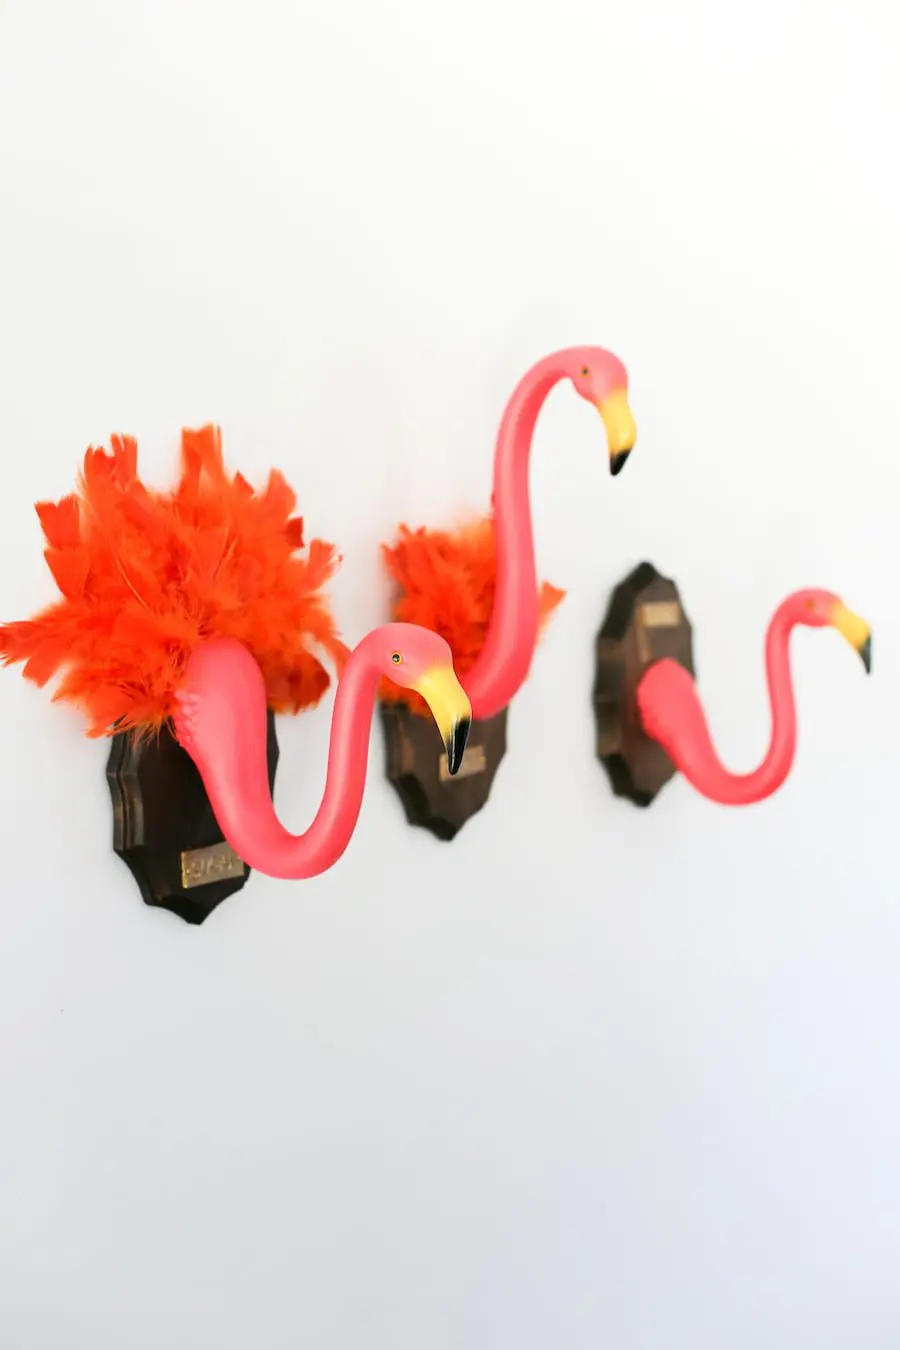
I am loving this DIY craft! The three flamingos add a bit of whimsy to my office walls and they make me smile whenever I walk into the room! Find the full printable tutorial at the end of the post below.

Lawn Flamingo Taxidermy Tutorial
Here’s what you’ll need:
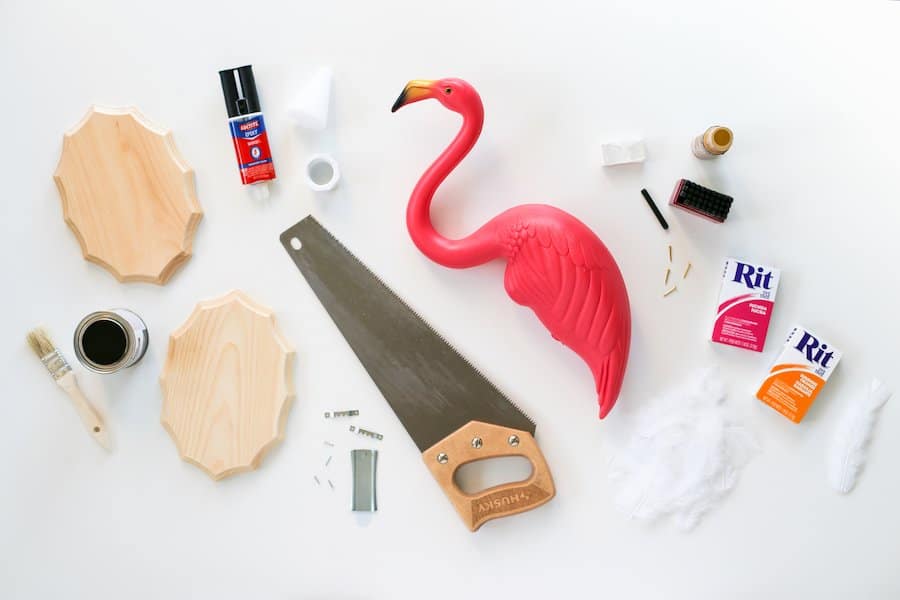
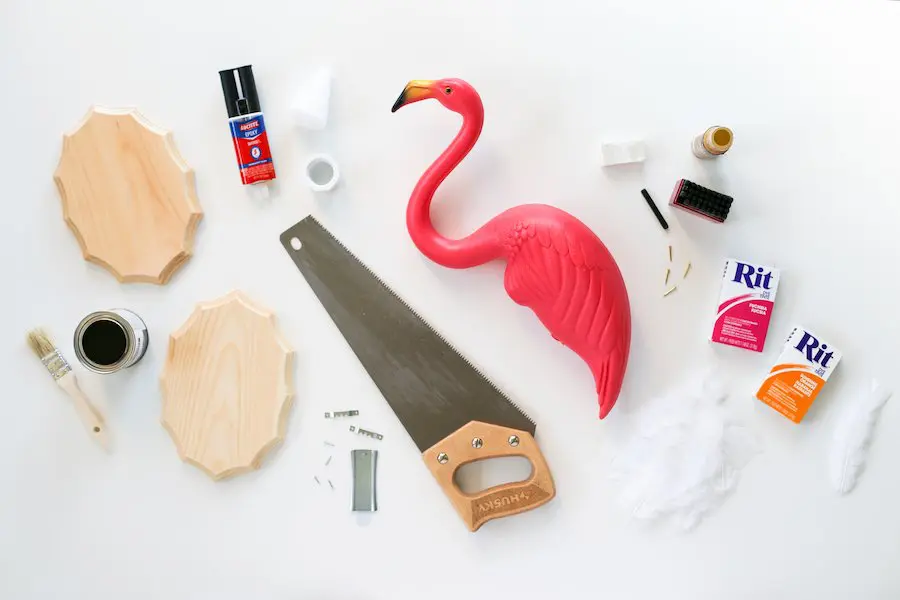
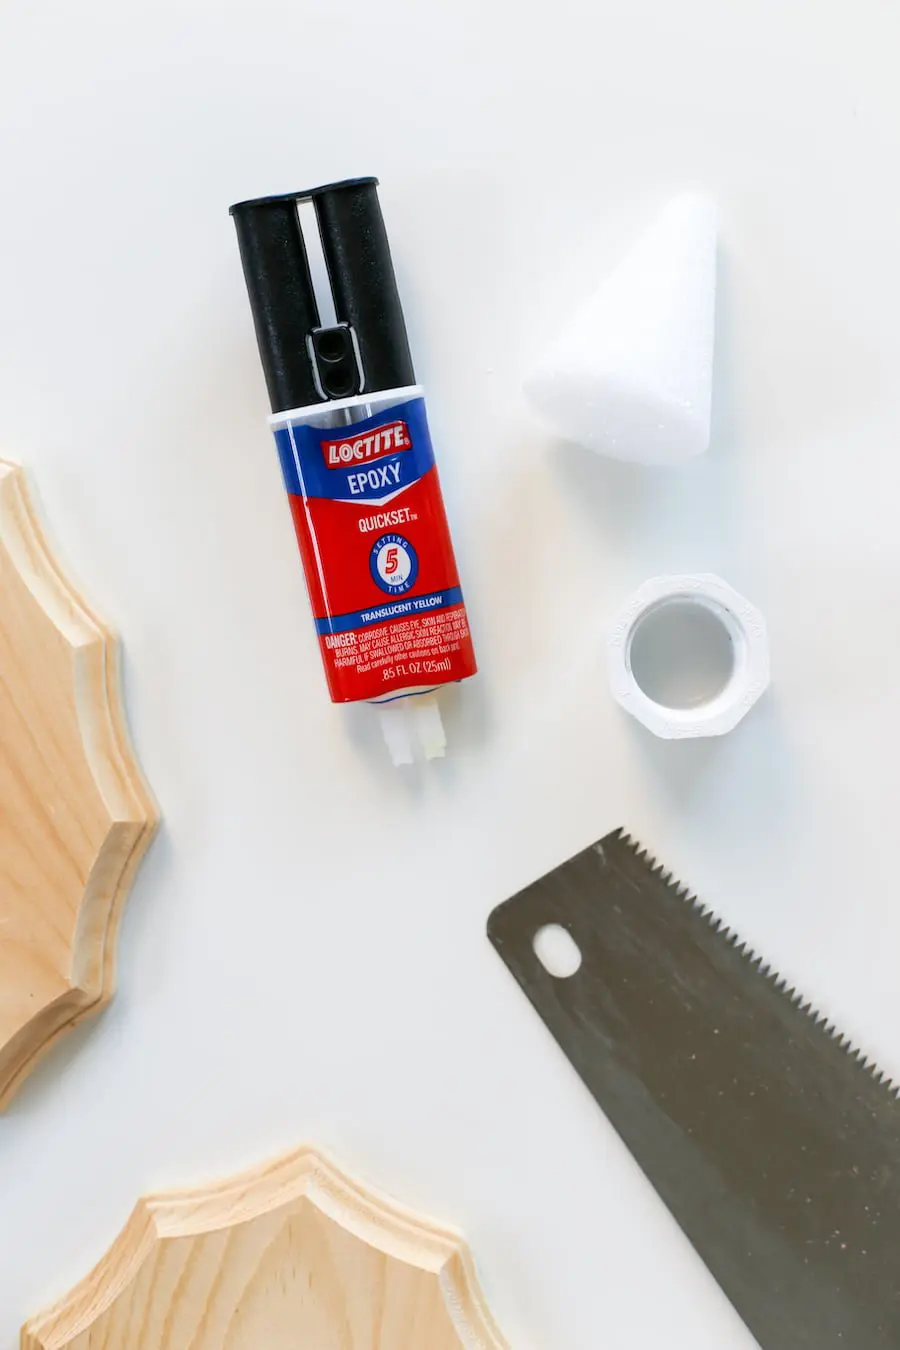
Materials:
- Original Featherstone Pink Flamingo
- Wooden Trophy Plaque
- Wood Stain
- Styrofoam
- Epoxy
- 1.5” Screws
- Feathers
- Fushia RIT dye
- Tangerine RIT dye
- Oven-bake Clay (optional)
- Toothpick (optional)
- Gold Paint (craft paint or spray paint)(optional)
- Small Gold Finishing Nails (optional)

Tools:
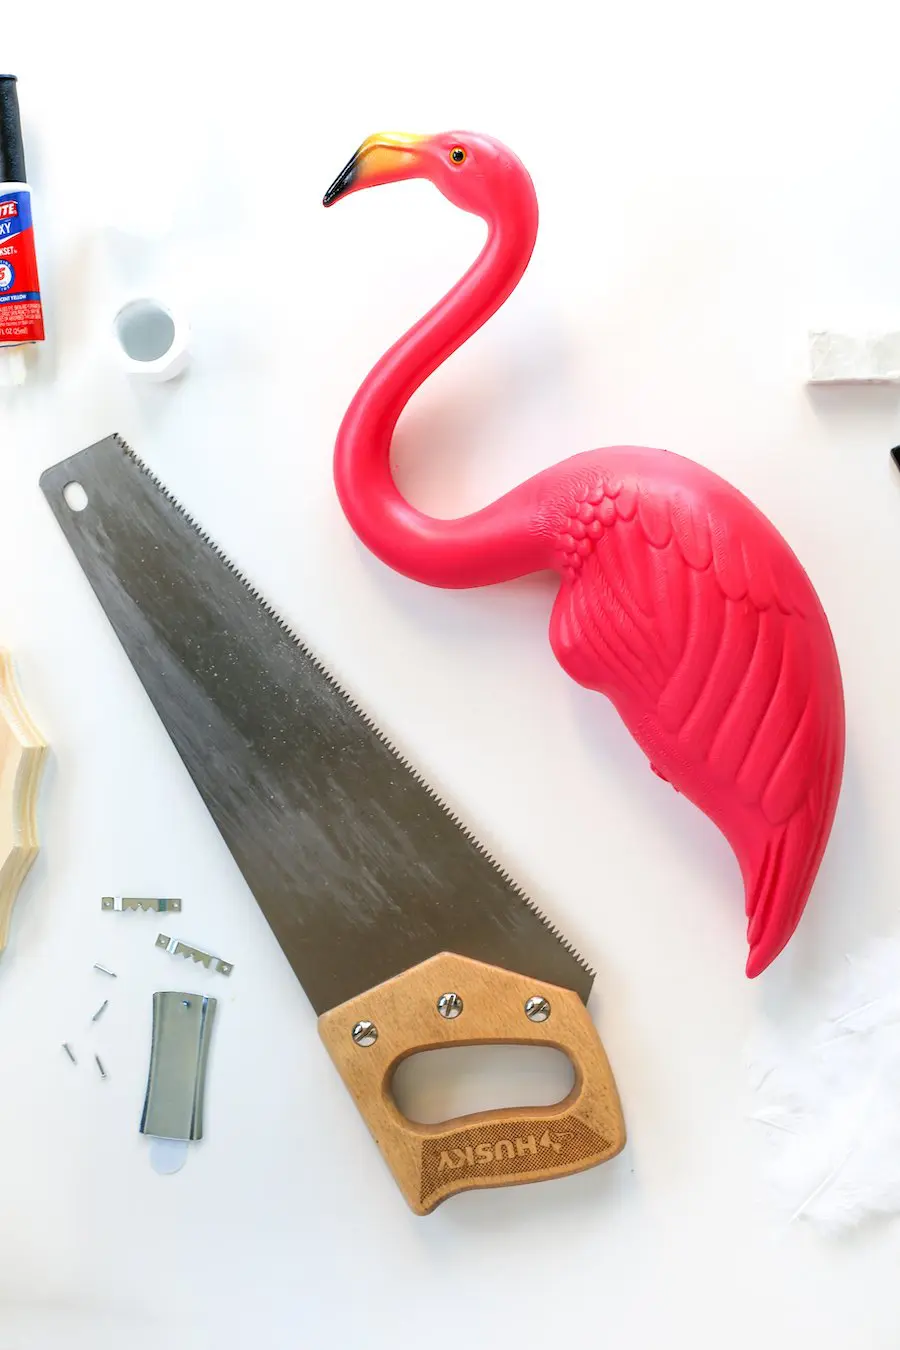
- Saw (hand saw or electric)
- Paint Brush
- Gloves
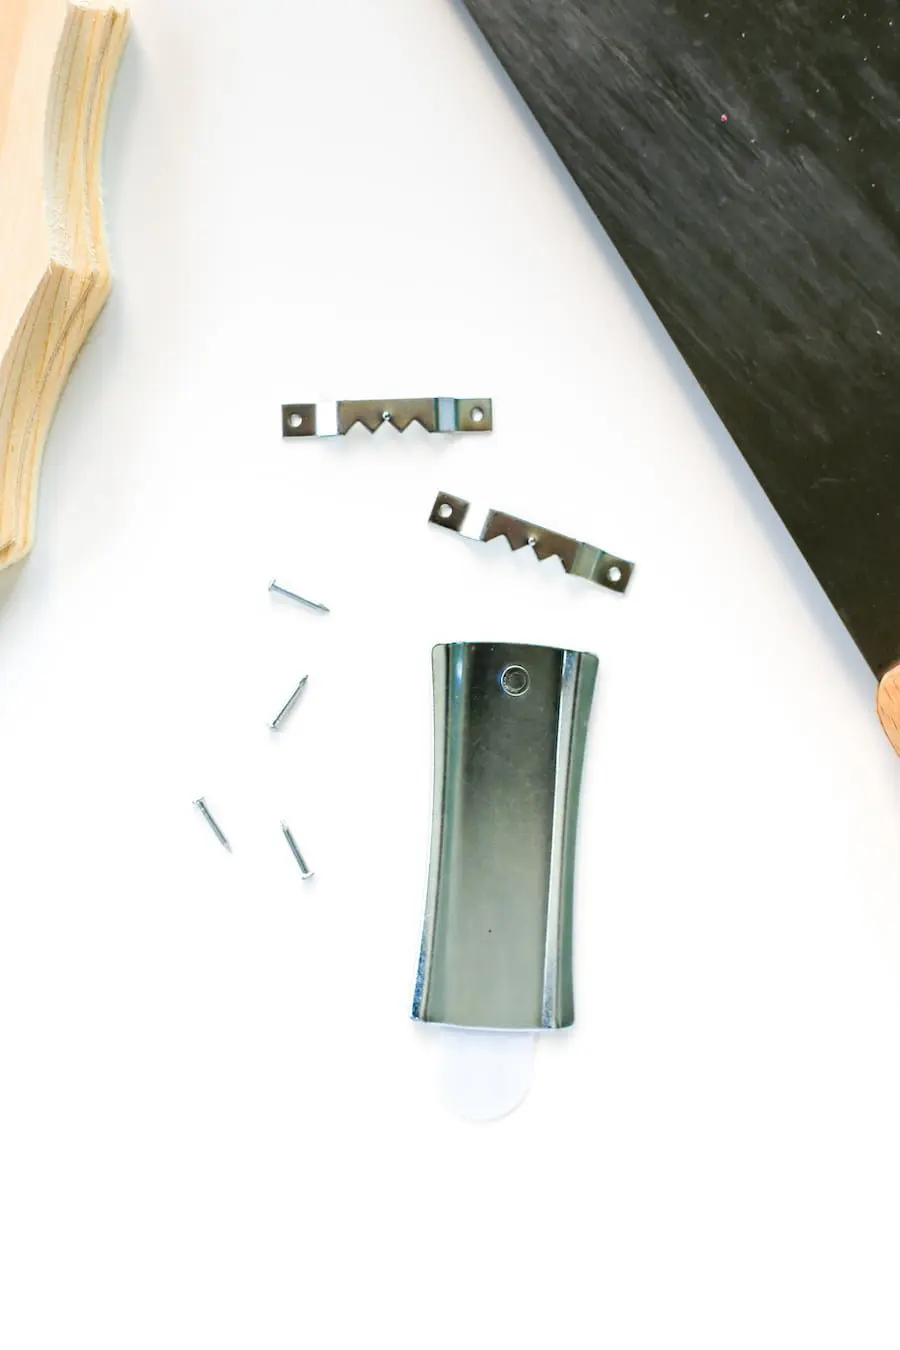
- Sawtooth Hanger and nails
- Hammer
- Scissors
- Drill Gun
- Drill Bits
- Bucket
- Hairdryer
Steps:
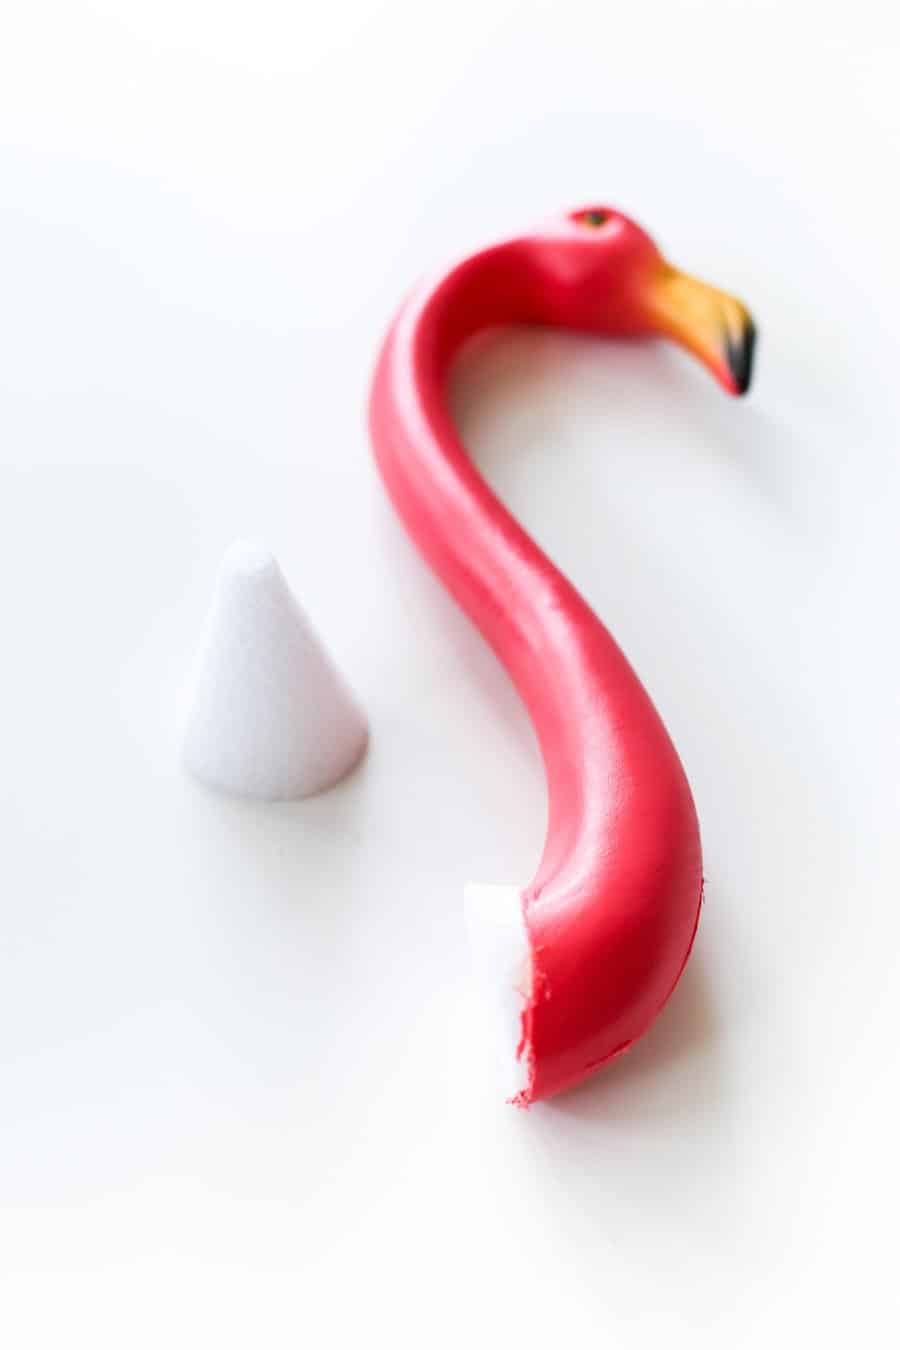
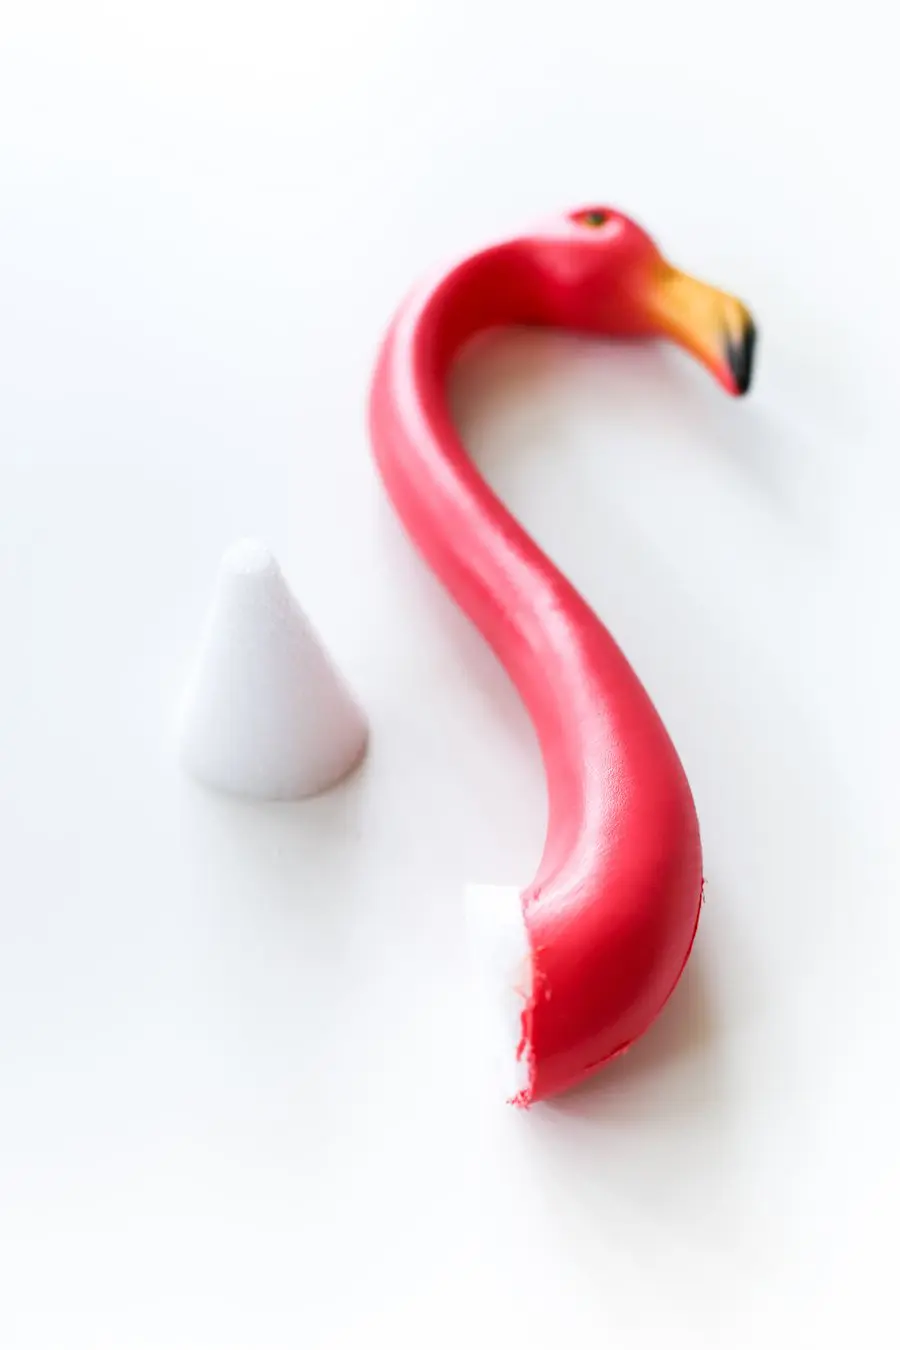
- First, let’s really commit to the project, so start by decapitating your flamingo with your saw. *TIP: Don’t just chop it off at the neck on the long-necked flamingo, cut into the body section a bit or else the head will hit the back wall.

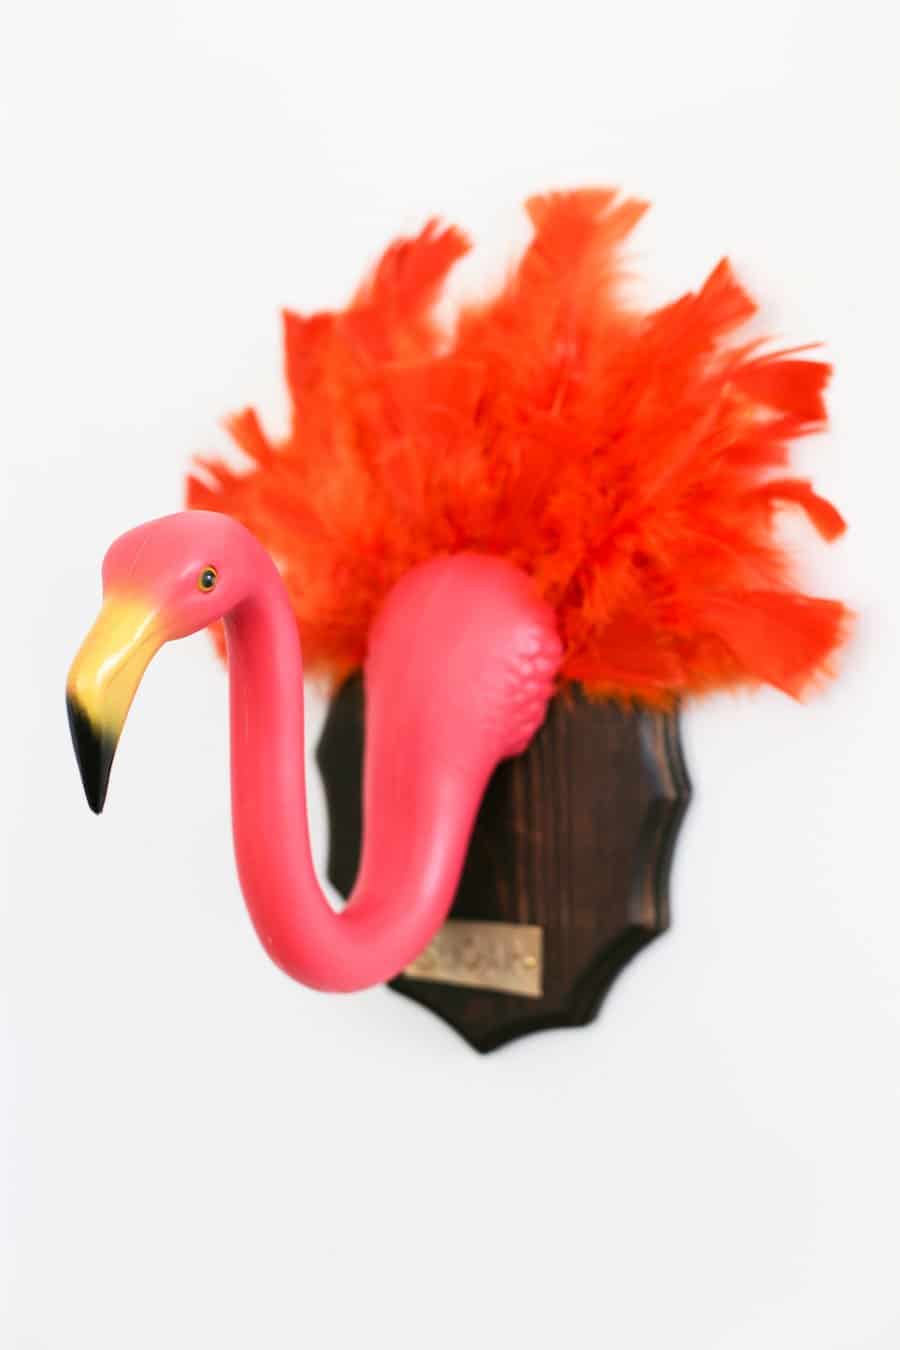
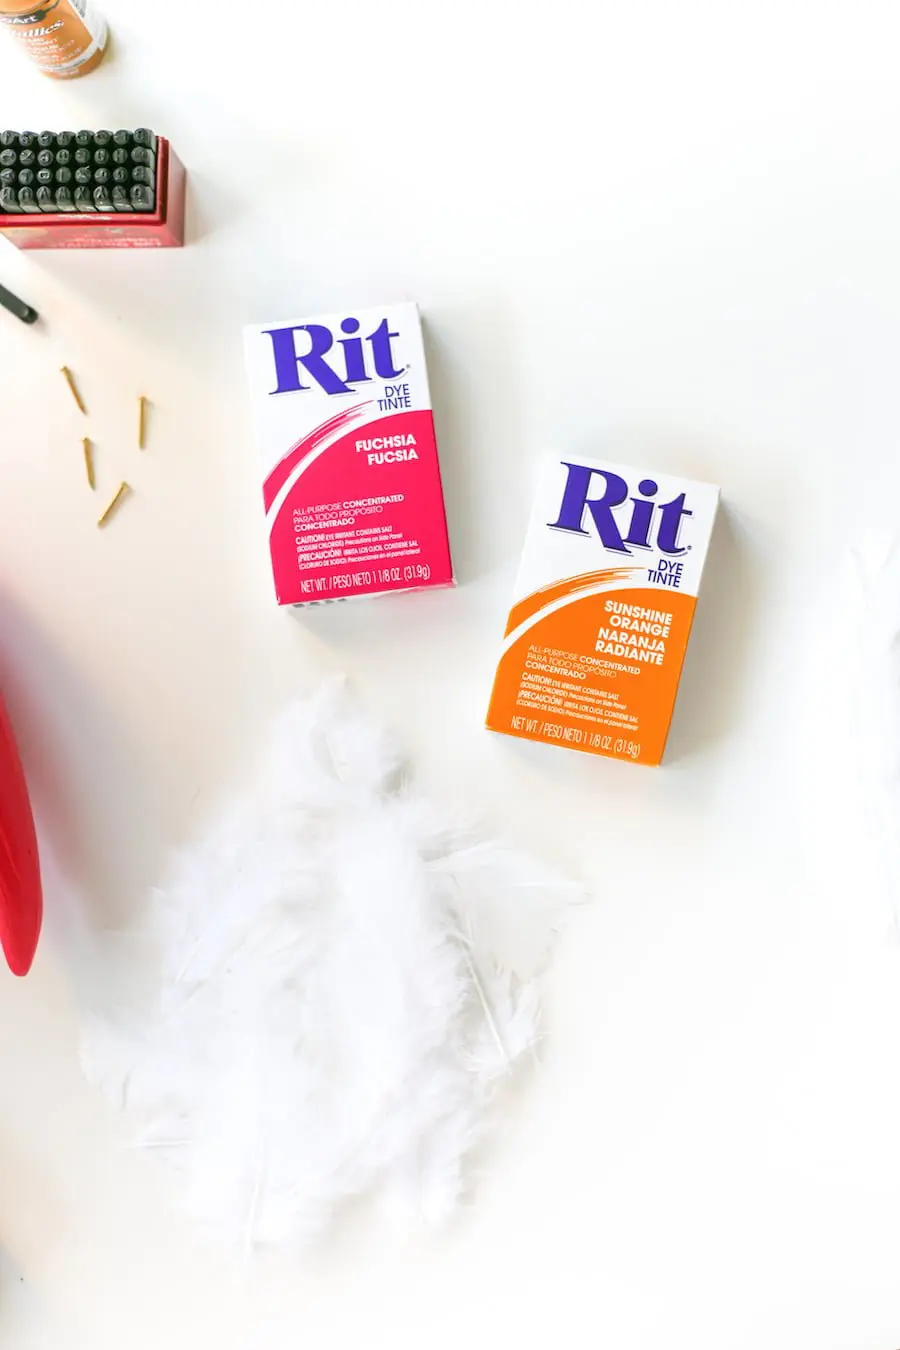
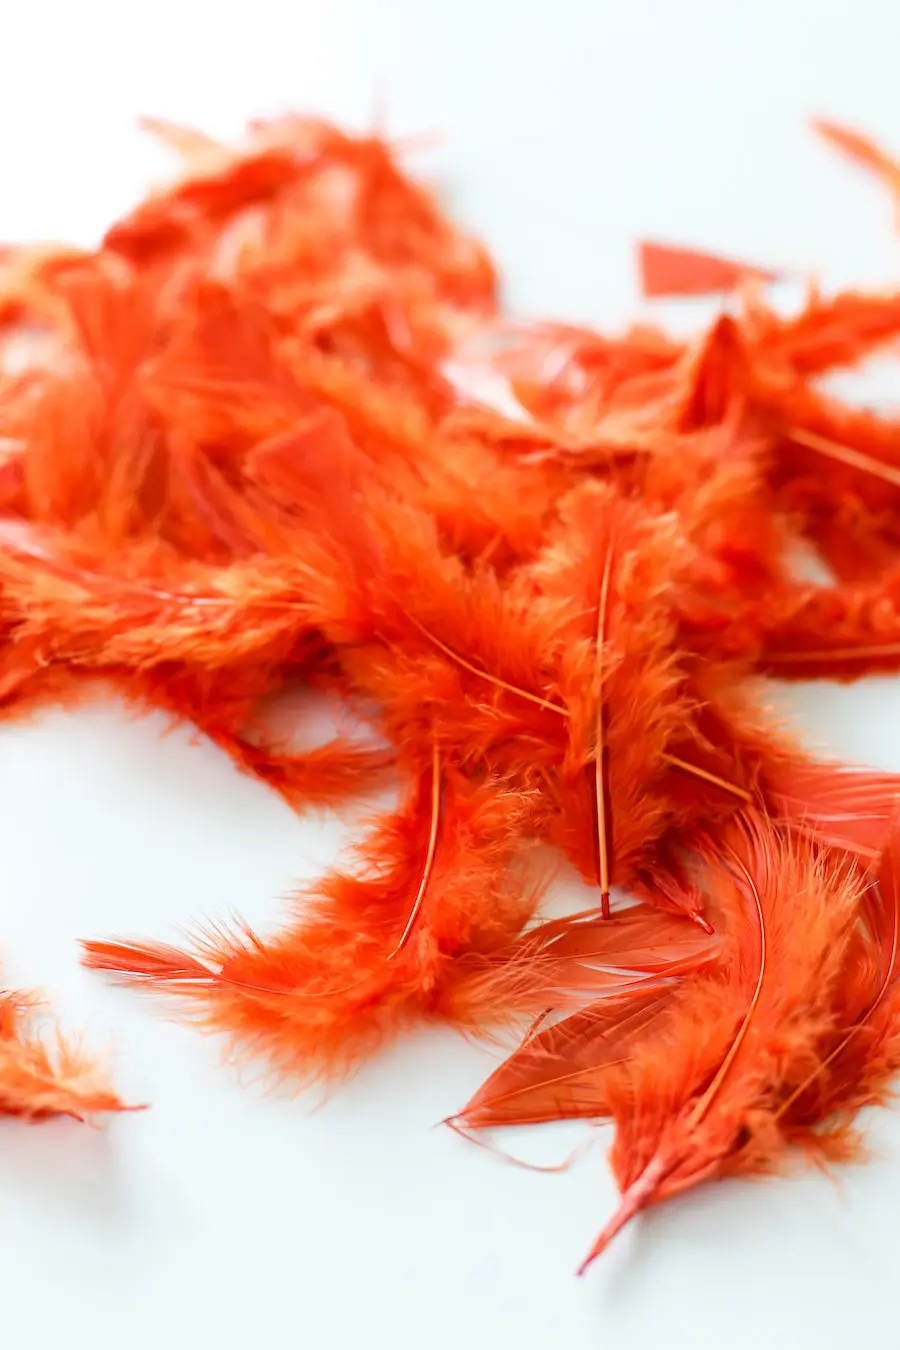
- Next, start dying your feathers. I couldn’t find pink feathers that closely matched the color of the pink flamingos, so I simply purchased white feathers and fabric dye to make my own. Be sure to follow the directions on the back of the dye box and use protective gloves/clothing. I dyed all of mine in a bucket, let them dry in the sun, and then fluffed them with a hairdryer.

- Optional: while your feathers are drying in the sun, make your name plates using oven-bake clay. Roll out a bit of clay, slice it into a rectangle, write your flamingo’s name using a toothpick, use a nail to poke holes into the two sides of the name, then bake according the clay instructions. Once dry, paint or spray paint gold.
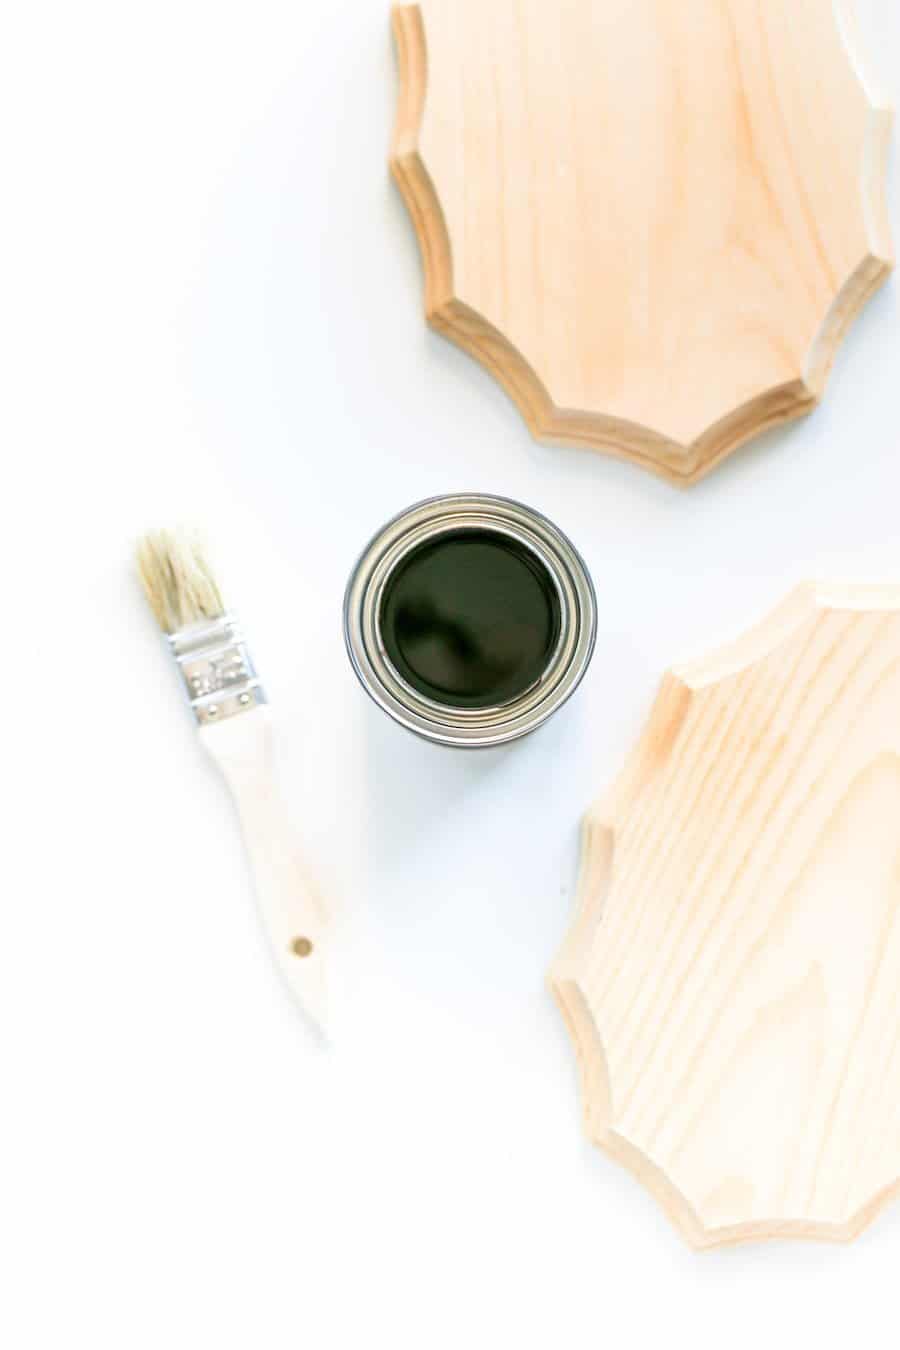
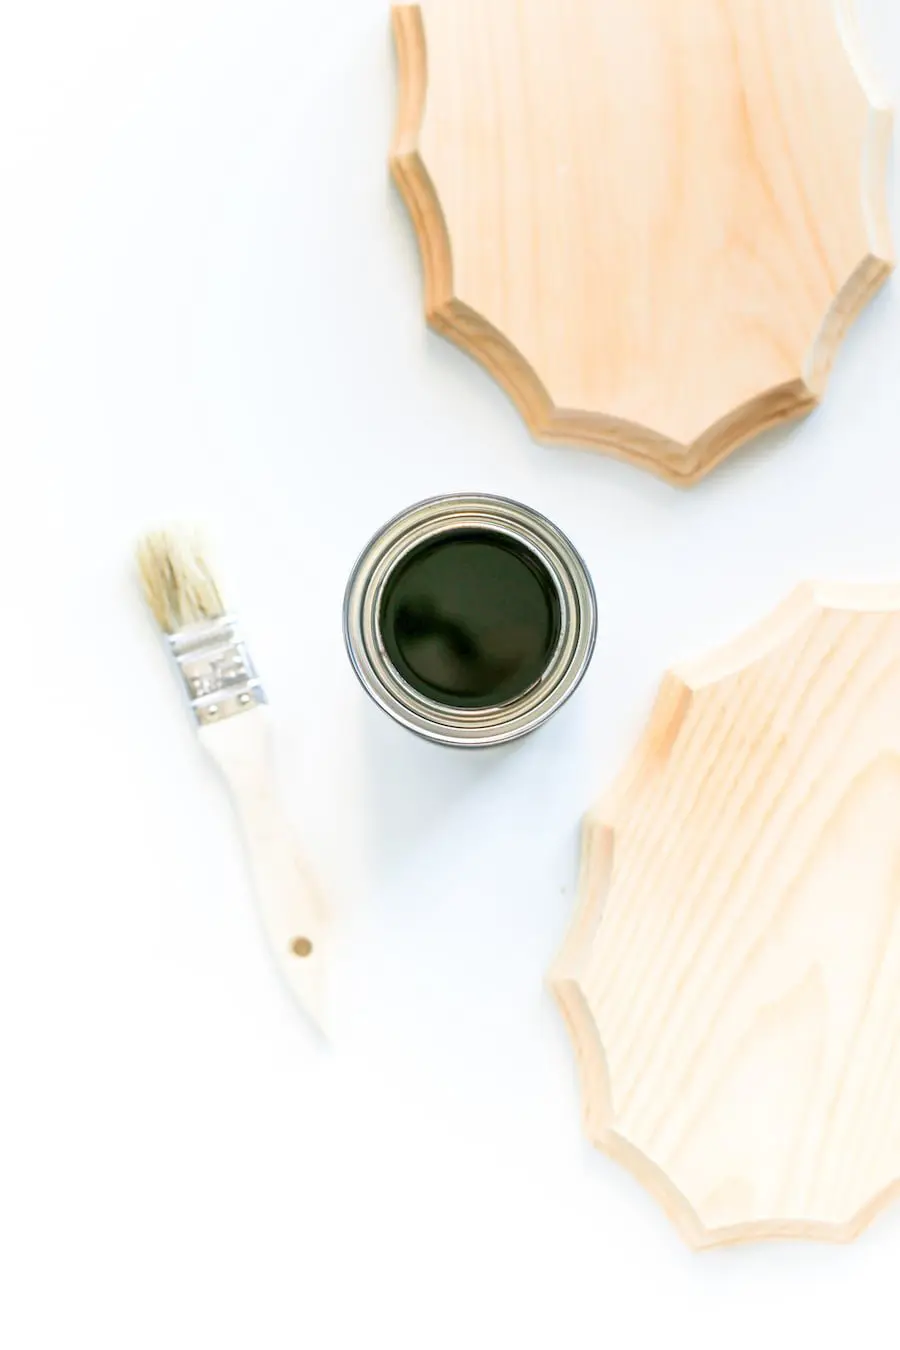
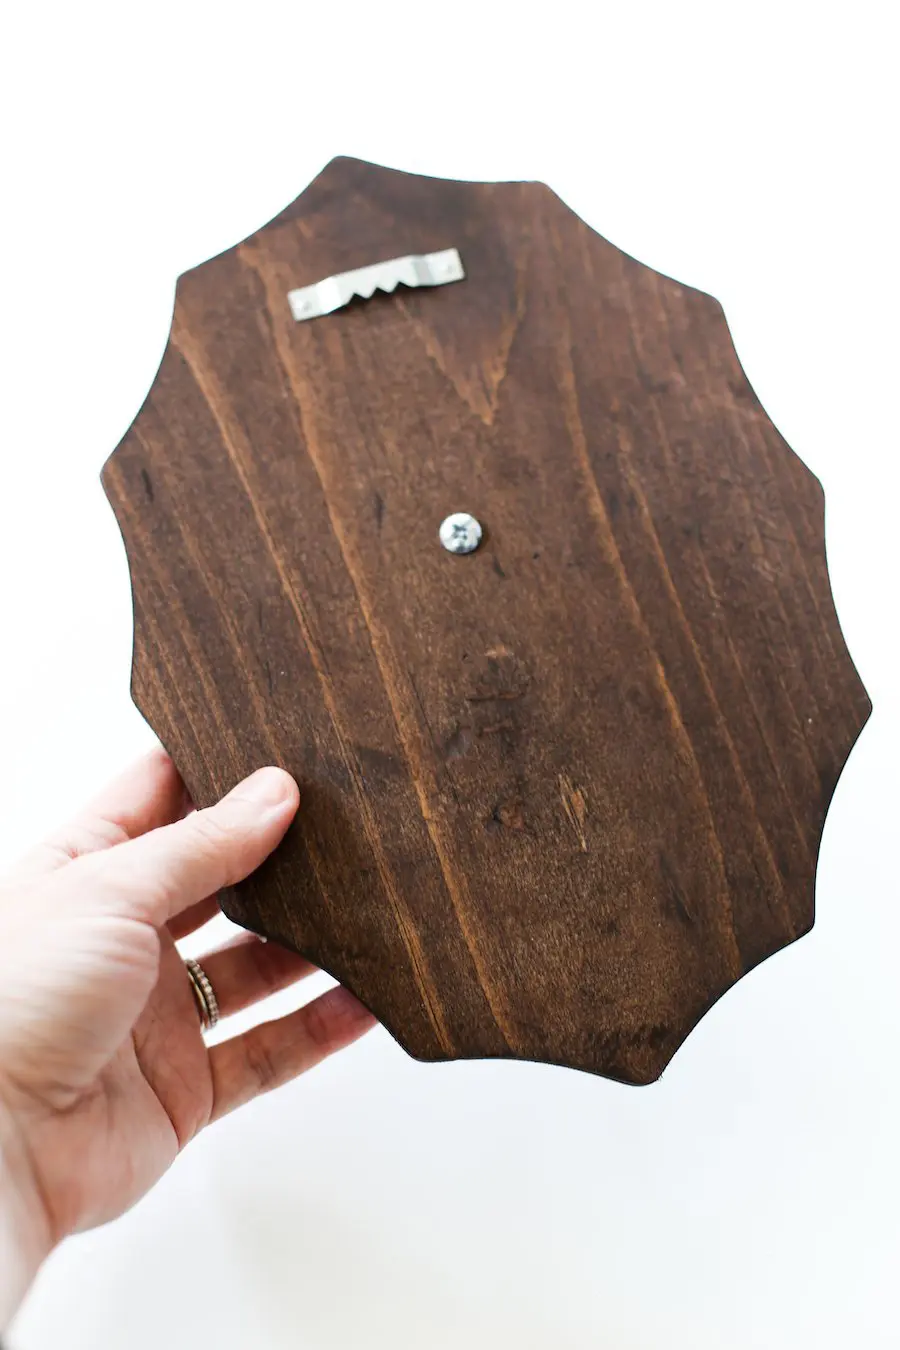
- Next, stain your wooden plaque. Follow the stain instructions, but basically it’s paint on, wipe off and allow to dry. I used a dark “Kona” colored stain. And be sure to wear gloves!
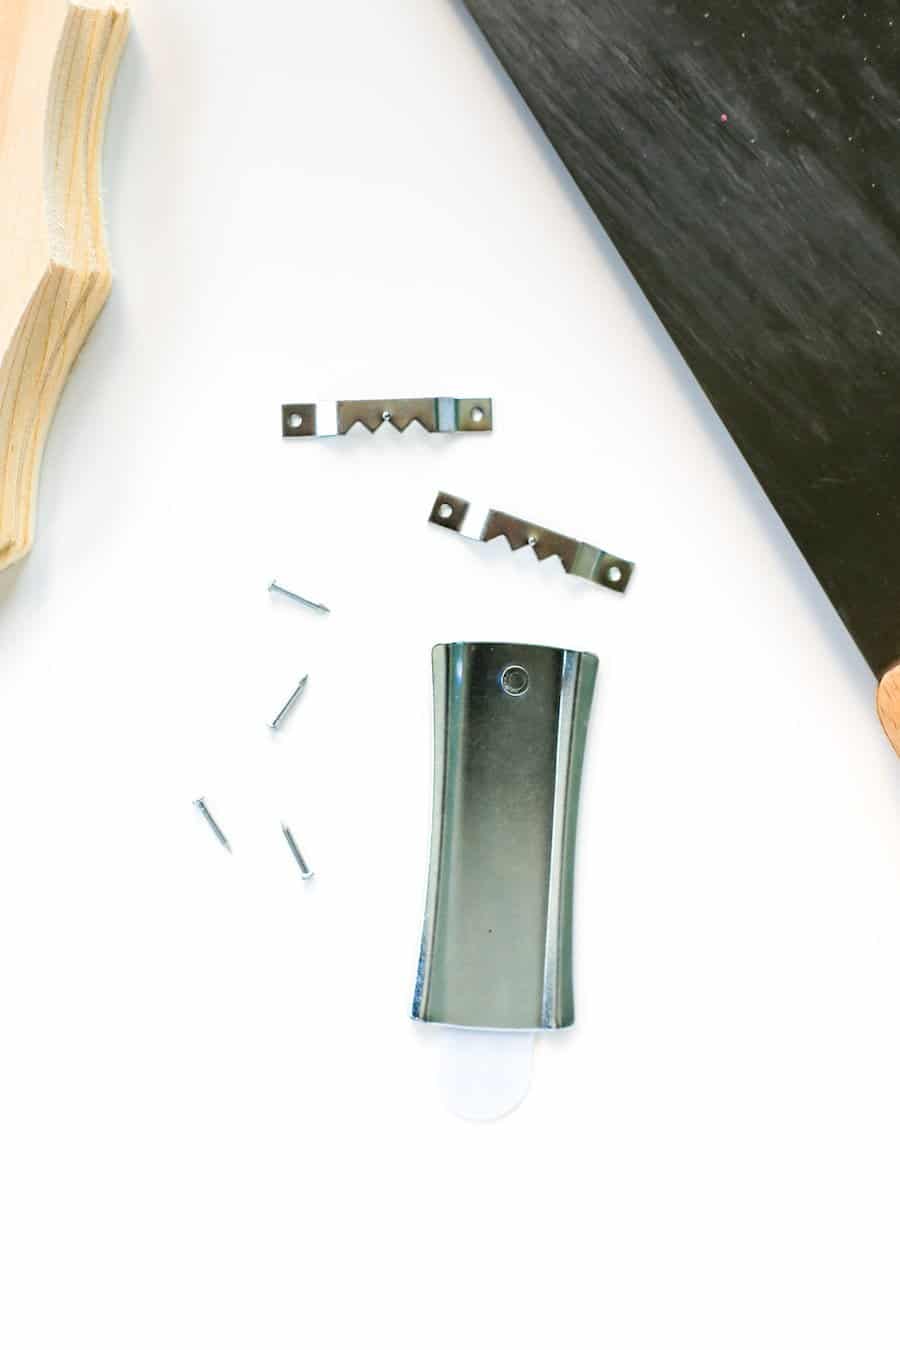
- Once the plaque is dry, go ahead and install your sawtooth hanger onto the upper middle back.
- Now you’re ready to assemble your lawn flamingo taxidermy. First, figure out where the flamingo will go and where the name plaque will go. Once placement is determined, nail the name plaque in place using your drill gun and drill bits to drill pilot holes.
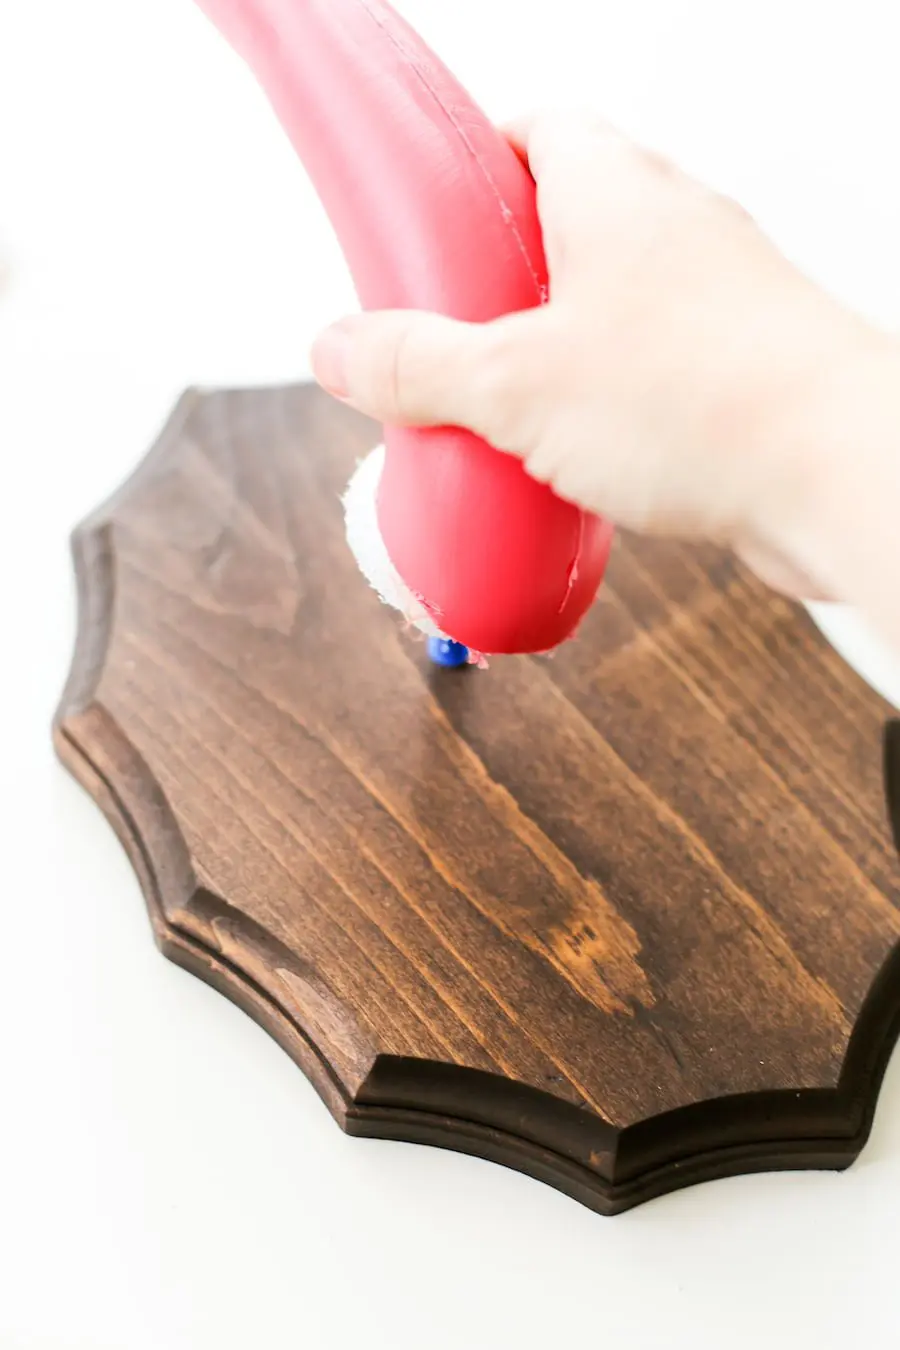
- Here’s the tricky part: attaching the hollow-necked flamingo to the plaque. I used both flat and conical Styrofoam for the curvy-necked flamingos (Sugar and Shrimp) and I used 1 conical piece of Styrofoam for the long-necked flamingo (Floyd). For Floyd, I simply cut off the top of the cone and fit the Styrofoam inside. For Sugar and Shrimp, I cut down a piece of flat Styrofoam by tracing the flamingo’s opening on the Styrofoam and cutting it out with scissors. Then, I also used a cut down piece of conical Styrofoam which I epoxied on top of the flat piece to give more surface area with which to epoxy the Styrofoam to the flamingo.

- Next, I lined up on the back of the plaque where the back of the flamingo would be and drilled a pilot hole for my 1.5” screw which I then screwed into the back. I then loosely put the Styrofoam into the flamingo and pierced it onto the screw jutting out of the front, attaching the Styrofoam to the plaque. I then carefully removed the flamingo from the Styrofoam and applied epoxy all around the rim and sides of the Styrofoam to before re-attaching the flamingo and firmly holding into place for 1-2 minutes until the epoxy set.

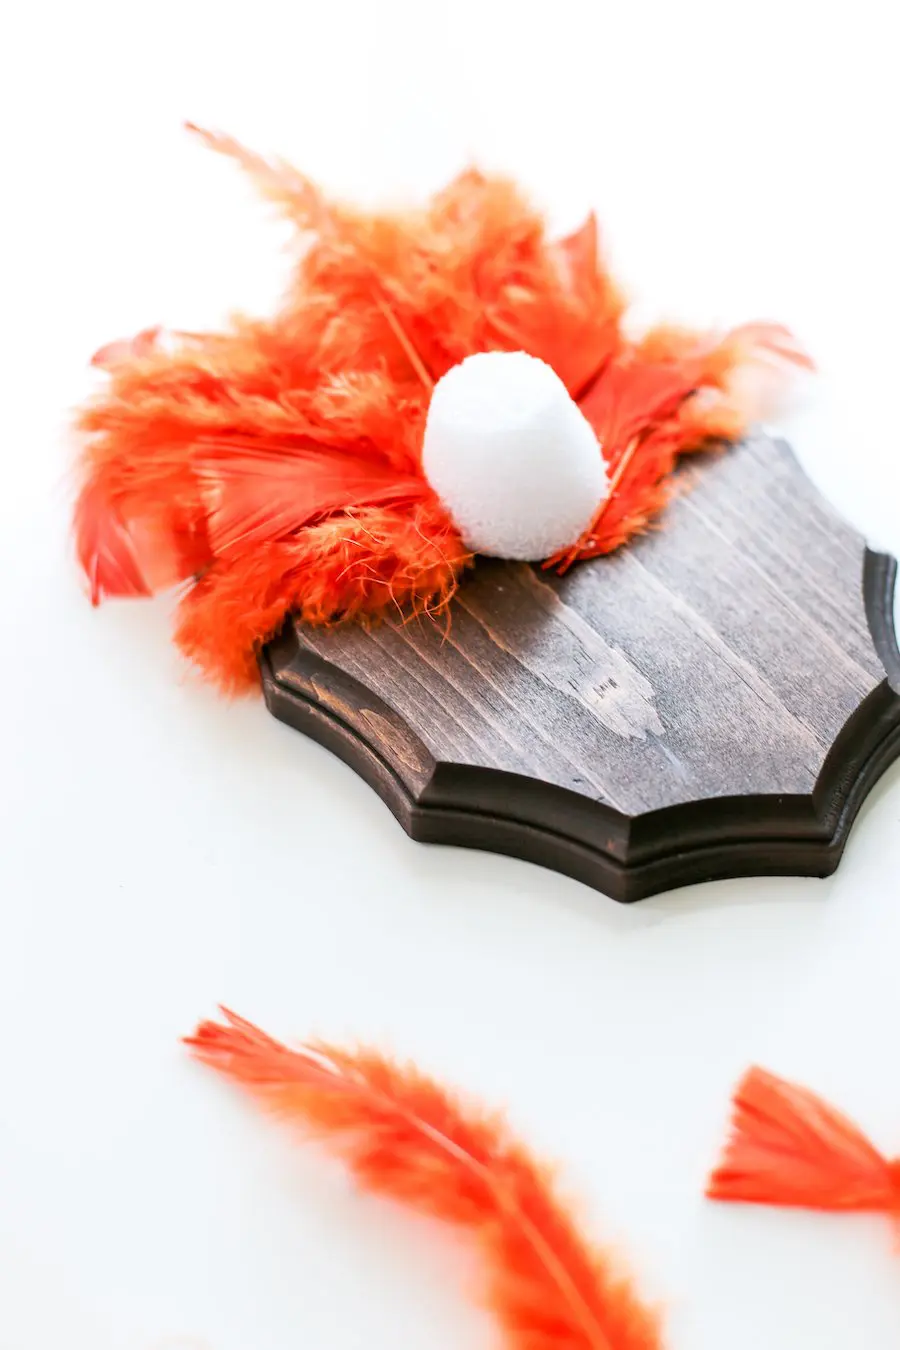
- Since I could see the Styrofoam sticking out on the top and sides of Floyd and Sugar, I attached my hand-dyed feathers by sticking the feathers into the Styrofoam. I used long feathers in the back, then layered with wispier feathers in the front. I left Shrimp featherless so you could see how they look without feathers, but you have to get the flamingo cut perfectly, or else the Styrofoam will show.
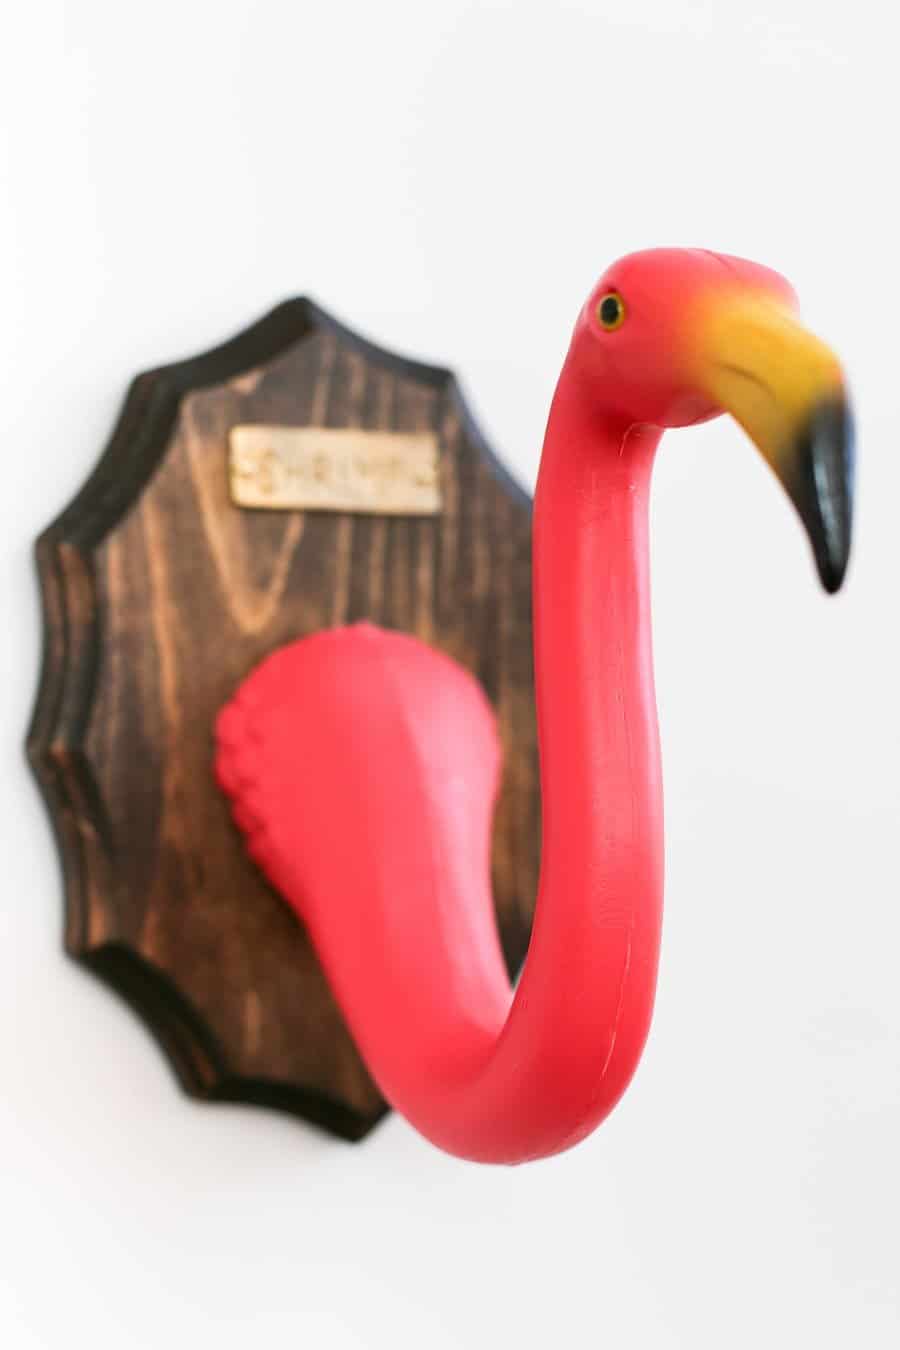
- The last step is to hang them up on the wall!


What will you name your lawn flamingos? Let me know in a comment below!