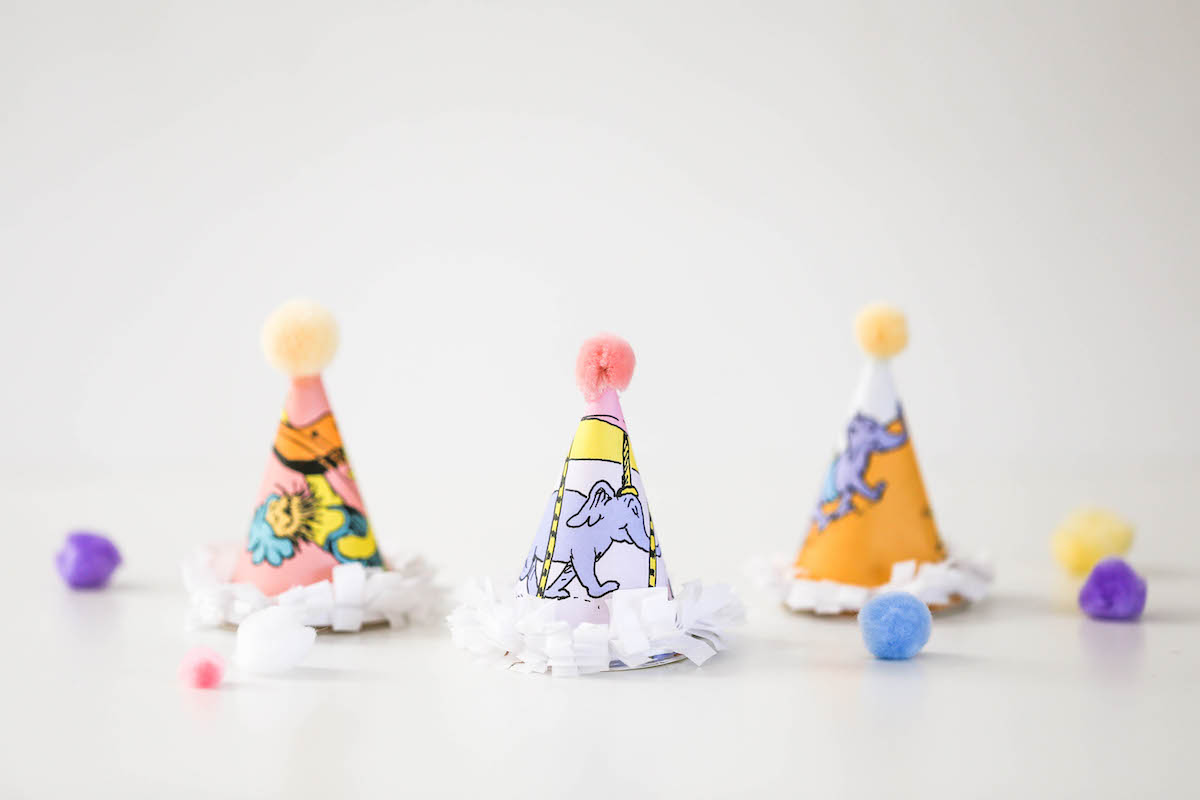
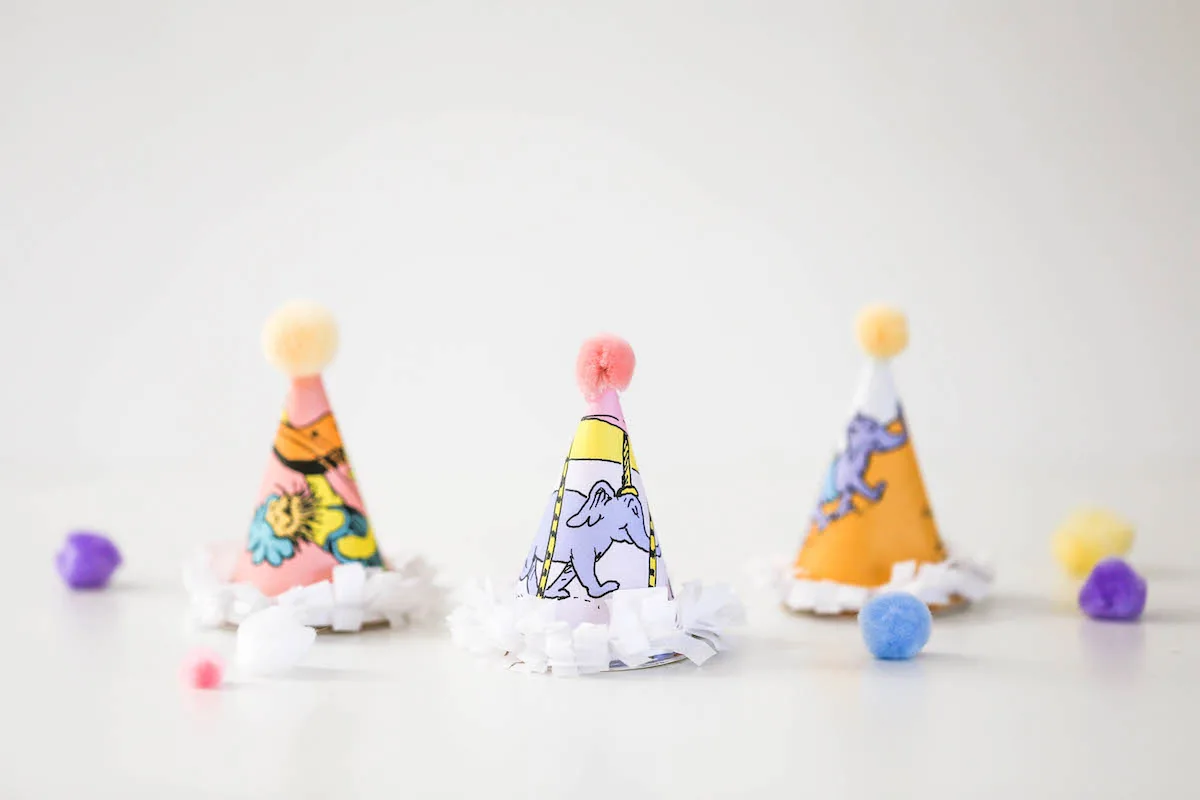
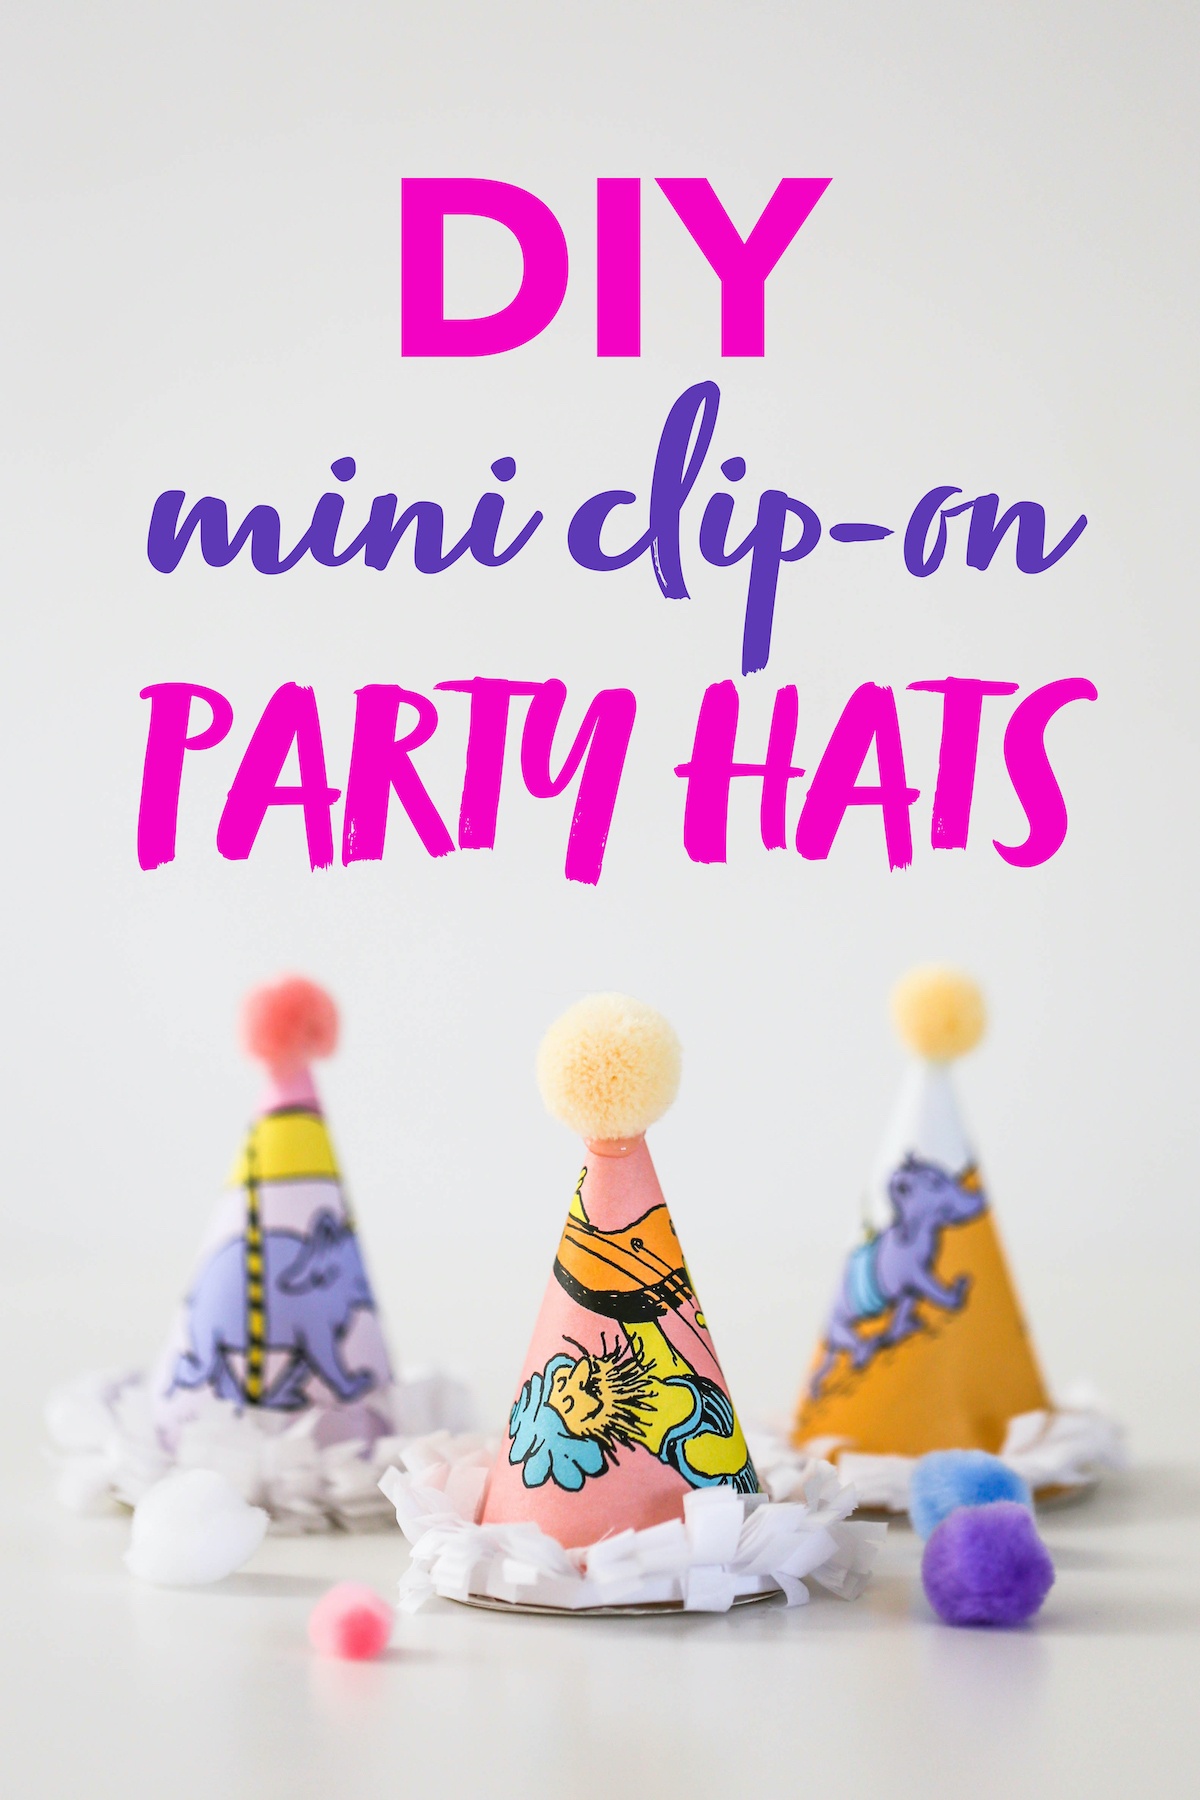
These tiny DIY Mini Clip-On Party Hats are so cute and they’re really easy to make. I promise! If you can wield scissors and a glue gun, then you can make these tiny party hats! They’re great because you can make them using any paper – so if you want a certain color or pattern to go with your party’s theme, just follow my DIY Mini Clip-On Party Hats Tutorial and you can just make these DIY Mini Clip-on Party Hats yourself!
DIY Mini Clip-On Party Hats Tutorial
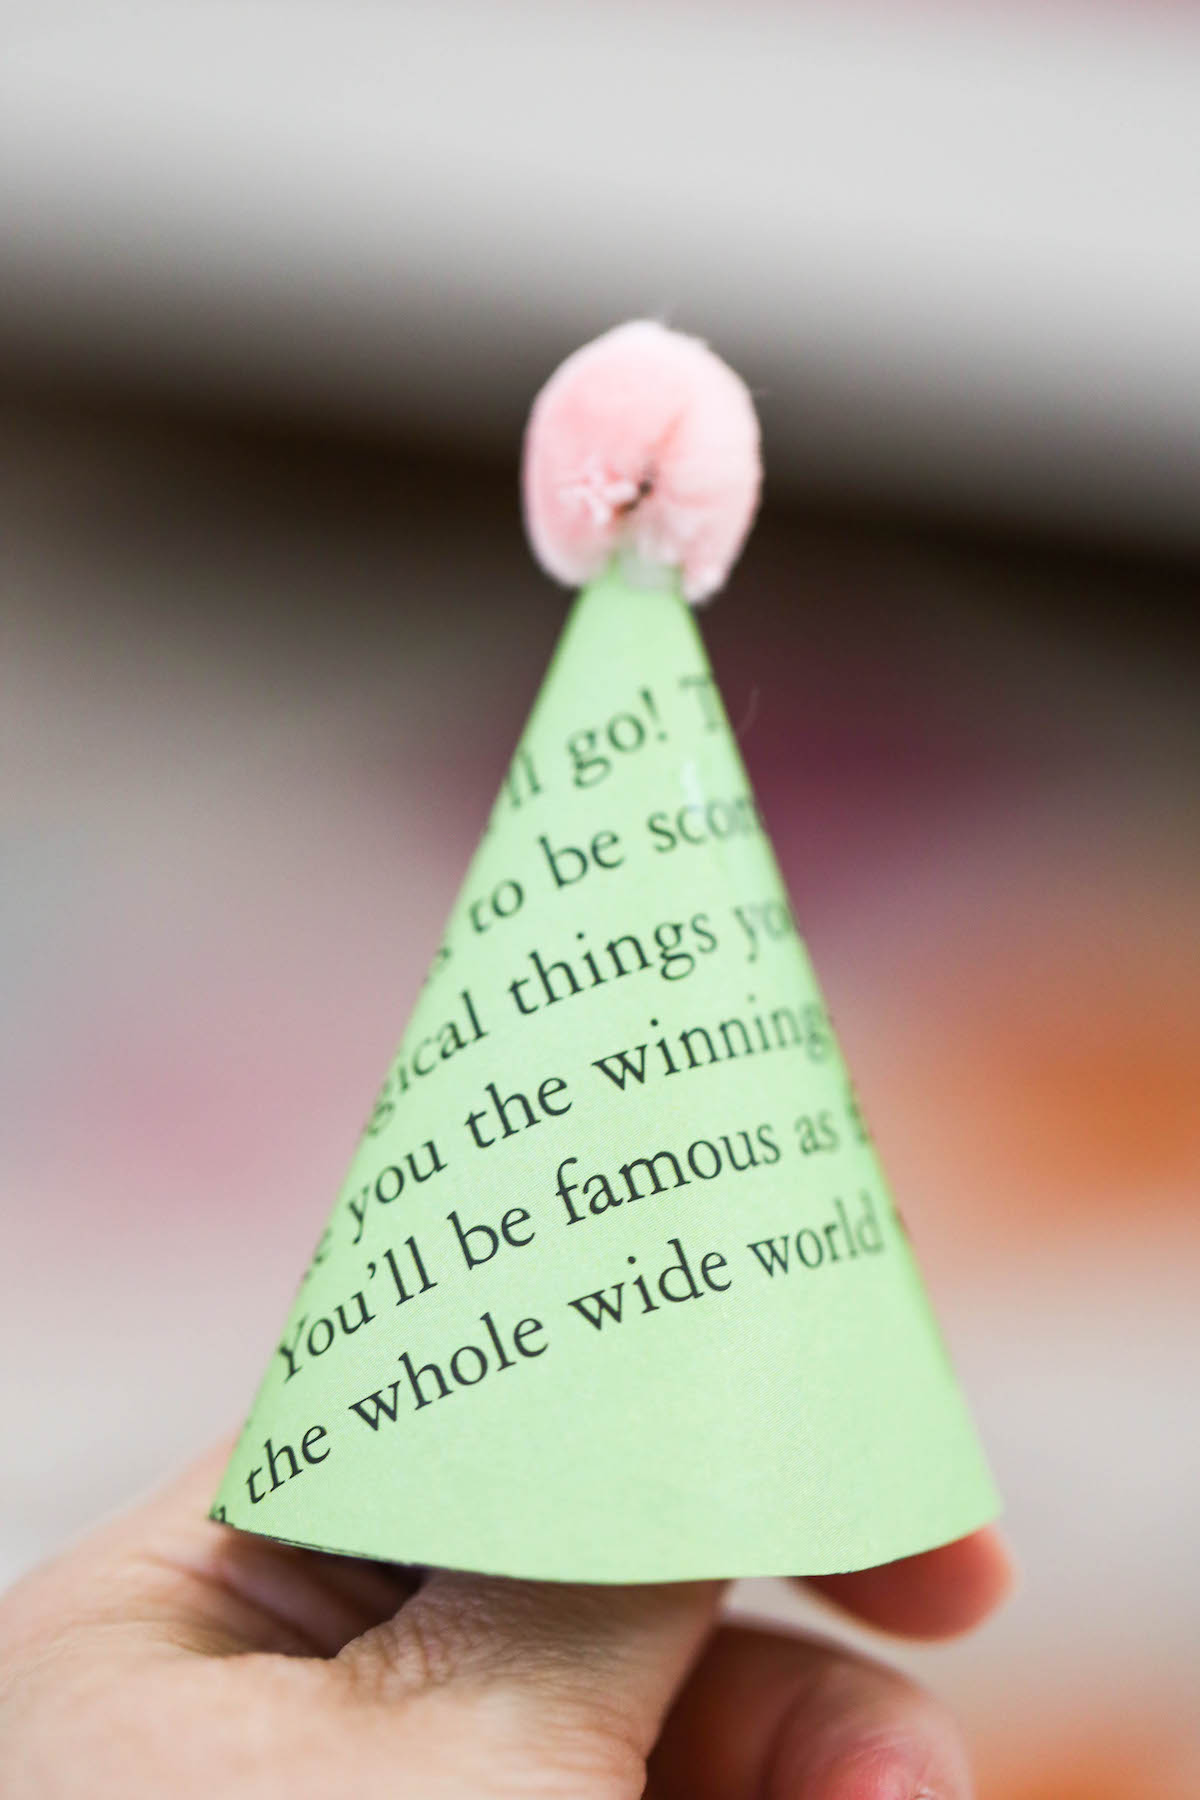
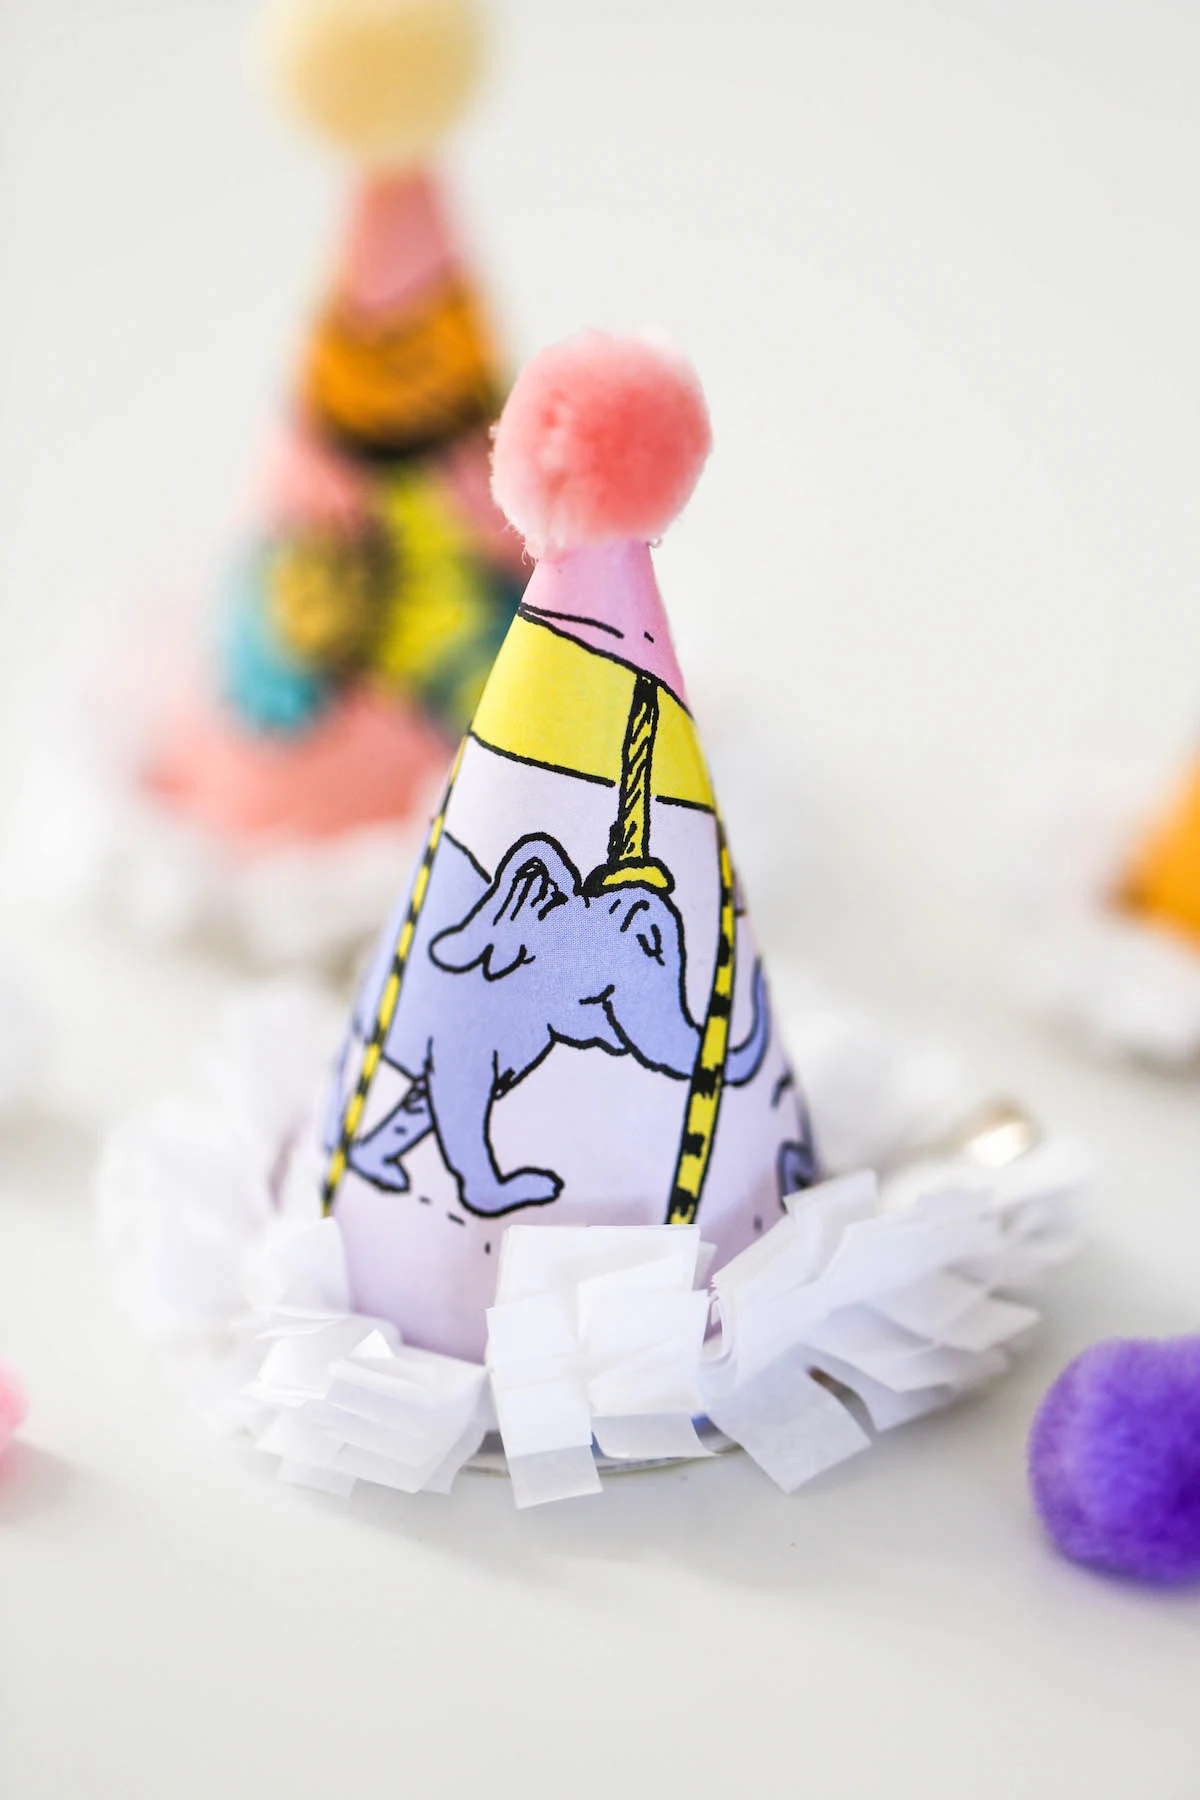
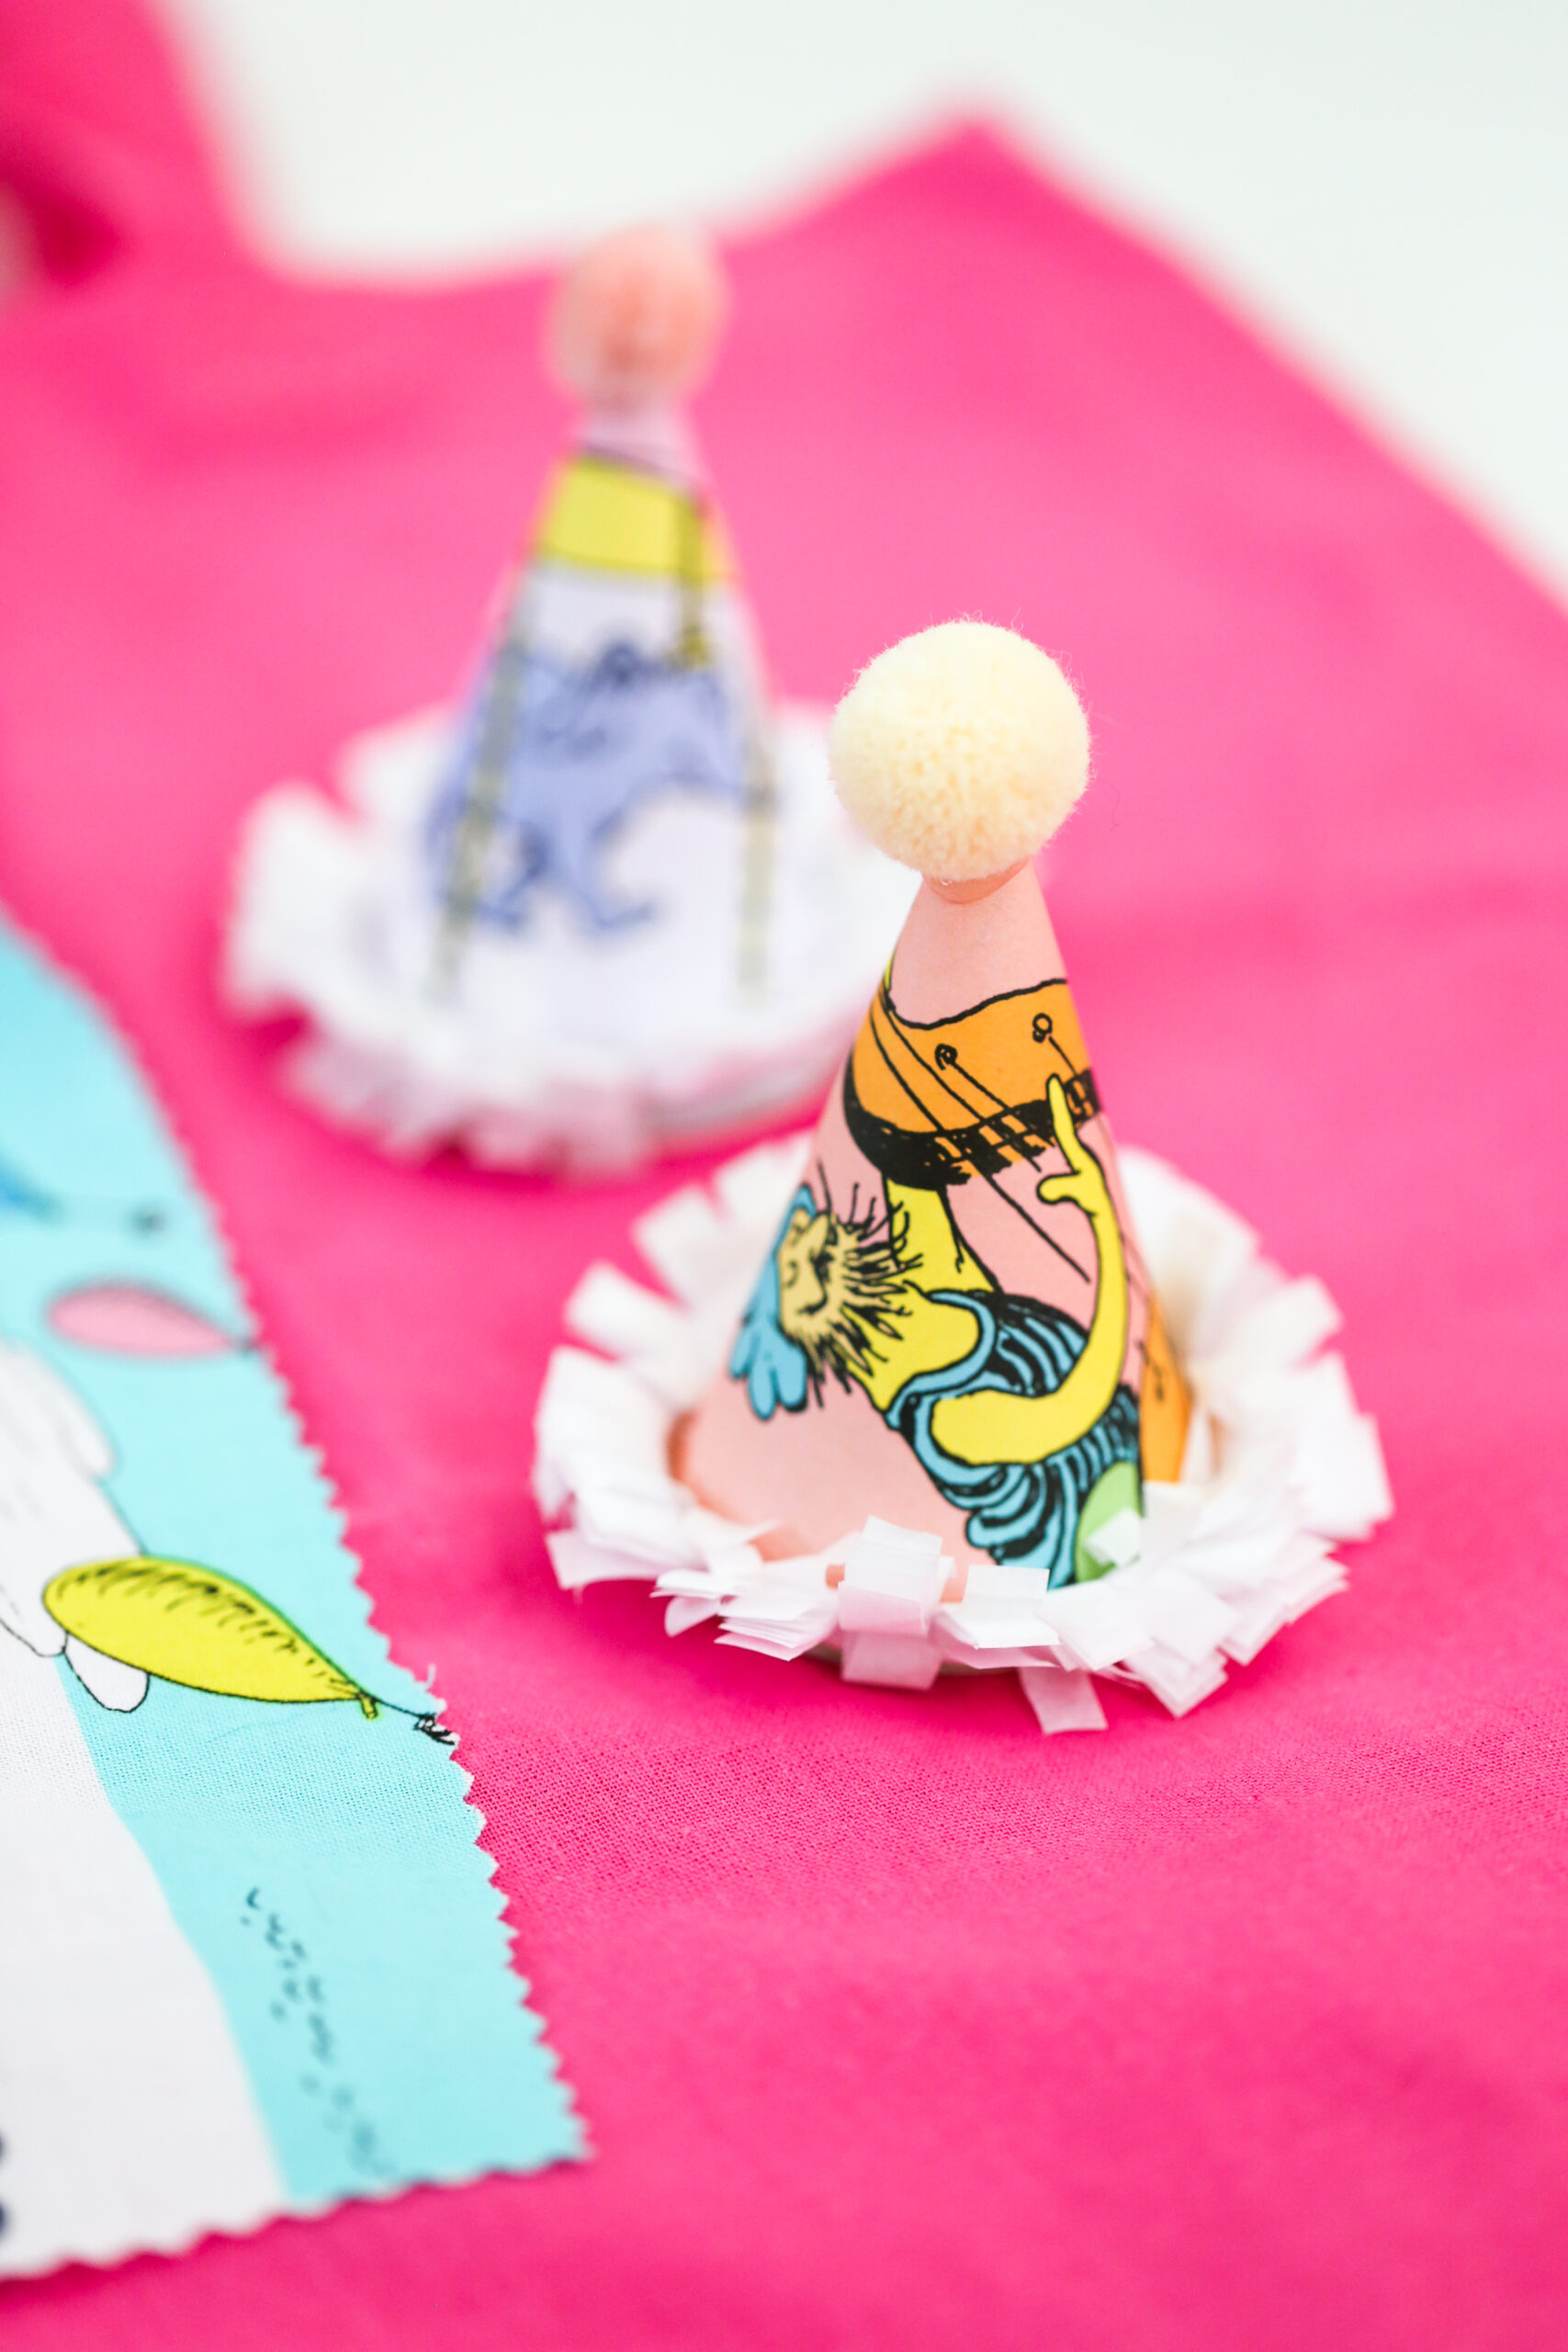
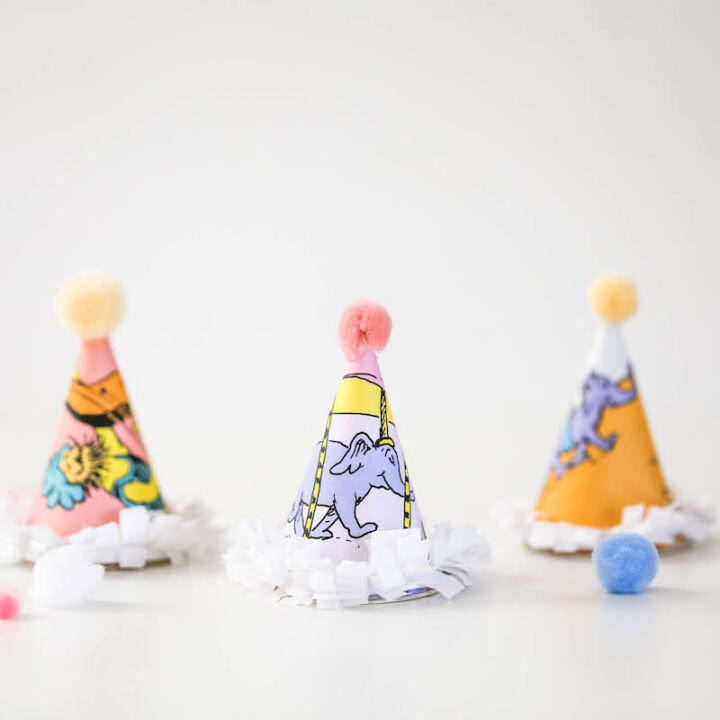
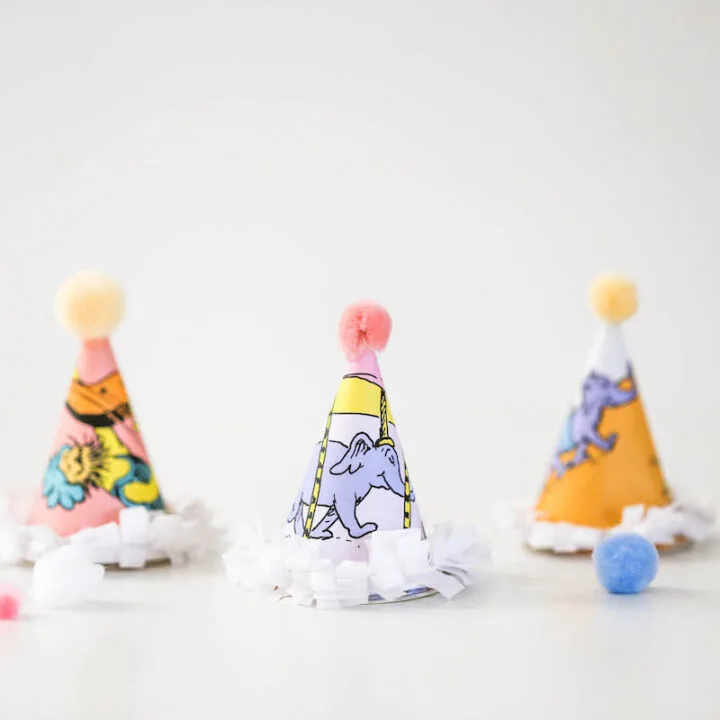
I made these DIY Mini Clip-on Party Hats for my friend Wendy’s virtual baby shower. She’s a librarian and the baby shower theme was “Children’s Books,” so to make these little party hats, I used pages from the Dr. Seuss book Oh, The Places You’ll Go! But, obviously, you can use any paper you have – newspaper, construction paper, wrapping paper, a different book that matches your theme, etc.
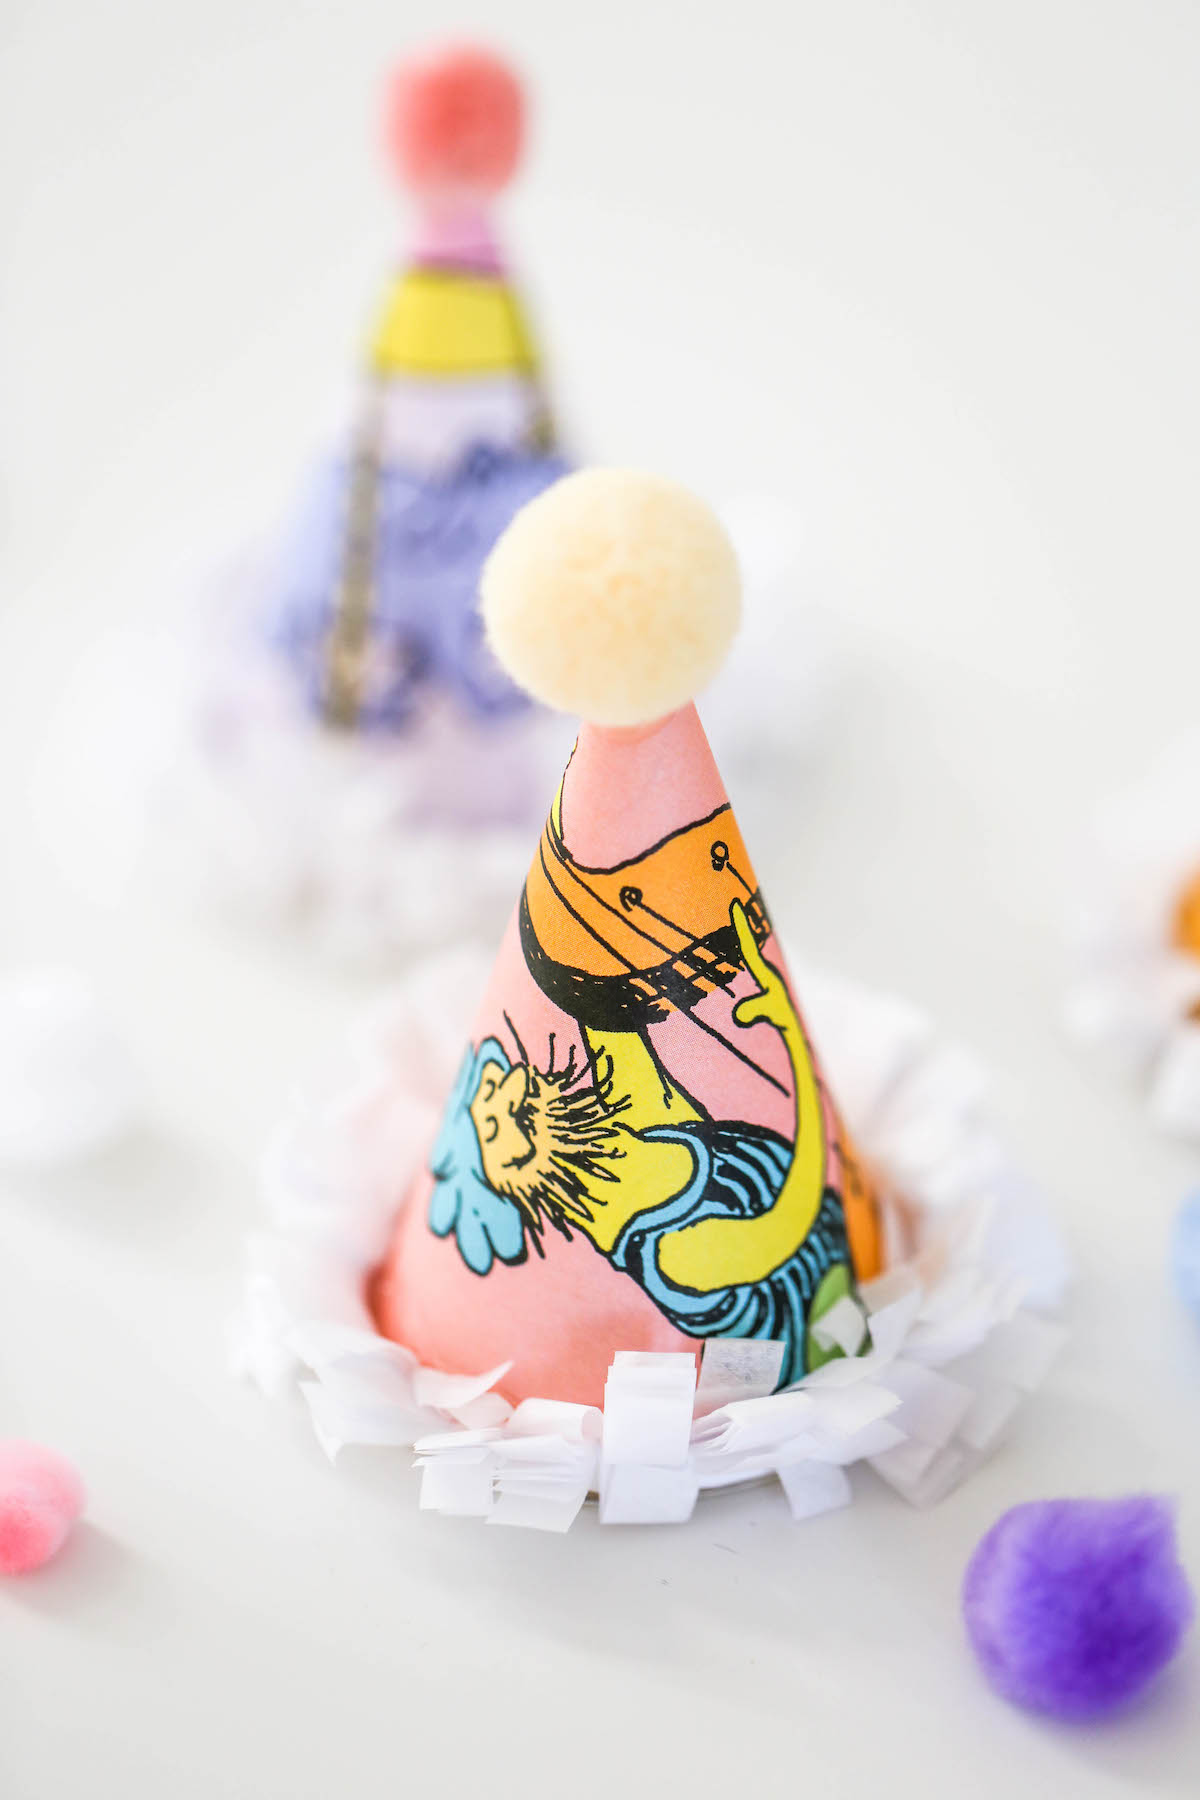
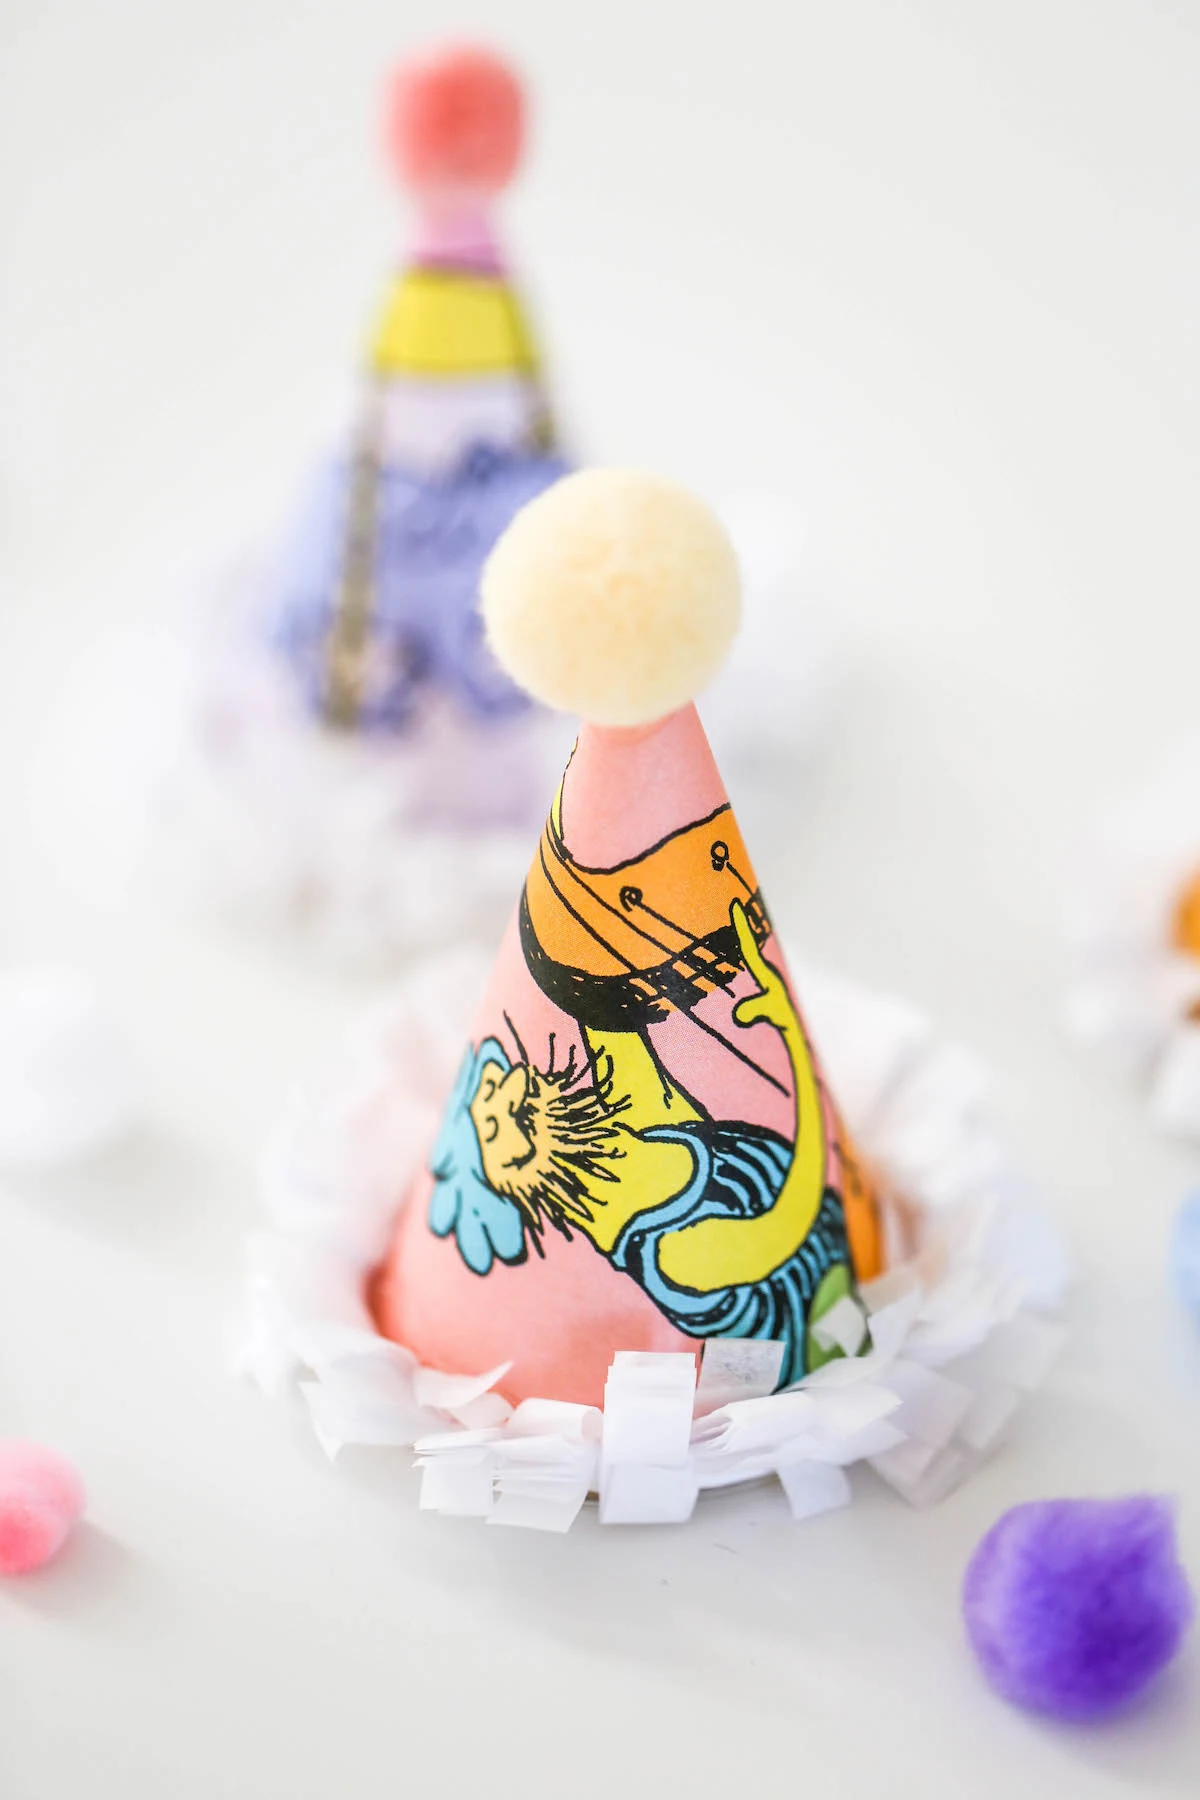
And I love that these party hats simply clip on and you don’t have to wear an uncomfortable strap under your chin! Since they’re “mini” party hats, they’re pretty lightweight and the clip holds them in place in your hair.
To make these DIY Mini Clip-on Party Hats, you’ll need a few supplies. I didn’t include quantities since it will vary depending on how many hats you need to make, but just make sure you have more glue sticks than you think – I always seem to run out when I’m working on any project.
DIY Mini Clip-on Party Hats Supplies:
- Paper of choice (I used the book Oh, The Places You’ll Go!)
- Heavier card stock paper for base (in your color of choice)
- Scissors
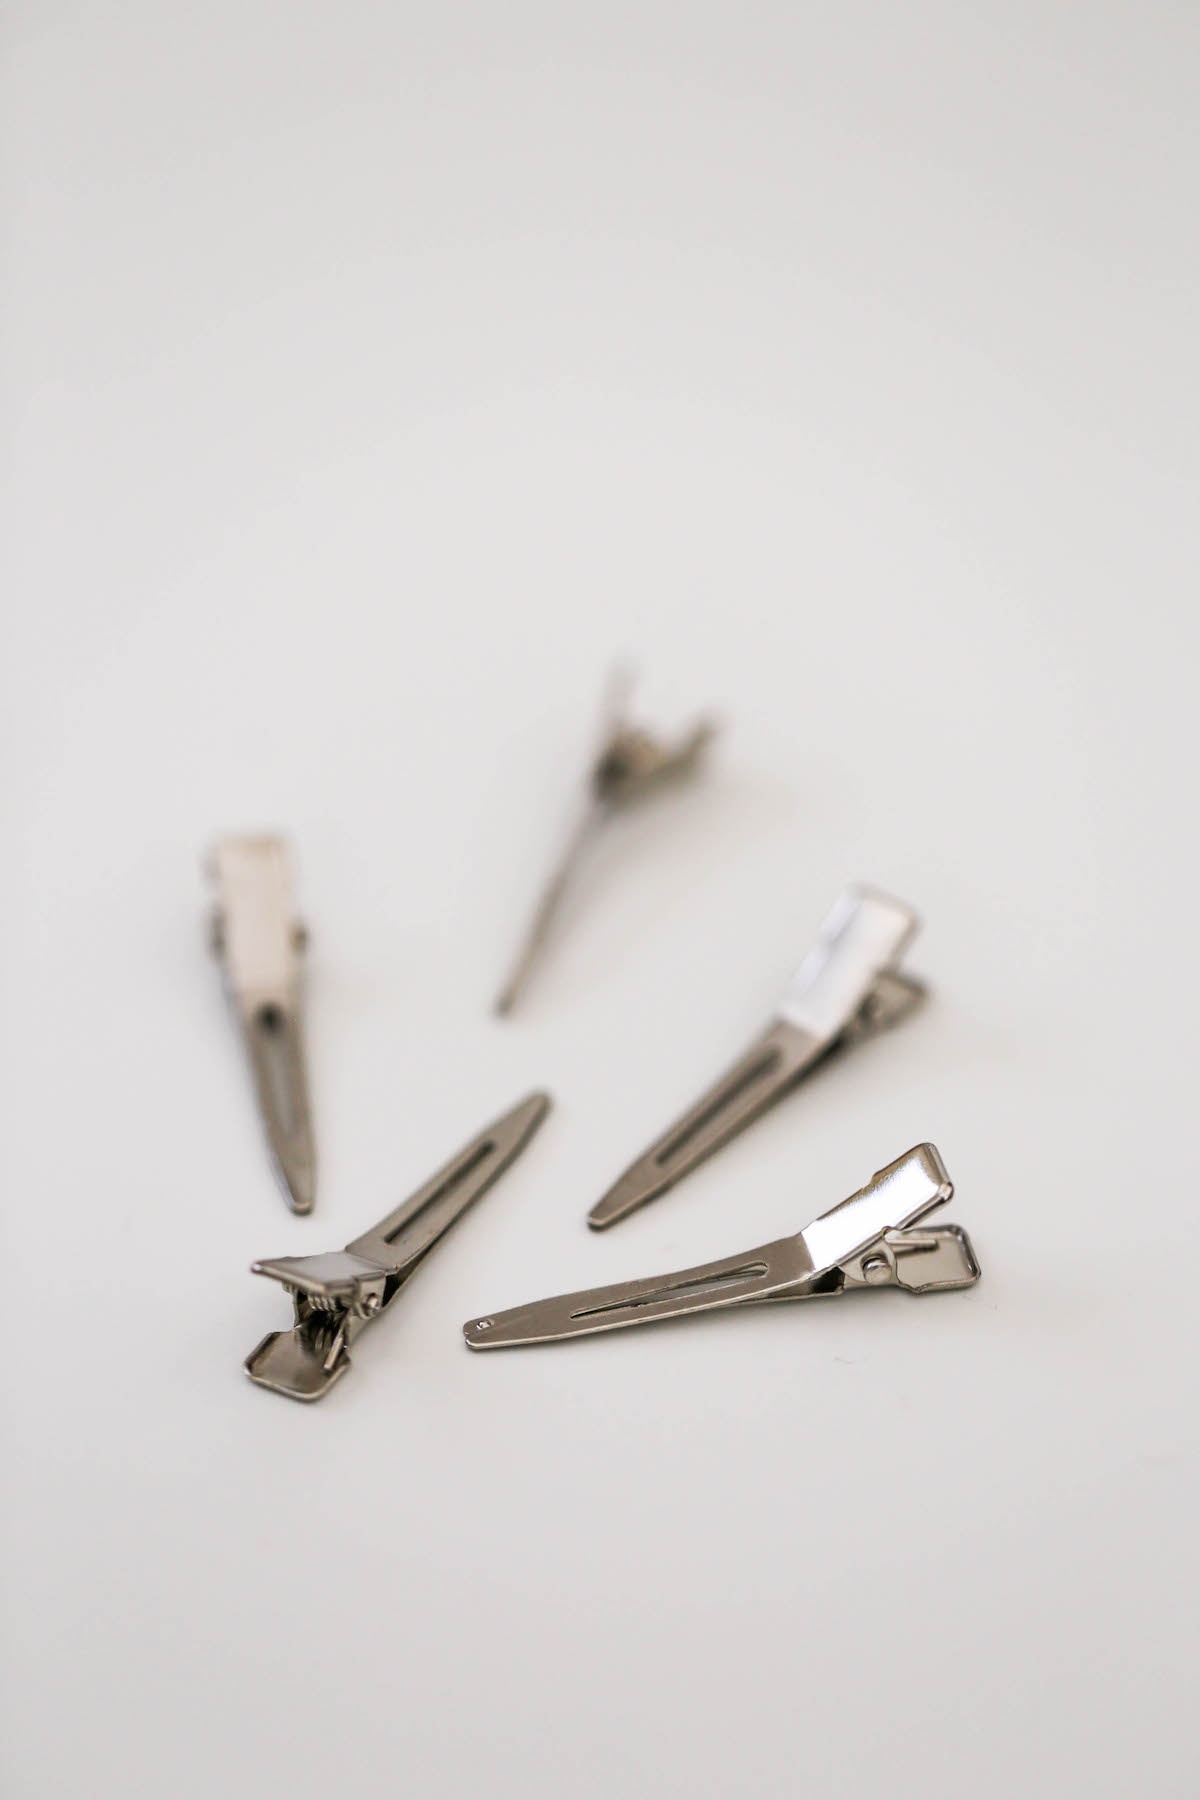
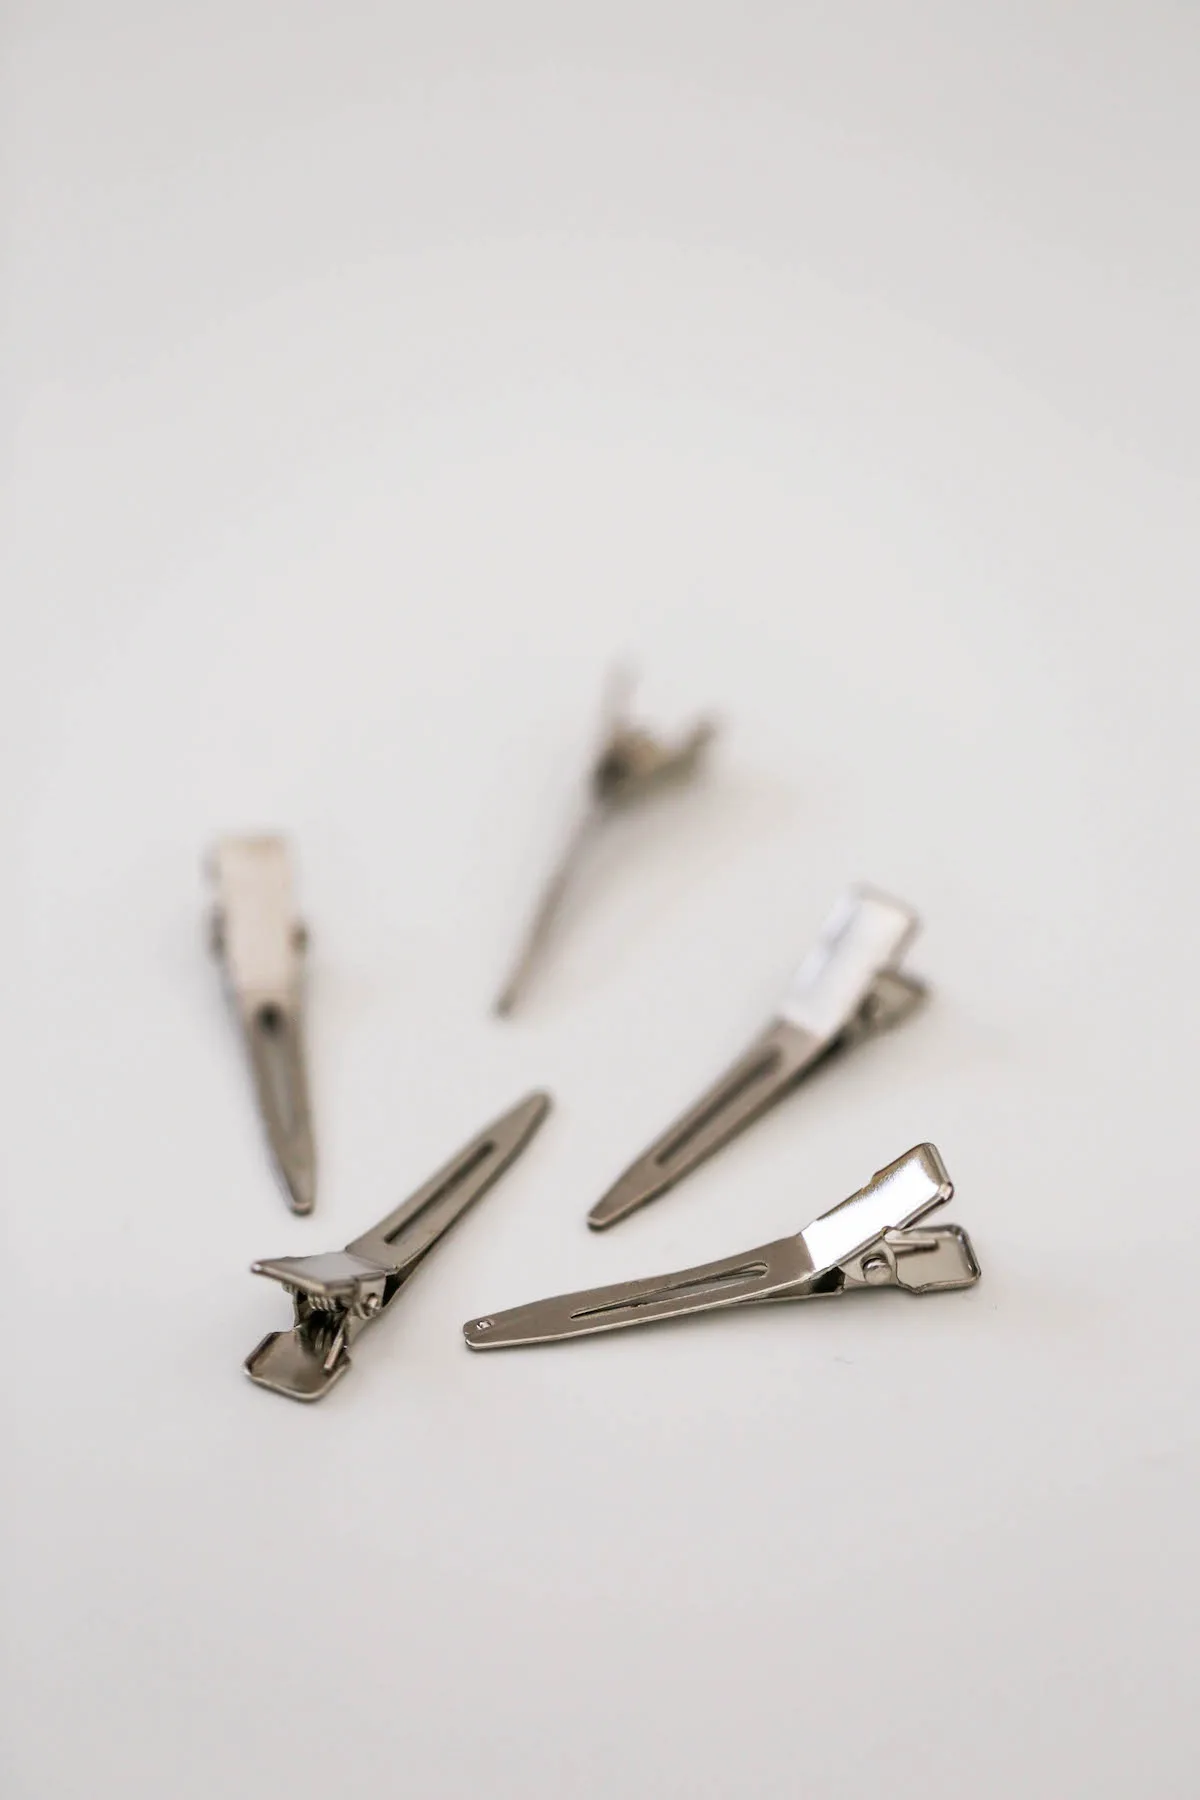
- Alligator Clips
- Mini Pom Poms
- Tissue Paper
- Tape
- Pen or pencil
- Glue Gun
- Glue Sticks
- Hat Template (Download HERE)


DIY Mini Clip-on Party Hats Instructions:
Step 1: Print and cut your party hat template. I included a few templates on the page in case you’re printing directly onto your decorative paper or in case you have extra hands to help you make your hats and need multiple templates.
It looks like the image below, but please use the download as it has the correct size.

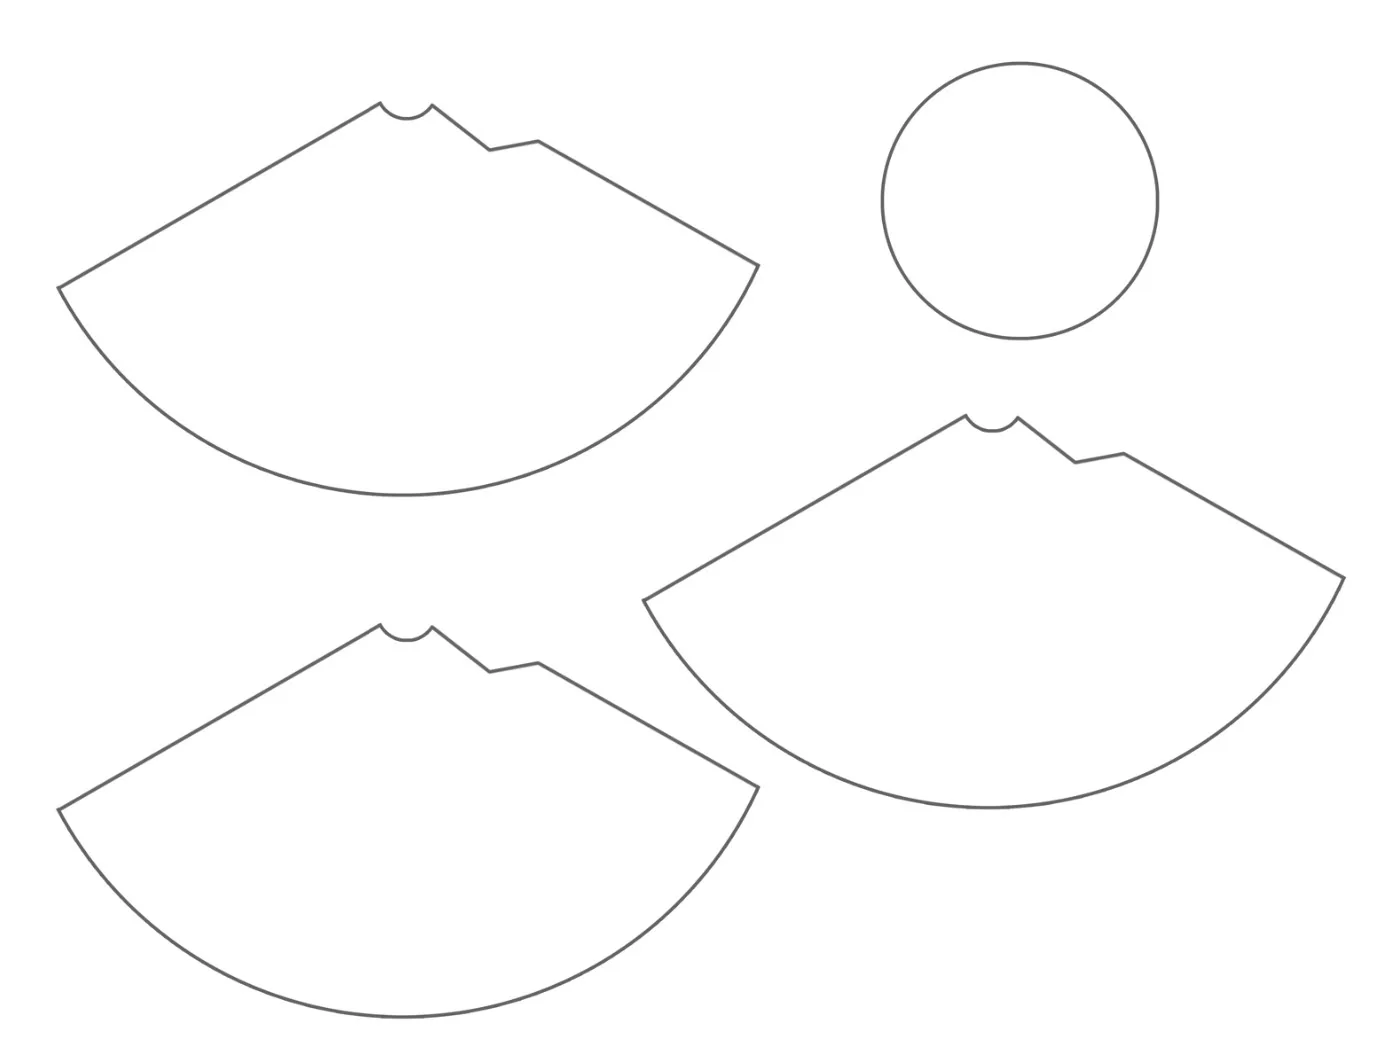
Step 2: Trace the party hat template onto your paper and cut out with scissors. If you’re using paper with illustrations like I did, be sure to strategically place the template so a good portion of the illustration will appear on the party hat.
Step 3: Next, curl the party hat into its cone shape and tape along the seam.


Step 4: Cut out the circle template and trace it onto your heavier card stock.
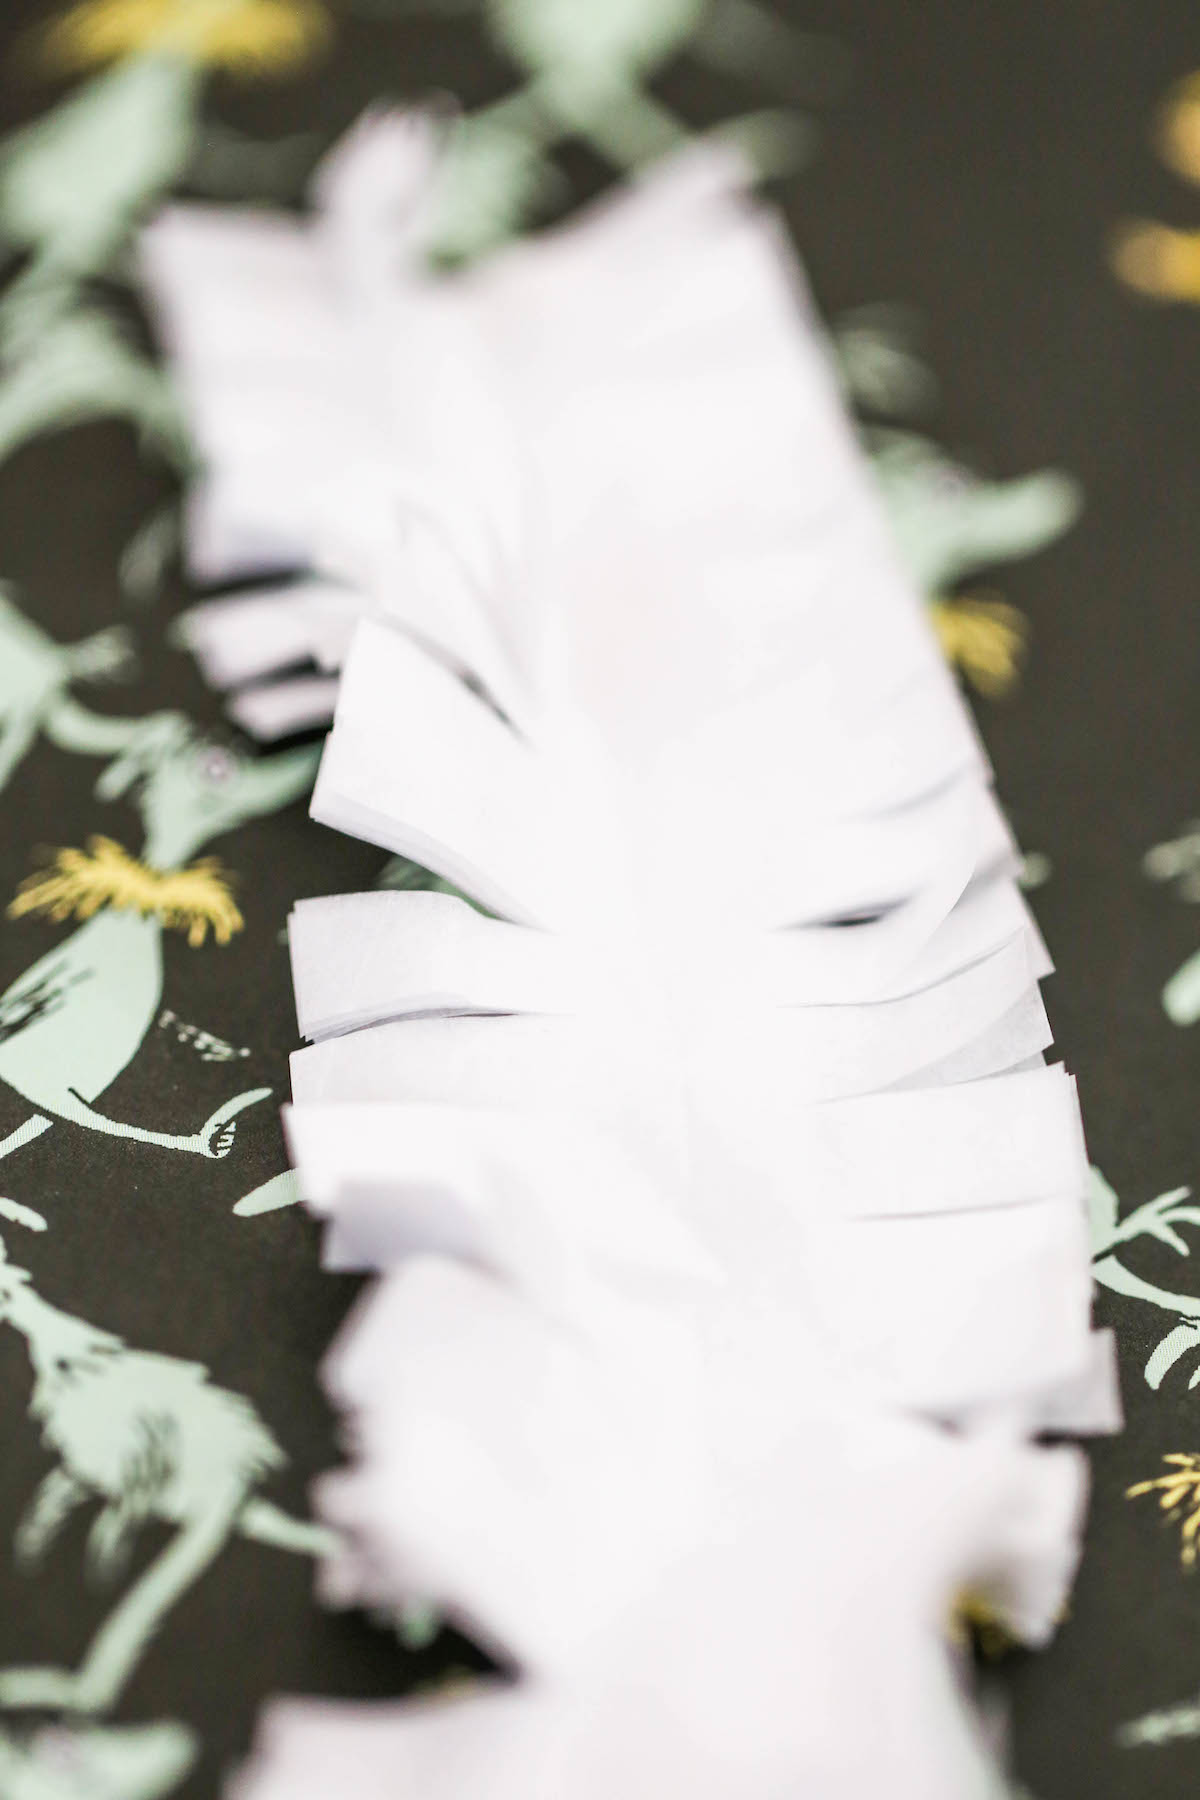
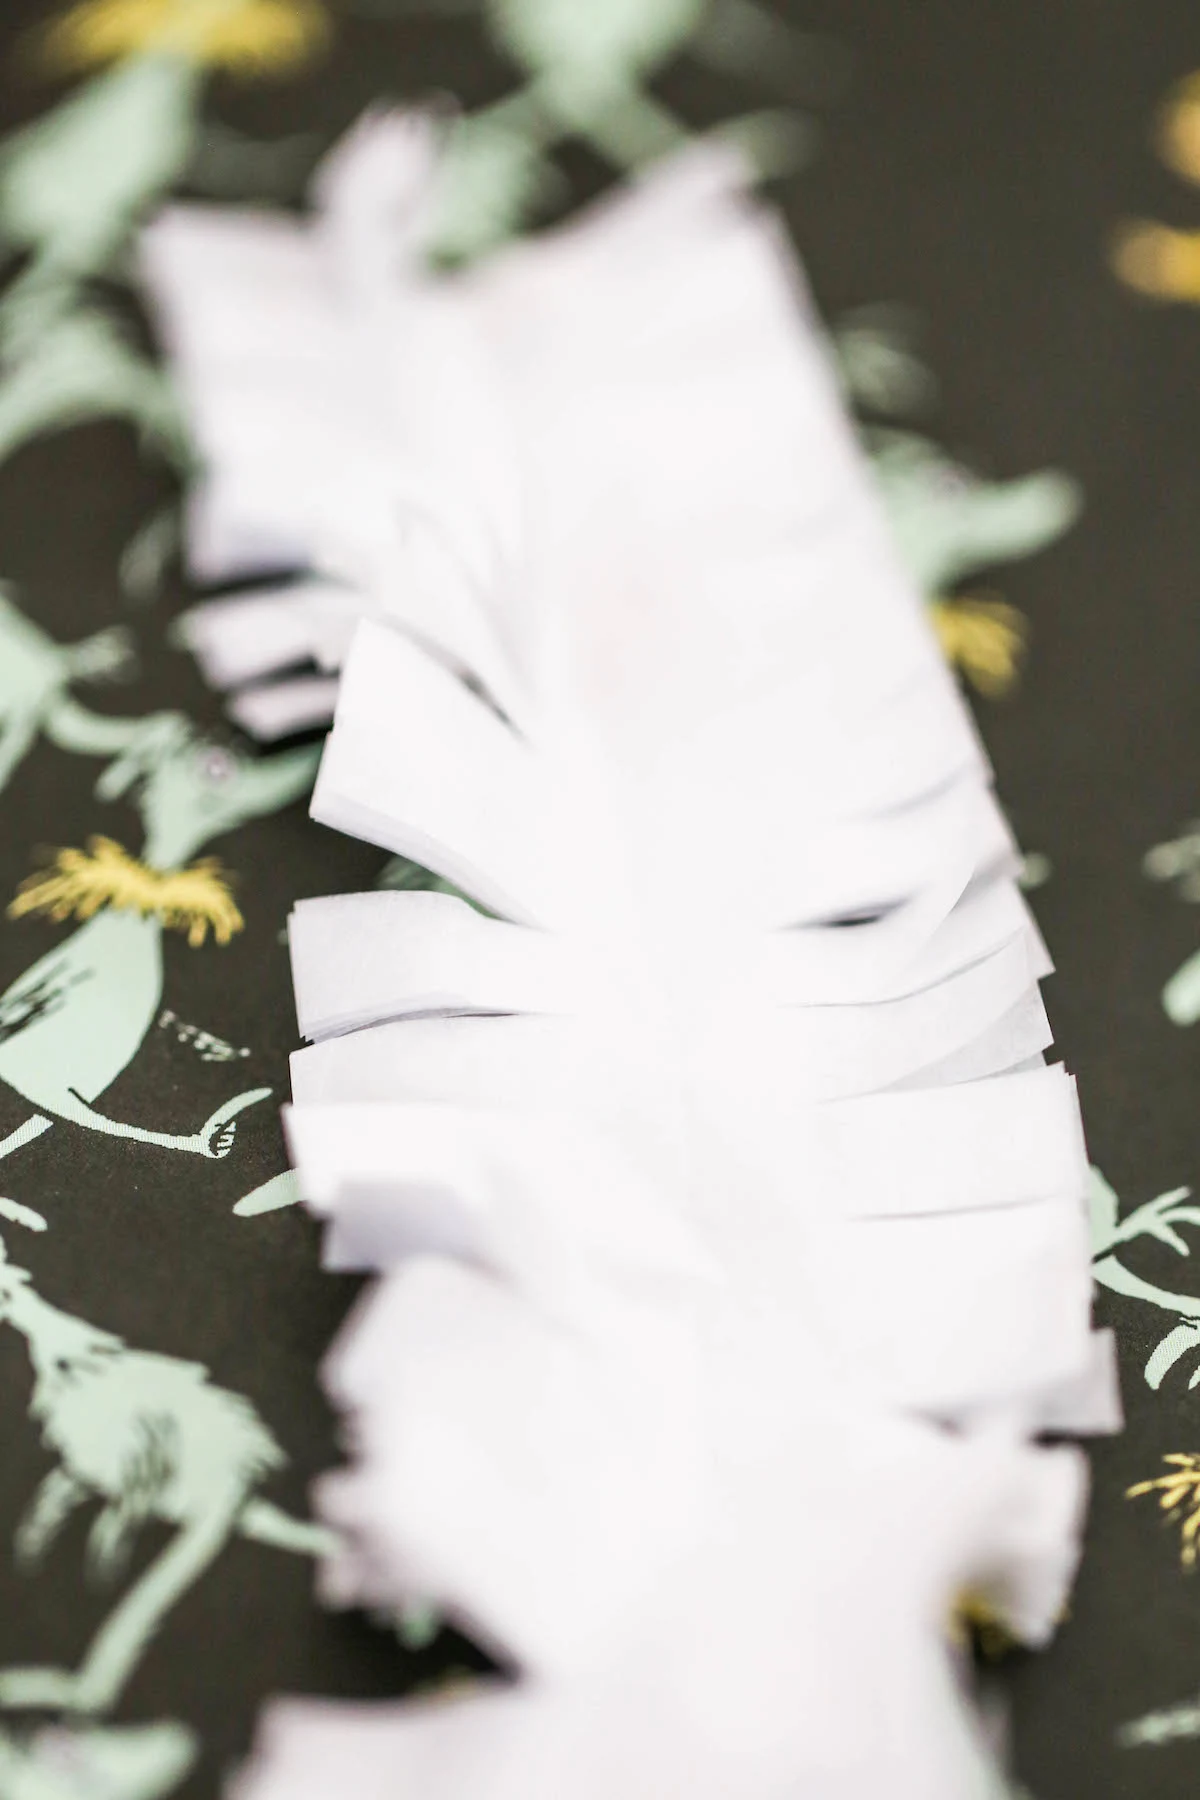
Step 5: Make the tissue paper fringe. Put two pieces of tissue paper together and cut a 1.5 inch by 7.5 inch piece. Fold the two pieces in half length-wise, and, using scissors, make little cuts into one of the long sides to create the fringe.
Here’s what it looks like unfolded:
Step 6: Next, let’s glue everything together:
Using your hot glue gun, attach a pom to the tip top of the cone.
Keep your fringe folded in half and glue the folded crease part of the fringe to the bottom edge of your cone hat.
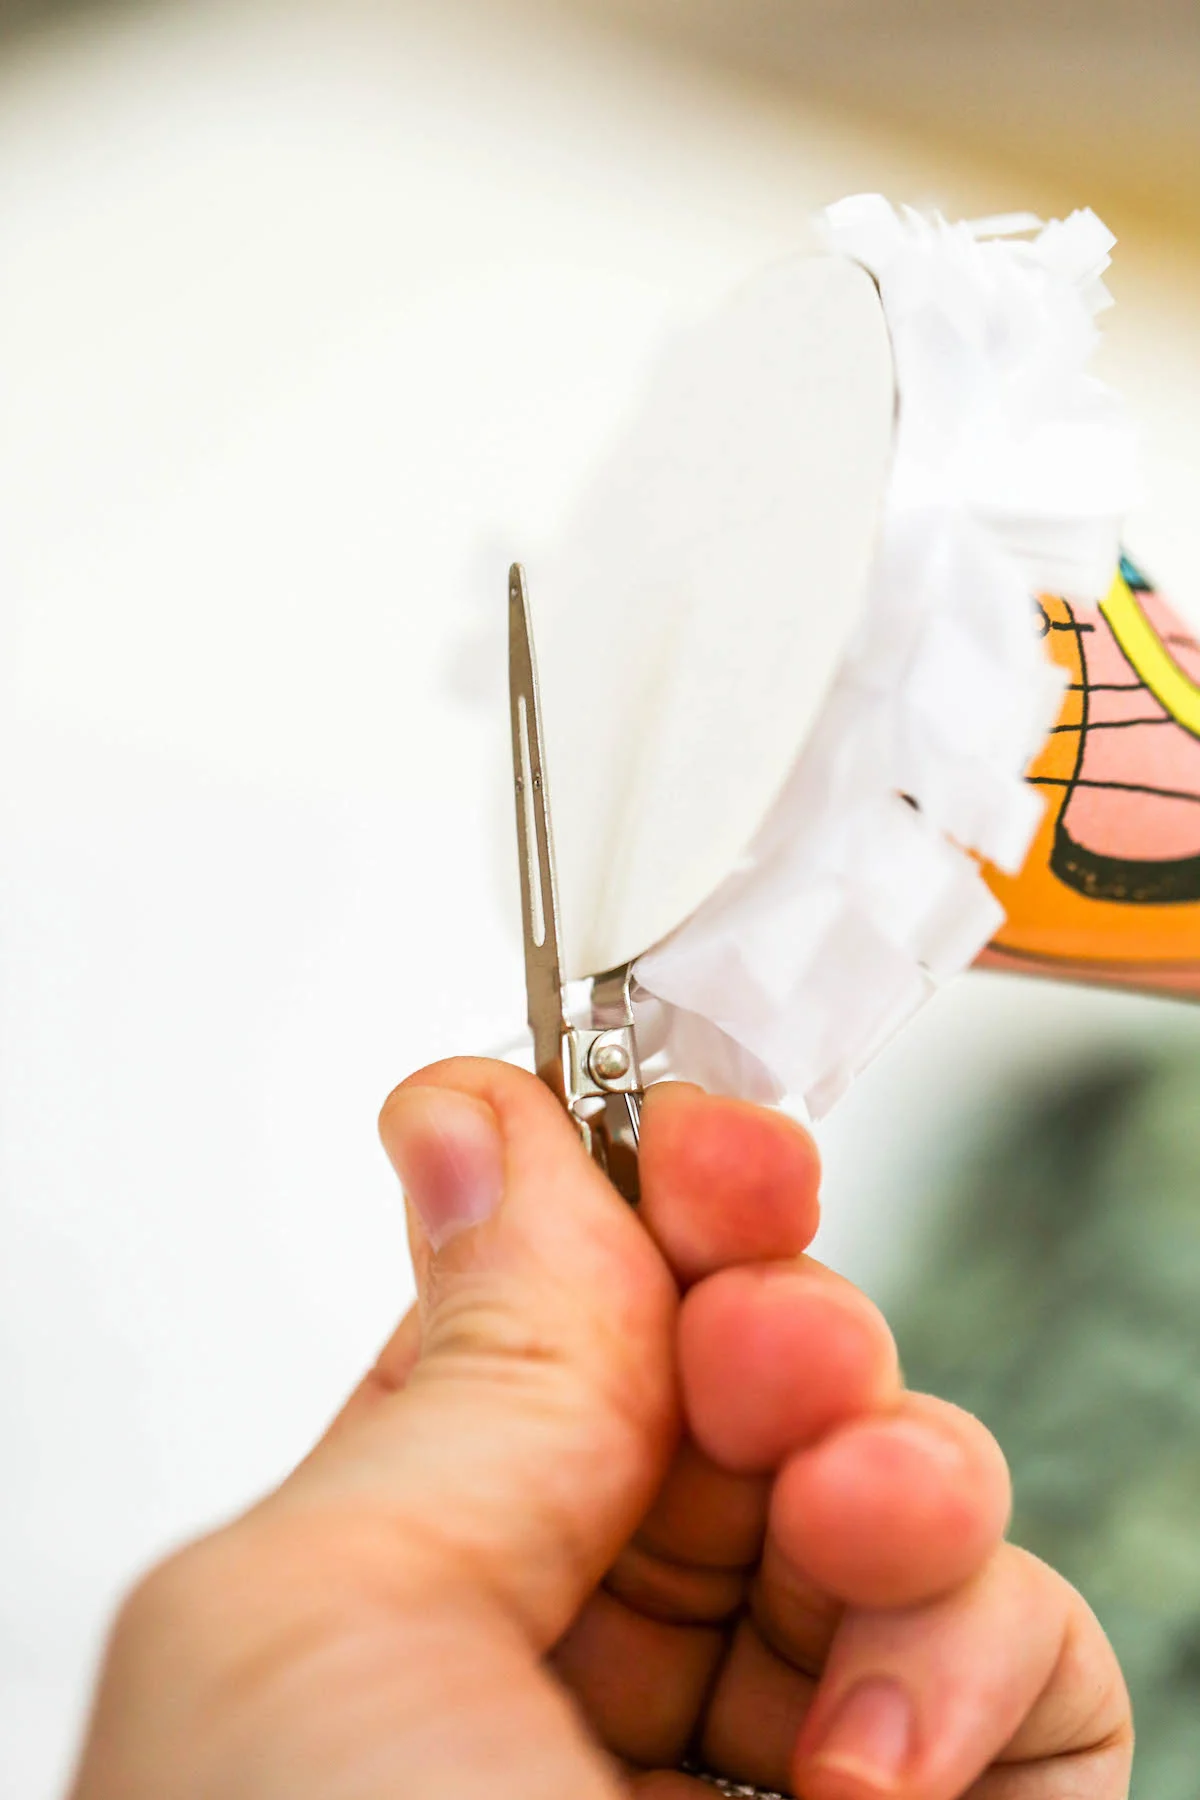
Next, glue your alligator clip onto your card stock circular base. You want to glue the “top” of the alligator’s mouth to the “top” side of the card stock circular base. This is so that when the alligator “mouth” opens, you can attach it into your hair. See the next two photos below.
Then, pipe a ring of hot glue onto the outside edge of your circular base card stock and attach the cone hat onto the circular base.

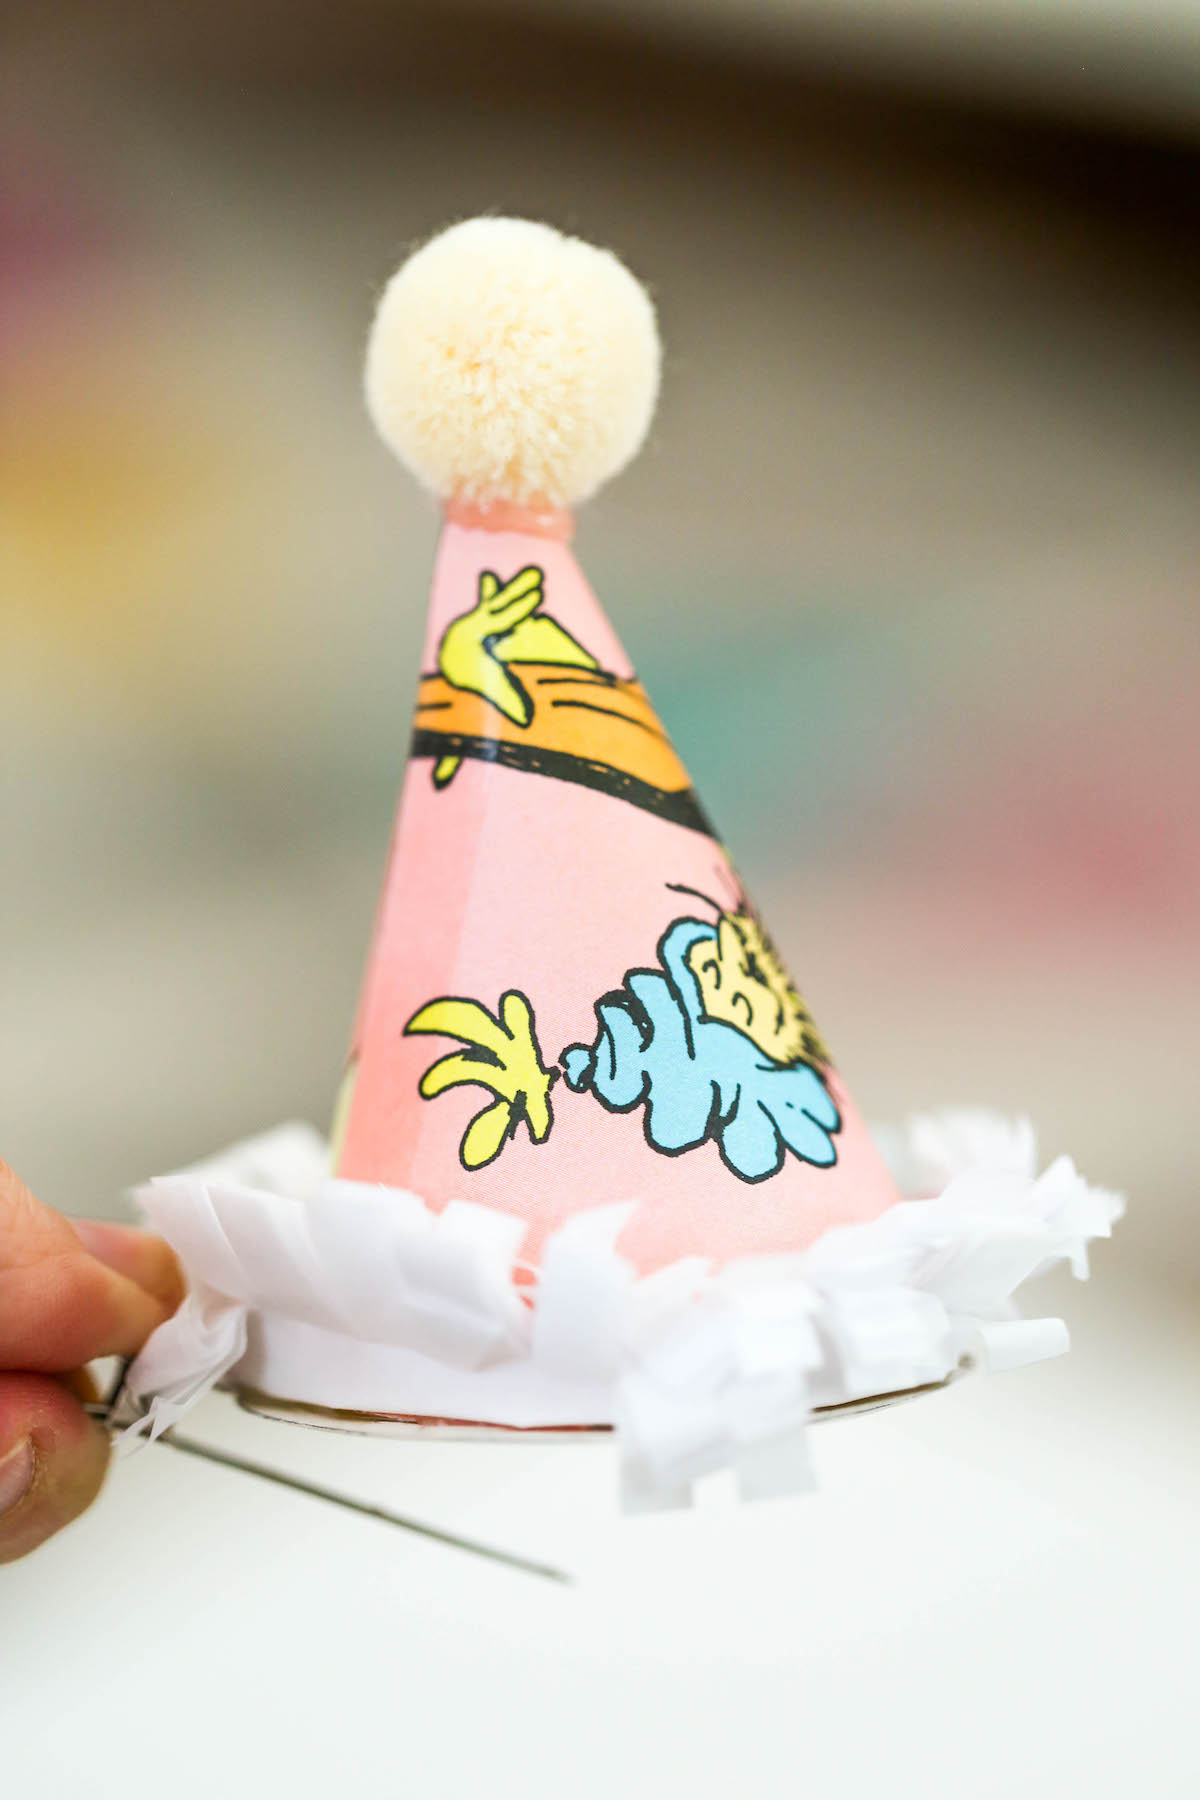
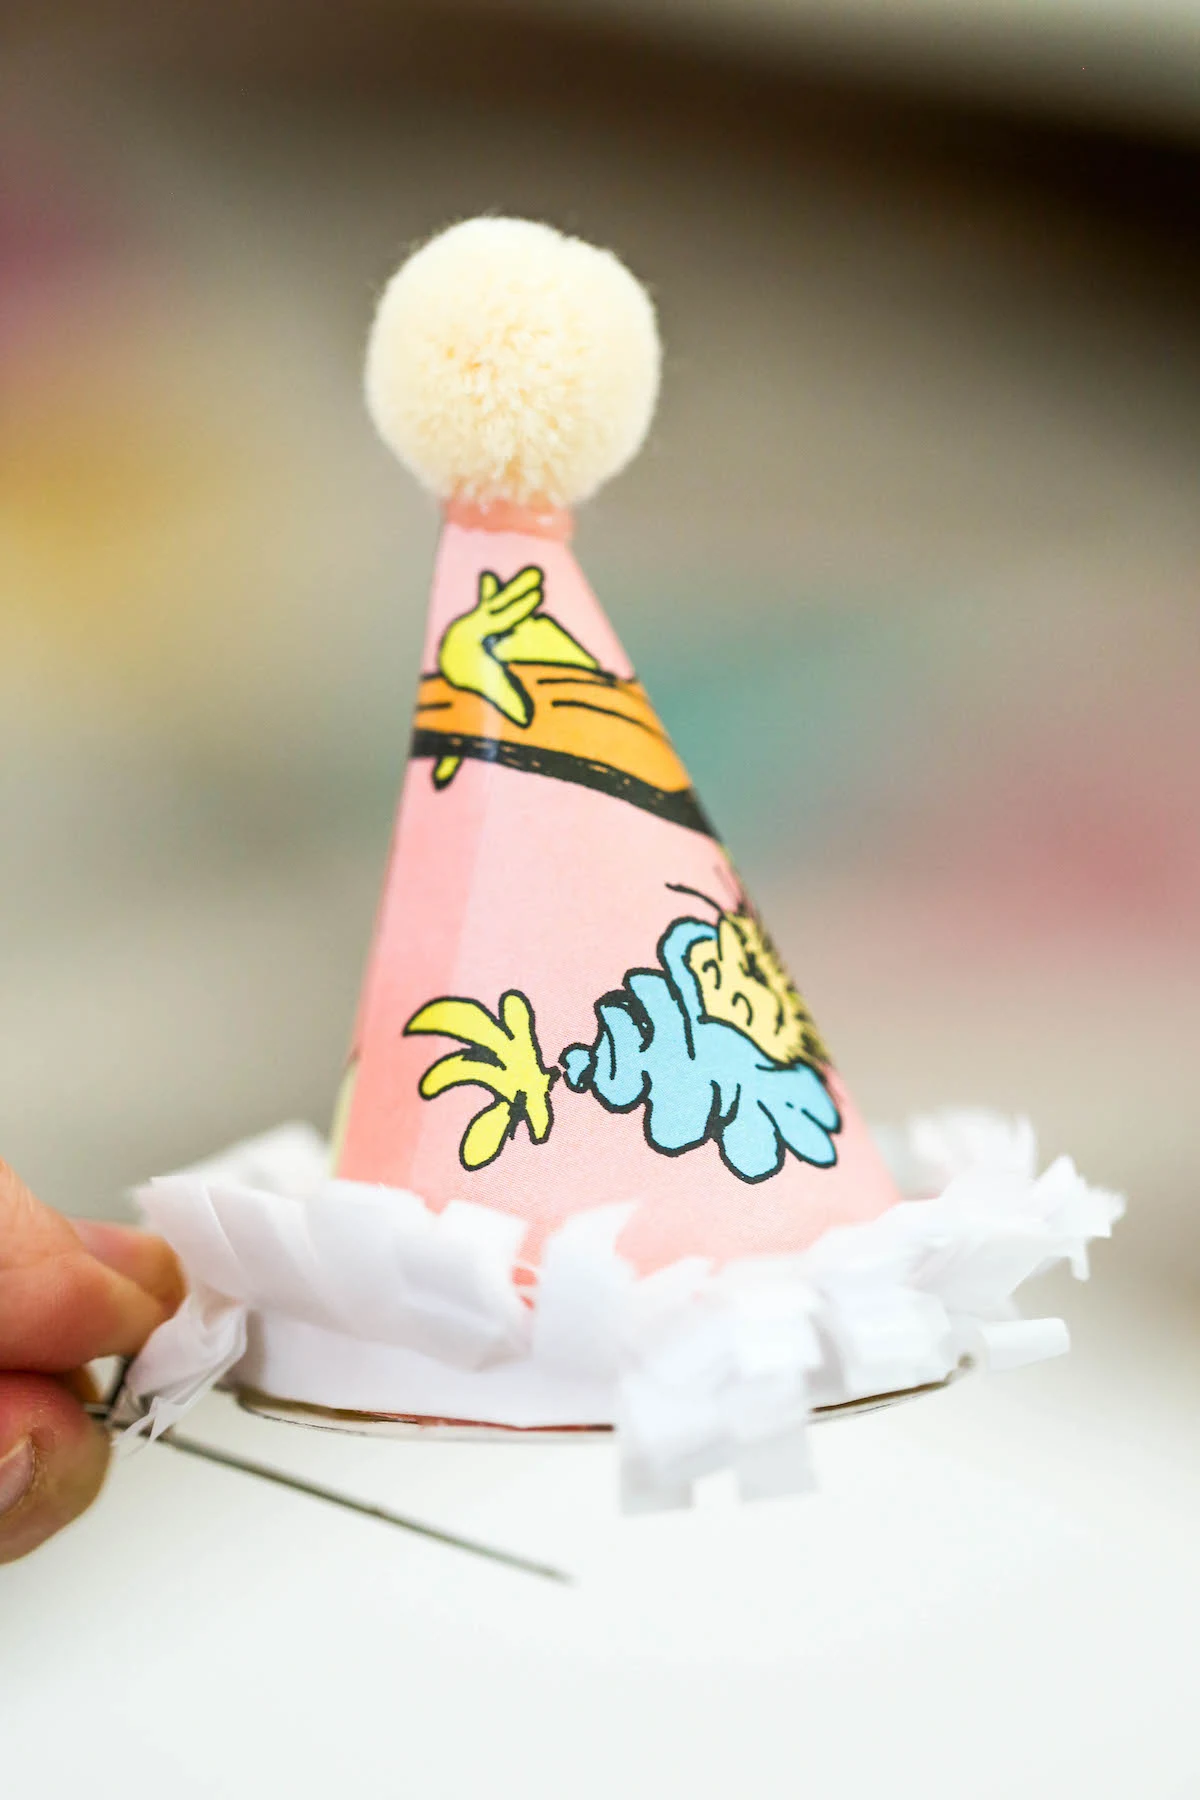
Ruffle the fringe a bit so it puffs up and hides the edge of the hat.
And be sure to let it dry completely before trying it on! I don’t want anyone trying to get hot glue out of their hair.

And that’s it! I made two hats start to finish going through all the different steps to make sure I was doing it right and then I worked as a one woman assembly line:
I traced the templates, cut out the traced hats on the fancy paper, curled the hats and taped them together, traced and cut out the card stock base, cut the fringe, and then glued on all the poms, glued on all the alligator clips, glued on all the fringe, and then glued all the hats onto the bases.
And eventually I made 30 tiny clip-on party hats!

In case you want to print out the instructions, I put them into a craft card here:
DIY Mini Clip-On Party Hat
Materials
- Paper of choice (I used the book Oh, The Places You'll Go!)
- Heavier card stock paper for base (in your color of choice)
- Alligator Clips
- Mini Pom Poms
- Tissue Paper
- Paper Template (LINK)
Tools
- Scissors
- Tape
- Pen or pencil
- Glue Gun
- Glue Sticks
Instructions
Step 1: Print and cut your party hat template (LINK TO PDF). I included a few templates on the page in case you're printing directly onto your decorative paper or in case you have extra hands to help you make your hats and need multiple templates.
Step 2: Trace the party hat template onto your paper and cut out with scissors. If you're using paper with illustrations like I did, be sure to strategically place the template so a good portion of the illustration will appear on the party hat.
Step 3: Next, curl the party hat into its cone shape and tape along the seam.
Step 4: Cut out the circle template and trace it onto your heavier card stock.
Step 5: Make the tissue paper fringe. Put two pieces of tissue paper together and cut a __" x ___" piece. Fold the two pieces in half length-wise, and, using scissors, make little cuts into one of the long sides to create fringe.
Step 6: Next, let's glue everything together: Using your hot glue gun, attach a pom to the tip top of the cone. Keep your fringe folded in half and glue the folded crease part of the fringe to the bottom edge of your cone hat. Next, glue your alligator clip onto your card stock circular base. You want to glue the "top" of the alligator's mouth to the "top" side of the card stock circular base. This is so that when the alligator "mouth" opens, you can attach it into your hair. See the next two photos below. Then, pipe a ring of hot glue onto the outside edge of your circular base card stock and attach the cone hat onto the circular base.

Want more party inspiration? Check out more of my party posts right here: