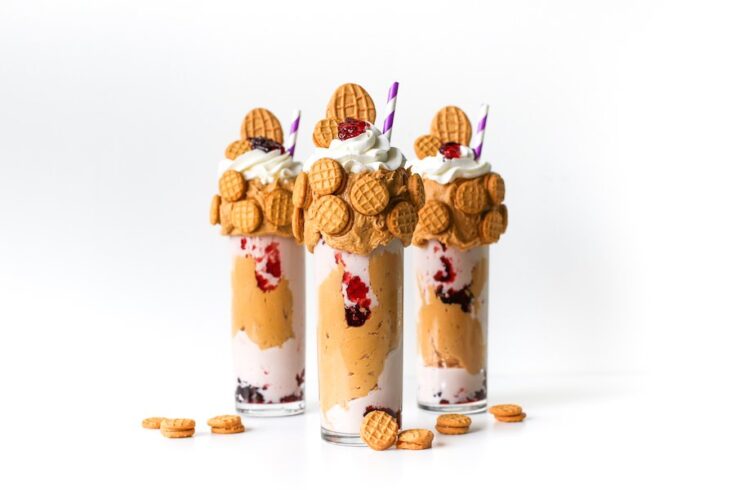
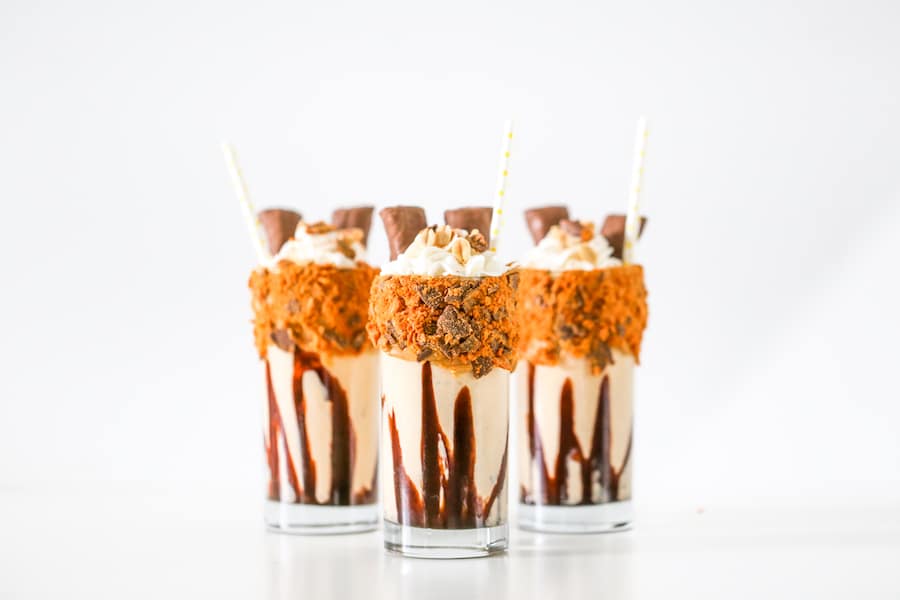
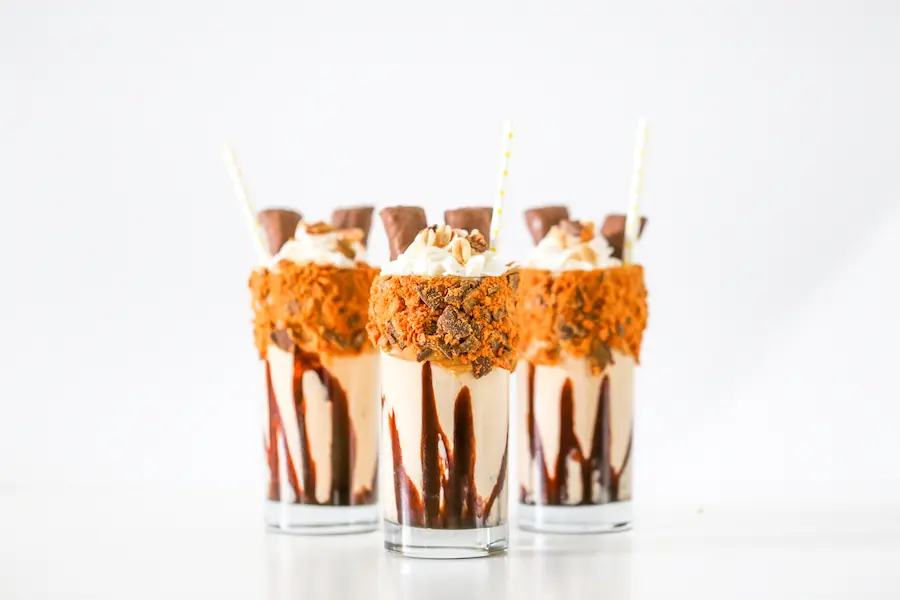
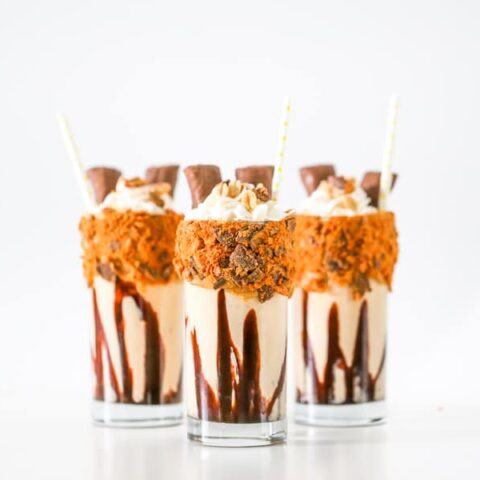
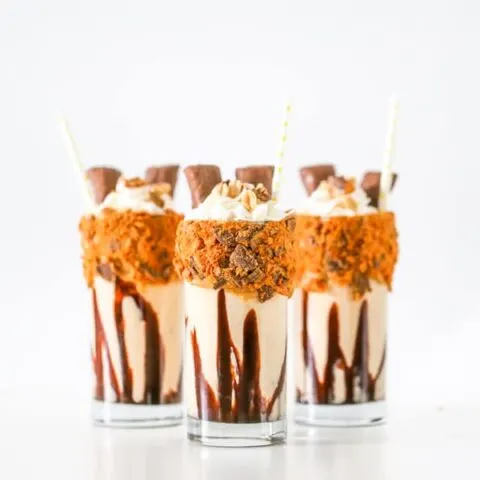
If you love the crispity, crunchity, peanut-buttery taste of Butterfinger, then you’ll love this Butterfinger Milkshake Recipe! It’s vanilla ice cream, milk, peanut butter, and Butterfinger blended together and then topped with homemade whipped cream and two Butterfinger Fun Size bars. Creamy peanut butter spread on the rims of the glasses and rolled in chopped Butterfinger is the perfect finishing touch!
My official taste-tester (aka my husband) said that this is the most delicious milkshake he’s ever had! It’s the perfect combination of peanut butter and chocolate all blended together into a milkshake and topped with even more deliciousness.


Butterfinger Milkshake Recipe
You can keep the milkshake simple by using only four ingredients: ice cream, milk, peanut butter, and Butterfinger. Blend and pour into a glass, add a straw, and enjoy!
Or go over-the-top by coating the rims of the glasses in creamy peanut butter and rolling in chopped Butterfinger, then top the milkshake with homemade whipped cream, and add more chopped Butterfinger and roasted peanuts like sprinkles. Then two Butterfinger Fun Size bars top it off like a “cherry on top!”


The full printable recipe is below, but here are your needed ingredients:
Ingredients:
- Vanilla Ice Cream
- Milk
- Peanut Butter
- Butterfinger candy bars
- Chocolate Syrup
- Whipped Cream
- Roasted Peanuts


Recommended Kitchen Equipment:
- Blender
- Disposable Pastry Bags or Reusable Silicone Pastry Bags for homemade whipped cream
- Star 1M Size Pastry Bag Tip for homemade whipped cream
- Highball Glasses
I use my Ninja blender for all my milkshakes! I can’t say enough good things about this blender! It’s not super cheap and won’t fall apart like some $20-30 brands, but it also doesn’t cost an arm and a leg like a Vitamix blender.
If you’re in need of a new blender, I definitely recommend this one. My only tip is that even though the pitcher says it’s dishwasher safe, be sure to hand wash it. Our first one cracked in the dishwasher, but our replacement pitcher has been going strong for 4-5 years now.
Instructions:
First, I made my homemade whipped cream. I like to use homemade whipped cream in my milkshakes because it’s thicker and doesn’t melt as fast as store-bought canned whipped cream. But, if you don’t have the ingredients for homemade whipped cream or the time to make it, then of course store-bought is fine!
If you’re planning to make the freakshake version with over-the-top decorated glass rims, remember to decorate the glasses before you blend together your milkshake. I started by spreading creamy peanut butter (not chunky peanut butter, it’s too heavy, it doesn’t provide enough “glue” and will end up sliding down the glass) on the edge of the glasses and rolling them in chopped Butterfinger. I then placed the glasses upside down on a plate with the peanut butter and Butterfinger closest to the plate. Gotta work with gravity, not against it!


Save some of the leftover chopped and broken Butterfinger candy bar to use as “sprinkles” on top of the milkshake but then add any additional leftover to the blender to use in the milkshake.
And then add your ice cream, milk, peanut butter and more Butterfinger candy bars to the blender and blend! If you’re planning to use straws, be sure to blend for at least 1 minute on the highest setting or else the straws will get clogged.
Next, I quickly swirled some chocolate syrup into each glass then immediately poured my milkshakes. I topped each milkshake with some whipped cream, chopped Butterfinger “sprinkles,” and some roasted peanuts and then I added two Butterfinger Fun Size bars to each milkshake to stick out the top!


I mean, look at this gorgeous milkshake! Go ahead and wipe the drool from your chin!


Here’s the full, printable recipe:
Butterfinger® Milkshake Recipe
Ingredients
- 4 Butterfinger® Fun Size candy bars
- 4 cups vanilla ice cream
- 1 1/4 cups milk
- 3 Tb peanut butter (chunky or smooth)
- chocolate syrup
- peanut butter (smooth only)
- 4 Butterfinger® Fun Size candy bars, chopped/broken
- whipped cream
- roasted peanuts
- 4 Butterfinger® Fun Size, whole as garnish on top
Instructions
- First, make your whipped cream if using homemade and prep it into a pastry bag or plastic bag with a cut off corner.
- Next, decorate the rims of your glasses. Use a knife to spread a thin layer of smooth, creamy peanut butter to the rim of each glass and then roll the peanut butter in chopped/broken Butterfinger® pieces. Place your decorated glasses upside down on a plate while you blend the milkshake.
- Set aside some of the leftover chopped/broken Butterfinger® to use as sprinkles on top of the milkshake, and then add any additional leftover to your blender along with the vanilla ice cream, milk, peanut butter, and 4 Butterfinger® Fun Size candy bars.
- Blend on high for 1-2 minutes or until fully blended.
- Swirl some chocolate syrup into each glass and then immediately pour the milkshake into each glass.
- Add some whipped cream on top.
- Sprinkle some roasted peanuts and some additional chopped Butterfinger® on top of the whipped cream.
- Stick 2 Butterfinger® Fun Size candy bars out the top of each milkshake.
- Add a straw. Enjoy!


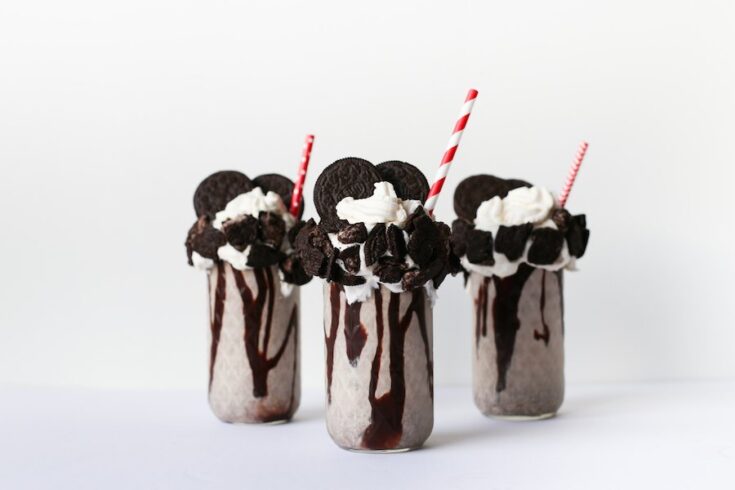
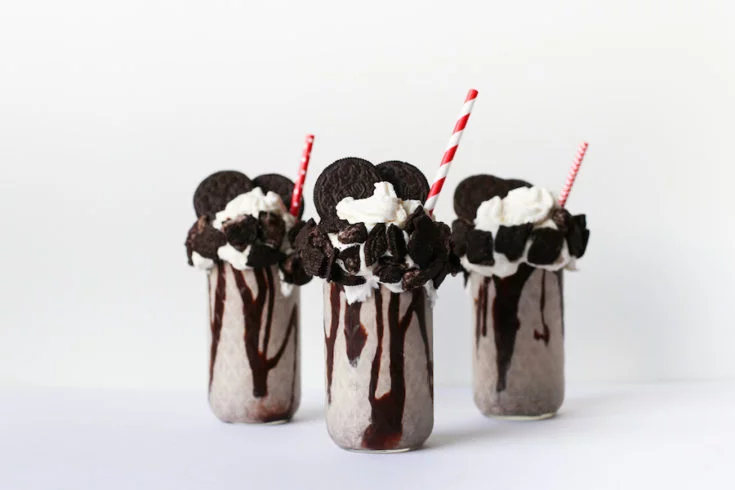
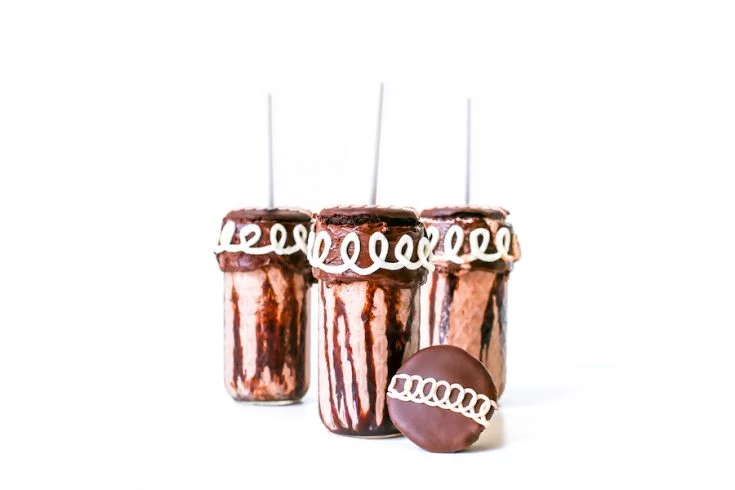
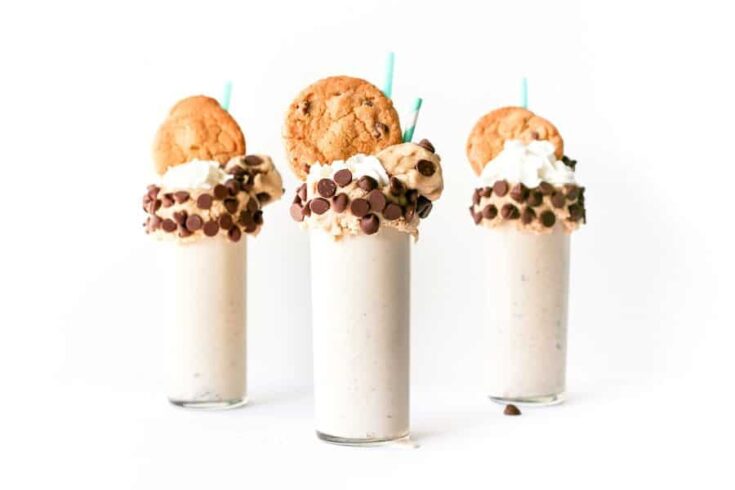
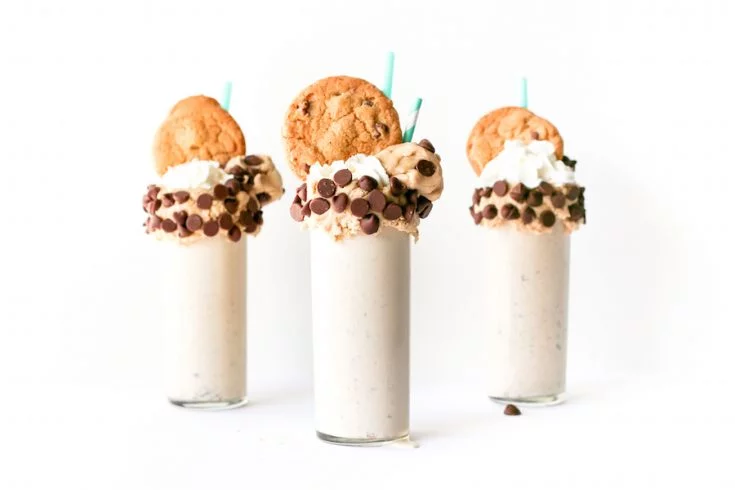
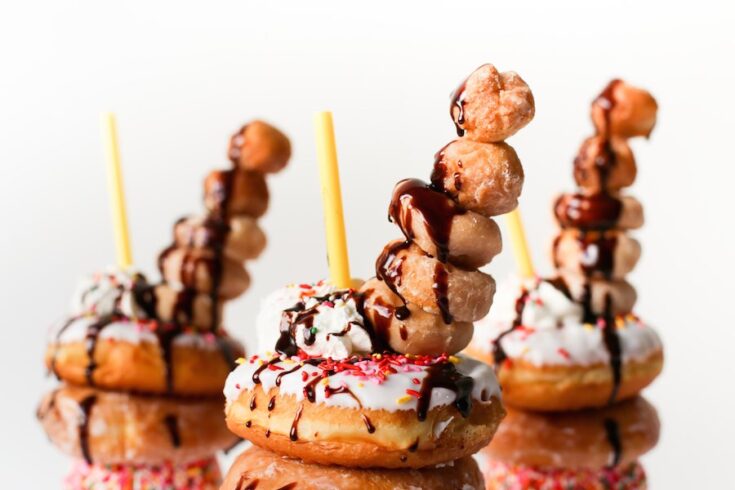
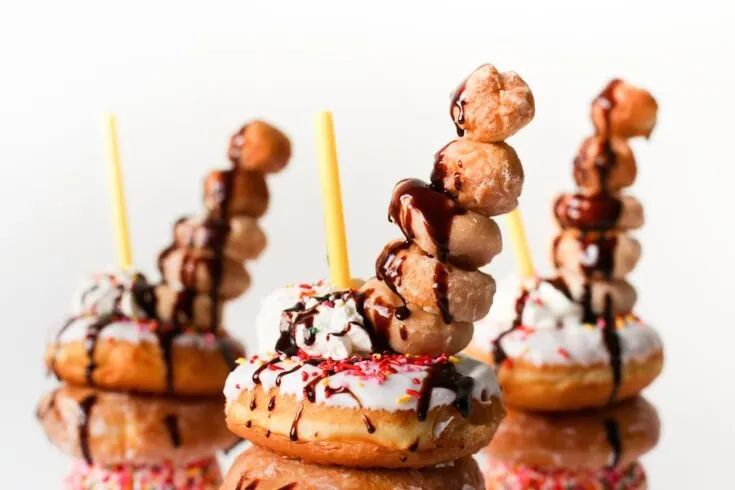
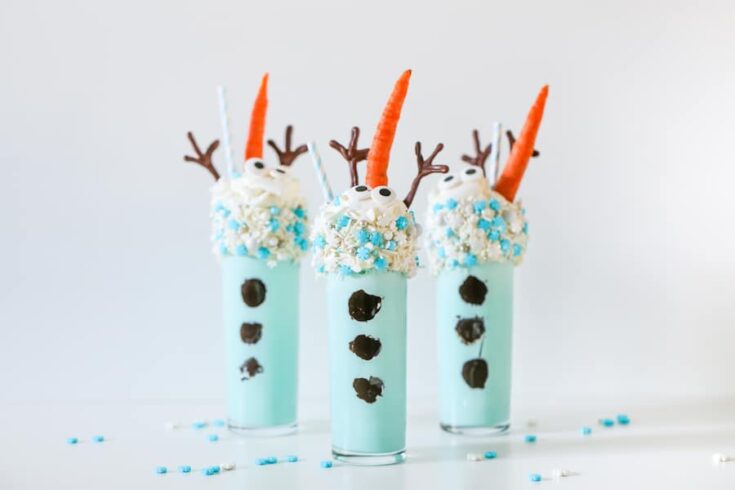
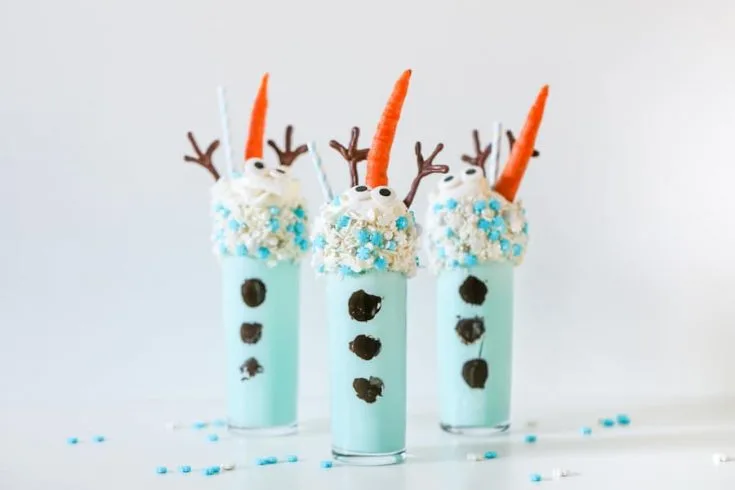
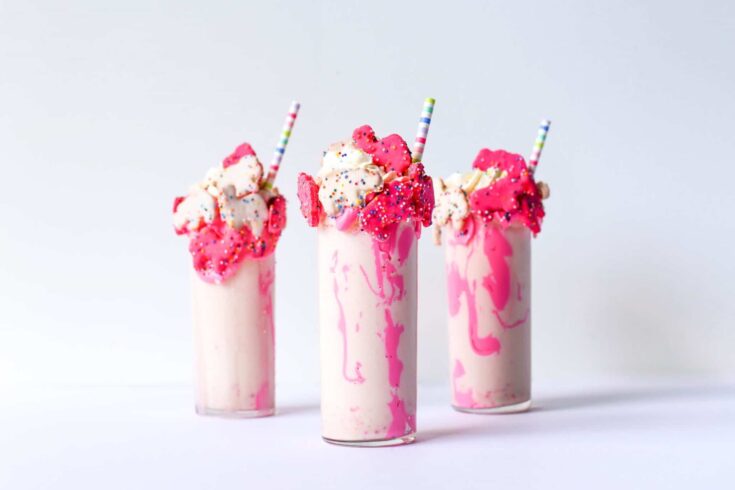
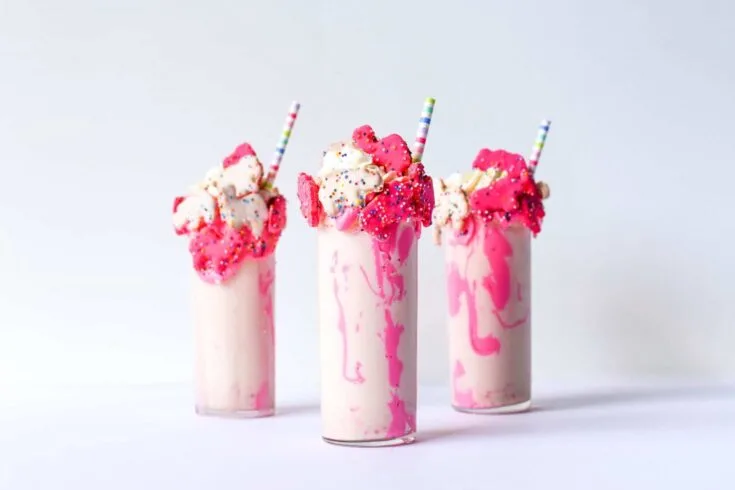
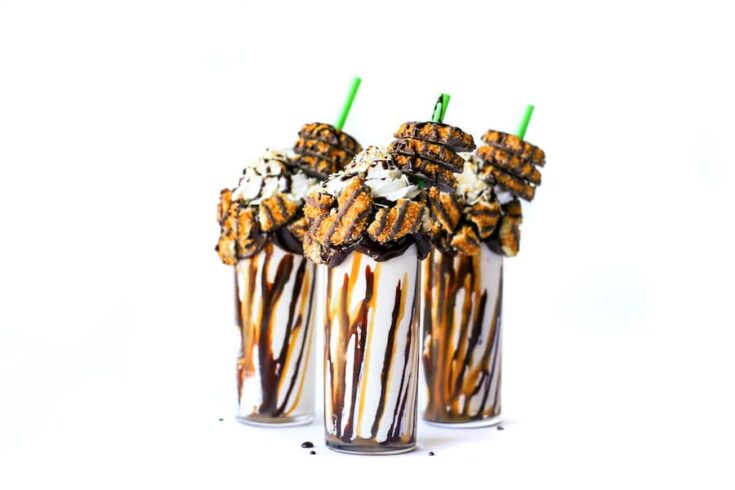
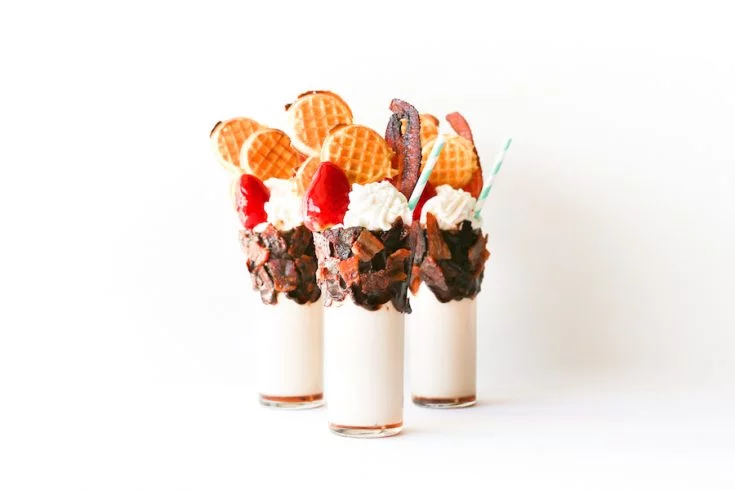
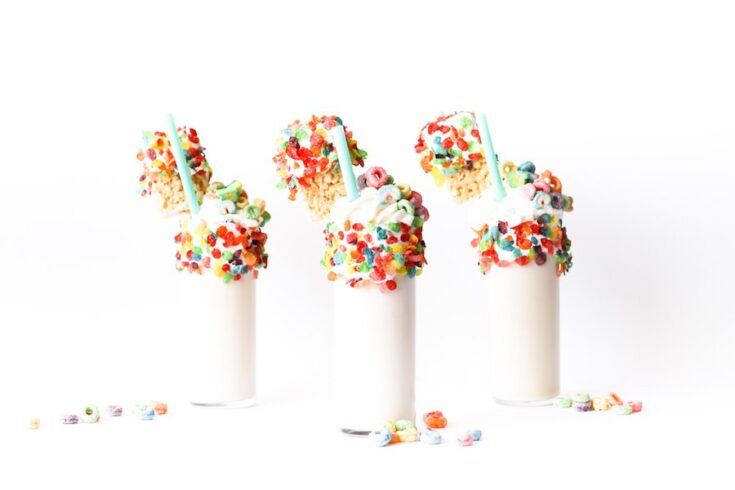
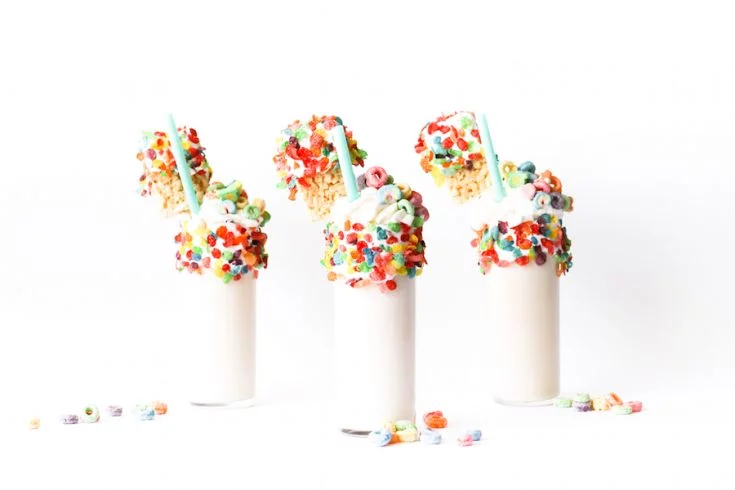
Looking for more milkshake inspiration? Check out some of my other milkshakes here: